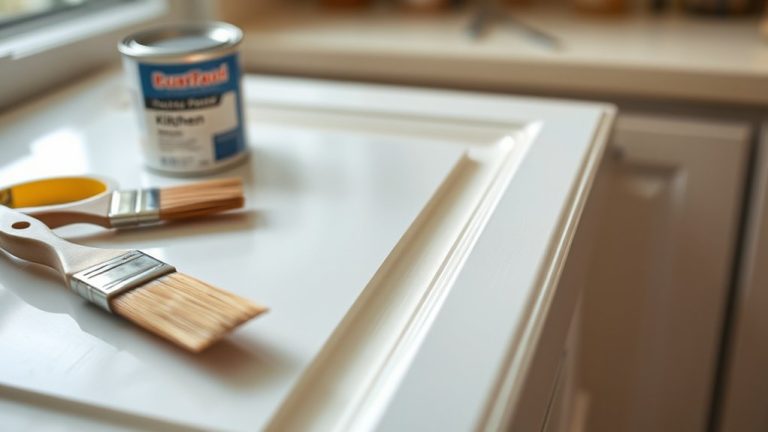
DIY Guide to Build Kitchen Cabinet Doors
Building your own kitchen cabinet doors can feel overwhelming, especially when you want a professional look but don’t know where to start. You’re not alone—many people struggle with choosing the right materials and getting the measurements just right.
The good news is, with a bit of patience and guidance, you can craft beautiful, custom doors that match your style.
To build kitchen cabinet doors yourself, start by choosing durable materials like hardwood or plywood with a finish that matches your style. Measure carefully, using reliable tools, and plan your cuts precisely.
Assemble the frames using glue and clamps, then sand, paint, or stain for your desired look. Attach hinges and handles securely for a professional finish.
For tips on maintenance and troubleshooting, keep exploring to guarantee your doors stay beautiful and functional long-term.
Key Takeaways
- Measure and plan carefully, keeping in mind the door size, style, and where to place hardware for a perfect fit.
- Choose the right materials and finishes that match your kitchen decor and will last over time.
- Cut, assemble, and join the door frames accurately, using good tools and sturdy fasteners.
- Attach hinges and handles with care to ensure the doors open smoothly and look polished.
- Finish with paint, stain, or laminate, then regularly maintain your doors to keep them looking great and lasting longer.
Choose the Best Materials for Your Kitchen Cabinet Doors
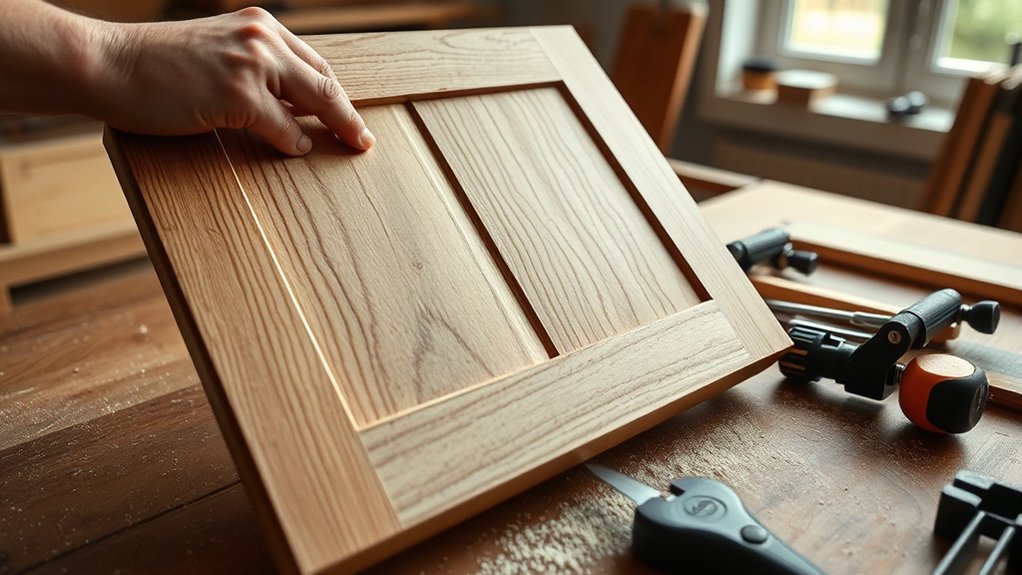
Choosing the right materials is key to creating durable and attractive kitchen cabinet doors. You want your doors to handle daily wear, moisture, and temperature changes without warping or damage.
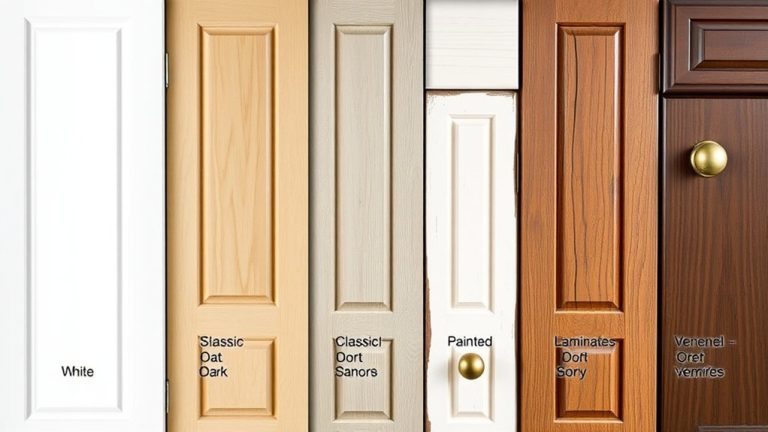
Solid hardwoods like oak, maple, or cherry are great options because they’re strong and built to last. If you’re on a budget, plywood with a veneer finish offers good durability and a sleek look.
Think about the style you want too. Smooth finishes, rich grains, or painted surfaces can really set the tone for your kitchen’s look. Laminates and MDF are also popular because they’re modern and affordable, though they might not last as long as real wood.
Always balance durability with the look you want. Picking the right materials early on will help your DIY project turn out beautiful and long-lasting, adding to your kitchen’s overall charm.
Decide on a Style and Design for Your Doors
Deciding on a style and design for your cabinet doors is a key step that sets the tone for your whole kitchen. Your choice impacts the overall look and how decorative accents come into play.
Think about whether you want a modern, sleek vibe or something warm and traditional. If you like classic styles, you might add decorative touches like moldings, raised panels, or glass inserts.
Choose between modern sleekness or warm traditional charm, adding moldings, panels, or glass for classic style.
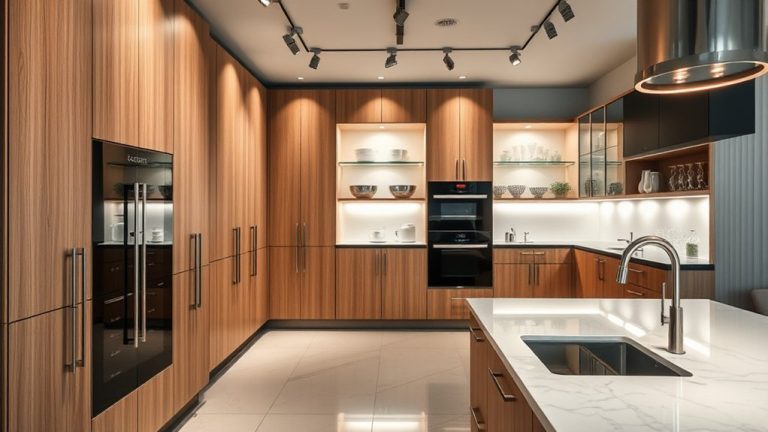
For a more contemporary look, go for clean lines and minimalist details. Consider how your chosen style matches your existing decor and the atmosphere you want to create.
Looking at images or samples can help you picture the final result. Remember, your cabinet doors are a big visual element, so pick a style that reflects your personality and fits your kitchen’s overall theme.
Measure and Plan Your Cabinet Door Sizes Accurately
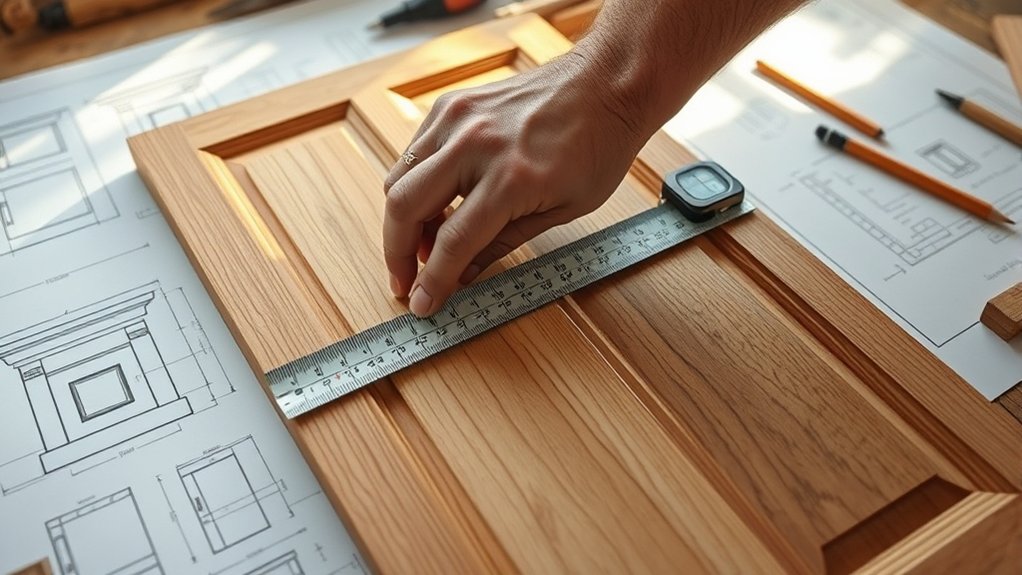
Once you’ve chosen a style and design for your cabinet doors, the next step is to measure your existing cabinets carefully. Use reliable tools like a tape measure or ruler to ensure accuracy.
Measure both the width and height of each cabinet opening at multiple points—top, middle, and bottom—to catch any irregularities. Record these measurements precisely because even small errors can affect how the doors fit.
Double-check your measurements before cutting. Think about leaving a slight gap around the edges for easier opening and include that in your measurements.
Keep your measurements organized, maybe in a notebook or digital document, so you can easily refer to them during construction. Accurate measurements are key to a professional-looking finish.
Take your time and verify each dimension multiple times. This careful planning helps ensure your cabinet doors fit perfectly and look great.
Set Up Your Workspace and Gather Your Tools
Before you start building your cabinet doors, it’s important to set up a clean, organized workspace where you can work safely and efficiently. Make sure you have a sturdy work surface, plenty of lighting, and enough space to move comfortably.
Create a clean, well-lit workspace with ample space for safe, efficient cabinet door building.
Clear the area of clutter to prevent accidents and keep your project running smoothly. Next, gather your tools, focusing on choosing the right ones for the job. You’ll need essentials like a saw, drill, clamps, measuring tape, and sandpaper.
Opt for quality tools that suit your project—they’ll help improve accuracy and keep you safe. Keep your tools within easy reach but organized so you don’t misplace anything. Using the right tools and maintaining an efficient workspace makes the whole process easier and more enjoyable.
Proper setup leads to better craftsmanship and a safer working environment. Take a few moments to prepare everything beforehand so you can focus on building your cabinet doors with confidence.
Cut and Assemble Your Cabinet Door Frames
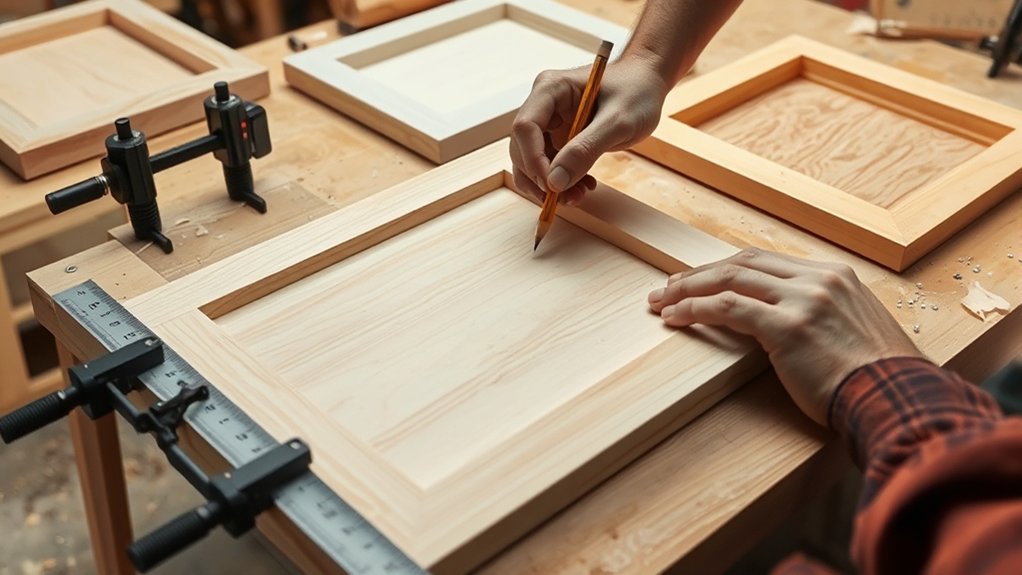
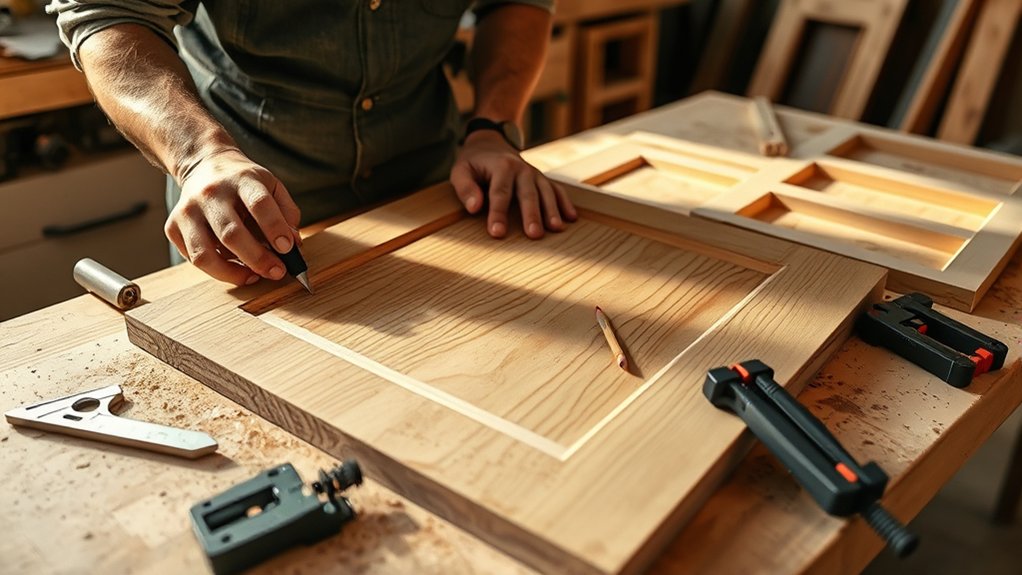
To start cutting and assembling your cabinet door frames, measure and mark the pieces carefully based on your desired size. Accurate measurements help ensure a perfect fit and smooth assembly.
Next, cut the frame pieces using a saw, making sure the edges are clean and straight. Pay close attention to your measurements for a seamless look.
Join the pieces together with wood glue and clamps to create a sturdy frame. Use corner brackets if you want extra stability.
Drill holes for the door hinges on both the frame and the door panel. Make sure they line up perfectly for smooth operation.
When assembling, keep the frame square and flush. Proper assembly is key to making the door work well and look professional.
After putting it together, double-check your measurements and make any needed adjustments. This step helps your cabinet door open smoothly and look great.
Install the Panels or Inserts Into Your Frames
After your frames are assembled and squared, it’s time to carefully fit the panels or inserts into the frames.
Make sure the panel size matches the interior dimensions of the frame for a snug fit. Place the panel or insert into the frame, aligning it evenly.
If your design has a rabbet or groove, slide the panel into those channels. This helps keep it secure. For insert fitting, consider using glue or adhesive strips along the edges for extra stability.
Just be careful not to use too much glue, as excess can create a mess. Gently press the panel into place, ensuring it sits flush with the frame edges.
Use clamps or weights if needed to hold everything steady while the adhesive dries. Proper panel installation will give your cabinet doors a professional look and ensure they stay durable over time, giving your project a polished finish.
Sand, Prime, and Paint or Stain Your Cabinet Doors
Before you finish your cabinet doors, it’s really important to get the surface ready. Proper sanding and priming are key to making sure your finish looks smooth and lasts a long time. Taking the time to prepare your surface can make all the difference in the final look.
When it comes to choosing between paint or stain, think about the style you want and the type of wood you’re working with. Paint can give you a bold, colorful look with a smooth finish, while stain highlights the natural beauty of the wood and adds warmth. So, consider what vibe you’re going for before making your decision.
And don’t forget, the right prep work—like sanding and priming—sets the stage for a professional-looking finish. It might take a little extra time, but it’s totally worth it to get that perfect, long-lasting result.
Surface Preparation Techniques
Preparing your cabinet doors properly is key to getting a smooth, long-lasting finish. Start by cleaning the surface thoroughly to remove dust and grease.
Next, follow these important steps:
- Lightly sand the surface to create a smooth base and help the primer stick better.
- Apply a quality primer to seal the surface and stop stains from bleeding through.
- Once the primer dries, lightly sand again for a flawless surface ready for paint or stain.
Focusing on sealing the surface with primer makes the finish more durable and professional. Proper sanding removes imperfections, and primer helps with adhesion and prevents peeling. Skipping these steps can cause uneven paint or stain absorption, which can ruin the look and reduce the lifespan of your cabinet doors.
Choosing Finishing Options
When it comes to finishing your cabinet doors, choosing the right method depends on the look and durability you want. You have several varnish options, like polyurethane or lacquer, which give a tough, protective coat that highlights natural wood or painted surfaces.
If you prefer a smooth, low-maintenance finish, laminate is a great choice. It’s resistant to moisture and scratches, making it perfect for everyday use. Alternatively, you can sand and prime your doors before painting for a clean, vibrant look or stain to bring out the wood grain.
Think about your style preferences and how the cabinets will be used. Varnish options work well for a glossy, professional appearance, while laminate gives a sleek, modern vibe. Pick a finishing method that matches your desired look and the cabinet’s function.
Attach Hinges and Handles for a Professional Finish
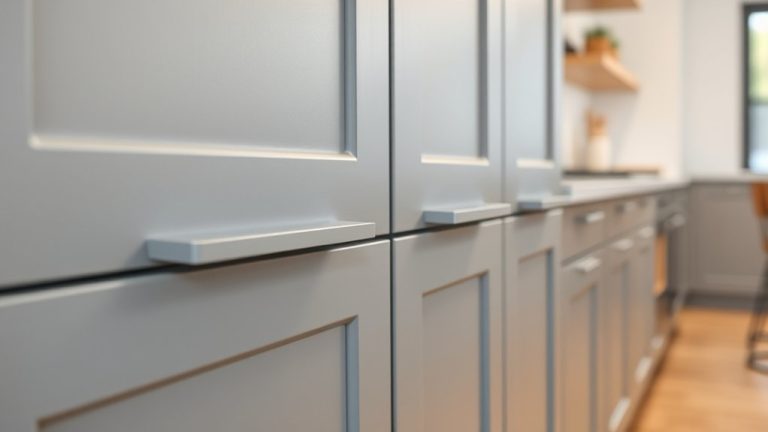
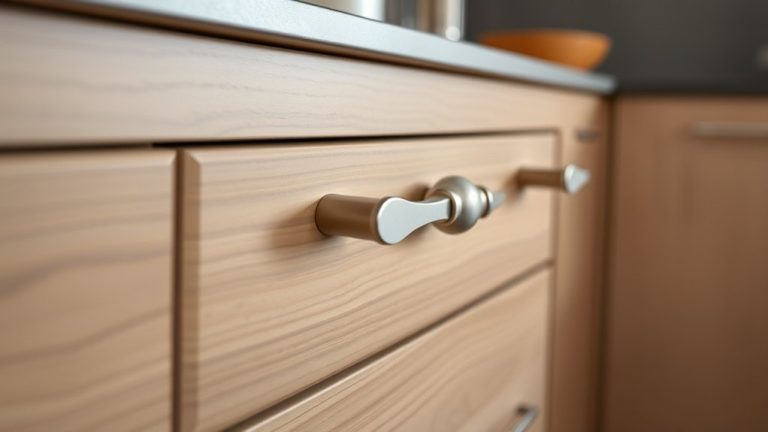
Attaching hinges and handles properly is key to giving your kitchen cabinets a polished, professional look. Start by choosing the right hinge types, like concealed or surface-mounted, based on your door style. For handles, pick styles that match your kitchen design and are easy to use.
Here’s how to do it right:
- Position hinges accurately: Mark and drill hinge holes following the manufacturer’s instructions. Make sure they’re aligned for smooth door movement.
- Install hinges securely: Attach hinges tightly to both the door and cabinet frame. Be careful not to over-tighten and damage the wood.
- Attach handles precisely: Mark handle placement at a consistent height and distance from edges. Then, drill holes and screw handles firmly in place.
Pay attention to your hinge types and handle styles. They affect both how your cabinets look and how they function, giving your kitchen a sleek, professional finish.
Maintain and Care for Your DIY Kitchen Cabinet Doors
To keep your DIY kitchen cabinet doors looking great, it’s a good idea to stick to simple cleaning routines and be cautious to avoid any damage. Just regular wiping with gentle cleaners can go a long way in keeping them fresh and shiny.
Also, make sure to check for any warping or loose hardware from time to time. That way, you can catch small issues before they turn into bigger problems. Taking good care of your cabinets will help them stay sturdy and attractive for many years to come.
Regular Cleaning Techniques
Regular cleaning is key to keeping your DIY kitchen cabinet doors looking great and working properly. To help you out, here are some important tips:
- Wipe down your doors weekly to prevent grease and grime buildup. This keeps them looking fresh and clean.
- Use a mild soap solution or a gentle all-purpose cleaner that’s suitable for your door material. It’s better for your cabinets and their finish.
- Soft cloths or sponges are your best bet—avoid rough scrubbers that might scratch the surface. They clean thoroughly without damage.
Preventing Damage and Warping
Since your kitchen cabinet doors are constantly exposed to moisture, heat, and everyday use, taking steps to prevent damage and warping is essential.
To protect the wood grain and keep their appearance, control humidity levels in your kitchen. Use a dehumidifier or vent fans to prevent moisture from fluctuating too much, which can cause wood to swell or shrink.
Avoid placing doors near heat sources like stoves or radiators, as heat speeds up warping. Regularly check your doors for signs of moisture damage and fix any issues right away.
Applying a protective finish or sealant can also help reduce the risk of warping by creating a barrier against humidity and temperature changes. Proper humidity control and careful handling are key to preserving your cabinet doors’ integrity.
Proper Maintenance Tips
Wondering how to keep your DIY kitchen cabinet doors looking their best over time? Proper maintenance is key. To preserve your cabinet’s appearance and ensure seamless appliance integration, follow these tips:
- Clean regularly with a soft cloth and mild detergent to prevent dust and grease buildup, which can harm your kitchen decor.
- Avoid harsh chemicals that can damage the finish or warp the material, especially around areas with appliances.
- Check hinges and hardware monthly, tightening or lubricating as needed to keep doors functioning smoothly.
Troubleshoot Common Installation and Finishing Issues
Even with careful planning, installation and finishing issues can still pop up during your cabinet project. One common problem is hardware compatibility; if hinges or knobs don’t fit right, your doors won’t open and close smoothly. Double-check measurements and specs before attaching hardware.
When adjusting hinges, take your time to avoid misalignment or uneven gaps. If the finish isn’t smooth or looks uneven, check your sanding process and make sure you applied stain or paint evenly. Always follow safety precautions when handling tools and chemicals to prevent injuries or mishaps.
If finishes peel or chip, it might mean the surface wasn’t prepared properly beforehand. Use a primer or sealant to help the finish stick better. For stubborn issues, go back to your initial steps and verify each component’s compatibility.
Taking these troubleshooting steps will help you fix common installation and finishing problems. This way, your kitchen cabinets will look professional and work perfectly.
Frequently Asked Questions
How Long Does It Typically Take to Complete a Set of Kitchen Cabinet Doors?
It typically takes you about 1 to 3 days to complete a set of kitchen cabinet doors, depending on your skill level and project complexity. Material selection influences the time, especially if you’re using hardwoods or custom finishes.
Design customization can add extra steps, like intricate carving or special hardware. Planning ahead and working steadily helps you finish faster, making sure your doors look professional and match your kitchen’s style.
What Are the Best Safety Precautions When Using Power Tools?
When using power tools, always wear safety gear like goggles, ear protection, and gloves to protect yourself from debris and noise.
Keep your workspace clean and well-lit to help prevent accidents. Regularly check and maintain your tools to ensure they’re in good working condition, which reduces the chance of malfunctions.
Be sure to follow all manufacturer instructions carefully. Never bypass safety features to stay safe during your DIY projects.
Can I Customize Cabinet Doors for Uneven or Non-Standard Cabinets?
Think of your cabinets as a canvas waiting for your creative touch. Yes, you can customize door shapes to fit uneven or non-standard cabinets, turning imperfections into unique features.
Use adjustable jigs and clamps to make those uneven cabinet adjustments. This will help your custom doors align perfectly and look seamless.
With patience and a steady hand, you’ll transform your space. Your cabinets will be truly one-of-a-kind, reflecting your home’s unique character.
How Do I Prevent Warping or Swelling of Wood Panels Over Time?
To prevent warping or swelling of wood panels over time, you should apply proper wood treatments like sealants or finishes that protect against moisture.
Controlling the humidity in your environment is also essential. Use a dehumidifier or keep indoor humidity levels steady to help prevent issues.
Proper ventilation and avoiding direct exposure to water or extreme temperature changes are key too. These steps help keep your cabinet doors flat and durable over the years.
What Are Cost-Effective Alternatives to Professional Hardware and Finishes?
You can save money by choosing budget-friendly hardware like simple hinges and knobs from home improvement stores. These options are easy to find and often quite affordable.
For finishes, go for options like paint, stain, or polyurethane instead of more expensive specialty finishes. They’re simple to apply and can give your cabinets a fresh new look.
Conclusion
With patience and a touch of craftsmanship, you’ll craft cabinet doors that breathe new life into your kitchen.
Think of your handiwork as a gentle breeze, softly whispering elegance and charm throughout your space.
As you step back and admire your work, remember that each detail reflects your dedication.
Your kitchen now stands as a warm, inviting haven—an inviting melody created by your own hands.
It’s a space that welcomes family and friends to gather and enjoy its beauty, all thanks to your DIY efforts in building kitchen cabinet doors.