7 Simple Steps to Do Kitchen Cabinet Doors Like a Pro
Many homeowners dream of giving their kitchen a fresh, updated look but feel overwhelmed by the idea of tackling cabinet doors on their own. You’re not alone—many people struggle with achieving a professional finish without the right guidance.
Luckily, with a little patience and some simple steps, you can do kitchen cabinet doors like a pro and transform your space.
To do kitchen cabinet doors like a pro, start by removing hardware and carefully detaching doors, supporting each step with caution. Then, thoroughly clean and lightly sand the surfaces for smoothness and better paint adherence.
Choose a finish that matches your style, like paint or stain, and apply evenly with proper drying time. Reattach doors, update hardware, and add finishing touches like trim or lighting to complete your transformation.
Keep going to uncover more tips for a flawless result.
Key Takeaways
- Carefully remove cabinet doors and hardware, making sure to support the doors as you detach them to avoid any damage.
- Clean the surfaces and lightly sand them to create a smooth base and help the primer stick better.
- Apply primer first, then evenly paint or finish the doors, giving each coat plenty of time to dry before adding the next.
- Reattach the hinges and hardware with precision, making sure everything lines up properly and is securely fastened.
- Finish up by adding touches like trim, sealing the edges, and installing lighting to give your cabinets a polished, professional look.
Is Refinishing Your Kitchen Cabinet Doors the Right Choice?
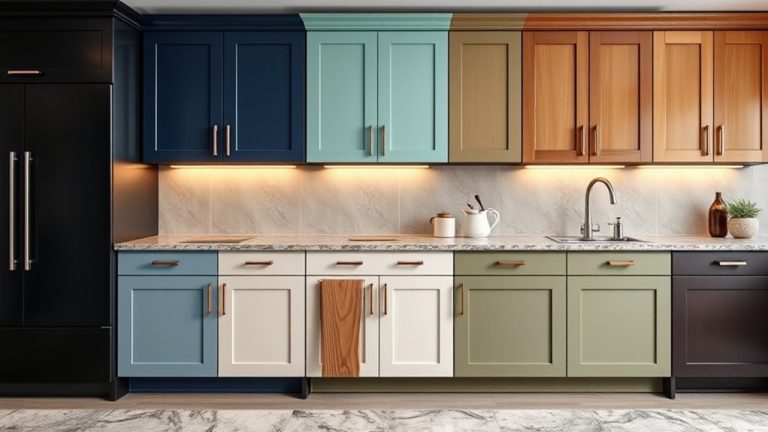
Deciding whether to refinish your kitchen cabinet doors depends on their current condition and what you want to achieve. If your cabinets are sturdy but look outdated or worn, refinishing can give your kitchen a fresh new look.
Refinishing is ideal if your cabinets are sturdy but look outdated or worn.
Think about whether you’re happy with your current layout or if you want to make changes. Refinishing can work well with a new layout or just update your existing one.
Check your cabinet hardware too. If it’s outdated or damaged, replacing it might be necessary before you refinish. Refinishing is a cost-effective way to update your kitchen without replacing whole cabinets.
But if your doors are warped, chipped, or heavily damaged, replacing them might be a better choice. Consider your skill level and how much time you can dedicate to the project.
Refinishing can transform your kitchen’s appearance without breaking the bank, but it does need proper prep and patience for a professional look.
How to Prepare Your Cabinets for Painting or Refinishing
Before you start painting or refinishing your cabinets, thorough preparation is key to getting a smooth, professional-looking finish. Begin by removing cabinet hardware, like handles and hinges, and set them aside for cleaning or replacement. This makes it easier to work on the surfaces and ensures an even coat.
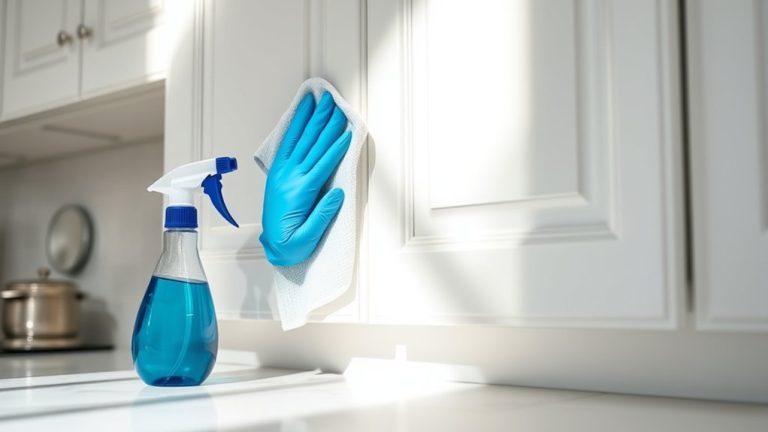
Next, empty your cabinets to free up space and protect your belongings. Take a moment to organize everything so you won’t get confused later. Then, clean all surfaces with a degreaser or warm soapy water to remove grease, dust, and grime.
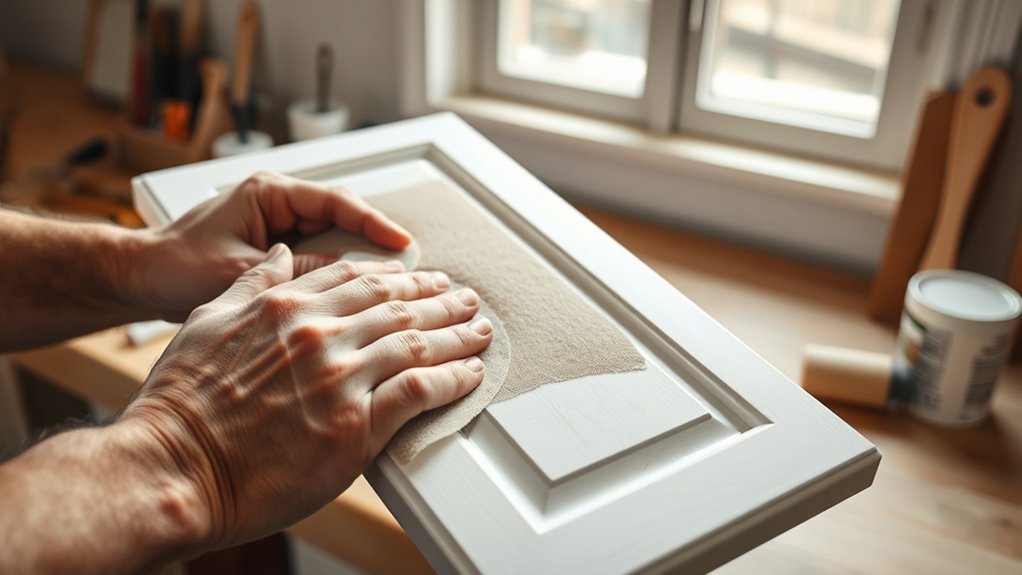
Lightly sand the cabinet doors to create a rough surface for the primer to stick to. After sanding, wipe away any dust with a damp cloth. Proper preparation helps the paint or finish bond well, giving you a sleek, durable look.
Pay attention to these details now, and you’ll be glad when your cabinets look professionally refinished.
Choosing the Best Finish for Kitchen Cabinet Doors
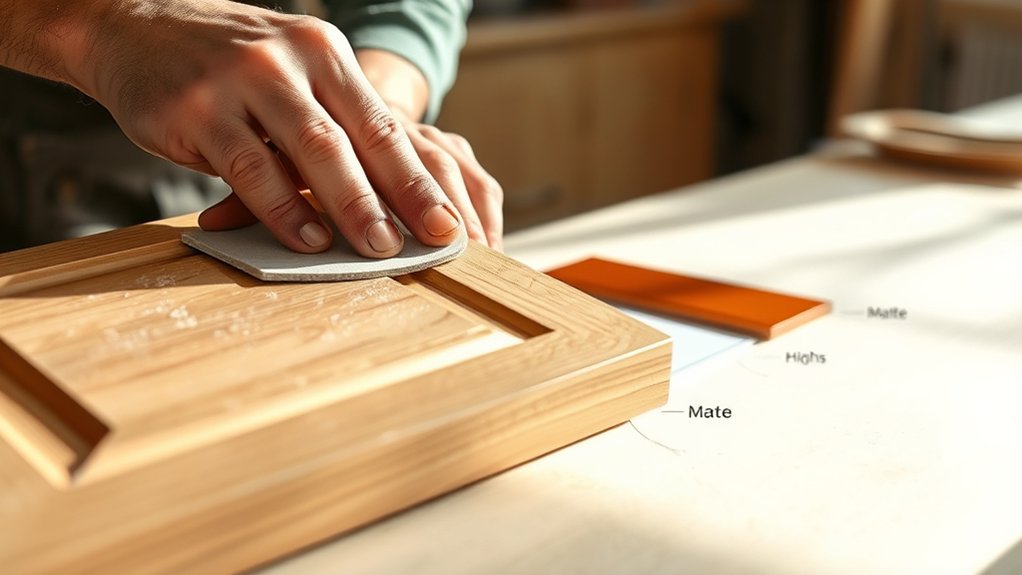
Are you unsure which finish will give your kitchen cabinets the look and durability you want? The right finish depends on your style and how much wear your cabinets will face.
If you prefer a natural wood look, consider clear polyurethane or a water-based finish that *amplifies* the grain. For a sleek, modern appearance, high-gloss paint or lacquer creates a smooth, polished surface.
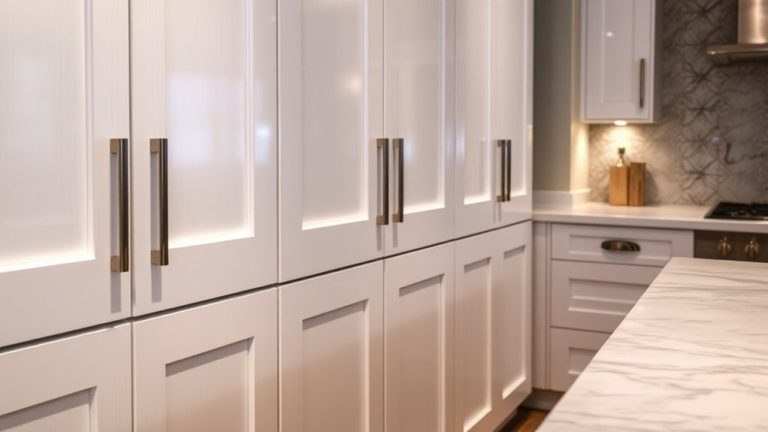
If you want to add warmth and texture, a stained or glazed finish might be your best choice. Keep in mind, the finish you choose works hand-in-hand with decorative hardware, so select knobs and pulls that complement your style.
*Furthermore*, cabinet lighting can highlight your finish’s beauty and make your space more inviting. Test samples on small areas before committing to a full coat to see how the finish holds up under your lighting and daily use.
This way, you’ll achieve a professional look with lasting appeal.
Removing and Detaching Kitchen Cabinet Doors Safely
Removing and detaching kitchen cabinet doors safely is key to avoiding damage and making sure your project goes smoothly. Start by supporting the door with one hand to prevent unnecessary strain.
Support the door securely to prevent damage during removal.
Next, follow these steps:
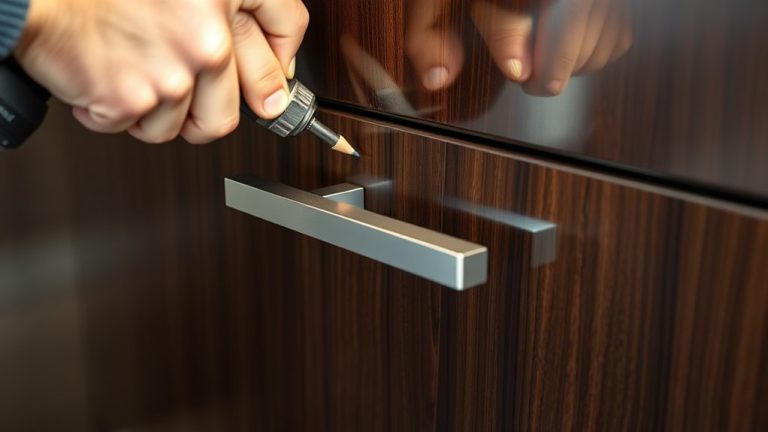
- Hinge removal: Use a screwdriver to carefully unscrew the hinges from either the door or the cabinet frame, depending on your setup. Keep track of the hinges and screws so you can reassemble everything later.
- Screw extraction: If any screws are stubborn, gently apply pressure with a screwdriver or pry tool. Avoid forcing them, as this could strip the screw head or damage the wood.
- Detach the door: Once all screws are out, carefully lift the door away from the cabinet. Support its weight as you do this to prevent it from falling or causing injury.
Sanding and Cleaning for a Smooth Finish
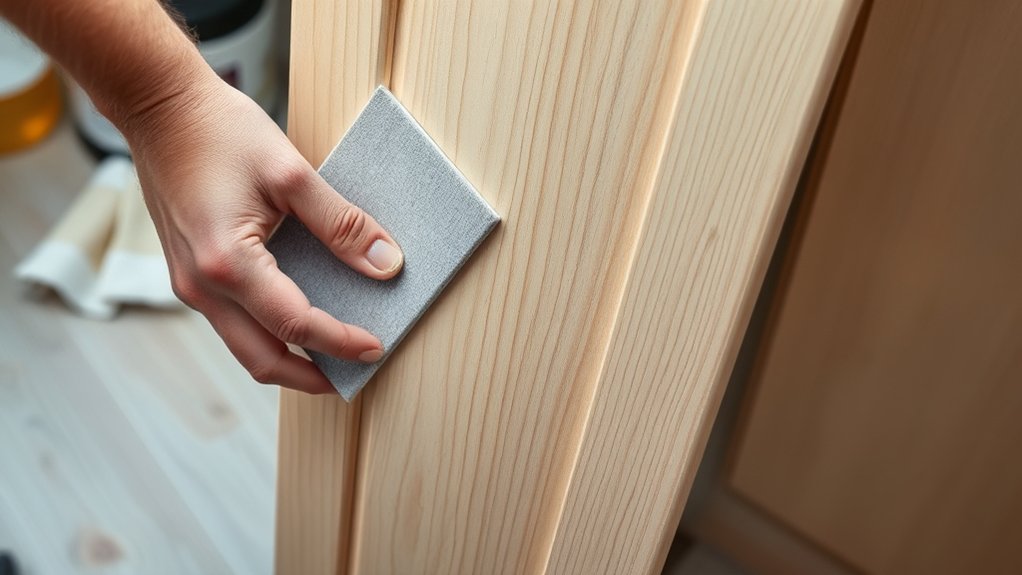
Once you’ve removed the cabinet doors, the next step is to prepare their surfaces for a flawless finish. Start by removing any remaining hardware, like handles or knobs. Use a gentle cleaner to wipe down each door and remove dust, grease, or grime that could affect paint adhesion.
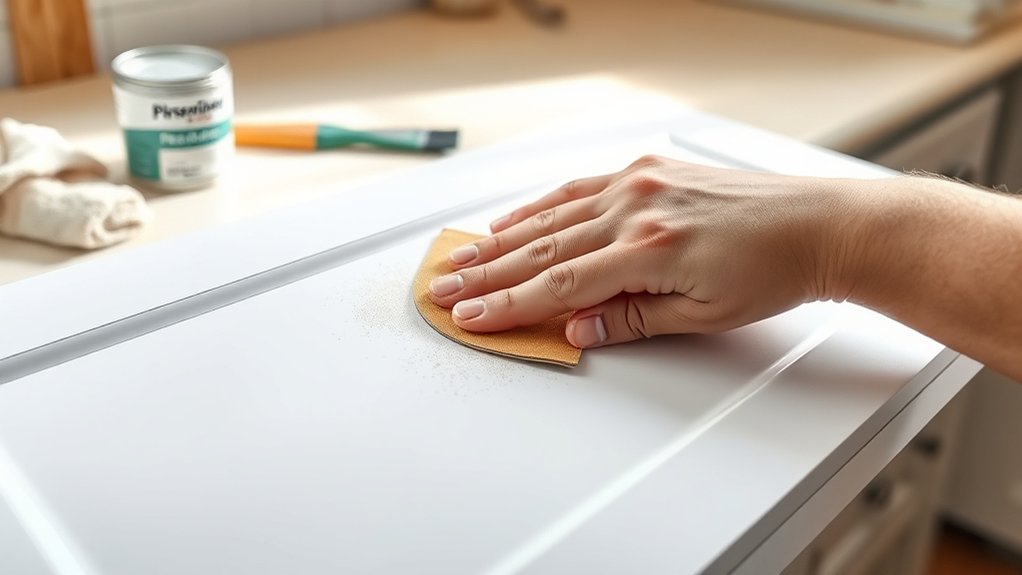
Lightly sand the surfaces with fine-grit sandpaper to smooth out imperfections and create a better grip for the paint or stain. Be sure to sand evenly, especially around edges, and avoid over-sanding, which can change the paint thickness or damage the wood.
After sanding, wipe the doors again with a tack cloth to remove any dust or debris. Proper cleaning and sanding help ensure a smooth, even surface, which is key for a professional-looking finish.
Keep in mind that the condition of the hardware can influence the final look. Clean or replace hardware before painting for the best results.
Applying Paint or Stain for a Professional Look
Applying paint or stain can really give your space that polished, professional feel. The trick is to pick the right finish and make sure your surfaces are well-prepped before you start. You want a stain or paint that not only looks great but also holds up over time, especially in a busy kitchen.
Before you get started, make sure your surfaces are squeaky clean, smooth, and free of any dust or debris. Taking that extra step will make all the difference in how your finish turns out and how long it lasts. With a little care and attention, you’ll end up with a beautiful, professional-looking result.
Choosing the Right Finish
Have you thought about how the right finish can transform your kitchen cabinets from basic to professional-looking? Choosing between paint or stain depends on your style and the room’s lighting.
To get that polished look, follow these steps:
First, pick a finish that complements your cabinet hardware—matte for modern pieces or gloss for vintage pulls.
Next, go for a stain if you want to highlight the wood grain, especially in kitchens with good natural light that makes textures pop.
Finally, use high-quality topcoats to ensure durability and a smooth, professional finish.
Preparing Surfaces Properly
Before applying paint or stain, you need to prepare the surfaces thoroughly to achieve a smooth, professional finish. Start by cleaning the cabinets with gentle cleaning agents to remove grease, dirt, and grime that can hinder adhesion. Proper cleaning improves surface durability, ensuring your finish lasts longer.
Once clean, lightly sand the surfaces to create a smooth base and boost paint or stain adherence. Wipe away dust with a damp cloth and let everything dry completely. If you notice any imperfections, fill them with a suitable filler and sand again.
Proper surface preparation removes contaminants and rough spots, giving you a clean, even surface that results in a more polished, durable finish. Taking these steps sets the foundation for a flawless cabinet makeover.
Reattaching Doors and Finishing Touches for a Polished Kitchen
Once you’ve aligned and secured your cabinet doors, it’s time to reattach the hinges and handles carefully to guarantee everything works smoothly. Pay close attention to hardware updates—consider swapping out old handles for modern ones to give your kitchen a fresh look. When reattaching, make sure hinges are aligned properly so the doors open and close easily. Then, install handles or knobs securely, but avoid overtightening to prevent damage.
Reattach hinges and handles carefully, ensuring proper alignment and avoiding overtightening for smooth, professional-looking cabinet doors.
To finish your polished kitchen, focus on these key steps:
- Check Alignment: Test each door to ensure it swings freely and lines up perfectly.
- Upgrade Hardware: Use this opportunity to update knobs or handles for a cohesive style.
- Enhance Visibility: Add cabinet lighting to highlight your updates and improve functionality.
These finishing touches heighten your project, making your cabinets look professional and your kitchen more inviting.
Frequently Asked Questions
How Long Does It Typically Take to Complete This Project?
It usually takes about 2 to 4 days to complete your cabinet door project, depending on your experience and the scope of the project. You’ll spend time removing hardware, prepping surfaces, and applying paint.
Choosing the right paint and cabinet hardware upfront can really speed things up. If you take your time with proper paint selection and give it plenty of drying time, the process will go more smoothly.
This helps ensure you get professional-looking results in less time.
What Tools and Supplies Are Essential for DIY Cabinet Door Refinishing?
Think of your project as a painter’s palette—your tools and supplies are essential brushes. You’ll need a screwdriver for cabinet hardware, a sanding block or sander for your sanding technique, and good-quality paint or stain.
Don’t forget primer, painter’s tape, and a clean cloth. These essentials help you achieve a smooth finish and transform your cabinets with confidence and precision. It’s like a pro wielding their artistic tools.
Can I Change the Color or Finish of My Cabinets Without Stripping Them?
Yes, you can change the color or finish of your cabinets without stripping them by using cabinet paint and good finishing techniques.
Start by cleaning and lightly sanding the surface to ensure the paint sticks well. Then, apply a primer that’s suitable for your cabinets.
Finish with quality cabinet paint, using brushes or rollers for smooth coverage. Multiple coats and a clear sealant will help give your cabinets a fresh, professional look.
What Common Mistakes Should I Avoid During the Process?
You can’t afford to make rookie mistakes when updating your cabinets! Avoid rushing painting techniques, which can lead to drips and uneven finishes. Make sure you remove or cover hardware properly before painting, then reattach carefully.
Don’t neglect proper surface preparation or skip sanding, as this weakens adhesion. Take your time with each step, and double-check your work to prevent costly errors that could ruin your beautiful transformation.
How Durable Is the Finish After Refinishing Compared to New Cabinets?
The finish on your refinished cabinet doors can be quite durable, often comparable to new cabinets if you choose the right materials. Your cabinet material plays a big role in how long the finish lasts—harder woods tend to hold up better.
Proper preparation, quality paint or sealant, and a good topcoat help ensure the finish can handle daily wear and tear. With careful application, your refinished doors can look great and last for years.
Conclusion
Refinishing your kitchen cabinet doors is a rewarding project that can transform your space without breaking the bank. With these seven simple steps, you’ll achieve a professional look in no time—no need for a wizard or wizardry, just patience and the right tools.
Remember, even in the age of smartphones, a little elbow grease and attention to detail go a long way. Soon enough, your kitchen will look as stunning as a royal banquet hall.
By following these tips, you’ll master the art of refinishing kitchen cabinet doors like a pro. It’s easier than you might think, and the results are totally worth it.