10 Easy Steps for a Pro Clean Kitchen Sink
Many people struggle with keeping their kitchen sinks spotless and shiny, especially with busy schedules. You’re not alone—maintaining a clean, professional-looking sink can feel like a never-ending task. But don’t worry, with a few simple steps, you can make your sink look brand new every day.
Start by clearing all accessories and rinsing the sink with warm water. Choose gentle, appropriate cleaners for your sink’s material, like baking soda or vinegar, and use soft cloths for scrubbing.
Tackle tough stains with baking soda paste or vinegar soak, then rinse thoroughly.
Polish the surface with a microfiber cloth, and maintain shine by wiping down regularly. Avoid harsh chemicals to protect finishes. Keep going to learn how to keep your sink looking professional every day.
Key Takeaways
- Clear all accessories and rinse the sink with warm water to loosen debris before cleaning.
- Use gentle, appropriate cleaners based on your sink’s material to avoid damage.
- Apply baking soda or vinegar for stubborn stains and mineral deposits, then rinse thoroughly.
- Polish and buff the sink with a soft cloth to restore shine and remove water spots.
- Wipe dry after each use and perform regular maintenance to prevent buildup and keep the sink looking professional.
How to Prepare Your Kitchen Sink for Deep Cleaning
Before you start deep cleaning, clear out the sink so you can reach every surface. Take out all sink accessories like soap dishes, dish racks, or sponges. These items can trap dirt and grime, so removing them makes cleaning much easier.
Next, rinse the sink with warm water to loosen debris and residue. Use warm, not hot, water to avoid damaging finishes or causing splashes. Keep the water flow gentle to rinse away loose dirt.
Rinse with warm, gentle water to loosen debris without damaging finishes or causing splashes.
If your sink has a drain stopper or disposal, remove or turn it off to access the whole basin. Clearing everything out ensures you won’t miss any corners and lets you see the true condition of your sink.
This prep step creates a clean slate, making your deep cleaning smoother and more thorough.
Choose the Best Cleaning Supplies and Tools for Your Sink Material
To get the best results, you want to choose cleaning supplies that match your sink’s material. Using the wrong chemicals or tools can actually cause damage or leave streaks behind. So, it’s really important to pick products that are gentle and suitable for your sink.
Stick to mild, appropriate cleaners to keep your sink looking spotless without risking any harm. This way, you’ll maintain its shine and functionality for a long time.
Match Supplies With Material
Choosing the right cleaning supplies depends on your sink’s material, since using the wrong products can cause damage or dull the finish. To ensure effectiveness and avoid harm, pick cleaning supplies that match your sink’s surface.
For example, a stainless steel sink benefits from gentle, non-abrasive cleaners, while a porcelain sink needs mild detergents. Use the table below to match supplies with common materials:
| Material | Recommended Cleaning Supplies | Avoid |
|---|---|---|
| Stainless Steel | Mild soap, vinegar, non-abrasive scrub | Steel wool, bleach |
| Porcelain | Gentle detergent, baking soda | Acidic cleaners, abrasive pads |
| Granite | pH-neutral cleaner, soft cloth | Acidic or abrasive cleaners |
| Composite | Mild soap, soft sponge | Harsh chemicals |
| Copper | Mild soap, specialized copper cleaner | Acidic cleaners, abrasive pads |
Matching supplies with your sink’s material helps keep it safe and looking professional.
Avoid Harsh Chemicals
Using harsh chemicals can damage your sink’s surface and diminish its appearance, so it’s best to avoid them whenever you can. Instead, go for eco-friendly options that clean well without causing harm.
Many commercial cleaners contain strong chemicals that can corrode metal or scratch delicate surfaces like porcelain or acrylic. Try natural solutions like baking soda, vinegar, or lemon juice instead.
These eco-friendly options are gentle but still powerful enough to tackle grime and stains. Always check labels and choose products specifically meant for your sink’s material.
By steering clear of harsh chemicals, you’ll protect your sink’s finish and help it last longer. Plus, natural cleaners are safer for your family and better for the environment.
This way, you get a clean, beautiful sink without any harmful residues.
Remove Dirt and Residue Effectively
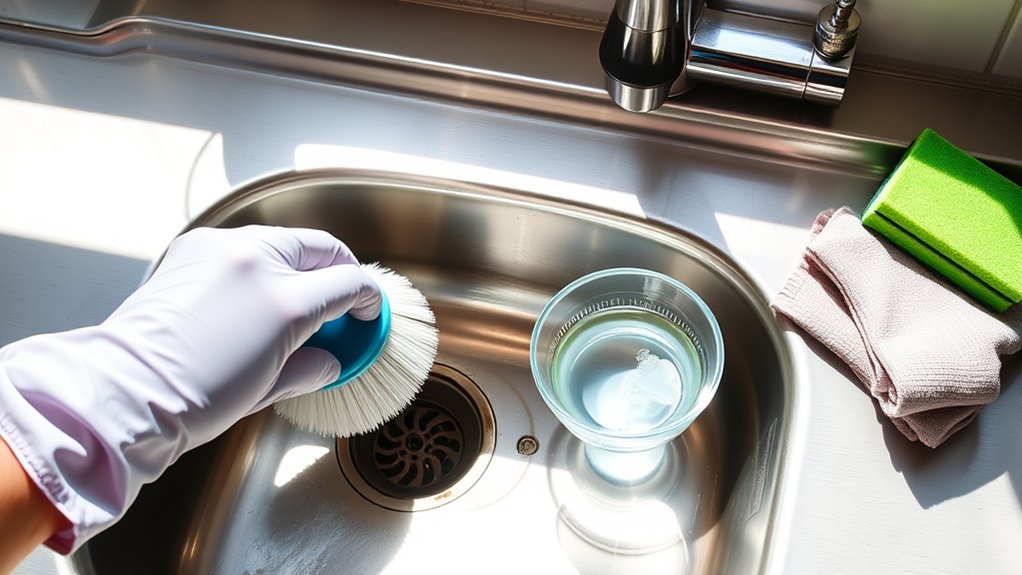
Want to get rid of dirt and residue easily? First, pick a cleaner that’s suitable for your sink’s material. Once you’ve got that, give the surfaces a good scrub to loosen up all the grime. Don’t forget to rinse everything well afterward—that way, it’ll be nice and spotless. Following these steps will make sure your sink is not only clean but also germ-free.
Use the Right Cleaner
The right cleaner makes all the difference when it comes to removing dirt and residue effectively. Choosing the correct product depends on your sink material and how often you clean.
Using a gentle, non-abrasive cleaner regularly helps prevent stains and buildup. Here are four options to consider:
- Mild dish soap and warm water for daily maintenance and stain prevention.
- Baking soda paste for tackling stubborn grime without scratching surfaces.
- Vinegar solution to dissolve mineral deposits and disinfect.
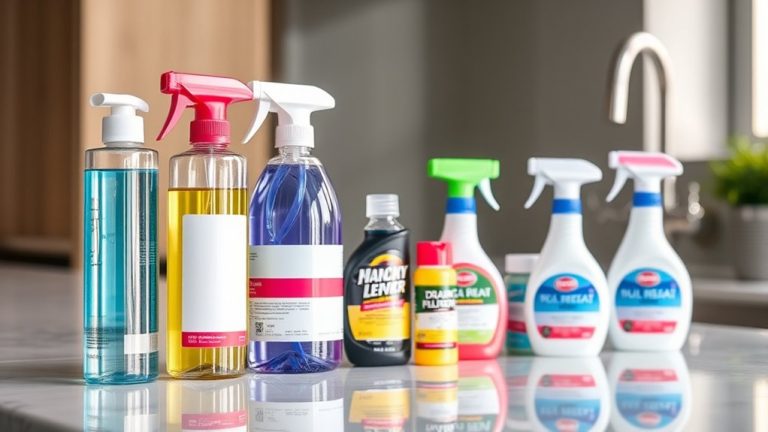
- Commercial kitchen cleaner for deep cleaning when dirt accumulates.
Pick cleaners suited to your sink’s material and avoid harsh chemicals that can damage surfaces. Consistent use of the right cleaners ensures your sink stays spotless and stains stay at bay, making cleaning easier over time.
Scrub and Rinse Thoroughly
Have you ever wondered how some sinks look spotless even after everyday use? The secret is thorough scrubbing and rinsing. Use effective cleaning tools like soft scrub brushes or microfiber cloths to tackle dirt and residue.
For eco-friendly methods, mix baking soda with a splash of vinegar to create a natural scrub that lifts grime without harsh chemicals. Scrub in circular motions, paying attention to corners and crevices.
Once you’ve loosened the debris, rinse the sink thoroughly with warm water to wash away loosened dirt and cleaning residue. This step ensures no residue is left behind, leaving your sink sparkling and fresh.
These simple, eco-conscious approaches guarantee a deep clean that keeps your kitchen sink looking like new.
Tackle Tough Stains and Mineral Buildup
Struggling with stubborn stains and mineral deposits? Don’t worry—tackling these issues is easier than you think. First, identify the spots where stains or buildup are most noticeable. Then, follow these simple steps:
Dealing with stubborn stains? Use baking soda paste and vinegar for easy, effective cleaning.
- Apply a paste of baking soda and water directly to the stains and deposits.
- Let it sit for 15-20 minutes to loosen the grime.
- Gently scrub with a soft brush or cloth, focusing on problem areas.
- Rinse thoroughly with hot water to remove any residue.
For tougher stains, you can soak the area in vinegar or use a commercial descaler. These help remove stubborn stains and prevent mineral buildup. Regular cleaning keeps your sink from developing severe buildup over time.
Polish Your Sink to a Professional Shine
Want that sink to look like it’s been polished by a pro? The trick is using the right cleaning agents that won’t harm the finish. When you choose your products, go for those specifically designed for metal or the material of your sink. It makes a big difference!
Then, focus on metal polishing techniques to really bring out its shine and smoothness. A gentle buff with a soft cloth can make your sink look brand new. And don’t forget—regular maintenance is key! It helps keep your sink looking pristine and stops buildup from creeping in over time.
Use Proper Cleaning Agents
Choosing the right cleaning agents is essential for achieving a professional shine on your kitchen sink. You want products that cut through grime without risking chemical safety or harming the environment. Consider these options:
- A gentle, eco-friendly liquid soap that lifts grease without harsh chemicals.
- Baking soda, a natural abrasive that polishes surfaces and neutralizes odors.
- White vinegar, which disinfects and adds shine without synthetic fragrances.
- Mild, biodegradable cleaners designed specifically for kitchen sinks that balance effectiveness with eco-friendliness.
Always read labels to ensure the products are safe and eco-conscious. Using proper cleaning agents not only preserves your sink’s finish but also keeps your home safe and eco-friendly.
Focus on Metal Polishing
Achieving a professional shine on your kitchen sink’s metal surface is all about proper polishing techniques. Start by choosing the right product for your sink’s finish—whether it’s stainless steel, chrome, or brass—each needs a specific approach.
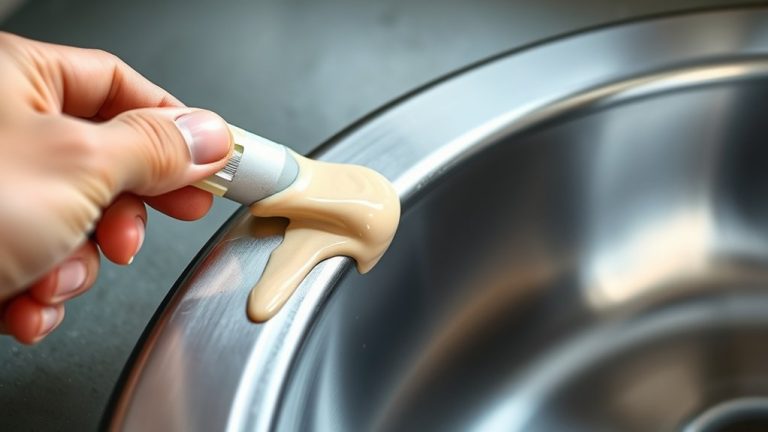
Use a soft cloth or microfiber towel to apply a small amount of metal polish. Work in circular motions to lift stains and smooth out scratches. Focus on areas prone to water spots and fingerprints.
For the best results, follow the manufacturer’s instructions and avoid abrasive materials that could scratch delicate finishes. Regular polishing helps keep the shine and prevents tarnishing.
Maintain Regular Shine
Wondering how to keep your sink looking shiny and professional every day? Regularly maintaining its shine is key.
Start by using a soft cloth or dedicated kitchen accessories to buff the surface, removing water spots and fingerprints. Next, apply a gentle polish or stainless steel cleaner to boost the gleam.
Keep an eye out for plumbing issues. Address leaks or clogs early to prevent stains and dullness. For an extra touch, use a microfiber cloth to give a final wipe-down, restoring that polished look.
Here’s what to do:
- Buff with a soft cloth or kitchen accessories
- Apply stainless steel polish or cleaner
- Check plumbing for leaks or blockages
- Wipe with microfiber cloth for shine
This routine keeps your sink bright and looking professional every day.
How to Deodorize Your Sink for a Fresh Look and Feel
A fresh-smelling sink can instantly make your kitchen feel cleaner and more inviting. To deodorize effectively, start by pouring baking soda down the drain, then follow with vinegar. Let it fizz for a few minutes, then flush with hot water. For a long-lasting aroma, use an air freshener or scent masking product near your sink.
Here’s a quick guide to deodorizing your sink:
| Step | Action | Tips |
|---|---|---|
| 1. Baking soda & vinegar | Pour baking soda, then vinegar into the drain and let it fizz | Use this regularly to keep odors at bay |
| 2. Hot water | Flush the drain with hot water after the fizzing | Clears out residue and lingering smells |
| 3. Air freshener | Spray around the sink area | Pick natural scents for a fresher feel |
| 4. Lemon slices | Place slices in the drain or on the surface | Acts as a natural deodorizer |
| 5. Keep dry | Wipe down the sink after each use | Helps prevent mold and odors |
Regularly refreshing your sink with these simple steps keeps odors away and makes your kitchen feel clean and inviting.
Tips for Maintaining Your Sink’s Shine Long-Term
Maintaining your sink’s shine over the long term takes consistent care and smart habits. To keep it looking great, try eco-friendly methods and DIY natural remedies.
First, regularly wipe your sink with a mixture of baking soda and water to gently scrub away stains and deposits. It’s simple and effective.
Second, rinse with vinegar once a week. It’s a natural disinfectant and helps restore shine without harsh chemicals.
Third, skip harsh cleaners and opt for lemon juice or olive oil instead. They add a natural polish and extra luster.
Fourth, dry your sink after each use with a soft cloth. This prevents water spots and mineral buildup over time.
These easy habits not only keep your sink looking new but also promote eco-friendly maintenance. By following these tips, you’ll enjoy a sparkling, long-lasting shine that’s good for the environment too.
Common Cleaning Mistakes to Avoid
Even when you’re excited to keep your sink spotless, some common mistakes can get in your way. Many people believe you always need harsh chemicals or abrasive scrubbers, but that’s not true and can actually damage your sink’s surface.
Avoid harsh chemicals and abrasives to keep your sink’s surface safe and shiny.
Using the wrong cleaners can strip away protective coatings or cause discoloration. It’s also easy to forget to rinse thoroughly, leaving behind residue that attracts grime or causes buildup.
Some assume that using more cleaning products makes the sink cleaner, but overdoing it can lead to soap scum and clutter. Scrubbing with harsh tools can scratch or damage your sink’s finish, making it harder to keep shiny.
Avoid these pitfalls by choosing gentle, suitable cleaners and tools. Rinse well and steer clear of outdated myths to keep your sink looking its best. Recognizing these common errors helps you maintain a spotless, durable, and attractive kitchen sink.
Quick Weekly Tips to Keep Your Sink Looking Great
To keep your sink looking pristine, doing quick weekly maintenance can really make a difference. Small regular efforts help prevent buildup and keep your plumbing in good shape. Here are four simple tips:
- Clear out clutter — Keep your sink area organized by removing dishes and debris, making it easier to clean.
- Wipe down surfaces — Use a damp cloth to wipe the sink and faucet. This helps prevent soap scum and residue from building up.
- Inspect plumbing connections — Check for leaks or drips and tighten fittings if needed. This can help you avoid costly repairs later.
- Flush with hot water and vinegar — Pour boiling water followed by vinegar down the drain. It helps break down grease and mineral deposits, keeping your plumbing flowing smoothly.
When Should You Call a Professional for Deep Restoration?
Recognizing when to call a professional for deep sink restoration is essential to prevent further damage and costly repairs. If you notice persistent leaks, foul odors, or slow drainage despite regular cleaning, it’s time to seek expert help.
Know when to call a pro to prevent costly sink damage and repairs.
Emergency repairs like sudden pipe bursts or severe clogs require immediate attention to avoid water damage. Structural damage, such as cracks or corrosion in the sink or surrounding cabinetry, also signals the need for professional intervention.
Attempting DIY fixes on these issues can make the problem worse or lead to more extensive repairs. If your efforts haven’t resolved recurring problems or you see signs of significant deterioration, don’t delay calling a specialist.
A professional can assess the situation thoroughly, address underlying issues, and restore your sink’s integrity. Acting promptly saves you money and keeps your kitchen safe, functional, and free from long-term damage.
Frequently Asked Questions
How Often Should I Deep Clean My Kitchen Sink?
You should deep clean your kitchen sink at least once a month to keep it hygienic and fresh. Regularly clean sink accessories like soap dispensers and dish racks, and remove any build-up around them.
This routine helps prevent bacteria and grime from building up. If you notice stains or odors, consider cleaning more often.
Deep cleaning keeps your kitchen clean and safe, making your sink look spotless and work properly.
Can Natural Remedies Effectively Clean and Disinfect My Sink?
Natural remedies can effectively clean and disinfect your sink, even if you doubt their power. Baking soda and vinegar work together to break down grime and eliminate odors, while lemon’s natural acids disinfect and brighten.
Though some worry about their cleaning effectiveness, these remedies are proven to be safe, affordable, and eco-friendly options. With regular use, they keep your sink hygienic and sparkling without harsh chemicals.
This makes them a smart choice for your kitchen.
What Are Signs My Sink Needs Professional Restoration?
If your sink shows persistent leaks, foul odors, slow drainage, or cracks, it’s time for professional restoration. These signs often point to underlying plumbing issues or sink damage that simple cleaning can’t fix.
You might need sink repair to address leaks or cracks, and plumbing repairs for ongoing drainage problems. Ignoring these signs can lead to bigger damage, so don’t hesitate to call in experts.
Getting professional help ensures your sink functions properly and safely. It’s better to address issues early rather than let small problems turn into costly repairs later.
Are Certain Cleaning Tools Better for Specific Sink Materials?
Yes, certain cleaning tools are better for specific sink materials. You should use a cleaning brush with soft bristles for stainless steel to avoid scratches. A sponge with gentle, non-abrasive material works well for porcelain.
For granite or quartz sinks, opt for a microfiber cloth or sponge that won’t damage the surface. Choosing the right tools helps keep your sink looking great and lasts longer.
How Do I Prevent Future Stains and Buildup?
To prevent future stains and buildup, regularly clean your sink with a mild cleaner and rinse thoroughly. Use a soft sponge to avoid scratches.
Wiping the sink dry after each use helps prevent stains, especially if you notice mineral deposits or food residue. It’s a simple habit that makes a big difference.
To control buildup, steer clear of harsh chemicals and scrub gently. Incorporate these habits into your routine to keep your sink looking spotless and extend its lifespan.
Conclusion
By following these 10 simple steps, you’ll turn your kitchen sink into a sparkling masterpiece that could outshine even the most glamorous jewelry! Regular maintenance is key to keeping it looking fresh and inviting.
Avoid common mistakes to ensure your sink stays pristine. A little effort goes a long way in maintaining that breathtaking shine—enough to make even the most seasoned chefs jealous.
Stick to these tips for a kitchen sink that’s truly a sight to behold. With a little care, your sink will stay clean, shiny, and ready to impress every time.