7 Simple Steps to Replace Your Undermount Kitchen Sink
Many homeowners find replacing their undermount kitchen sink to be a daunting task. You’re not alone—this project can feel overwhelming, especially if you’re worried about making mistakes or damaging your countertop.
To replace your undermount kitchen sink, start by checking compatibility and gathering tools. Turn off the water, disconnect plumbing, and carefully remove the old sink after cutting through sealants and removing clips.
Prepare the workspace for the new installation, position the new sink, and apply silicone sealant around the edges. Secure it properly, reconnect the plumbing, and test for leaks.
Maintaining your sink guarantees lasting performance—continue for detailed tips to get it just right.
Key Takeaways
- Turn off the water supply, disconnect the plumbing, and carefully remove the old sink.
- Prepare your workspace, gather your tools, and check for any damage before you start removing the sink.
- Cut through the sealant and loosen the clips to detach the existing sink without harming the countertop.
- Position the new sink, apply silicone sealant, and secure it with mounting brackets.
- Reconnect the plumbing, check for leaks, and clean the area to keep everything in good shape.
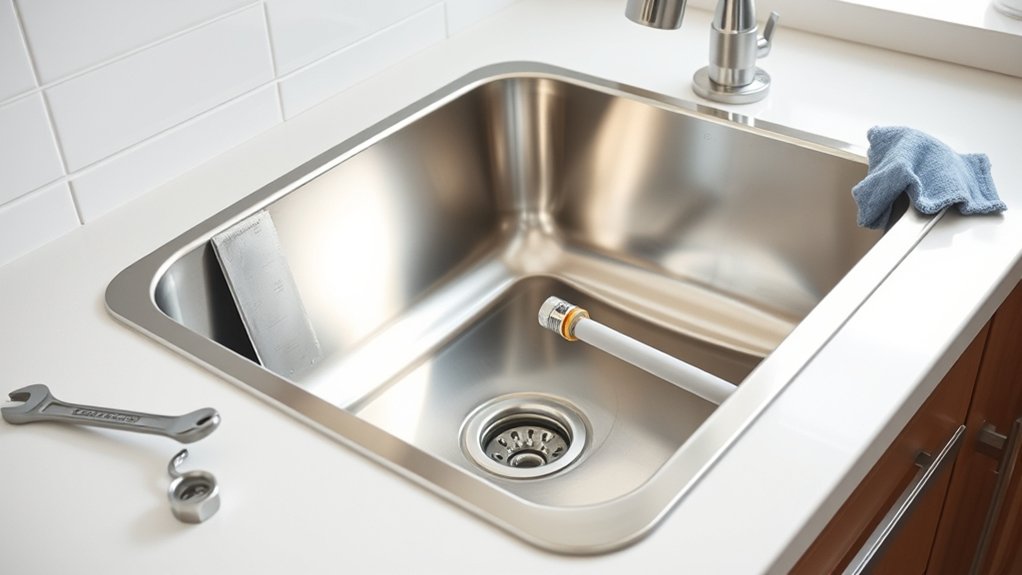
Assess and Prepare for Replacing Your Undermount Sink
Before you start replacing your undermount sink, it’s important to assess the situation and gather the right tools and materials. Begin by checking out your current sink’s material—whether it’s stainless steel, granite, or composite—as this will influence the replacement process.
Next, verify if your countertop can support the new sink and if it’s compatible in size. Measure the existing cutout carefully to match the new sink’s dimensions, which helps prevent fitting issues later.
Gather essential tools like a screwdriver, utility knife, putty knife, and silicone sealant. Also, inspect for any damage or leaks that could affect the installation.
Understanding your countertop material is key; for example, granite needs different sealing and support compared to laminate. Proper assessment and preparation will save you time and help avoid surprises during installation.
This way, your new undermount sink will fit seamlessly and work perfectly.
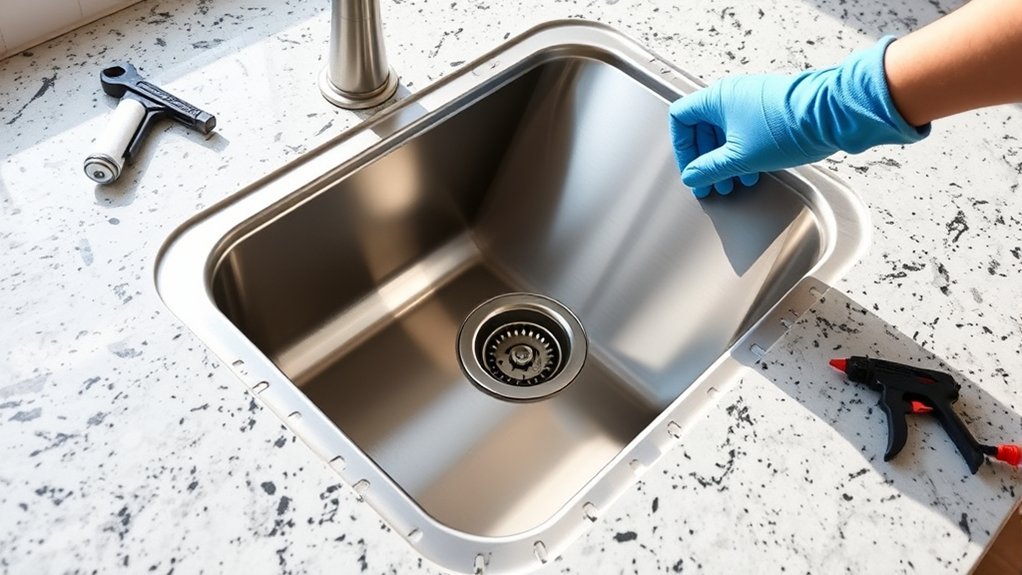
Remove the Old Sink Step-by-Step
Removing your old undermount sink requires careful attention to detail. Start by inspecting the sink’s materials and the surrounding countertop to see how it was installed.
For custom setups, you might need to carefully cut or loosen sealants and adhesives, especially if the sink was glued or sealed tightly. Use a utility knife to cut through any caulk or silicone around the edges.
If your sink has clips or brackets, loosen or remove them with a screwdriver. Be gentle to avoid damaging the countertop, especially if it’s delicate or made of natural stone.
Support the sink as you lift it out to prevent cracks or chips. Remember, the process varies depending on the sink’s material—metal, composite, or stone—so adjust your approach accordingly.
Once the sink is free, clear away any remaining debris and prepare the area for the new installation.
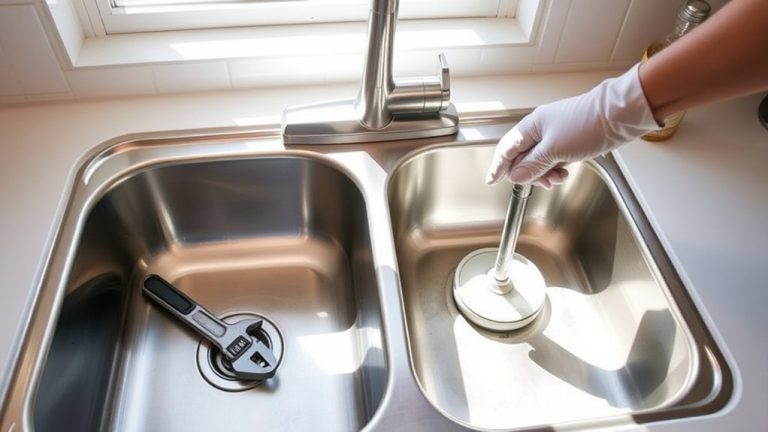
Disconnect Plumbing and Clear Your Workspace
First things first, turn off the water supply so you don’t have any leaks sneaking in while you work. After that, gently detach the drain connections—be careful so nothing gets damaged or spills everywhere.
Once the plumbing is all disconnected, take a moment to clear off your countertop. You want plenty of space to work comfortably and stay safe during the sink removal. Keeping things tidy and organized makes the whole process way easier!
Turn Off Water Supply
Have you turned off the water supply yet? Before you proceed, make sure no water is flowing during the sink removal. Locate your shut-off valves under the sink or at the main water supply.
Turn the valves clockwise to close them, which will reduce the water pressure in the lines. Keep in mind, pipe material can affect how easily you shut off the water; some pipes might need a wrench.
Use a towel or bucket below the valves to catch any drips. Once you’ve done that, check to confirm that the water flow has stopped.
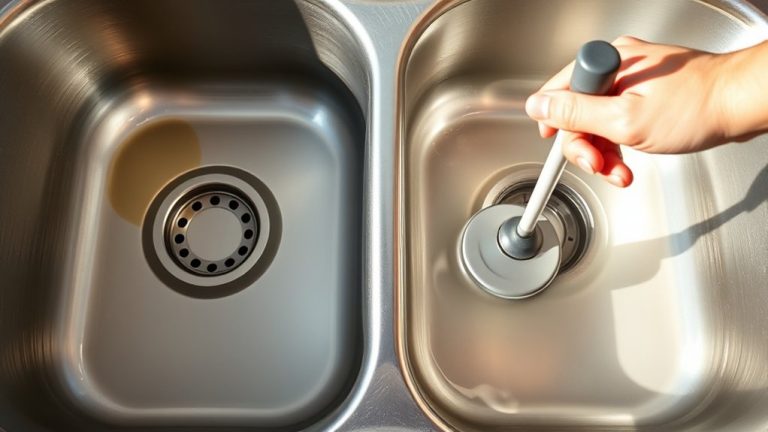
Detach Drain Connections
With the water supply turned off, it’s time to disconnect the drain connections. Start by loosening the slip nuts on the drain assembly beneath the sink with pliers.
Carefully detach the drain assembly from the sink, making sure to catch any residual water in a bucket. As you disconnect, check the gasket for signs of damage or wear—this is a good chance to replace it if needed.
Keep the drain parts organized so you can reuse or replace them easily. Once the drain assembly is free, thoroughly clean the area, removing any old putty or debris.
Clearing these connections now will make installing the new sink smoother and help prevent leaks later.
Clear Countertop Area
Why is it important to clear your countertop area before removing your sink? Clearing the space prevents accidents and makes the job safer and easier. Remove decorative accessories that clutter the surface, giving you plenty of room to work.
Clear away items made from different countertop materials to avoid damage or scratches during the removal process. This step also helps you access all plumbing connections and mounting hardware more easily.
By freeing up the workspace, you reduce the risk of knocking over items or causing damage to nearby surfaces. A tidy, clutter-free area ensures you can focus on disconnecting plumbing and lifting the sink without unnecessary obstacles.
Taking time to clear your countertop now makes the entire replacement process smoother and less stressful.
Install Your New Undermount Kitchen Sink
Before you start installing your new undermount kitchen sink, take a moment to gather all your workspace and tools. Getting everything organized beforehand makes the whole process much smoother.
Next, carefully remove the old sink. Just be gentle so you don’t accidentally damage the countertop. Once that’s out of the way, you can position your new sink in place. Make sure it fits well, and then secure it properly. Don’t forget to apply sealant around the edges—that helps prevent any leaks down the line.
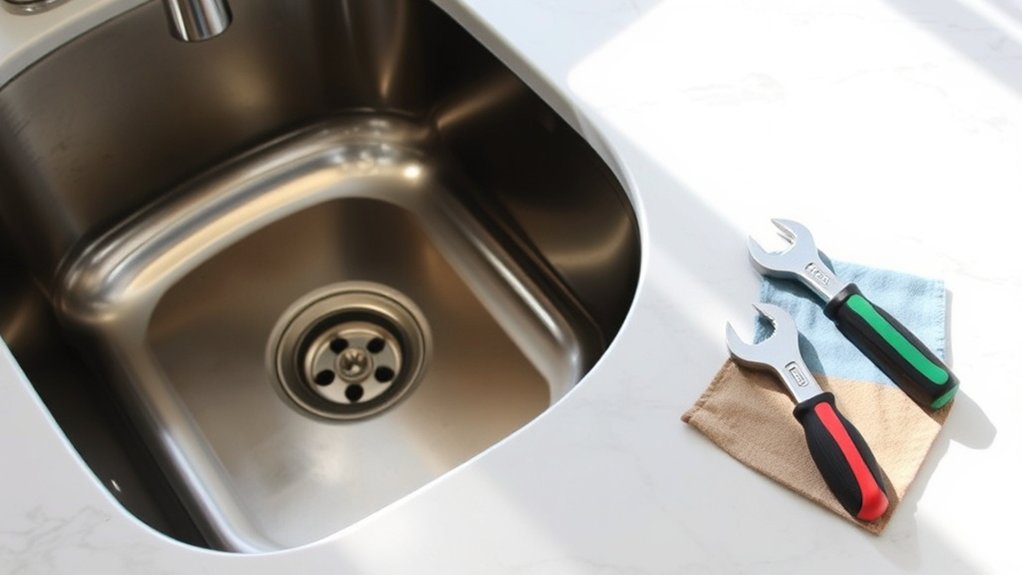
Prepare Workspace and Tools
Gather all the necessary tools and materials you’ll need for the installation, making sure everything is within reach before you start. A well-prepared workspace helps streamline the process and prevents unnecessary interruptions. Keep your area clean and organized for efficient work, and consider cleaning tips to maintain a tidy environment.
Here’s a quick overview of essential tools:
| Tool | Purpose | Notes |
|---|---|---|
| Adjustable Wrench | Tightening fittings | Use for plumbing |
| Silicone Sealant | Sealing the sink | Prevent leaks |
| Putty Knife | Removing old sealant | Clean surfaces |
Remove Old Sink Carefully
Removing your old undermount sink requires careful attention to avoid damage and leaks. Start by gathering the materials you’ll need, like a utility knife, screwdriver, pliers, and a bucket.
Carefully disconnect the plumbing and remove any sealant or caulk around the sink’s edges. Be cautious of common mistakes, like rushing or using too much force, which can crack the countertop.
Use a utility knife to cut through the sealant smoothly, and gently loosen the sink clips or brackets. Keep your workspace clean and drain any remaining water.
Take your time to avoid damaging the countertop or plumbing connections. Remember, patience and the right tools make the removal safer and more efficient, setting you up for a successful sink replacement.
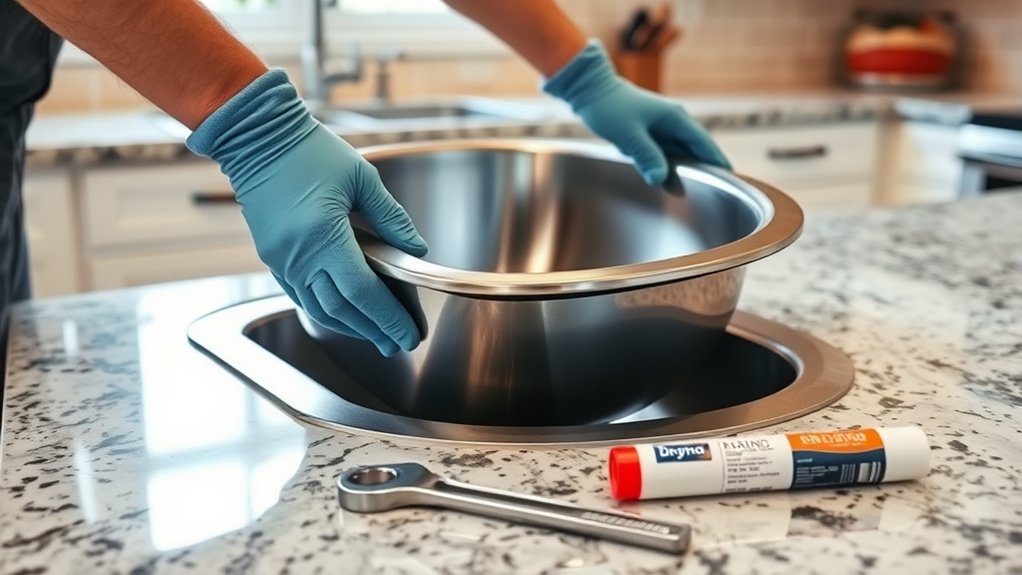
Secure and Seal New Sink
How do you guarantee your new undermount sink stays securely in place and doesn’t leak? Focus on proper sealing techniques and sink stabilization.
First, apply a high-quality silicone sealant around the perimeter of the sink’s edge to create a waterproof barrier. Confirm the sink is properly aligned with the countertop before pressing it into position.
Once set, secure the sink using clamps or brackets to prevent movement during curing. Check that the sealant is evenly distributed and wipe away excess for a clean finish.
Proper sink stabilization prevents shifting over time, and sealing techniques eliminate leaks. Take your time to ensure all connections are tight and the sealant fully cures before using your sink.
This guarantees durability and a leak-free installation.
Seal and Secure the Sink Properly
To keep your undermount sink secure and leak-free, start by applying a high-quality, waterproof silicone sealant around the edge where the sink meets the countertop. This helps ensure a good seal and stops water from seeping underneath.
Next, double-check that your mounting hardware is tightly secured. This creates a solid foundation for the sink and prevents it from moving around.
Proper sealing and securing now will save you from headaches later, like leaks or sink wobbling.
Keep these tips in mind:
- Use even, continuous beads of silicone for a watertight seal
- Make sure mounting brackets are snug and properly aligned
- Remove excess sealant promptly for a clean finish
- Let the sealant cure fully before using the sink
Reconnect Plumbing and Check for Leaks
Once you’ve securely reconnected the plumbing, it’s important to carefully check for any leaks before finishing the installation. Turn on the water supply slowly and watch all connection points, including the drain and supply lines.
After reconnecting, carefully check for leaks before completing the installation.
Look for drips, moisture, or water pooling, which indicate leaks that need fixing. Adjust fittings if needed, making sure they’re tight but not overtightened to avoid damage. While testing, pay attention to water pressure; it should be steady and consistent.
If you notice reduced water flow, check for clogs or incorrect fittings. Also, verify that your faucet connects properly and works smoothly. Run both hot and cold water to ensure everything operates correctly.
If leaks or issues persist, turn off the water supply and double-check all connections. Properly reconnecting the plumbing now will prevent future problems and help your undermount sink function efficiently.
Maintain Your New Undermount Sink for Longevity
Regular maintenance is key to keeping your undermount sink functional and looking great for years. Focus on proper cleaning techniques and understanding your material’s needs to extend its lifespan.
Use gentle, non-abrasive cleaners to prevent scratches, especially if you have softer materials like granite or composite. Wipe down surfaces daily to avoid water spots and mineral buildup.
Check the seal around the sink regularly to catch leaks early. For a deeper clean, soak a cloth in warm, soapy water and wipe thoroughly.
Remember, your sink’s material affects how you should care for it—stainless steel needs different maintenance than porcelain or granite. Keep the sealant area dry and inspect for cracks periodically.
Dry your sink after use to prevent water stains and corrosion. Proper care ensures your sink stays beautiful and functional for years to come.
Frequently Asked Questions
What Tools Are Essential for Undermount Sink Replacement?
You’ll need essential tools like a screwdriver, putty knife, and a wrench to replace your undermount sink. Tool safety is vital, so wear gloves and eye protection.
Check your sink materials to confirm compatibility with your tools. A utility knife helps remove caulk, while a saw may be necessary for cutting through countertop materials.
Having the right tools ready makes the process smoother and safer, guaranteeing a secure, professional-looking installation.
How Do I Measure for the Right Size Sink?
To measure for the right size sink, start by checking your current sink’s dimensions—length, width, and depth.
Make sure the new sink fits within the countertop cutout, keeping in mind the sink’s depth for clearance.
Use the mounting brackets as a guide to confirm compatibility, and measure the space carefully.
This helps prevent overhang or gaps, ensuring a perfect fit.
Accurate measurements are key to choosing a sink that fits well and secures properly with the mounting brackets.
Can I Replace My Sink Without Professional Help?
Yes, you can replace your sink without professional help if you’re ready to tackle some DIY plumbing and installation.
Just make sure to gather the right tools, follow detailed instructions, and stay patient throughout the process.
With careful measurements, precise cuts, and a bit of elbow grease, you’ll be surprised how much you can accomplish on your own.
What Types of Sealants Are Best for Undermount Sinks?
For kitchen sink installation, the best sealant types are silicone and polyurethane. Silicone sealants are flexible, water-resistant, and perfect for creating a durable, waterproof barrier around your undermount sink.
Polyurethane offers strong adhesion and is great for sealing gaps. Avoid using regular caulk, as it might not hold up against moisture over time.
Choose a high-quality, food-safe sealant for a reliable, long-lasting seal that keeps your sink leak-free.
How Long Does the Entire Replacement Process Typically Take?
The entire replacement process usually takes about 2 to 4 hours, depending on your kitchen’s design and plumbing setup. You’ll spend time removing the old sink, sealing the new one properly, and reconnecting plumbing for smooth maintenance.
During this, you can also consider how the new sink fits into your kitchen design. Rushing can lead to leaks or damage, so take your time to ensure a perfect fit and a secure seal.
Conclusion
So, after all that effort, you’re finally enjoying your brand-new undermount sink—who knew it could be so satisfying? Ironically, the very steps that seem intimidating now become second nature, turning a challenging project into a straightforward task.
Just remember, with proper maintenance, you’ll keep this sleek upgrade looking flawless. Nothing says “success” quite like a sink that’s both functional and a little bit impressive.
Happy sinking!