Step-by-Step Guide to Install Kitchen Cabinet Hardware
Many homeowners find installing kitchen cabinet hardware to be a frustrating task. You’re not alone—getting everything aligned and secured just right can feel overwhelming. But with a little guidance, you’ll be able to do it confidently and with great results.
Start by choosing hardware that matches your style and cabinet design. Measure carefully, marking each drill spot with a level or tape to guarantee symmetry.
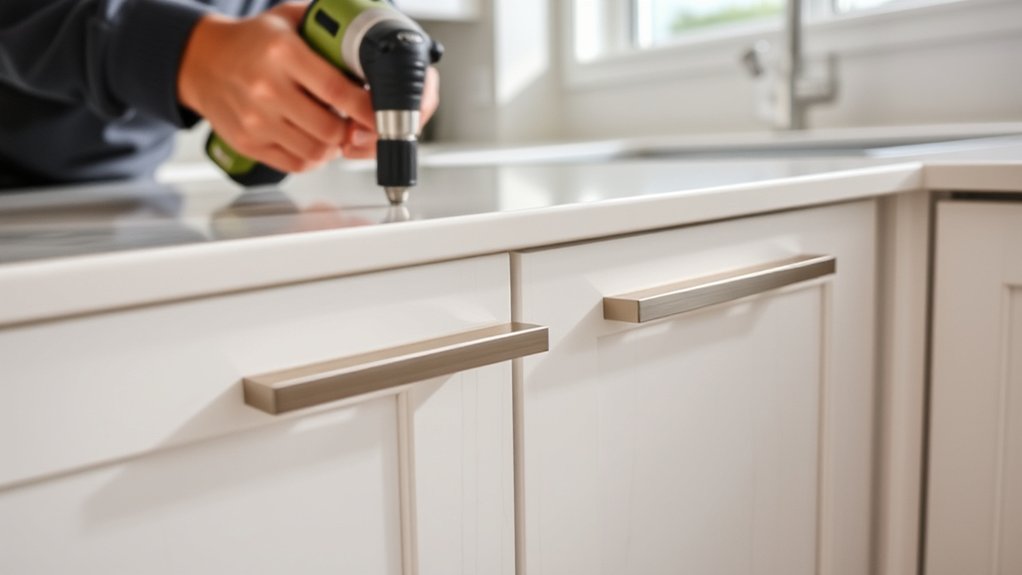
Drill slowly with safety goggles and match the drill bit to the screws. Attach handles or knobs securely, tightening screws just enough to feel firm. Check alignment and adjust if needed.
For more detailed steps on each part of the process, keep going to get expert tips and tricks.
Key Takeaways
- Measure and mark where you want the hardware, making sure everything is symmetrical and spaced evenly.
- Use painter’s tape and a level to accurately mark the drill points on your cabinets.
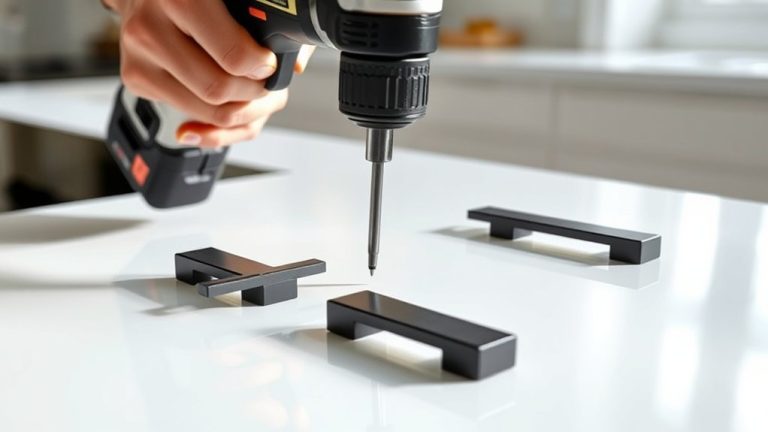
- Carefully drill the holes with the right-sized bit, keeping the drill perpendicular to the surface and working safely.
- Attach the handles or knobs securely, tightening the screws but not too much to avoid damage.
- Check that everything lines up, feels stable, and looks good. Then, clean and polish the hardware for a finished, polished look.
How to Choose the Best Hardware Style for Your Kitchen Cabinets
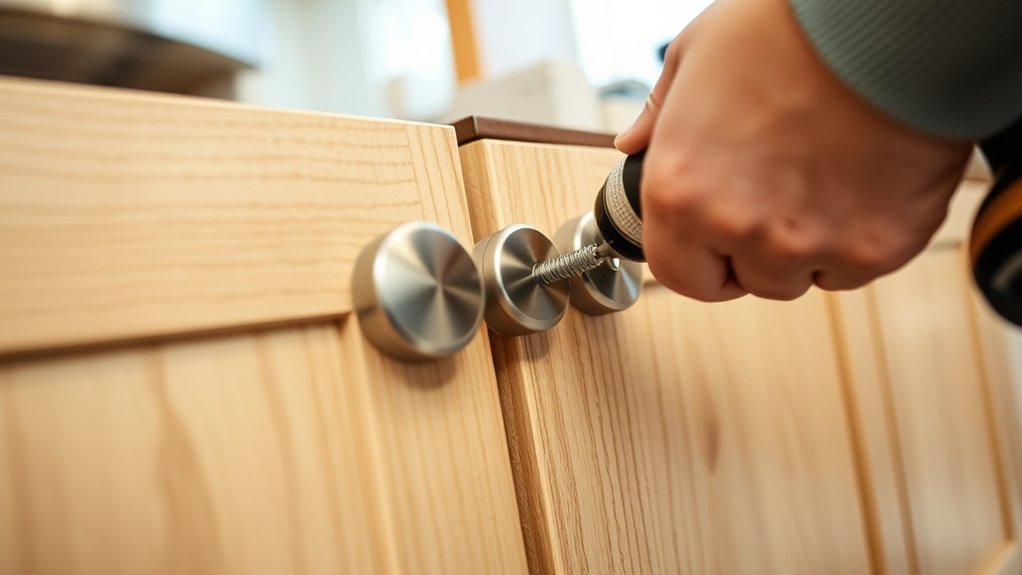
Choosing the right hardware style is key because it sets the tone for your entire kitchen. Your choice affects how your cabinets look, so pick a style that matches your overall design.
Selecting the perfect hardware style defines your kitchen’s overall look and feel.
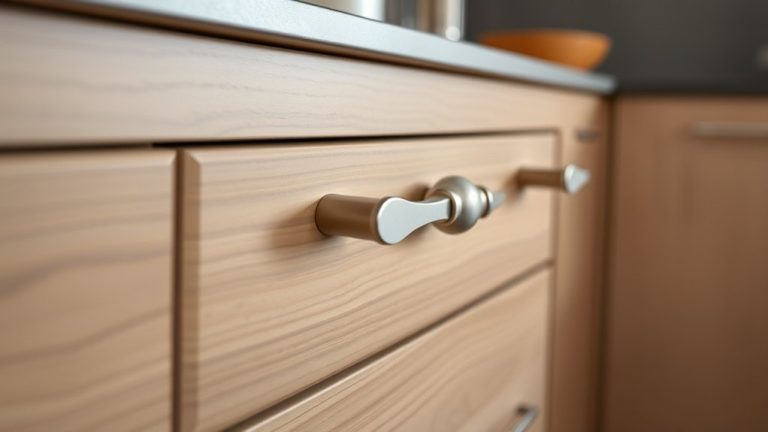
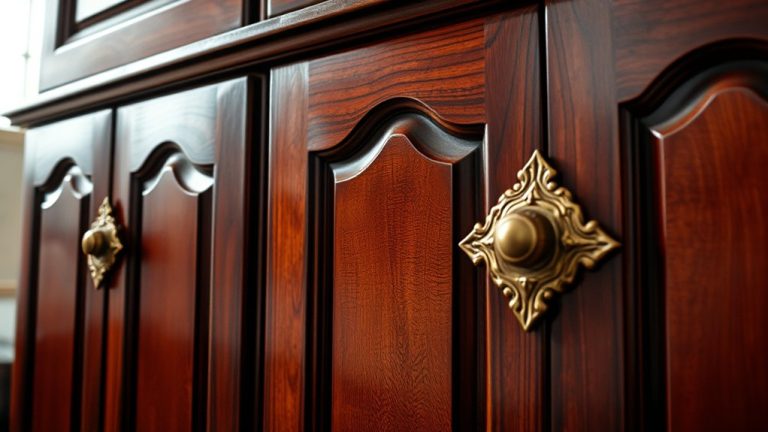
For a modern vibe, go with sleek, minimalist hardware in stainless steel or matte black. If you want a traditional feel, consider ornate handles or vintage knobs in brass or bronze.
Think about the hardware materials—durability, feel, and finish all matter. Metals like brass, stainless steel, or nickel are popular for their longevity and style.
Wood or glass pulls can add warmth or a touch of elegance, but consider how much maintenance they require.
Match your hardware style to your cabinet design—flat panels suit simple, modern hardware, while raised panels often look better with decorative pulls.
Ultimately, choose a hardware style that matches your vision, enhances your cabinets, and feels comfortable for everyday use.
Measure Your Cabinets Accurately Before Installing Hardware
Before you start installing your new hardware, it’s important to measure your cabinets accurately. Proper measurements ensure your hardware fits well and looks balanced.
First, identify the type of cabinet material, as different materials may need different measurement techniques. For example, wood cabinets are straightforward, but metal or laminate surfaces might require special tools.
Measure the distance between the existing or planned mounting holes to find the right placement for your hardware. Check that the handles or knobs will align properly with your measurements.
Use a tape measure or ruler for precise readings and mark the spots clearly. Keep in mind that different hardware styles may need different spacing, so double-check the manufacturer’s specifications.
Accurate measurements prevent misaligned hardware and help you achieve a professional look once everything is installed.
Mark the Drill Holes Precisely for a Perfect Fit
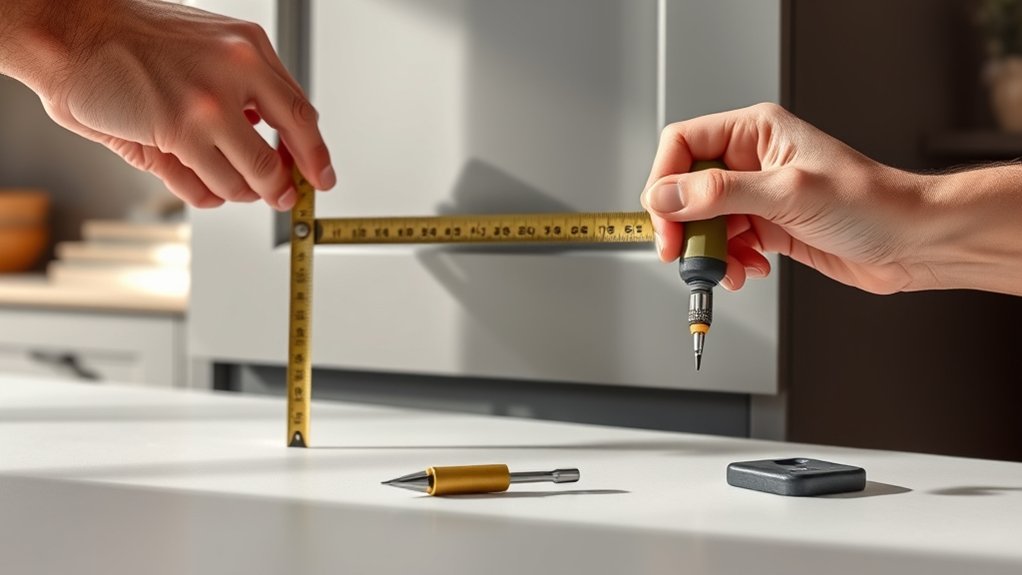
Once you’ve figured out where to place your hardware, the next step is to mark the drill holes accurately. Precise marking ensures your decorative accents line up perfectly, making your cabinets look polished.
Accurately mark drill holes for a polished, professional cabinet look.
Use a pencil or masking tape to mark the spots, matching the hardware’s mounting points. Think about how your hardware’s style and color blend with your cabinet finish—this small detail can really boost your kitchen’s look.
Double-check your measurements and make sure your marks are level to avoid mistakes. If your hardware has multiple pieces, mark each hole carefully to keep everything symmetrical. This step is key for a professional, neat appearance and to prevent misaligned holes that can affect the fit or look.
Taking your time here will make the installation smoother and give you results that show your attention to detail and good design sense.
How to Drill Holes Safely for Kitchen Cabinet Hardware
How can you guarantee your drilling process is safe and accurate? First, gather the right tools—a drill, a level, and a tape measure.
Mark the exact spots for your decorative accents and hardware finishes, confirming symmetry and consistency. Use painter’s tape over the marked areas to prevent the drill bit from slipping.
Select a drill bit size that matches your hardware screws for a snug fit. Keep the drill steady and perpendicular to the cabinet surface, applying even pressure.
Drill slowly to avoid splintering or damaging the wood. Always wear safety goggles to protect your eyes.
Double-check your measurements before drilling to prevent mistakes. Take your time—rushing can lead to crooked holes or damage.
Properly drilled holes will improve your cabinet’s look and ensure the hardware fits securely, giving your kitchen a polished appearance.
Step-by-Step: Installing Handles and Knobs
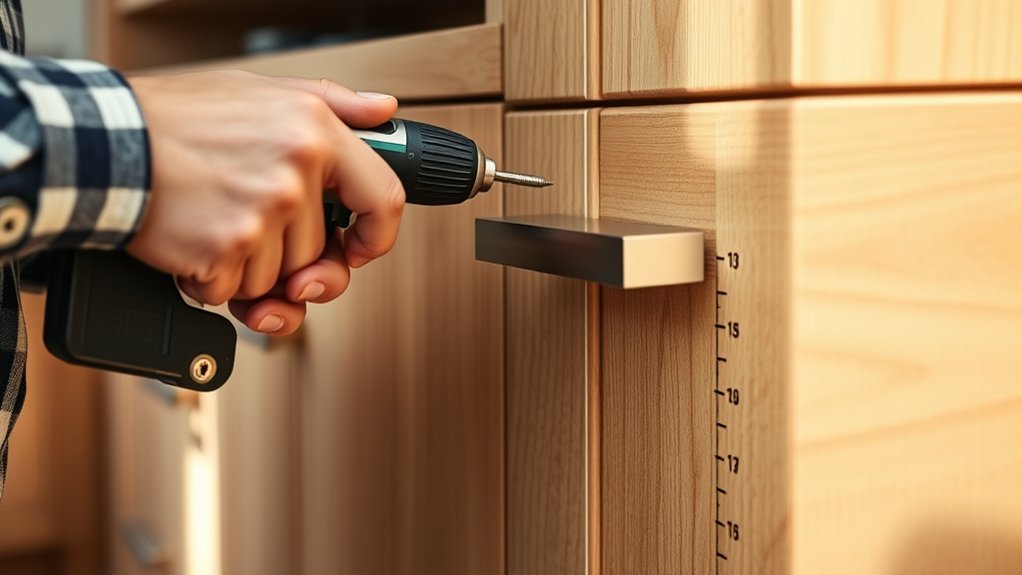
Thinking about installing handles and knobs? First things first, you want to make sure you mark the drill points accurately. This way, everything lines up perfectly and looks neat. It’s a small step, but it makes a big difference!
Once you’ve got your marks, carefully attach the hardware. Take your time to ensure each piece is straight and secure. Tighten everything just enough so it doesn’t wiggle, but be careful not to over-tighten and damage the hardware or the cabinet. When you’re done, your handles and knobs will sit perfectly and give your cabinets a sleek, professional finish!
Marking Drill Points
Before you start drilling, it’s essential to accurately mark the points where you’ll install your handles and knobs. The cabinet material can influence your marking method; softer woods may require gentle pressure, while harder surfaces need precise, firm markings.
Measure carefully to ensure uniform placement across all cabinets for a clean look. Use a pencil or masking tape to mark the spots, especially on glossy or delicate hardware finishes, to prevent slipping or scratches.
Consider the height and spacing that best suits your needs, and double-check measurements before proceeding. Properly marking your drill points guarantees your handles and knobs are aligned perfectly, giving your cabinets a professional, polished appearance.
Taking this step carefully saves time and avoids mistakes during installation.
Attaching Handles Properly
Once you’ve marked your drill points, attaching handles and knobs becomes simple. Start by aligning the handle or knob with your marks, making sure it sits level for a clean look. Use the right drill bit to make neat holes if needed.
When attaching, think about handle ergonomics. Ensure the handle’s placement allows for easy gripping and pulling. If your handles have decorative finishes, handle them gently to avoid scratches or smudges.
Tighten the screws securely but avoid overtightening, which can damage the finish or warp the hardware. Double-check that each handle is aligned correctly and feels comfortable to grip.
Properly attaching handles not only makes your cabinet look better but also ensures they last longer and work well.
Secure Your Hardware Properly to Prevent Loosening
To keep your hardware secure, it’s best to start with the right tools—using the proper screwdriver or wrench makes all the difference. When tightening screws and bolts, go for a firm grip but avoid overdoing it. Over-tightening can actually cause damage or make things more likely to loosen later on.
Once everything is tightened up, give it a good check. Make sure everything feels stable and snug. Doing this helps prevent parts from coming loose down the line, saving you time and hassle later!
Use Proper Tools
Have you chosen the right tools to secure your kitchen cabinet hardware? Tool selection is essential, especially since different hardware styles may need specific tools for proper installation.
Use a screwdriver that fits the screws precisely, whether Phillips or flathead, to avoid stripping or damaging the hardware. A drill can help if you need to create pilot holes, but make sure to select the correct bit size.
Keep your tools in good condition to guarantee secure fastening. Using improper tools can lead to loose hardware or damage to your cabinets.
Always double-check that your screwdriver or drill bits match the screw heads and hardware style. Proper tools help you install hardware firmly, preventing future loosening and keeping your cabinets looking great.
Tighten Correctly Every Time
Ensuring your hardware stays secure starts with tightening screws properly during installation. When you tighten screws just enough, you improve the hardware’s durability and prevent loosening over time.
Over-tightening can strip threads or damage the hardware, which reduces its lifespan and looks. Use a screwdriver that fits the screw head perfectly and turn smoothly until the screw feels firm but not forced.
Applying consistent, even pressure helps keep the hardware aligned and secure. Proper tightening guarantees your cabinet pulls and knobs stay in place, maintaining a sleek look.
This simple step plays a vital role in preserving the integrity of your installation. It helps ensure your hardware remains both functional and visually appealing for years to come.
Check Hardware Stability
After installing your hardware, it’s important to check its stability to prevent loosening over time. Loose hardware can affect both how well it works and its safety.
Make sure to check each piece carefully, ensuring screws are tight and secure. Properly secured hardware lasts longer and reduces the need for frequent adjustments or replacements.
While tightening, think about how it looks—over-tightening can damage finishes or warp the hardware, which makes it look worse. Use the right tools and avoid applying too much force.
Regularly inspecting your hardware helps keep it firmly in place and extends its lifespan. These checks also catch early signs of wear or looseness, keeping your cabinets both functional and looking good.
Troubleshooting Common Cabinet Hardware Installation Problems
When installing cabinet hardware, you might run into issues like misaligned holes or loose fittings, but most problems are easy to fix with some troubleshooting.
First, make sure the hardware is compatible. Incompatible screws or pulls won’t fit right and can cause misalignment. Double-check the size and thread type before drilling or attaching.
If the hardware feels loose, verify you’re using the correct anchors and screws, and tighten them securely.
Misaligned holes usually happen because of inaccurate measurements. Use a template or a level to mark the spots precisely.
Also, think about how the hardware looks. Crooked hardware can really take away from the overall look. If the hardware doesn’t sit flush, check for warping or uneven surfaces and adjust or replace as needed.
Taking the time to troubleshoot these common issues ensures your hardware looks professional, works smoothly, and improves your cabinet’s appearance. Paying attention to compatibility and alignment helps keep both the style and function on point.
Tips for Maintaining and Cleaning Your New Hardware
Keeping your hardware looking fresh and new is pretty straightforward. Just make a habit of dusting it regularly with a soft cloth to get rid of any surface dirt.
If you come across any stubborn spots, you can gently clean them with a mixture of mild soap and water. Just be careful not to use anything too harsh that might damage the finish.
Taking good care of your hardware like this will help it stay shiny and working well for years to come.
Regular Dusting Techniques
Regular dusting is essential to keep your kitchen cabinet hardware looking its best. To do this effectively, use the right dusting tools, like microfiber cloths or soft brushes, which trap dust without scratching surfaces.
Start by gently removing loose dust and debris from handles and knobs, paying attention to crevices. Regular dusting prevents buildup that can dull the finish and make hardware look neglected.
When dusting, follow simple cleaning tips such as wiping in the direction of the hardware’s grain or shape to avoid pushing dust further into corners. Keep a dedicated dusting cloth nearby for quick touch-ups, and avoid harsh chemicals that can damage your hardware’s finish.
Consistent dusting maintains the hardware’s shine and prolongs its lifespan.
Proper Cleaning Solutions
After dusting your new hardware, it’s important to use the right cleaning solutions to keep it looking good and lasting longer. Opt for gentle cleaners like a mix of mild soap and water or a hardware-specific cleaner.
Stay away from abrasive cleaners that could scratch or damage the finish. For extra shine, use a hardware polish made for the material, like brass or chrome.
After cleaning, buff the hardware with a soft cloth to bring out its shine. Regular cleaning with the right products helps prevent dirt buildup and tarnishing, keeping your hardware looking new longer.
Always test cleaning agents on a small, hidden spot first to make sure they won’t harm the surface. Proper maintenance will keep your kitchen hardware stylish and functional for years to come.
Update Your Kitchen Look by Choosing Different Hardware Styles
Choosing different hardware styles can dramatically transform your kitchen’s appearance, giving it a fresh, updated look without a full renovation. When selecting hardware, consider color coordination to make sure the handles or knobs complement your cabinet finish and overall decor.
Matching hardware finishes with your appliances or fixtures creates a cohesive look, making your space feel more polished. Keep budget in mind—there are stylish options at every price point, from affordable pulls to luxury knobs.
You might go for matte black for a modern vibe or brushed nickel for a timeless appeal. Don’t forget to think about the size and shape of the hardware; larger or more ornate pieces can add character, while sleek, minimalist styles give a contemporary touch.
Final Checks for a Professional Finish
Are you ready to guarantee your hardware installation looks flawless? The final step involves checking every detail to ensure a professional finish.
First, inspect all handles and knobs for tightness; loose hardware can undermine your custom finishes and decorative accents.
Make sure each piece aligns perfectly with the cabinet doors and drawers for a cohesive look. Use a level to verify that handles and pulls are straight, adding a polished touch.
Look for any scratches or smudges, and clean them off with a soft cloth to improve your custom finishes.
Double-check that all screws are flush and secure, avoiding any protrusions. If needed, tighten or adjust hardware to ensure everything is perfectly aligned.
These final checks highlight your decorative accents and custom finishes, giving you a professional, stylish result that lasts.
Frequently Asked Questions
Can I Install Hardware on Painted or Laminated Cabinets?
Yes, you can install hardware on painted or laminated cabinets. Just make sure the surface is clean and dry so everything sticks properly.
If you’re worried about damaging the finish, lightly sand the area first. This helps the hardware grip better without harming the surface.
Pick hardware styles that match your cabinet’s look, and use the right screws. This way, you get a secure fit without any damage, making your cabinets look great and work better.
What Tools Are Essential for Installing Cabinet Hardware?
You’ll need essential tools like a drill, screwdriver, tape measure, and a pencil for tool selection and measurement accuracy.
A level or square can help guarantee precise alignment. Using a drill with appropriate bits makes installing hardware easier, while a screwdriver completes the job efficiently.
Always double-check measurements before drilling to ensure your hardware lines up perfectly. These tools help you achieve a professional look with accurate placement.
How Do I Remove Old Hardware Without Damaging Cabinets?
Removing old hardware is like peeling away layers of history from your cabinets. Start by gently loosening screws with a screwdriver, being careful not to damage the surface.
Use a small pry tool if needed to lift the hardware without scratching the cabinet. While you’re at it, consider giving your cabinets a good cleaning to prep for new hardware.
Choose your new hardware carefully, making sure it complements your cabinets and makes future updates easier. This gentle approach keeps your cabinets safe and ready for a fresh new look.
Is It Necessary to Use a Template for Multiple Cabinets?
Using a template isn’t always necessary, but it’s highly recommended for consistent placement across different cabinet styles and hardware types.
If you want uniform holes, a template helps you align handles or knobs precisely, especially when working on multiple cabinets.
Without it, you risk uneven spacing or holes that don’t match, which can make your kitchen look less polished.
A template saves you time and guarantees a professional, cohesive look.
How Long Does the Installation Process Typically Take?
Installing cabinet hardware usually takes about an hour or two, depending on how many cabinets you have and your experience level.
You’ll want to focus on keeping your cabinets looking good by choosing hardware styles that are durable and match your kitchen’s look.
The process goes pretty quickly if you’ve got everything ready beforehand.
But taking your time ensures everything lines up perfectly and is securely installed, especially when different hardware styles need different screws or techniques.
Conclusion
Now that you’ve navigated the steps to install your kitchen hardware, your cabinets are ready to shine like stars in your culinary galaxy.
With a steady hand and a keen eye, you’ve turned a simple task into a masterpiece of craftsmanship.
Think of your new hardware as jewelry for your cabinets, adding sparkle and personality.
So, step back, admire your handiwork, and enjoy the fresh, stylish vibe you’ve created in your kitchen’s heart.
Your kitchen hardware installation truly elevates your space, making it feel more polished and inviting.