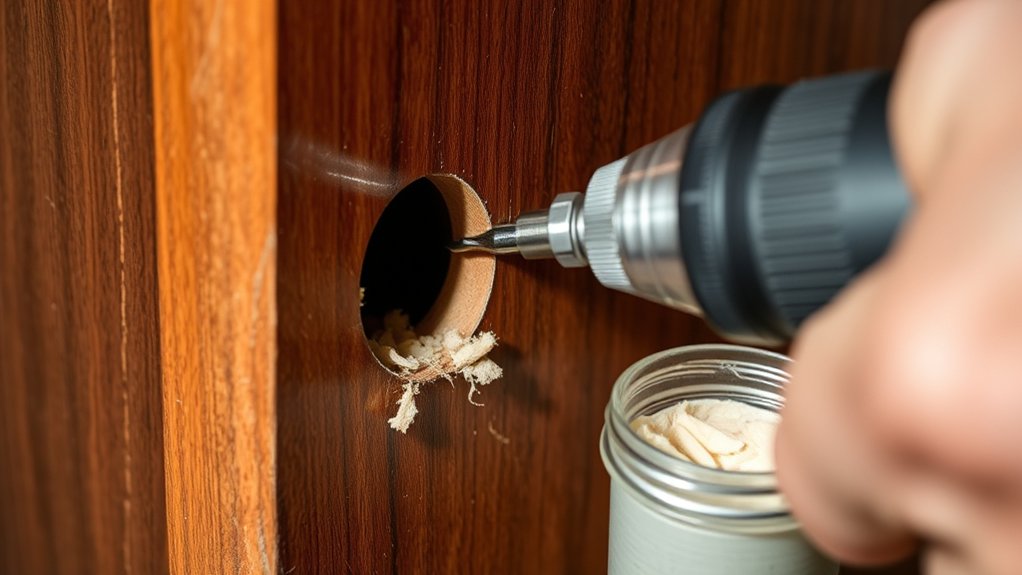
7 Steps to Repair Kitchen Cabinet Door Hinge Holes
Many people struggle with fixing kitchen cabinet door hinge holes, especially when they start to loosen or get damaged over time. You’re not alone—these little issues can feel frustrating and tricky to fix on your own. But with a few simple steps, you can restore your cabinets and keep them looking great.
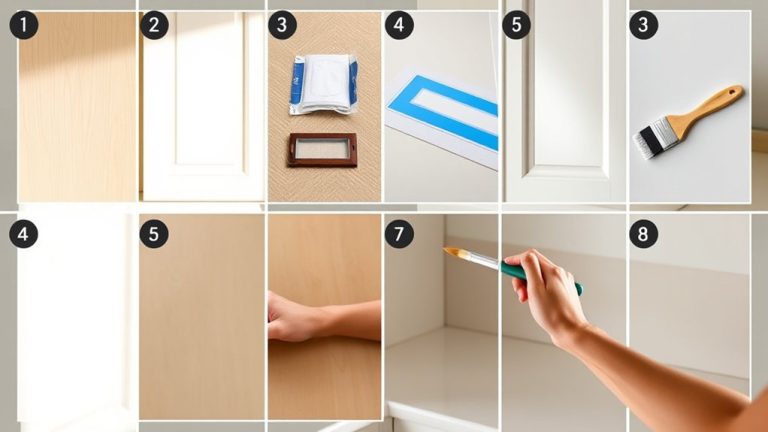
To repair your kitchen cabinet hinge holes, start by evaluating if they need fixing or replacement, checking for damage or looseness. Gather tools like a drill, filler, screws, and a chisel. Remove old hinges carefully and prepare the surface.
Fill stripped or damaged holes with wood dowels or filler, letting it dry thoroughly. Drill new pilot holes, then reattach hinges, ensuring proper alignment.
For detailed guidance on each step, keep exploring to learn everything you need to restore your cabinets perfectly.
Key Takeaways
- Check the hinge damage to see if the holes need fixing or replacing, especially if they’re loose or have become elongated.
- Carefully remove the old hinges, making sure to support the door so it doesn’t fall.
- Fix any damaged holes with wood filler or dowels, smoothing and leveling the surface for a solid repair.
- Drill new pilot holes carefully, matching the hinge screw size so everything fits securely.
- Reattach the hinges, then adjust the door to line up properly, and test to make sure it opens and closes smoothly.
Evaluate Whether Your Cabinet Hinge Holes Need Repair or Replacement
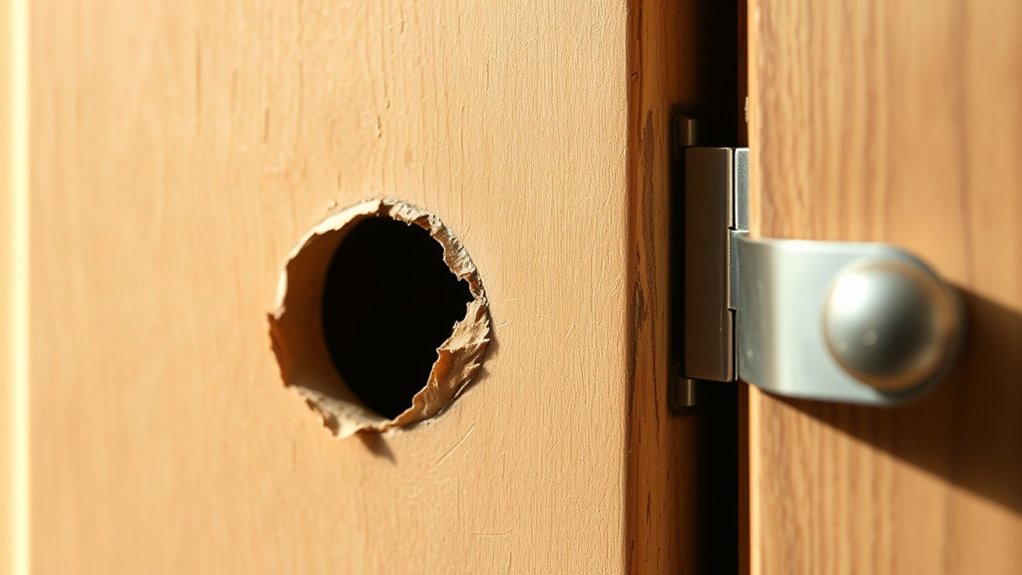
Before trying to repair your cabinet hinge holes, take a moment to see if they really need fixing or if they should be replaced completely. Check if the hinge material matches your cabinet, since incompatible hinges can cause damage over time.
Think about the weight of your cabinet door. Heavier doors put more stress on hinges, which can enlarge existing holes or make them loosen. If the holes are cracked, enlarged, or the hinges don’t hold the door securely anymore, you might need to replace them.
If the damage is minor, like slight elongation or stripped screw holes, a simple repair could do the trick. Carefully look at the hinge and surrounding wood to decide if it’s a quick fix or if more extensive work is needed.
Gather Tools and Materials for Hinge Hole Repair
Before you get started on fixing those hinge holes, it’s a good idea to gather all the tools and materials you’ll need first. Think of it like preparing your ingredients before cooking—you’ll save yourself a lot of hassle later on. You’ll want a drill, some wood filler, and screws that match the ones you originally used.
Having everything ready and within reach makes the whole repair process go much more smoothly. Plus, it helps you work more efficiently without constantly stopping to hunt down tools or materials. So, take a little time to set up your workspace and gather everything beforehand—that way, you’re all set for a hassle-free repair!
Essential Tools Needed
To successfully repair your kitchen cabinet hinge holes, you’ll want to gather the right tools and materials. This helps make the process smooth and gives you a professional-looking finish, especially if you’re focusing on cabinet finishing and hinge maintenance.
Essential tools include a drill with the right drill bits for enlarging or repairing holes. You’ll also need a chisel to clean or reshape damaged areas.
Wood filler or epoxy is great for filling and rebuilding holes, while sandpaper helps smooth out surfaces after the repairs. Having these tools ready ensures you get precise results and keep your cabinets looking their best.
Properly repairing hinge holes not only makes the hinges work better but also improves the overall appearance of your cabinets. Make sure your tools are in good condition so you can achieve the best possible results.
Necessary Repair Materials
Gathering the right repair materials is key to fixing your cabinet hinge holes effectively. You’ll need basic supplies like wood filler or epoxy, a putty knife, sandpaper, and a drill with drill bits.
To hide any unsightly repairs, decorative hinge covers are useful, especially if the original holes are too enlarged or damaged. Make sure you have matching screws for hinge tightening techniques so your hinges fit snugly and operate smoothly.
You might also want a level to keep hinges properly aligned. Having these materials prepared beforehand makes the repair process quicker and more efficient.
With the right tools and supplies at hand, you’ll be ready to restore your cabinet’s functionality and appearance in no time.
Remove Old Hinges and Prepare the Surface
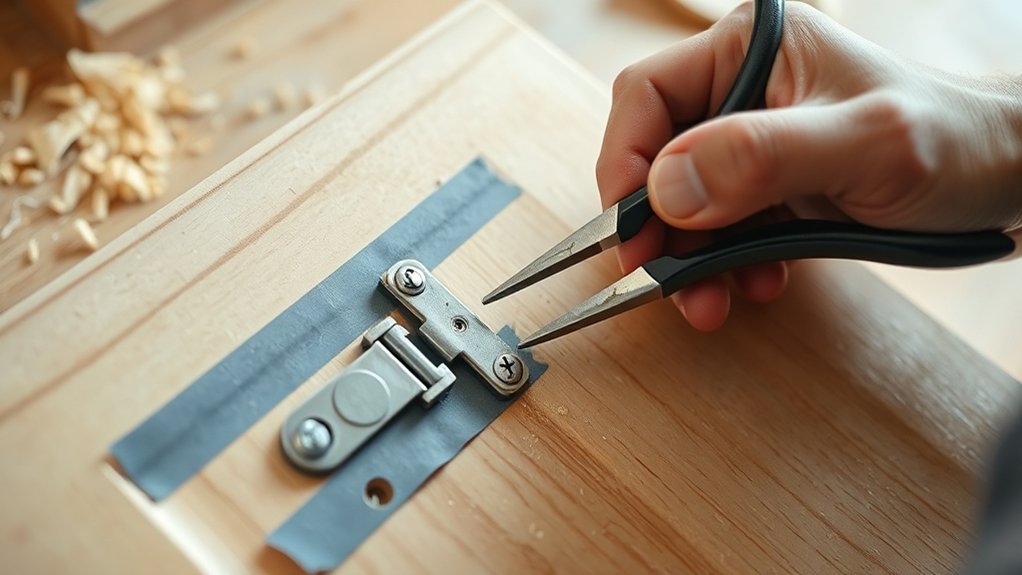
Removing old hinges is a simple step that helps set the stage for a smooth repair. First, figure out what kind of hinges you have—whether they’re concealed, surface-mounted, or European—and how they’re attached to your cabinet styles.
Carefully unscrew the hinges with the right screwdriver, making sure you don’t damage the wood. Support the door so it doesn’t fall when you remove the hinges. Once they’re off, clean the surface thoroughly to remove dirt, old paint, or glue.
This step guarantees a smooth repair and makes sure the hinges fit properly.
Key tips:
- Use the correct screwdriver for your hinge type.
- Keep track of screws and hardware for reuse.
- Clean the surface to improve hinge fit.
- Check for damage or wear around hinge holes before moving on.
Fill Damaged or Stripped Holes With Dowels or Wood Filler
When you find that hinge holes are stripped or damaged, filling them correctly is essential to guarantee a secure and stable fit for new screws. You can use wood dowels or wood filler, depending on the size of the damage.
If choosing wood filler, select one that matches the wood grain and color of your cabinet. This ensures a seamless appearance once finished.
For larger holes, insert a wooden dowel coated with glue, then tap it in so it fits snugly. Trim any excess so the surface is level with the cabinet.
If using wood filler, apply it carefully with a putty knife, pressing it into the hole and smoothing the surface. Make sure to match the filler’s color to the cabinet for a less noticeable repair.
Properly filling the holes will provide a solid base for reattaching hinges, helping your cabinet doors stay securely in place.
Let the Filler Dry and Sand Smooth
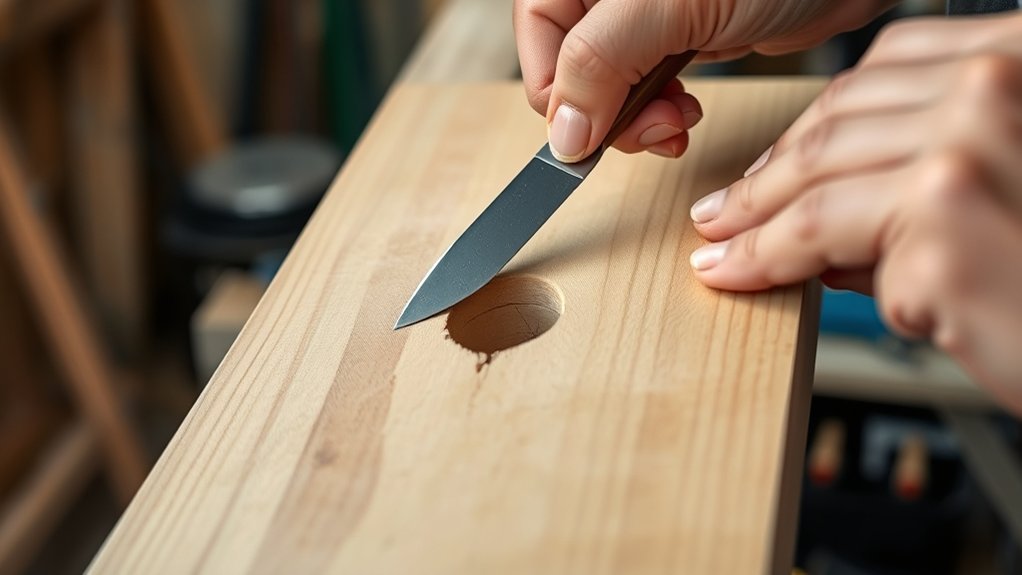
Once the filler has dried completely, it’s time to prepare the surface for finishing. Proper sanding ensures a smooth, even surface that blends seamlessly with your cabinet. Sand lightly with fine-grit paper, removing any excess filler or rough spots. This step is essential for a professional look, especially when matching colors for the repaired area.
Once the filler is dry, lightly sand for a smooth, seamless finish ready for painting or staining.
Keep these tips in mind:
- Use light pressure to avoid damaging the surrounding wood.
- Sand in the direction of the grain for a natural finish.
- Check for smoothness by running your finger over the area.
- Reassess hinge positioning—a smooth surface helps guarantee accurate placement.
After sanding, clean off dust thoroughly before moving to the next step. This preparation ensures the filler blends well, and the hinges will mount securely and accurately.
Drill New Pilot Holes for the Hinges
First off, go ahead and mark the spots where you want to install your hinges. This way, everything lines up just right. It’s a good idea to double-check those marks before you start drilling.
Next, pick a drill bit that matches the size of your hinge screws. Using the right size helps ensure your screws go in smoothly and hold everything securely.
When you’re ready to drill, keep your drill straight and steady. Take your time and go slow to make clean, accurate pilot holes. This will make installing your hinges much easier and result in a neat, professional look.
Mark Precise Hinge Positions
To guarantee your hinges align perfectly, you need to mark their exact positions before drilling new pilot holes. Accurate hinge placement makes sure everything operates smoothly and looks professional.
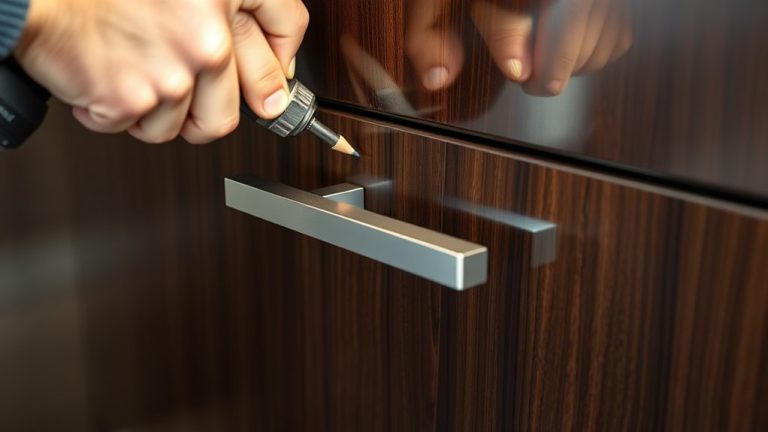
Carefully measure and mark the hinge locations on both the door and frame, making sure your markings are precise. Use a pencil for clear lines and double-check your measurements before moving on.
Keep these tips in mind:
- Measure hinge placement from the edges consistently on both the door and frame.
- Use a square to ensure your markings are level and straight.
- Mark both screw holes for each hinge to keep proper spacing.
- Double-check your measurements to avoid misalignment.
Select Appropriate Drill Bits
How do you guarantee your hinges are securely attached without damaging the wood? The key is choosing the right drill bits for hinge installation.
Using the correct drill bits creates clean, precise pilot holes that prevent splitting or cracking. For most hinge screws, a high-speed steel (HSS) drill bit works well because it’s durable and sharp.
If you’re working with hardwood, consider a brad point or spade bit for better control. Match the drill bit size to the hinge screw shank, usually a bit smaller, to create a snug fit without forcing or damaging the wood.
Picking the proper drill bits is essential for a clean hinge installation that lasts. It gives your cabinet doors stability and a professional look.
Drill Straight and Steady
Once you’ve chosen the right drill bits, it’s time to start drilling the new pilot holes for the hinges. Use a proper drill technique and keep a steady hand to ensure accuracy. Hold the drill perpendicular to the cabinet surface and stay in control without forcing it.
Here are some tips: Secure the cabinet door so it doesn’t move. Begin with a slow drill speed to keep things steady. Apply gentle, consistent pressure—don’t rush. And regularly check your drill angle to keep it straight.
A steady hand is essential to avoid angled holes that could misalign your hinges. Take your time, focus on your technique, and keep the drill perpendicular. Good precision now means a perfect fit later.
Reattach Hinges and Test Your Cabinet Door Alignment
After repairing the hinge holes, you can now reattach the hinges to the cabinet door. Begin by aligning the hinges properly, making sure they’re straight for smooth door operation. Use your drill or screwdriver to secure the hinges firmly, but avoid overtightening, which can affect hinge maintenance.
Once attached, gently close the door to check the alignment. If it doesn’t sit flush or swings unevenly, make small adjustments by loosening the hinge screws slightly and shifting the door until it lines up perfectly.
Proper hinge maintenance is key to preventing future issues. Test the door’s movement, ensuring it opens and closes smoothly without sticking or rubbing. Repeat adjustments as needed until the door is aligned correctly and works seamlessly.
Taking these steps guarantees your cabinet door stays functional, looks uniform, and maintains ideal door alignment.
Frequently Asked Questions
Can I Repair Hinge Holes Without Removing the Entire Door?
Yes, you can repair hinge holes without removing the entire door. First, fill the damaged holes with wood filler or dowels to reinforce them.
Once it’s dry, sand the area smooth and drill new pilot holes for the hinges. This helps keep the door aligned and stable.
You don’t need to take the door off completely—just work carefully to make sure the hinges fit well and the door opens smoothly.
What Type of Wood Filler Is Best for Hinge Hole Repairs?
For hinge hole repair, epoxy or polyurethane wood fillers are your best options. These types bond strongly and provide durability, making them great choices for fixing hinge holes.
You should pick a filler that matches your cabinet’s wood type and color. Then, carefully apply it into the hole.
Once it’s dry, sand it smooth before reattaching the hinge. This ensures a secure, long-lasting repair that blends seamlessly.
How Do I Prevent Future Damage to Hinge Holes?
To prevent future damage to hinge holes, regularly check the hinge alignment. Make sure hinges are positioned correctly and tightened well.
When you’re installing or fixing hinges, match the wood grain to keep everything strong and consistent. Be careful not to overtighten screws, as that can weaken the wood over time.
Use good-quality hinges and hardware for better durability. If you notice signs of wear, consider reinforcing the holes with wood filler to prevent further damage.
Proper maintenance and careful installation are key to keeping your cabinet hinges secure and damage-free.
Is It Necessary to Use a Special Drill Bit for New Pilot Holes?
Yes, you should use a special drill bit when making new pilot holes for the hinges. A drill bit designed for pilot holes helps prevent splitting the wood and ensures accurate placement.
Using a drill bit that matches the size of your hinge screws makes the process smoother. It also creates a clean, precise hole, making it easier to attach the hinges securely and keep the cabinet stable.
How Long Should I Wait Before Reattaching the Hinges After Filling?
You should wait at least 24 hours for the filler to dry before reattaching the hinges. This helps ensure the filler is properly dry, which prevents future hinge misalignment.
Rushing this step might cause the filler to shift or crack, affecting both hinge alignment and how the door operates. During the drying period, keep the filled holes undisturbed.
Once the filler is fully dry, you can confidently reattach the hinges, knowing it’s set and the alignment will stay true.
Conclusion
Now that you’ve repaired your cabinet hinge holes, your kitchen feels fresh and functional again. It’s a satisfying change—clunky, loose doors turning into smoothly opening cabinets.
With just a few simple steps and some patience, you’ve turned a minor mishap into a DIY victory. Remember, a little effort now can prevent bigger problems later.
Enjoy your renewed cabinets, knowing you’ve mastered the repair. What once seemed overwhelming is now a simple fix you can be proud of.