DIY Guide to Make a Kitchen Cabinet
Many homeowners dream of customizing their kitchens, but the thought of building your own kitchen cabinets can feel overwhelming. You’re not alone—many people struggle with where to start or worry about making mistakes.
To make your own kitchen cabinets, start by planning your layout and measuring carefully to maximize space and accessibility. Gather tools like a saw, drill, and screwdrivers, then select quality wood and finishes that match your style.
Cut, assemble, and install cabinets, paying close attention to alignments and hardware. Finish with painting or staining, add handles, and routinely maintain them for durability. Keep learning—these steps form the foundation for a successful DIY project that transforms your kitchen.
Key Takeaways
- Plan your cabinet design carefully by measuring the space, choosing materials, and designing for both functionality and style. Taking your time here will save you headaches later.
- Gather the essential tools and pick quality wood and finishes that are durable and look good. Good materials make a big difference in the final result.
- Measure, cut, and assemble the cabinet parts accurately. Make sure everything is aligned properly and joints are secure for a sturdy finish.
- Finish your cabinets with paint or stain, and install hardware. Pay attention to proper placement and make sure everything is securely fastened.
- Keep your cabinets in good shape by cleaning regularly, tightening hardware when needed, and avoiding overloading. This will help them last longer.
Why Build Your Own Kitchen Cabinets? Benefits and Considerations
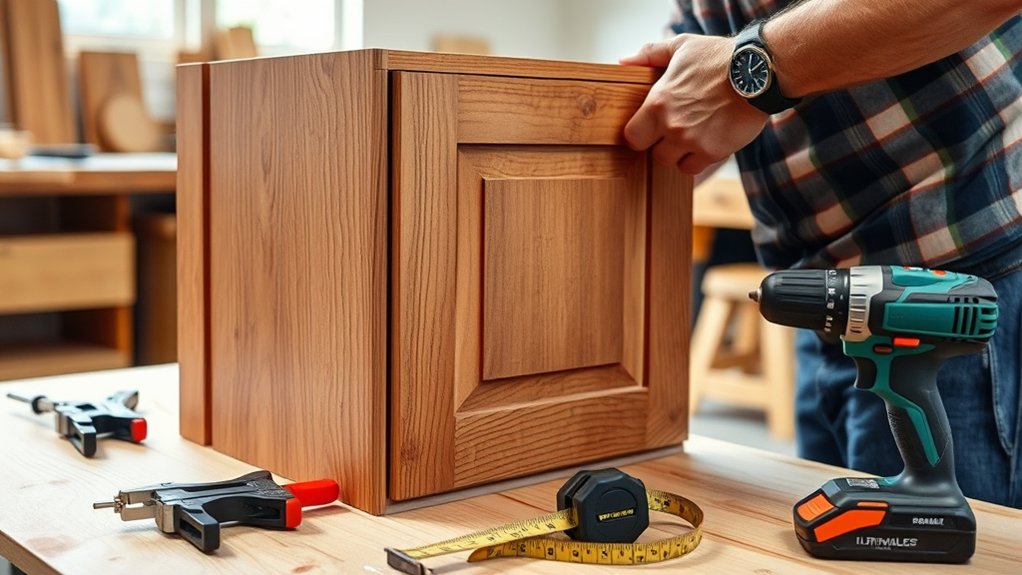
Ever wondered why building your own kitchen cabinets might be the right choice? One key benefit is having control over your budget. When you build them yourself, you can pick affordable materials and avoid extra costs from labor or store markups. This way, you can use your money more wisely while customizing your space.
Material sourcing is also easier when you build your own cabinets. You can choose quality materials that match your style and needs for durability, shopping directly from suppliers or local stores. Plus, making your own cabinets gives you a real sense of accomplishment and allows for more flexible design options.
Although it takes time and effort, DIY cabinet building can be more cost-effective and personalized. Planning carefully and sourcing materials wisely can lead to a finished product that fits your vision perfectly. Overall, this approach lets you create functional, attractive cabinets tailored specifically to your kitchen.
Plan Your Kitchen Cabinet Design: Measuring and Layout Tips
Before you start building your custom kitchen cabinets, it’s important to plan out your design carefully. Start by measuring your space accurately, including wall height, width, and depth. Use these measurements to create a detailed layout, making sure there’s enough clearance for doors and movement.
Carefully measure your space to create an accurate, functional kitchen cabinet layout.
Focus on cabinet ergonomics—place frequently used items within easy reach, usually between waist and eye level. This makes your kitchen more comfortable and efficient to work in.
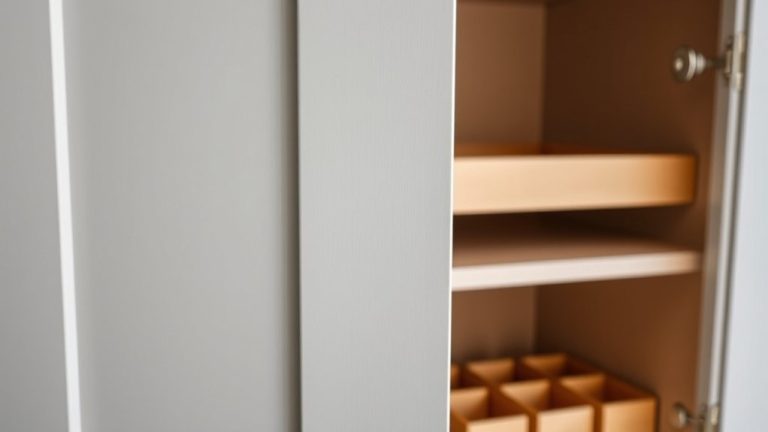
Pay attention to storage optimization by designing adjustable shelves, pull-out drawers, and specialized compartments. This helps maximize every inch of space you have.
Consider the flow of your kitchen and how you’ll access different areas. Your layout should support your daily routines and make everything easy to reach.
Mark your measurements clearly on your plan, double-check for accuracy, and visualize how your cabinets will fit into the overall kitchen design.
Proper planning now helps prevent mistakes and ensures your kitchen will be functional, comfortable, and organized.
Tools and Materials Checklist for DIY Kitchen Cabinets
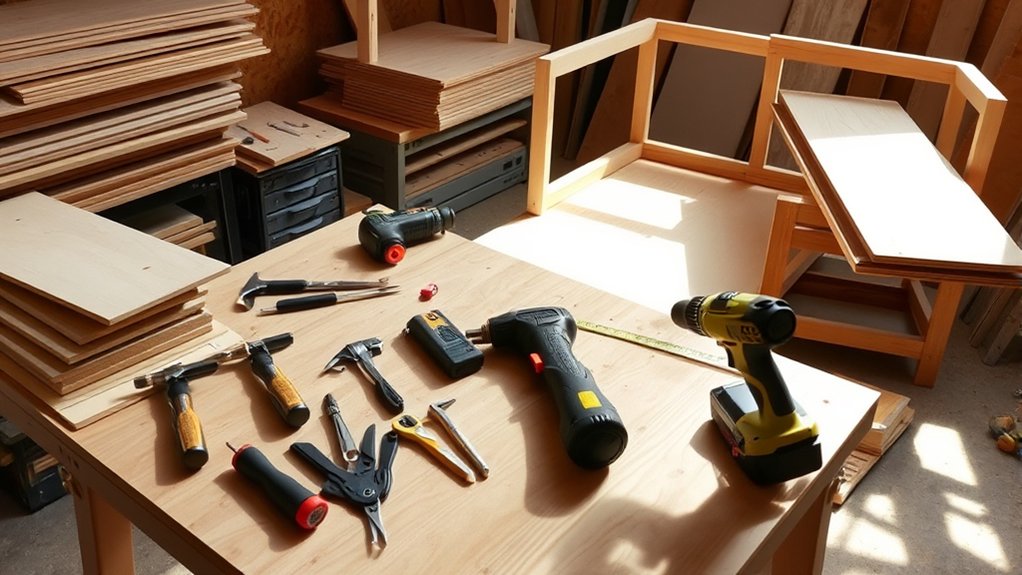
To successfully build your DIY kitchen cabinets, you’ll need a clear list of essential tools and materials. First, gather basic power tools like a drill, saw, and sander. Hand tools such as a tape measure, square, and screwdriver are just as important.
For materials, choose quality wood, cabinet hardware, and wood finishing products to guarantee durability and style. Here’s a quick checklist:
| Tools | Materials | Finishing Supplies |
|---|---|---|
| Drill and bits | Plywood or solid wood | Sandpaper and stain |
| Circular saw | Screws and nails | Polyurethane or varnish |
| Sander | Drawer slides | Paintbrushes |
| Tape measure | Cabinet hardware | Tack cloths |
| Square | Wood glue | Clean rags |
Having these tools and materials ready will make your project smoother and help you achieve a professional look. Focus on quality cabinet hardware and wood finishing for a polished, lasting result.
Choosing the Right Wood and Finishes for Durability and Style
Choosing the right wood and finishes is essential for creating durable and stylish kitchen cabinets. Your choice of wood grain influences both appearance and strength. For example, oak has prominent grain patterns that add character, while maple offers a smoother look with durability.
Consider how the wood grain will complement your kitchen’s overall style. When selecting finish types, think about both protection and aesthetics. Clear finishes like polyurethane highlight natural wood grain and provide water resistance.
Stains can add color and depth, making your cabinets stand out. Lacquers and oil-based finishes also boost durability and offer different looks. Keep in mind that some finishes may require more maintenance over time.
The right combination of wood and finish will ensure your cabinets withstand daily use and look great for years. Take your time to evaluate options, considering factors like moisture resistance, appearance, and ease of application. This way, you can make an informed decision for lasting style and durability.
Cutting and Assembling the Cabinet Frame Step-by-Step
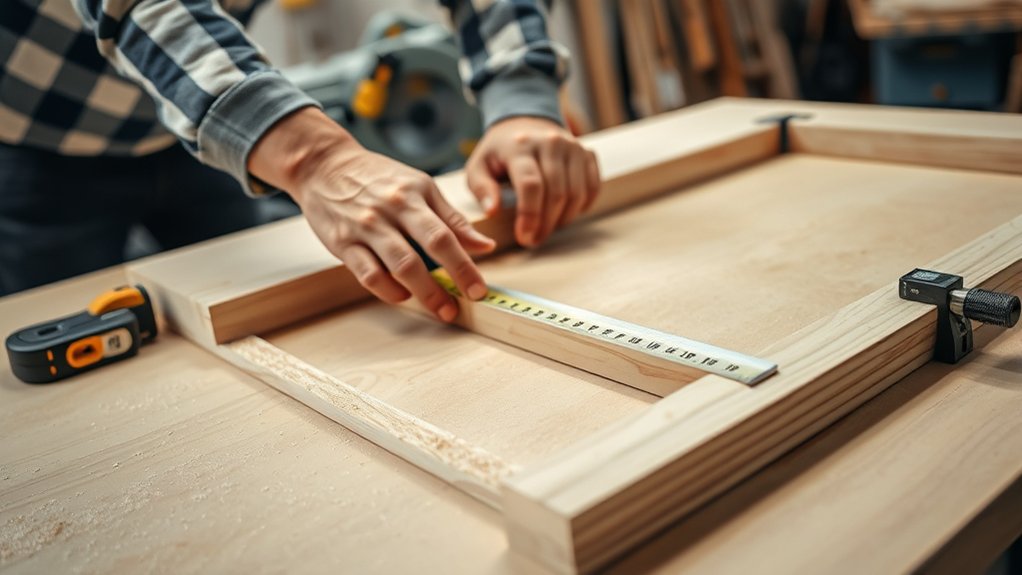
First, take your time to measure and mark all your materials carefully. This way, you’ll make sure everything lines up just right when you put it all together. Once you’ve got your measurements, use a saw to cut out the frame pieces, following your markings closely so everything stays accurate.
When you’re ready to assemble, make sure to use the right techniques to secure each joint tightly. This will help your cabinet frame stay sturdy and strong in the end. Just take your time, and you’ll have a great-looking, solid cabinet!
Measuring and Marking Materials
Before you start cutting and assembling your cabinet frame, it’s really important to measure and mark your materials accurately. Use a tape measure and a square to make sure your lines are precise, which helps avoid mistakes that could affect weatherproofing and stability.
Double-check your measurements before marking to stay within your budget and prevent unnecessary waste. Accurate marking means you’ll only cut what’s needed, saving you money. Keep your tools sharp to get clean, straight lines.
Here’s a quick reference:
| Material | Measurement | Marking Method |
|---|---|---|
| Wooden panels | Length & width | Pencil & square |
| Shelves | Depth | Tape measure |
| Frame pieces | Angles & joints | Marking gauge |
Getting your measurements right ensures your cabinet fits perfectly and will last longer. This makes your DIY project more successful and satisfying.
Cutting Frame Components Precisely
Once you’ve accurately measured and marked your materials, the next step is to cut the frame components precisely. Use a sharp saw and follow your markings carefully to ensure clean, straight cuts.
Precision is really important, especially when preparing joints like dovetail joints, which need tight fits for strength and stability. Take your time to make smooth cuts and double-check your measurements before cutting.
When drilling holes for cabinet hinges, make sure the locations line up exactly with your hinge plates. Misaligned hinges can cause uneven doors and gaps. Use a drill guide if needed to keep everything accurate.
The goal is for all the pieces to fit together seamlessly, giving you a solid foundation for the rest of your cabinet assembly.
Assembling With Proper Techniques
Assembling your cabinet frame correctly is key to making it sturdy and look professional. Using proper techniques ensures the joints are strong and won’t wobble or feel weak.
Start by lining up your frame pieces carefully before you screw them together. Pay attention to placing screws accurately to boost strength and avoid splitting the wood.
Here are some helpful tips:
- Pre-drill holes to stop splitting and help with precise screw placement.
- Use clamps to hold pieces securely while you work.
- Tighten screws gradually, switching sides to apply even pressure.
- Check if the frame is square and make adjustments before fully tightening all the screws.
Following these steps will give you a solid, durable cabinet with great stability. Good assembly techniques really make a difference in getting that professional finish.
Installing Shelves and Doors for a Professional Finish
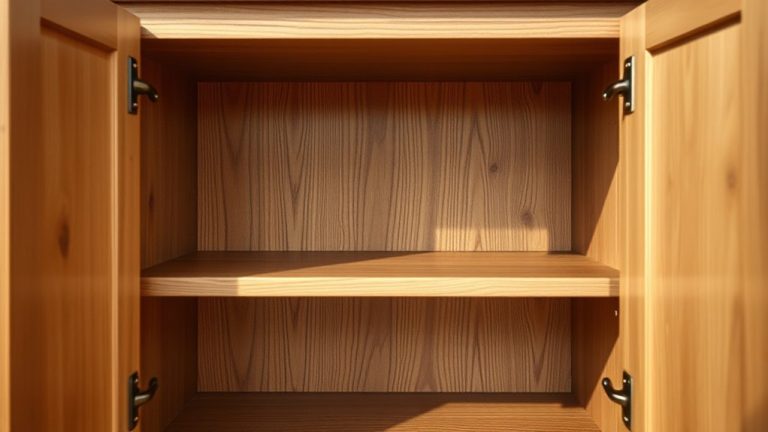
To achieve a polished, professional look, carefully install your shelves and doors using precise measurements and quality hardware. Start by attaching the shelf support brackets at even intervals, making sure they’re level and secure.
Use a level to mark where each support will go. This helps prevent shelves from sagging or tilting. When installing doors, choose sturdy hinges that match the weight and size of your doors.
Mark hinge placement precisely on both the door and cabinet frame. Then, screw them in tightly. Make sure the doors swing smoothly and are aligned evenly with the cabinet frame. Minor adjustments to hinge screws can help perfect the fit.
Double-check the alignment of shelves and doors before tightening all screws for a seamless finish. Proper hardware installation not only improves the cabinet’s appearance but also guarantees durability and ease of use.
Take your time, measure carefully, and your cabinets will look professional and function flawlessly.
Painting or Staining Your Kitchen Cabinets for a Custom Look
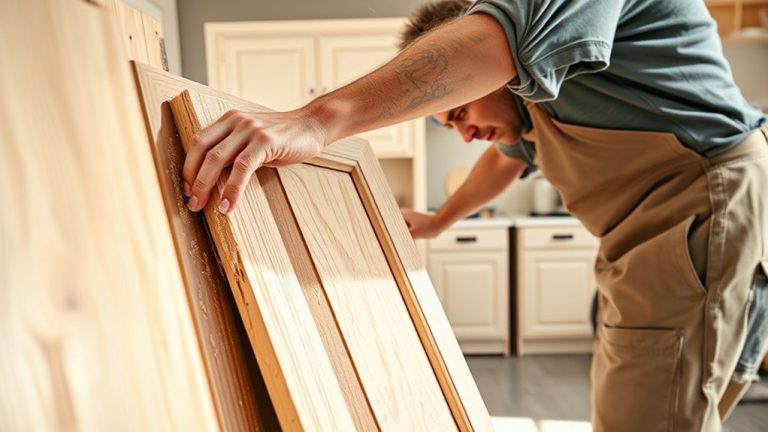
Painting or staining your kitchen cabinets lets you customize how they look and gives your kitchen a fresh, updated vibe. Picking the right color or staining technique can totally change the style, from modern to rustic. Before you start, make sure your surface is clean and smooth for the best results.
Here are four key tips to think about:
- Choose the right color or stain: Light shades brighten the space, while darker ones add a touch of elegance.
- Try out samples: Always test paint or stain on a small area first to see how it looks.
- Use the right tools: Brushes, rollers, or sprayers help you get a smooth, even finish.
- Apply multiple coats: Let each layer dry completely before adding the next for even color and depth.
Whether you go with vibrant paint or a subtle stain, your choice will define your kitchen’s style. Take your time, and you’ll end up with a professional, customized look.
Adding Hardware and Handles for Style and Functionality
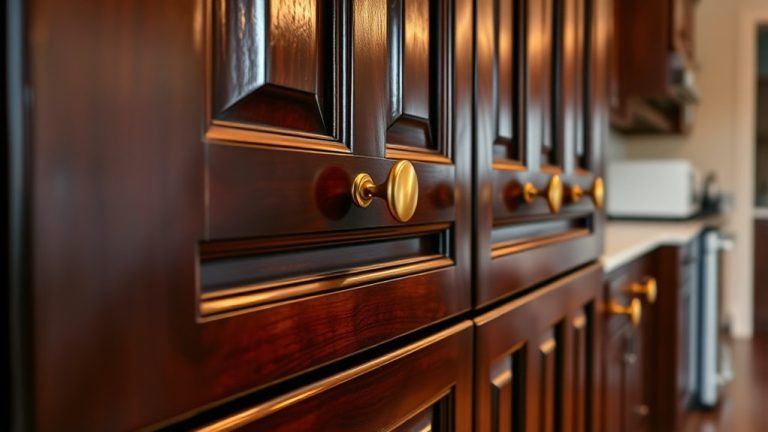
Adding the right hardware and handles can really give your cabinets a quick style upgrade and make them more functional too. It’s all about choosing the right pieces that fit your look and feel, and making sure they’re installed properly so they stay secure and easy to use.
Don’t forget, a few small accents or unique finishes can make a big difference without breaking the bank. Whether it’s a sleek modern handle or a vintage-inspired knob, these little touches can really tie your whole space together.
Choosing The Right Hardware
Selecting the right hardware can instantly boost the look and functionality of your kitchen cabinets. When choosing hardware, focus on both style and durability to match your space.
Your hardware should reflect your overall kitchen theme and personal taste. Here are some key tips to help you make the best choice:
- Think about hardware size and scale to keep everything looking proportionate.
- Pick finishes that complement your cabinet color and existing fixtures.
- Choose sturdy materials to ensure your hardware lasts a long time.
- Add decorative accents to bring personality and charm to your kitchen.
Installing Handles Properly
Once you’ve picked out the perfect hardware, it’s time to install your handles correctly to ensure they look great and work smoothly. Start by deciding on handle placement; usually, handles are centered vertically on drawers and about 2.5 to 3 inches from the edge on cabinet doors. Use a measuring tape and a pencil to mark your spots precisely.
When attaching handles, make sure the handle material matches your kitchen’s style—whether it’s sleek metal, rustic wood, or modern plastic. Drill holes carefully, using a drill bit that fits the handle’s mounting hardware. Tighten the screws securely, but avoid overtightening, which could damage the handle or cabinet surface.
Proper handle placement and careful installation make a big difference in your kitchen’s look and usability.
Enhancing Style With Accents
Adding hardware and handles is an easy way to boost your kitchen’s style while making it more functional. Choosing decorative molding around cabinets can add visual interest and give a polished look.
Incorporate accent lighting above cabinets to highlight your accents and set the mood. When selecting handles, pick finishes that complement your hardware and molding.
To get the most style and practicality, keep these tips in mind:
- Mix and match hardware finishes for a layered look.
- Use decorative molding to frame your cabinets and add character.
- Install accent lighting to highlight key features and accents.
- Choose handles that are both stylish and easy to use, like sleek bar pulls or vintage knobs.
These small touches can turn your cabinets from plain to eye-catching, making your kitchen feel uniquely yours.
Troubleshooting Common Mistakes When Building Cabinets
Building cabinets can be rewarding, but it’s easy to make mistakes that compromise their strength and appearance. One common issue is misaligned doors, which can be fixed with proper cabinet hinge adjustments. Check if the hinges are tight and aligned correctly; small tweaks can make a big difference.
For drawers, poor alignment can cause sticking or uneven gaps. Use drawer alignment techniques to ensure smooth operation and a polished look. Adjust the slides and the drawer front so they sit flush and open effortlessly. Always test after each adjustment to avoid overcompensating.
Another mistake is using the wrong fasteners or not securing joints properly, which weakens the structure. Double-check your hardware and make sure all screws and brackets are tight and correctly placed.
Installing and Maintaining Your DIY Kitchen Cabinets
Proper installation is key to making sure your cabinets are both functional and long-lasting. Focus on accurate measurements and use high-quality hardware to ensure good craftsmanship.
Proper installation ensures your cabinets are durable, functional, and beautifully crafted. Focus on precise measurements and quality hardware.
When installing, level each piece carefully and fasten securely to avoid sagging or crooked spots. Taking your time during setup makes a big difference in the final look and durability.
To keep your cabinets in top shape, follow these simple tips:
- Regularly clean with gentle, non-abrasive cleaners to protect the finish.
- Use eco-friendly materials for repairs or touch-ups to stay green.
- Periodically check hinges and hardware, tightening or replacing them when needed.
- Don’t overload shelves to prevent warping or damage.
Frequently Asked Questions
How Do I Ensure My Cabinets Are Level and Aligned Correctly?
To guarantee your cabinets are level and aligned, start by checking the cabinet hinges’ placement and making adjustments as needed. Use a level across the top and sides to confirm they’re straight.
When hanging doors, tweak the hinges for proper door alignment. Make sure they close evenly without gaps. Regularly step back and view your cabinets from different angles.
Make small adjustments until everything sits perfect and looks professional. This way, your cabinets will look great and function smoothly.
What Safety Precautions Should I Take During Cabinet Construction?
You should definitely wear the safety gear—think goggles, gloves, and ear protection—because those power tools are more enthusiastic to surprise you than a cat with a laser pointer.
Keep your workspace clean to avoid accidents, and always read the tool instructions before diving in.
Can I Customize Cabinet Sizes to Fit Unusual Kitchen Spaces?
Yes, you can definitely customize cabinet sizes to fit unusual kitchen spaces. Designing for custom sizes and space fitting ensures your cabinets match your specific measurements perfectly.
Measure carefully and plan your cuts accordingly to avoid surprises. Using adjustable shelves and modular components can also help adapt to irregular spaces easily.
With precise planning, you’ll create a seamless, functional look that maximizes every inch of your unique kitchen layout.
How Do I Prevent Wood Warping or Cracking Over Time?
To prevent wood from warping or cracking over time, focus on proper treatment and climate control. Sealing your wood with a good finish creates a barrier against moisture.
Keeping temperature and humidity levels steady helps the wood stay stable. If you neglect these steps, cracks and warps are more likely to happen.
Stay vigilant because your cabinet’s longevity depends on proactive care. Don’t wait until it’s too late to act.
What Are the Best Methods for Cleaning and Maintaining DIY Cabinets?
To keep your DIY cabinets looking great, regularly clean them with a damp cloth and mild soap. Avoid harsh chemicals that could damage the finish.
Use gentle, non-abrasive cleaners to preserve paint finishes and hardware options. Periodically check and tighten hardware to keep everything secure and functioning well.
Applying a protective wax or polish can improve the finish and help prevent damage. Be sure to avoid excessive moisture and clean up spills quickly to maintain your cabinets’ appearance and durability over time.
Conclusion
By taking this DIY journey, you’re not just building cabinets—you’re creating a space that truly reflects your style and effort. With patience and a keen eye, you’ll transform your kitchen into a personalized haven.
Remember, even the best artisans run into a few quirks along the way. They’re just part of the charm of making something yourself. Embrace the process and enjoy every step.
Soon enough, you’ll reveal a stunning, custom kitchen that’s uniquely yours—proof that your hands can create magic with a little effort. And with your new kitchen cabinets, you’ll have a space you’re proud of.