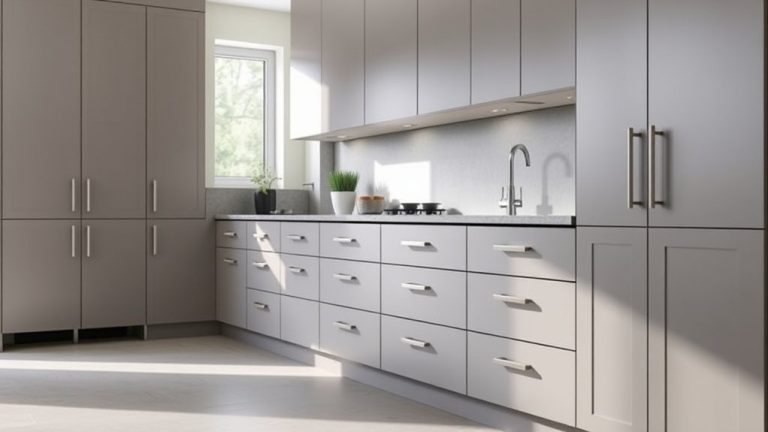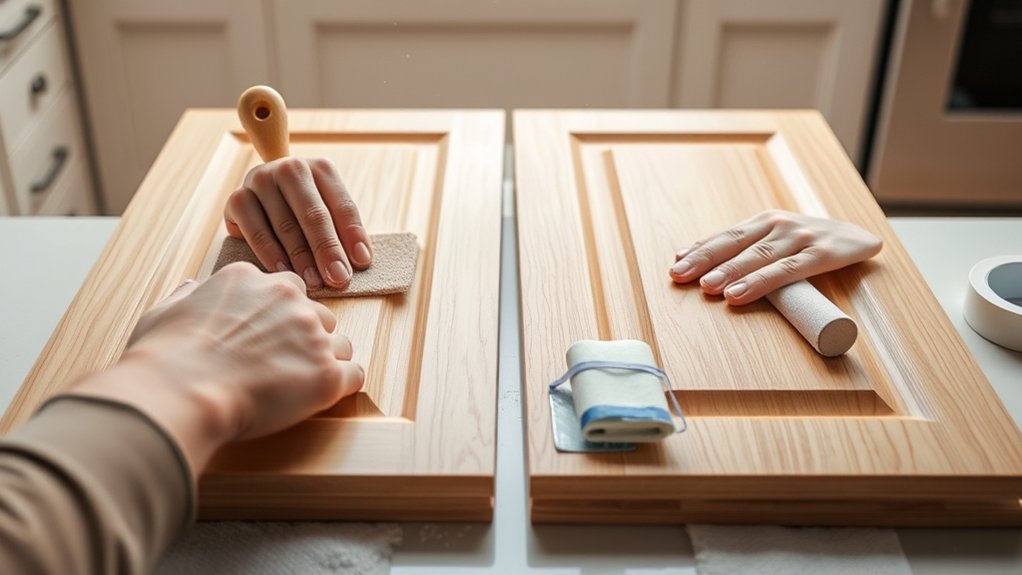
10 Steps to Reface Kitchen Cabinet Doors Like a Pro
Many homeowners dream of giving their kitchen a fresh new look but feel overwhelmed by the idea of redoing their cabinet doors. You’re not alone—refacing cabinets can seem tricky, but with the right steps, you can do it like a pro.
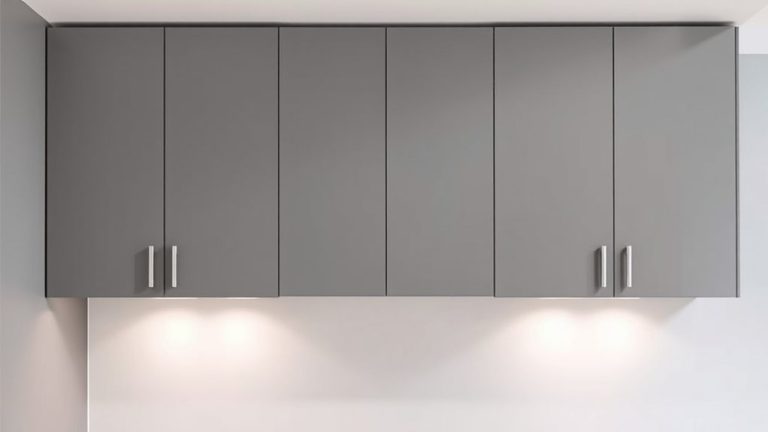
To reface kitchen cabinet doors like a pro, start by preparing your kitchen—remove handles, doors, and label everything. Clean and repair cabinets before choosing your materials and tools.
Measure accurately, then cut your face panels with care. Attach these panels and reinstall doors, making sure hinges and hardware are aligned perfectly. Finish by tightening hardware and making final adjustments.
For detailed tips on achieving flawless results, keep exploring for expert advice and troubleshooting tricks.
Key Takeaways
- Thoroughly remove and label cabinet doors, drawers, and hardware so you can stay organized when reassembling everything.
- Clean all surfaces and fix any damage to make sure your finish will look smooth and last a long time.
- Measure carefully, then cut face panels or veneer to fit the openings perfectly. Accuracy makes the job easier.
- Prime and paint or veneer the surfaces evenly for a polished, professional look that really stands out.
- Carefully reinstall the doors, hinges, and hardware. Check that everything lines up and works properly for a flawless finish.
Prepare Your Kitchen for Cabinet Reface
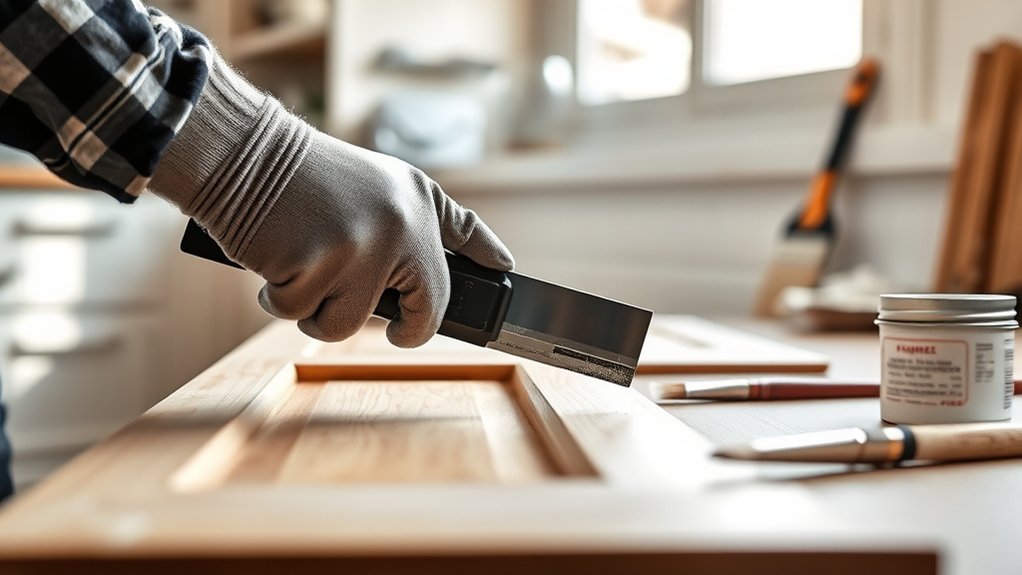
Before you start refacing your cabinets, it’s important to prepare your kitchen properly. Begin by removing all cabinet handles to keep the surface smooth and prevent paint or stain from getting on them.
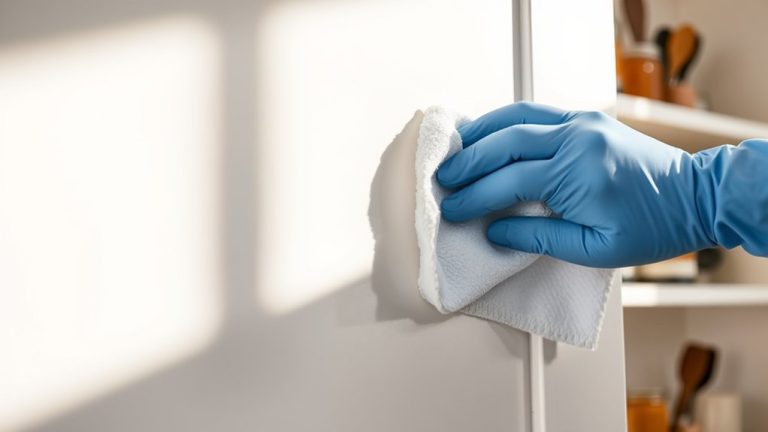
Carefully take off doors and drawers, and label each piece to make reassembly easier. Clean all surfaces thoroughly with a degreaser or soap and water to remove grease, dust, and grime. This step is key for a clean, even finish.
If you plan to repaint your cabinets, choose a high-quality kitchen paint that’s suited for cabinets. This will give your kitchen a fresh look and ensure it’s durable.
Cover countertops, appliances, and flooring with drop cloths or plastic sheeting to protect them from dust and drips. Proper prep also means checking for loose or damaged parts and fixing or replacing them before you begin.
Taking these steps lays a solid foundation for a professional-looking cabinet transformation.
Choose Materials and Tools for the Job
Once you’ve prepared your kitchen and removed all hardware, it’s time to pick the right materials and tools for a smooth refacing process. Think about your options, like veneer, contact paper, or paint, based on the finish and durability you want.
Choose the right materials and tools for a smooth, durable kitchen cabinet refacing project.
Next, gather your essential tools: a measuring tape for accurate measurements, a utility knife for trimming, a squeegee or roller for smooth application, and a level to keep things straight and even.
Choosing good-quality materials makes sure your cabinet faces look professional and last a long time. Having the right tools nearby makes the job easier and gives you cleaner results.
Be sure your materials are compatible with your cabinets’ surface and match your skill level. With the right choices, you’ll be setting a solid foundation for a successful refacing project.
Remove and Label Cabinet Doors and Hardware
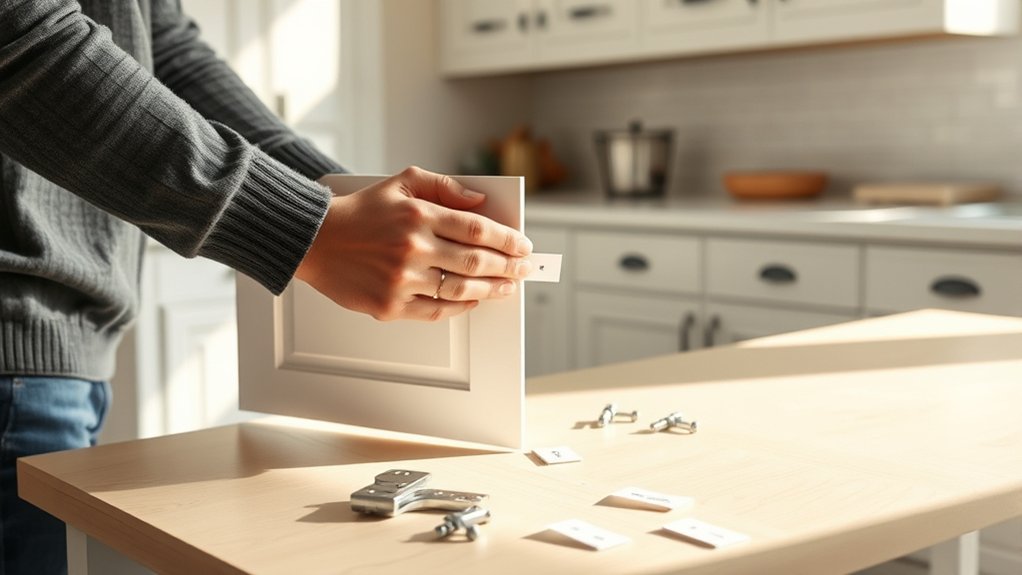
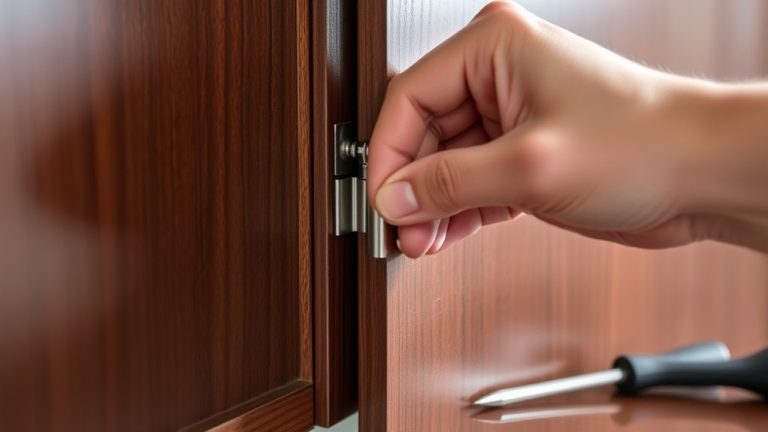
To make the refacing process easier and keep your cabinets organized, start by removing all hardware and carefully taking off each door. Keep track of screws, handles, and hinges, and label each door with masking tape and a marker to note its original position.
This step makes painting or replacing cabinet paint simpler and helps you avoid mixing up doors later. When removing hardware, think about whether you want to replace it with new handles or knobs, which can quickly update your look.
Labeling each door and hardware piece prevents confusion during reassembly and keeps the original layout intact. If your hardware is outdated or damaged, now’s a good time to replace it.
Removing and labeling everything carefully saves time and effort, making your cabinet refacing project smoother and more organized. This preparation ensures your cabinets will look professional once you finish refinishing.
Clean and Repair Your Cabinets Before Reface
Before you dive into refacing, it’s a good idea to give your cabinets a careful once-over. Check for any damage that might need fixing first—like chips, dents, or loose hinges.
Then, make sure to give the surfaces a thorough cleaning. Remove all the grease, dirt, and grime so everything is nice and fresh. When your cabinets are in good shape and clean, your new finish will look smoother and last even longer.
Inspect for Damage
Have you checked your cabinets for damage lately? Doing a thorough inspection ensures your refacing project lines up with current design trends and color palettes. Look for:
- Cracks or splits in the wood or veneer that could get worse over time.
- Loose or chipped paint and finish, which can ruin that sleek look you’re after.
- Water damage or swelling that might hide rot or mold underneath.
- Hardware issues like loose hinges or handles that need tightening or replacing.
Fixing these issues now prevents surprises after refacing. Repair or replace damaged spots and think about updating hardware to match modern styles. A careful inspection helps keep your cabinets in good shape, making sure your new look complements your kitchen’s style and stays durable for years to come.
Deep Clean Surfaces
A thorough deep clean is essential to guarantee your cabinets look their best after refacing. Start by removing all surfaces for easier access.
Use a gentle cleaner to wipe down doors, drawers, and frames, focusing on stain removal to eliminate grease, dirt, and grime. Once clean, perform surface polishing to restore shine and smoothness.
This step ensures any residue or stains won’t interfere with the new veneer or paint. Inspect for any damage or scratches that need repairing before proceeding.
If you find stubborn stains or spots, use a specialized stain remover for effective results. Cleaning thoroughly now prevents issues later.
It creates a smooth, clean surface that improves the final finish and prolongs your cabinet’s lifespan.
Measure and Cut Your Cabinet Face Panels
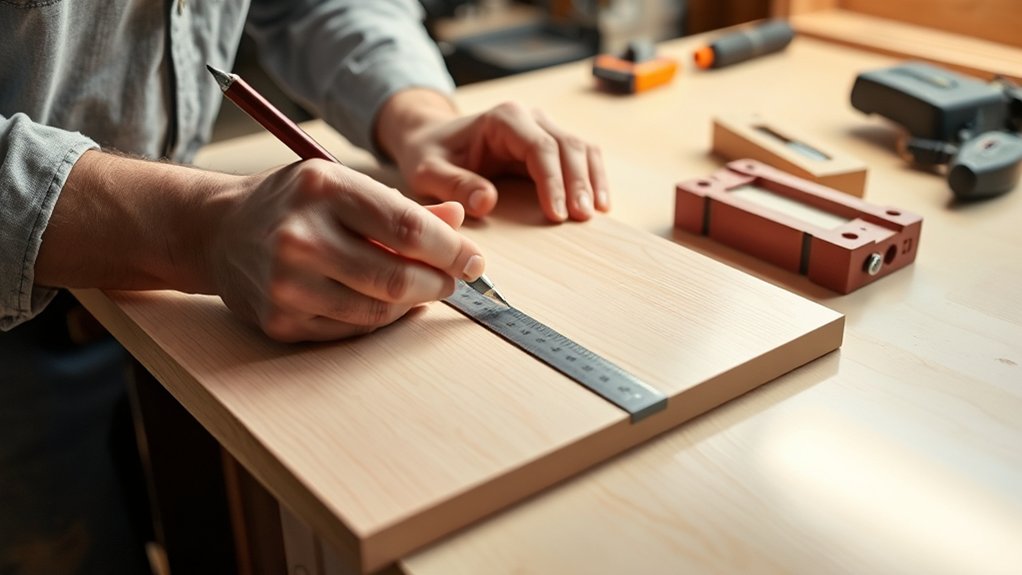
To get your cabinet face panels just right, it’s really important to measure carefully. Double-check your dimensions to avoid any mistakes—better safe than sorry, right?
When it’s time to cut, pick the right tools for the job. Whether it’s a saw suited for your material or another cutting tool, making clean, precise cuts makes all the difference.
And don’t forget, making sure your panels fit perfectly is key to achieving that smooth, professional look you’re after. A little extra effort here will really pay off in the final result!
Accurate Measurement Techniques
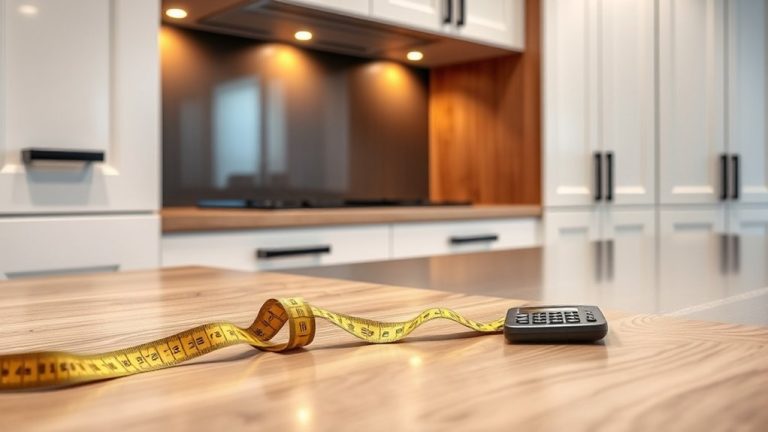
Before cutting your cabinet face panels, it’s important to take precise measurements to ensure a perfect fit. Start by measuring the height and width of each cabinet opening, making sure your tape measure stays level.
Next, record the measurements carefully, avoiding guesswork. Think about the existing hardware placement—if you’re replacing hardware, account for its position so everything lines up properly.
Then, consider color coordination. Choosing panels that match or complement your cabinets and hardware will give your kitchen a cohesive look.
Use a pencil to mark your measurements clearly on the panels. Double-check everything before cutting to avoid mistakes.
Remember, accurate measurements are key to preventing costly errors and ensuring your new panels fit seamlessly. This will give your kitchen a professional, polished finish.
Cutting Tools Selection
Choosing the right cutting tools guarantees your measurements translate accurately into clean, precise panels. For this, select a sharp saw, like a fine-tooth handsaw or a power saw with a guide for straight cuts.
A jigsaw is useful for curves or detailed cuts. Make sure your blades are sharp to prevent splintering, especially if you plan to paint or finish the panels afterward.
When considering hardware selection, choose tools that handle the material thickness and type comfortably. Properly cut panels make installing hardware easier and ensure a smooth surface for paint finishing.
Always measure twice and cut once to avoid mistakes. Using the correct tools will give you clean edges, reducing the need for sanding or touch-ups, and help your cabinet face panels look professional.
Ensuring Proper Fit
Ensuring a proper fit starts with accurate measurements and precise cuts. To do this effectively, picture these steps:
- Measure each cabinet opening carefully, considering design trends like minimalist frames or sleek edges.
- Transfer these measurements to your chosen material, whether it’s durable laminate or trendy veneer, and compare how easy they are to cut and finish.
- Mark your cuts precisely, double-checking for symmetry to match current design trends that emphasize clean lines.
- Use sharp tools to cut your panels, making sure the edges are smooth so they fit snugly without gaps.
Prime and Paint for a Smooth Finish
To get a sleek, professional look on your kitchen cabinets, it’s important to prime and paint carefully. Proper priming helps the paint stick smoothly and prevents chipping or peeling later. Use a high-quality primer suited for your cabinet material and apply it evenly.
Once the primer is dry, pick your paint color thoughtfully. Think about your overall kitchen color scheme. Choose a finish that matches your hardware style for a cohesive, polished look.
Here’s a visual to help you imagine the process:
| Cabinet Surface | Imaginary Look |
|---|---|
| Primed Surface | Smooth, even base ready for paint |
| Painted Surface | Flawless, matte or glossy finish |
| Hardware Style | Modern handles or vintage knobs boost style |
| Color Choice | Bright whites or bold hues add personality |
Attach the New Face Panels and Reinstall Doors
When attaching the new face panels and reinstalling the doors, take your time to align the hinges properly. This will help ensure everything opens and closes smoothly without any hiccups.
Make sure to secure the face panels tightly so they don’t come loose or develop gaps over time. Doing these little things carefully will really make your cabinets look professional and polished.
Align Door Hinges Properly
Before attaching the new face panels, take the time to properly align your door hinges. This step guarantees your cabinet doors hang evenly and operate smoothly. Start by adjusting the hinge screws to match your cabinet color and hardware styles, ensuring a seamless look.
Next, consider these steps:
- Visualize the door hanging flush with the cabinet frame for a clean appearance.
- Use a level to check that the door is perfectly aligned vertically and horizontally.
- Tighten hinge screws gradually, checking alignment after each adjustment.
- Open and close the door to ensure smooth operation without sticking or gaps.
Proper hinge alignment improves both the look and function of your refaced cabinets, giving your kitchen a professional finish.
Secure Face Panels Firmly
Once you’ve aligned your hinges, it’s time to securely attach the new face panels to make sure they stay firmly in place. Use screws to fasten the panels, ensuring they sit flush with your cabinet frames.
Pay attention to the placement to avoid gaps that can disrupt your kitchen lighting or reveal uneven flooring. Tighten the screws gradually, checking your work often.
This helps your cabinet doors hang properly and look professional. Remember, a secure attachment prevents wobbling and keeps everything looking sleek.
To make it easier, keep a checklist of tools and steps handy. Here’s a quick overview:
| Step | Tip |
|---|---|
| 1 | Use the right screws for your panels |
| 2 | Tighten screws evenly |
| 3 | Check alignment during attachment |
| 4 | Watch for lighting and flooring gaps |
| 5 | Test door movement before final tightening |
This approach ensures a polished finish.
Reinstall Hardware and Make Final Adjustments
After finishing the cabinet refacing, it’s time to carefully reinstall the hardware and make any final adjustments. Gather your decorative hardware, cabinet lighting, and tools to get started.
Visualize the process:
Align hinges and handles so they sit perfectly straight, giving your cabinets a polished look. Attach decorative hardware like knobs and pulls, making sure they’re secure and evenly spaced.
Check your cabinet lighting to see if any adjustments are needed for the best illumination. Test each door and drawer to ensure they open smoothly without sticking or misalignment.
As you tighten hardware, keep an eye on symmetry and consistency. Properly installed hardware enhances the overall look, especially when paired with good cabinet lighting.
Making these final adjustments will ensure your cabinet doors are both functional and attractive. This gives your kitchen a professional, finished appearance.
Pro Tips for a Flawless Cabinet Reface
Achieving a flawless cabinet reface requires attention to detail and strategic techniques. Start by selecting creative color choices that complement your kitchen’s overall style. Don’t shy away from bold or unexpected hues; these can make your cabinets stand out.
When choosing paint or veneer, ensure it’s high quality and applied evenly for a smooth finish. Next, consider unique hardware options to add personality and uplift the design. Modern, vintage, or artisanal handles and knobs can transform the look instantly.
Always measure carefully to make sure hardware fits perfectly and lines up uniformly. Take the time to clean and prep surfaces thoroughly before applying any finishes. This guarantees proper adhesion and a flawless appearance.
Troubleshoot Common Challenges During Refacing
Refacing kitchen cabinets can sometimes bring unexpected challenges, but addressing them quickly can save you time and help you get a polished look.
Common issues include uneven cabinet paint, misaligned hardware, and peeling veneer. Here’s how to troubleshoot each one:
Uneven cabinet paint: Lightly sand the surface, then apply a second coat for a smooth finish.
Misaligned hardware: Use a template or measuring tape to drill holes correctly before installing new hardware.
Peeling veneer: Carefully scrape off loose veneer, then glue and clamp it back in place.
Scratched or damaged cabinet doors: Sand the area and repaint with high-quality cabinet paint for a seamless fix.
Frequently Asked Questions
How Long Does a Kitchen Cabinet Refacing Project Typically Take?
A kitchen cabinet refacing project usually takes about 2 to 5 days, depending on your cabinet size and complexity.
You’ll spend time updating the cabinet color, choosing new finishes, and replacing hardware to give your kitchen a fresh look.
If you do it yourself, it might take longer, but hiring pros can streamline the process and guarantee everything’s done right.
Expect some variability based on your specific cabinet project.
Can I Reface Cabinets Without Removing the Doors?
You can reface cabinets without removing the doors by carefully applying adhesive or contact paper directly over the existing surface.
However, for a smoother, longer-lasting finish, removing the doors and refacing each piece is usually better.
Taking the doors off lets you prep and refinish everything properly, which helps create a more professional look.
Skipping the removal step might save time at first, but it could affect the overall quality of your project.
What Is the Average Cost of a Professional Cabinet Refacing?
You might think cabinet refacing costs are high, but a professional typically charges between $4,000 and $9,000, depending on material options and cabinet size.
The cost comparison shows that refacing is more affordable than full replacements, especially with choices like veneer, laminate, or wood overlays.
You’ll save money while updating your kitchen’s look, making it a smart investment for a fresh, modern appearance without breaking the bank.
Are There Eco-Friendly Materials Available for Cabinet Refacing?
Yes, eco-friendly veneers and sustainable finishes are available for cabinet refacing. You can choose products made from renewable materials or those with low VOC emissions to reduce environmental impact.
These options help you achieve a beautiful, updated look while being kind to the planet. By selecting eco-friendly veneers and sustainable finishes, you make a responsible choice without sacrificing style or durability in your kitchen updates.
How Durable Are Painted or Laminated Cabinet Face Panels?
You might think paint durability and laminate longevity are like fragile glass, but surprisingly, they’re quite resilient. Painted cabinet face panels can withstand everyday wear if you choose high-quality paint and proper finishing; they hold up well over time.
Laminate surfaces are even more durable, resisting scratches and moisture. So, rest assured, whether you opt for paint or laminate, your cabinet faces can stay stunning and functional longer than you’d expect.
Conclusion
With these simple steps, you’ll quickly and confidently transform tired cabinets into stylish focal points.
By paying close attention to detail, measuring carefully, and managing your materials wisely, you can make your kitchen look brand new without the hassle.
Remember, patience and precision are your best friends on the path to perfect results. So, get ready, stay smart, and give your kitchen that fresh, fabulous facelift it deserves.
Reface your cabinets with confidence and enjoy your stunning, renewed space.