Install Kitchen Cabinet Knobs: Step-by-Step Guide
Many people struggle with installing kitchen cabinet knobs, feeling overwhelmed by the process or worried about making mistakes. You’re not alone—getting those knobs just right can be tricky, but with a little guidance, it’s totally doable.
To install kitchen cabinet knobs, start by gathering your tools and choosing knobs that match your style. Carefully remove the old hardware to avoid damage.
Measure and mark drill points precisely to ensure a professional look.
Next, drill holes straight into your cabinets or drawers. Attach the knobs securely, making sure they’re straight and evenly spaced.
Clean your surface afterward for a polished finish.
Avoid common mistakes like misalignment or rushing through the process. Keep going, and you’ll achieve a perfect, professional result in no time.
Key Takeaways
- Choose knobs that match your cabinet style and measure drill points accurately, usually 2.5 to 3 inches apart.
- Carefully remove the old hardware, clean the surfaces, and create a template to ensure consistent placement.
- Mark where you’ll drill holes precisely, secure the surface, and drill slowly for clean, straight holes.
- Attach the knobs firmly with screws, making sure they’re straight and evenly aligned.
- After installation, clean the cabinets and double-check that everything is properly aligned and tight.
Gather Your Tools and Materials for Installing Cabinet Knobs

Before you start installing your cabinet knobs, it’s important to gather all the tools and materials you’ll need. Begin by choosing decorative hardware that matches your style, whether it’s vintage, modern, or rustic.
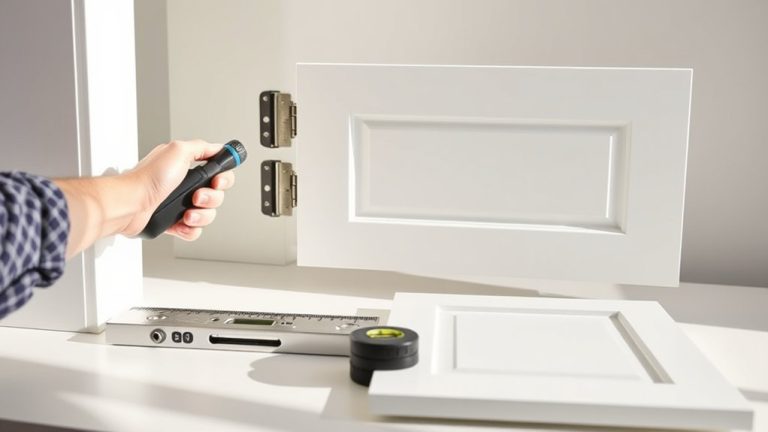
You’ll need a drill with the right bits, a measuring tape or ruler, a pencil for marking, and a screwdriver. Having a level or square can help ensure your hardware is aligned properly.
Don’t forget to get a template or a piece of scrap wood to help with consistent placement. If your knobs need specific screws, make sure you have the right size and length ready.
Keep a clean cloth nearby to wipe away dust or fingerprints after installation. Collecting everything beforehand makes the process smoother and saves you multiple trips to the toolbox.
Proper preparation helps your cabinet refurbishment look professional, with decorative hardware perfectly enhancing your cabinets’ appearance.
Remove Old Hardware Before Installing New Knobs
Removing the old hardware is a simple step that prepares your cabinets for the new knobs. Start by carefully unscrewing the decorative hardware with a screwdriver. Keep the screws and hardware aside if you plan to reuse them or want to clean them later.
Removing old hardware clears the way for new knobs and reveals cabinet surface condition.
Once the hardware is removed, check the area for any leftover debris or adhesive residue. Use a soft cloth to wipe down the surface, making sure it’s clean for the new knobs. If the hardware is dirty or tarnished, clean it with a suitable cleaner or mild soap and water, then dry thoroughly.
Taking out old hardware not only clears the way for your new knobs but also shows the condition of your cabinet surface. This helps you see if any repairs are needed before installing the new hardware.
Doing this step carefully will ensure a smooth installation process and give your cabinets a professional look.
Choose the Right Cabinet Knobs to Match Your Style
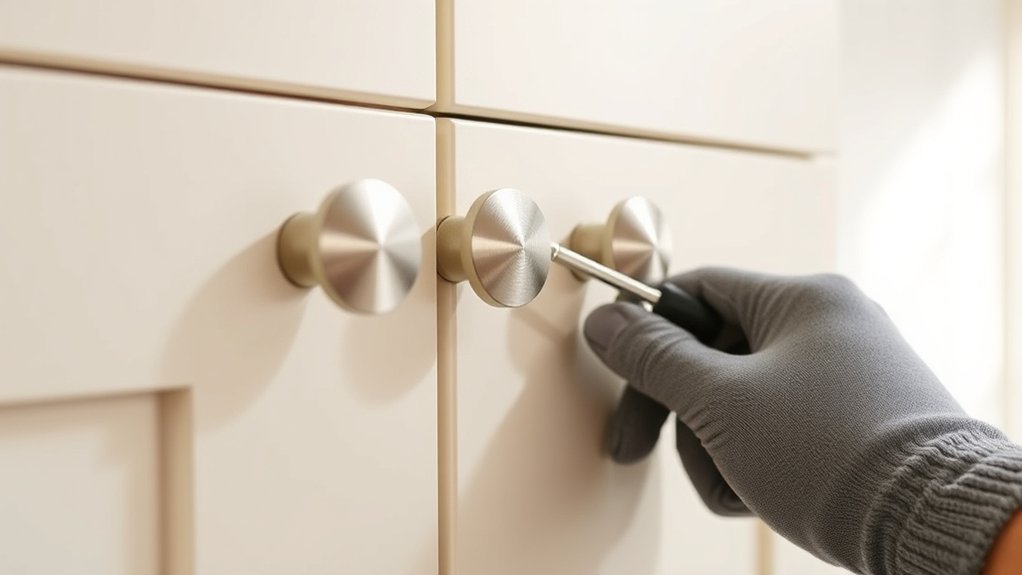
Choosing the right cabinet knobs is key to matching your overall kitchen style and boosting the space’s look. Your choice directly impacts how well your style comes together and highlights your design vision.
To find the perfect match, keep these points in mind:
- Reflect Your Style — Whether your vibe is modern, rustic, or vintage, pick knobs that showcase your kitchen’s personality.
- Material Selection — From metals to glass or ceramic, choose materials that add texture and durability, fitting your desired look.
- Color Harmony — Select knobs that complement your cabinet finishes and overall color scheme for a seamless, cohesive look.
- Handle Size & Shape — Go for sizes and shapes that feel comfortable to hold and match your cabinet design, creating visual balance.
Measure and Mark Drill Points Accurately
Accurately measuring and marking drill points is key to ensuring your cabinet knobs are aligned and installed correctly. When you get this right, your hardware will look professional and work smoothly.
Start by choosing a measuring tape or ruler to find the best spot for your knobs. Usually, knobs are placed about 2.5 to 3 inches apart, but think about the size of your cabinet doors or drawers.
Use a pencil to lightly mark where you’ll drill. Double-check your measurements before marking to prevent mistakes. For even placement, measure from the edges or corners of the cabinet.
Taking your time with accurate measurements now will make drilling easier later. It also helps keep everything looking clean and cohesive across all your cabinets.
Drill Holes Precisely in Cabinets and Drawers
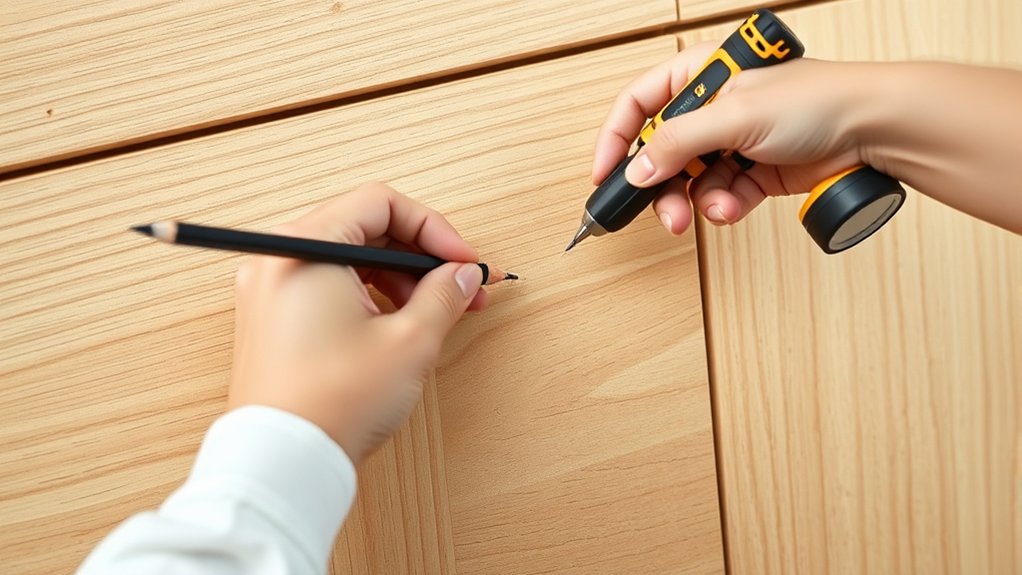
When you’re drilling holes in cabinets and drawers, the first thing to do is carefully mark where you want the holes. Using the right measurement tools, like a tape measure or a ruler, can really help you get things just right. It’s all about making sure those holes are exactly where they need to be.
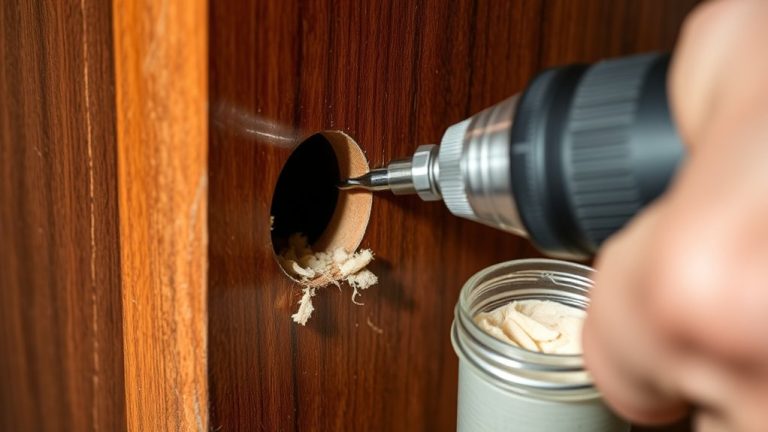
Next, keep your drill steady and stable while you’re working. If your hands shake or the drill wobbles, the holes might not come out looking neat or straight. So, take your time and hold the drill firmly. Doing this will give you clean, precise holes that make attaching your knobs or handles look professional and polished.
Mark Drilling Locations
Before drilling, you need to mark the exact spots for your cabinet knobs to guarantee they’re evenly placed and look professional. Use cabinet labels to plan your layout, making sure each knob lines up perfectly.
Properly mark drilling locations so your knobs are symmetrical and balanced. Follow these steps to create a flawless look:
- Visualize your design. Imagine the finished look to boost your confidence.
- Measure and mark. Use a pencil and cabinet labels to find precise spots.
- Double-check spacing. Make sure the distance from edges is consistent for uniformity.
- Secure your marks. Lightly tap or press to make clear, visible reference points.
Use Proper Measurement Tools
Using the right measurement tools guarantees that your cabinet and drawer holes are drilled precisely, giving a professional and polished look. Accurate tools like a ruler, tape measure, or template help you find the exact spot for each knob.
Confirming your measurements prevents misaligned holes that can ruin the appearance or make installation tricky. Before drilling, double-check your marks and use a pencil or painter’s tape to make them clear.
Using a level or a guide can help keep your measurements straight across multiple cabinets or drawers. Proper tools make the process smoother, reduce errors, and ensure your knobs are evenly spaced.
Taking the time to measure accurately pays off with a clean, cohesive finish for your cabinets.
Maintain Drill Stability
How can you guarantee your drill stays steady when creating holes in cabinets and drawers? The key is maintaining drill stability. First, choose the right drill bit selection to match your material and prevent slipping. Second, secure your workpiece with clamps to avoid shifting.
Third, keep your hands steady and apply consistent pressure. Don’t rush the process. Fourth, follow safety precautions: wear eye protection and set your drill to the correct speed. Using a drill guide or template also helps keep your drill aligned.
These steps ensure precise holes and prevent mistakes or damage. Staying focused and methodical boosts your confidence and results. It makes the entire process smoother and safer. Proper technique is your best tool for professional-looking cabinet hardware.
Install New Cabinet Knobs Step by Step
Installing new cabinet knobs is a simple project that can instantly refresh your kitchen’s look. First, pick your style—whether it’s modern, vintage, or rustic—and choose knobs that match that vibe.
Material choice is important too. Options like metal, glass, ceramic, or wood each bring a different feel to your cabinets. Once you’ve decided, gather your tools: a drill, screwdriver, and measuring tape.
Measure and mark where you want each knob. Make sure they’re evenly spaced for a neat, cohesive look. Then, use the drill to create holes at your marks, being careful not to split the wood.
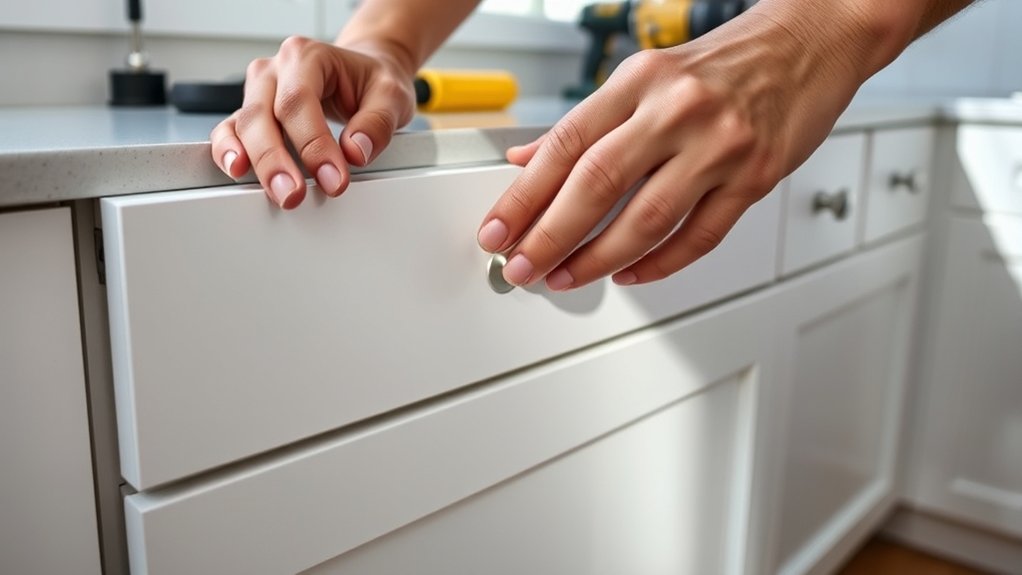
Attach each knob with screws, tightening them by hand or with a screwdriver. Take your time to make sure each one is straight and aligned.
This simple update can transform your cabinets and give your kitchen a fresh new style.
How to Ensure a Secure and Even Fit?
To make sure your cabinet knobs fit securely and evenly, start by double-checking your measurements before drilling. This step is key to a secure fit and perfectly aligned knobs. Here are four simple ways to do it:
- Use a ruler or tape measure to mark the exact center points for each knob, keeping the spacing consistent.
- Create a template with painter’s tape and a pencil. It helps you visualize placement and keeps your lines straight.
- Double-check your measurements before drilling each hole. Even small deviations can throw off the alignment.
- Drill slowly and steadily, applying gentle pressure to avoid tilting or uneven holes. This will help ensure a perfect fit.
Clean and Finish Your Cabinets After Installation
Once you’ve installed your cabinet knobs, it’s important to give your cabinets a thorough clean and finish to keep them looking their best. Start with simple cleaning tips like wiping down the surfaces with a damp cloth and a mild cleaner to remove dust, fingerprints, and smudges. Be sure to dry the surfaces completely to prevent water spots.
After cleaning, consider using finishing techniques to improve the look and protect your cabinets. If needed, apply a light coat of furniture polish or sealant to give a smooth, polished appearance. For painted or stained cabinets, check if a touch-up is necessary before sealing.
Always follow manufacturer instructions for any products you use. Regular cleaning and proper finishing will help maintain your cabinets’ appearance over time, keeping them attractive and durable.
Taking these steps right after installation guarantees your cabinets look professional and stay protected for years to come.
Common Mistakes to Avoid When Installing Knobs
While attaching your cabinet knobs, it’s easy to make mistakes that can affect both the look and functionality of your cabinets. One common error is misaligning the knobs, which can make your cabinets look sloppy and uneven.
Avoid rushing the drilling process; measure carefully to guarantee consistent placement, especially when considering decorative finishes. Choosing the wrong knob material can also cause issues—pick durable options that match your cabinet style.
Failing to tighten knobs securely can lead to them loosening over time, risking damage or loss. Additionally, overlooking the overall design can result in mismatched hardware that clashes with your decor.
Maintain and Replace Cabinet Knobs in the Future
Regular maintenance helps keep your cabinet knobs looking their best and working well over time. To maintain their appearance, try simple cleaning tips like wiping them with a damp cloth and mild soap regularly. Avoid harsh chemicals that could damage the finish.
Hardware maintenance also means tightening loose screws to stop knobs from falling off or wobbling. Check periodically for rust or corrosion, especially in humid areas, and fix issues right away. If a knob gets damaged or looks outdated, replacing it is easy.
Just unscrew the old knob and pick a new one that fits your style and cabinet design. Make sure to tighten the screws properly so everything stays secure. Regular upkeep not only helps your cabinets look good but also makes the knobs last longer, saving you time and money. Proper maintenance keeps your kitchen fresh and tidy.
Frequently Asked Questions
How Do I Choose the Best Material for My Cabinet Knobs?
You should choose a material that balances durability and how well it fits with your kitchen’s style. For durability, metals like brass or stainless steel are great because they resist wear and corrosion.
If you want a cohesive look, try matching the knob material to your cabinets or overall decor. Think about how the material feels and looks to make sure it complements your space.
And don’t forget to consider how it holds up to daily use. Picking the right material means your knobs will stay beautiful and functional over time.
What Are Alternative Methods if I Don’T Have a Drill?
If you don’t have a drill, you can try other tools like a screwdriver or a nail and hammer to make holes.
For a DIY fix, start by using a small nail to create a pilot hole, then widen it with a screwdriver.
Just be gentle so you don’t damage the cabinet.
These methods work well if you’re careful and patient, making sure your knobs stay secure without needing a power drill.
How Do I Prevent Damage to My Cabinet Surfaces During Installation?
Think of your cabinets as delicate china—you don’t want to break the bank or damage their surfaces. To prevent harm, use painter’s tape to mark drilling spots, which acts as a buffer.
Follow cleaning tips to keep the area dust-free, and always wear safety precautions like goggles. This careful approach guarantees your cabinets stay pristine, and your installation goes smoothly without any scratches or dents.
Can I Install Knobs on Curved or Irregular Cabinet Surfaces?
Yes, you can install knobs on curved or irregular surfaces, but it’s best to choose decorative accents that suit the surface’s shape. Use flexible templates or adhesive guides to mark the drill points accurately. This helps ensure the knobs fit well and stay secure.
Be gentle when installing to avoid damaging the surface. Also, pick knobs with mounting hardware designed for uneven surfaces. This approach lets you get a polished look without risking harm to your cabinet.
What Should I Do if the Knobs Are Too Loose After Installation?
If your knobs are too loose after installation, start troubleshooting by choosing the right tools like a screwdriver and maybe some wood glue or longer screws.
Tighten the knobs securely, but be careful not to over-tighten because that can damage the cabinet or strip the screw.
If they still feel loose, try replacing the screws or add a small washer for a better fit.
Regularly checking and tightening your knobs can help prevent them from becoming loose again.
Conclusion
Installing cabinet knobs can instantly upgrade your kitchen’s look, and it’s easier than you think. Did you know that well-chosen hardware can increase your home’s value by up to 5%?
By following these simple steps, you’ll ensure a professional finish that lasts. Just take your time, measure carefully, and avoid common mistakes.
Soon, you’ll enjoy a stylish, functional space with knobs that perfectly match your decor. Installing kitchen cabinet knobs is a small change that can make a big difference in your kitchen’s overall vibe.