7 Simple Steps to Replace Your Kitchen Sink
Replacing a kitchen sink can seem like a daunting task, especially if you’re unsure where to start. Many people struggle with figuring out the right steps or tools, but you’re not alone. With a little guidance, you can tackle this project confidently and save money on repairs.
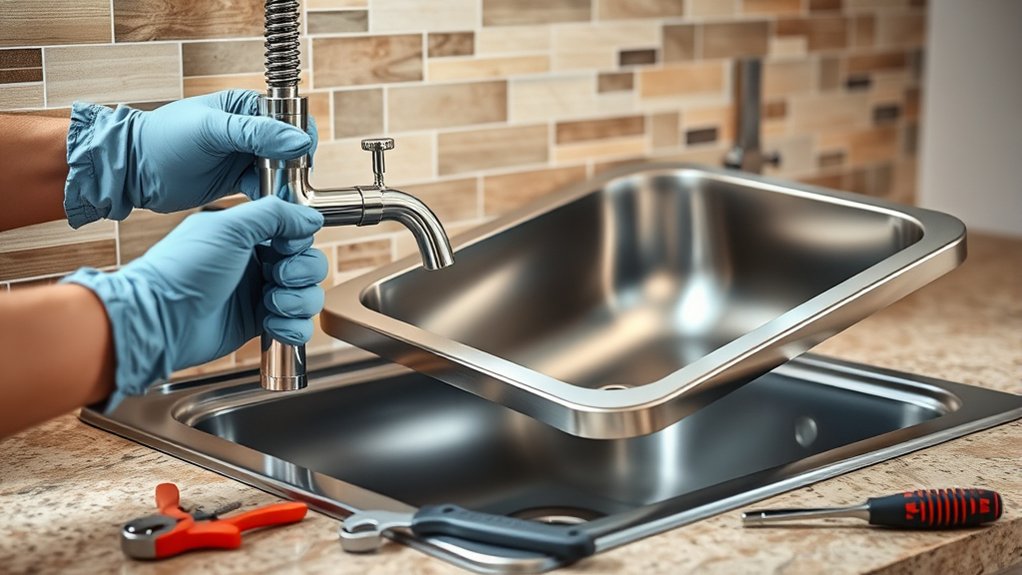
To replace your kitchen sink in seven simple steps, start by recognizing signs you need a new sink and gathering the right tools and supplies. Turn off the water, clear the workspace, and carefully disconnect the old sink while supporting it.
Fit and seal the new sink, then tighten mounting hardware. Reconnect the plumbing, check for leaks, and make sure everything is secure. For detailed guidance on each step, keep exploring—you’ll gain all the tips you need.
Key Takeaways
- Turn off the water supply and drain any remaining water from the pipes before you start removing the sink.
- Carefully disconnect the drain and mounting hardware to remove the old sink.
- Prepare your workspace by covering the cabinets and making sure you have all the tools and materials ready.
- Fit and secure the new sink in place, applying sealant to prevent any leaks.
- Reconnect the plumbing, check for leaks, and give everything a final inspection before you start using the sink.
Is Your Kitchen Sink Ready for Replacement? Signs and Benefits
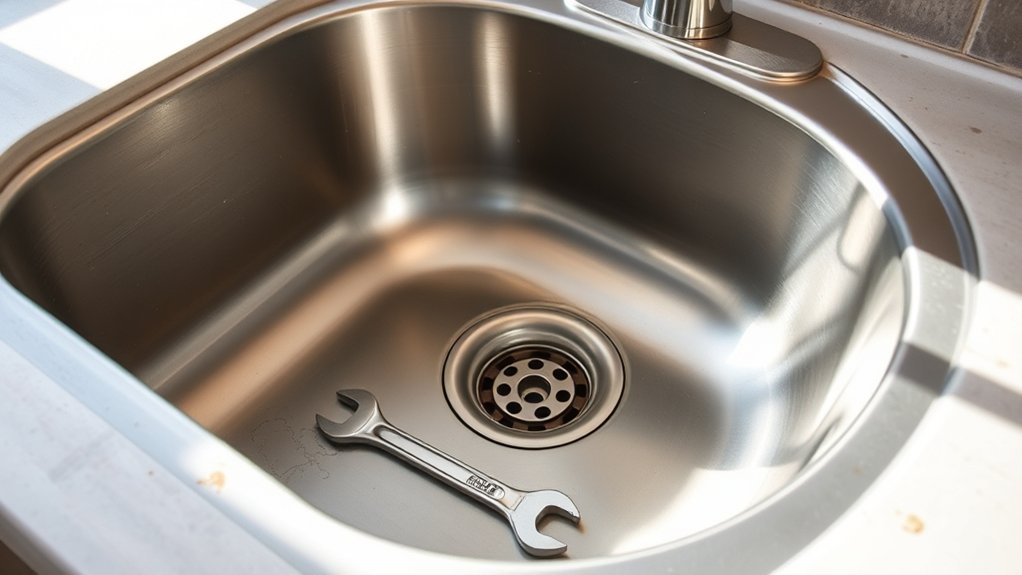
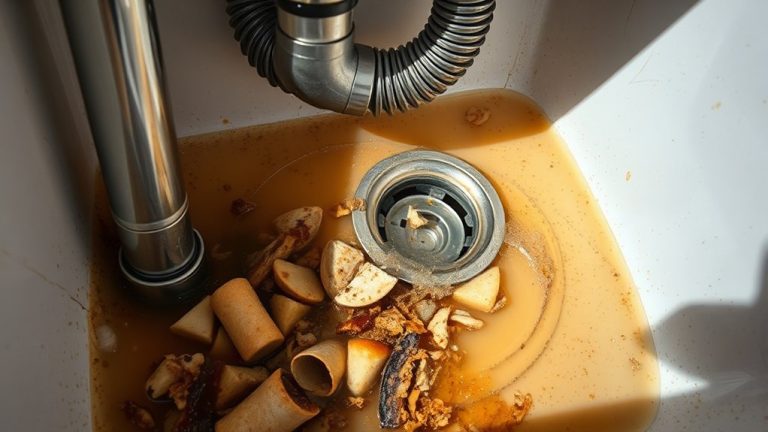
Knowing when to replace your kitchen sink can save you from ongoing headaches and costly repairs. Over time, signs of wear and tear affect durability, making replacement necessary. Cracks, chips, or persistent leaks mean your sink might be failing.
If your sink is corroded or stained beyond cleaning, it’s a clear sign it’s time to upgrade. An outdated sink might also not support water conservation efforts, leading to higher water bills.
Modern sinks are designed to be more water-efficient, helping you save money and protect the environment. If your sink no longer drains properly or has frequent clogs, it’s likely less functional than it should be.
Recognizing these signs early can prevent water waste and potential damage. Replacing your sink not only improves your kitchen’s look but also its overall function and sustainability.
Staying aware of these indicators helps you make timely, smart upgrades to keep your kitchen running smoothly.
Tools and Supplies Needed for Replacing Your Kitchen Sink
If you’re thinking about replacing your kitchen sink, it’s good to start with the basic hand tools. Things like a wrench, screwdriver, and pliers are pretty much essential. Having these on hand will make the whole process a lot easier.
Don’t forget to gather your replacement supplies too. You’ll need a new sink, of course, along with some sealant to make sure everything stays watertight. Plus, check if you need any mounting hardware — sometimes the old stuff works, but it’s often better to have new parts ready just in case.
Getting all these tools and supplies together beforehand will help the project go smoothly and save you time and frustration.
Essential Hand Tools
Before you start removing your kitchen sink, gathering the right hand tools is essential to make the process smooth and efficient. You’ll need an adjustable wrench to loosen fittings, a screwdriver (flat-head and Phillips) for securing or removing screws, and a utility knife for cutting caulk or sealant.
A bucket or container helps catch water from the pipes, while a putty knife can remove old sealant. Having a level ensures your new sink sits even. While working on your sink, consider your decorative accessories and paint options to customize your space later.
These tools allow you to disconnect plumbing safely and remove the sink without damage. Keep everything organized so the replacement process remains straightforward and quick.
Necessary Replacement Supplies
Replacing your kitchen sink means gathering the right supplies to make the job easier. You’ll want basic items like plumber’s putty, silicone sealant, and a bucket to catch water.
For installing a new faucet, make sure you have one that fits your sink’s setup. You’ll also need adjustable wrenches and plumbing tape.
Think about the sink material—stainless steel, porcelain, or composite—as each needs different handling and sealants.
A basin wrench is handy for hard-to-reach nuts, and a utility knife can come in useful too.
Double-check you have all the fittings, washers, and mounting hardware.
Being prepared with these supplies makes the replacement smoother and saves you time and frustration.
Turn Off Water and Prepare Your Workspace

Since working on your kitchen sink involves handling water lines, it’s important to turn off the water supply first. This helps prevent water damage and makes the replacement safer.
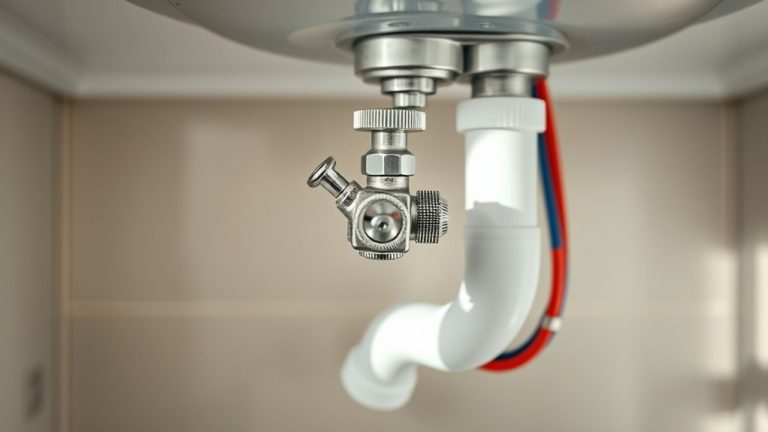
Locate the shutoff valves under the sink and turn them clockwise to stop the flow. Before you start, clear the area and cover nearby cabinets to protect their finish.
Use a bucket or towels to catch any leftover water in the lines. Turning off the water also helps conserve resources and avoids a messy cleanup.
Here’s a quick comparison:
| Water Conservation | Sink Aesthetics |
|---|---|
| Prevents leaks and waste | Protects cabinets and countertops |
| Saves water during work | Keeps workspace neat and clean |
| Reduces water bills | Maintains a tidy look |
| Ensures safety during repairs | Improves overall kitchen appearance |
Preparing your workspace carefully ensures a smooth, efficient replacement process.
How to Remove Your Old Kitchen Sink Safely
Before you start taking out your old sink, it’s a good idea to turn off the water supply first. That way, you won’t have any water pouring everywhere while you’re working. Next, disconnect the drain pipes carefully — you don’t want any spills or messes.
Once the water and drain are out of the way, go ahead and remove the mounting hardware that’s holding the sink in place. Just take your time with this part to make sure everything comes out smoothly. Doing these steps will help you avoid any leaks or damage during the removal process.
Turn Off Water Supply
To begin safely removing your old kitchen sink, you need to turn off the water supply first. This stops the water flow and prevents flooding or leaks during removal.
Locate the shutoff valves under the sink or near the main water line. Turn each valve clockwise to close them, reducing pipe pressure and stopping water flow.
Double-check that no water is coming out by opening the faucet slightly. If it doesn’t drip, the water supply is off. If there are no shutoff valves, you’ll need to turn off the main water supply to your home.
Always confirm the water flow is completely halted before proceeding. Working with pressurized pipes can cause messes or injuries.
Turning off the supply is a vital safety step before disconnecting anything.
Disconnect Drain Pipes
Begin by placing a bucket or container underneath the drain pipes to catch any remaining water. Next, loosen the slip nuts or connectors holding the drain pipes in place using pliers.
Carefully disconnect the plumbing connections, noting how everything fits together for reassembly. Be prepared for residual water to flow out.
Use the table below to understand common drain pipe replacement components:
| Component | Description |
|---|---|
| Slip Nut | Connects pipes securely, needs loosening |
| Tailpiece | Connects sink drain to drain pipes |
| P-trap | Holds water to prevent sewer gases |
| Coupling | Joins two pipes together |
| Washers | Seal connections, prevent leaks |
Proper disconnection guarantees a safe, leak-free drain pipe removal and prepares you for the next steps.
Remove Mounting Hardware
Once you’ve disconnected the drain pipes, you can focus on removing the mounting hardware that secures the sink to the countertop. Start by locating the sink support brackets or clips underneath. These are usually tightened with nuts or screws. Use a wrench or screwdriver to loosen and remove them carefully.
Here are the steps to follow:
- Identify all mounting hardware, including sink support brackets and clips.
- Use a wrench or screwdriver to unscrew nuts or screws securing the sink.
- Support the sink as you loosen the hardware to prevent sudden drops.
- Gently lift the sink away once all mounting hardware is removed.
Removing the mounting hardware is essential for a safe and smooth sink replacement process.
Step-by-Step Guide to Installing Your New Kitchen Sink
Installing your new kitchen sink might seem daunting at first, but breaking it down into simple steps makes it easier. First, pick a sink that fits your counter cutout and matches your faucet, considering the material and compatibility.
Place the sink into the opening to check the fit, making sure it sits flush and the edges line up properly. Next, apply a bead of silicone sealant around the perimeter of the cutout to prevent any water leaks.
Carefully lower the sink into place, pressing down firmly to secure it. From underneath, attach the mounting hardware to hold the sink steady. Tighten the clips evenly to avoid warping the sink or damaging the countertop.
Double-check that the sink is level and secure before moving on. This step ensures your sink is properly installed and ready for plumbing connections, making everything else easier.
Reconnect Plumbing and Test for Leaks
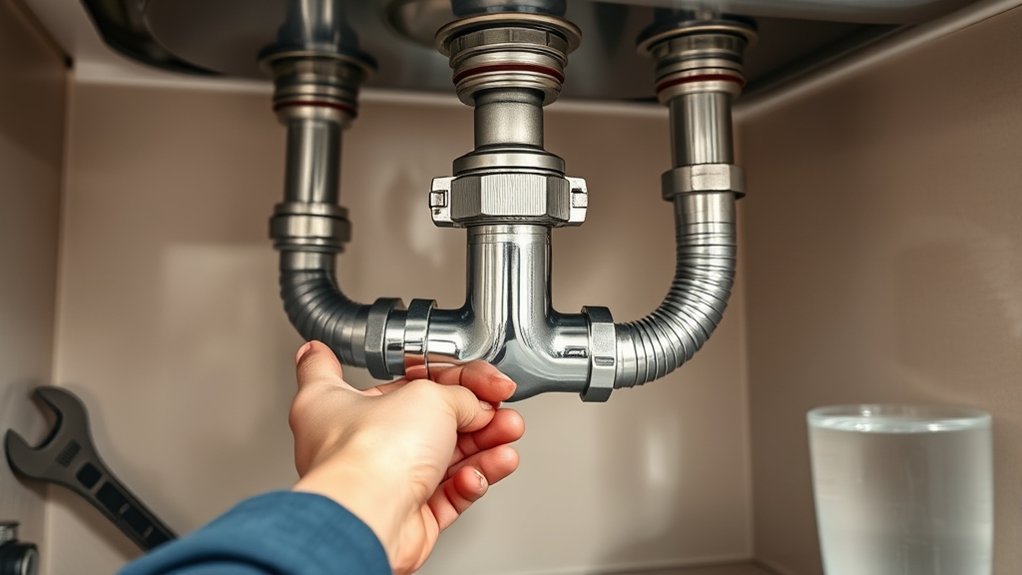
After securing the sink and mounting hardware, it’s time to reconnect the plumbing. Properly connecting the plumbing is key to preventing leaks and making sure everything works smoothly. Follow these steps:
- Attach the drain pipes to the sink’s drain opening, then tighten the connections securely.
- Connect the water supply lines to the faucet’s hot and cold inlets. Make sure each connection is tight but not overtightened.
- Check that all plumbing connections are aligned correctly, avoiding cross-threading or over-tightening.
- Turn on the water supply valves slowly to test the connections for leaks.
Inspect all joints for moisture or drips to find leaks. If you see any, tighten the fittings slightly until they stop. Once you’re sure there are no leaks, run the water for a few minutes to verify everything is working well. Properly reconnecting your plumbing helps prevent water damage and keeps your sink functioning properly.
Final Tips for Cleaning and Maintaining Your New Sink
Properly reconnecting your plumbing guarantees your sink functions smoothly and prevents leaks, but maintaining your sink is just as important to keep it looking and working its best over time.
To do this, establish simple cleaning routines that remove debris and prevent buildup. Use a gentle sponge or cloth with mild dish soap regularly to clean the surface and avoid harsh chemicals that can damage finishes.
For stubborn stains or mineral deposits, a mixture of baking soda and water often does the trick. Follow maintenance tips like checking for leaks, tightening fittings when needed, and clearing out the drain to prevent clogs.
Avoid abrasive scrubbers that could scratch your sink’s surface, and dry the sink after cleaning to prevent water spots.
Consistent care not only preserves your sink’s appearance but also extends its lifespan, ensuring it continues to serve you well for years to come.
Frequently Asked Questions
Can I Replace My Kitchen Sink Without Plumbing Experience?
Yes, you can replace your kitchen sink without plumbing experience if you follow DIY tips and understand plumbing basics.
Start by turning off the water supply and disconnecting the sink’s plumbing. Use simple tools and carefully remove the old sink.
Measure and install the new sink, making sure all connections are tight and secure.
Take your time, follow instructions carefully, and don’t hesitate to look up tutorials — you can do it!
What Types of Kitchen Sinks Are Easiest to Install?
Did you know that over 60% of homeowners find installation challenges most with heavier sinks? If you’re looking for an easier project, go for a drop-in or top-mount sink. These are the simplest to install and are pretty user-friendly.
They work well with different materials like stainless steel or composite, making the process smoother. Plus, they usually need less plumbing expertise, so you can swap out your kitchen sink without needing a professional.
How Long Does a Typical Kitchen Sink Replacement Take?
Replacing your kitchen sink usually takes about 2 to 4 hours, depending on your experience and how complex the sink is.
You’ll start by removing the old drain assembly and disconnecting the faucet, which can take around 30 minutes.
Installing the new drain assembly and faucet usually takes another hour or two.
Be patient, follow the steps carefully, and double-check all connections to make sure everything’s secure and leak-free.
Are There Any Common Mistakes to Avoid During Installation?
During installation, avoid common mistakes like overlooking leak prevention measures and fixture compatibility. Make sure to thoroughly check that all fittings are tight and sealed properly to prevent leaks later.
Confirm that your new sink fits your countertop and that the mounting hardware matches the sink’s specifications. Rushing through these steps can lead to leaks or a poorly installed sink.
Take your time to double-check everything before completing the installation. Being careful now can save you from headaches and repairs later.
Do I Need Special Tools for Different Sink Materials?
Yes, you might need special tools for different sink materials because of tool compatibility and material differences.
For example, stainless steel sinks may require clamps or pliers, while porcelain or cast iron sinks often need gentle handling and specific tools to avoid chipping or cracking.
Always check the manufacturer’s recommendations for your sink material to make sure you use the right tools. This will make installation smoother and help prevent damage.
Conclusion
Replacing your kitchen sink is a manageable project that can boost your space’s functionality and look.
Did you know that 90% of homeowners find DIY projects like this rewarding and cost-effective?
By following these simple steps, you’ll save money and enjoy a fresh, clean sink in no time.
Just remember to take your time, stay safe, and enjoy the satisfaction of a job well done.
Your upgraded kitchen awaits with a new sink that fits your style and needs!