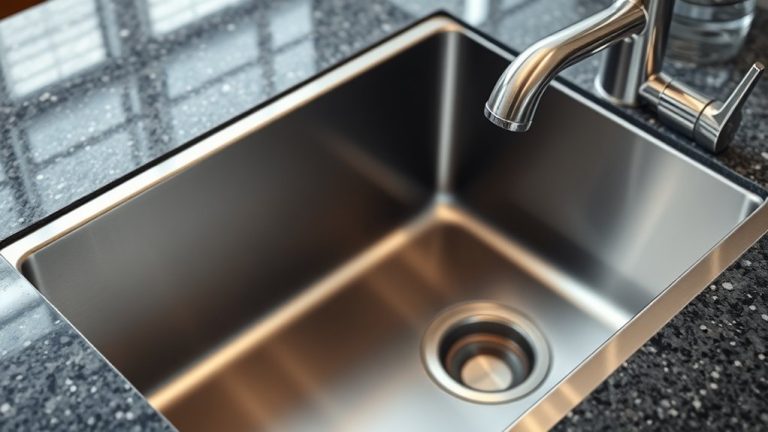
10 Steps to Properly Vent Your Kitchen Sink
Dealing with a smelly or clogged kitchen sink can be really frustrating. If you’ve ever faced backups or odors, you’re not alone—many people struggle with proper venting.
Luckily, with a few simple steps, you can ensure your sink drains smoothly and stays odor-free.
To properly vent your kitchen sink, start by inspecting the existing drain pipe for blockages or damage. Next, select the correct venting method, like a traditional stack or an air admittance valve.
Install the vent pipe above the trap, extending it through the cabinet and above the roofline, ensuring proper sizing. Use the right tools, sealant, and fittings for secure connections.
If you follow these steps, you’ll help prevent backups and odors—continue to learn how to perfect your setup.
Key Takeaways
- Find the best spot on the drain pipe above the trap to install your vent. It’s important to choose a location that allows for smooth airflow.
- Extend the vent pipe upward through the cabinet and above the roofline. This helps ensure proper ventilation and prevents sewer gases from entering your home.
- Use materials like PVC or ABS for the vent pipe, and make sure you select the right pipe size for effective venting. It’s all about compatibility and airflow.
- Apply primer and cement securely when connecting vent pipes. This creates a tight seal, preventing leaks and keeping everything stable.
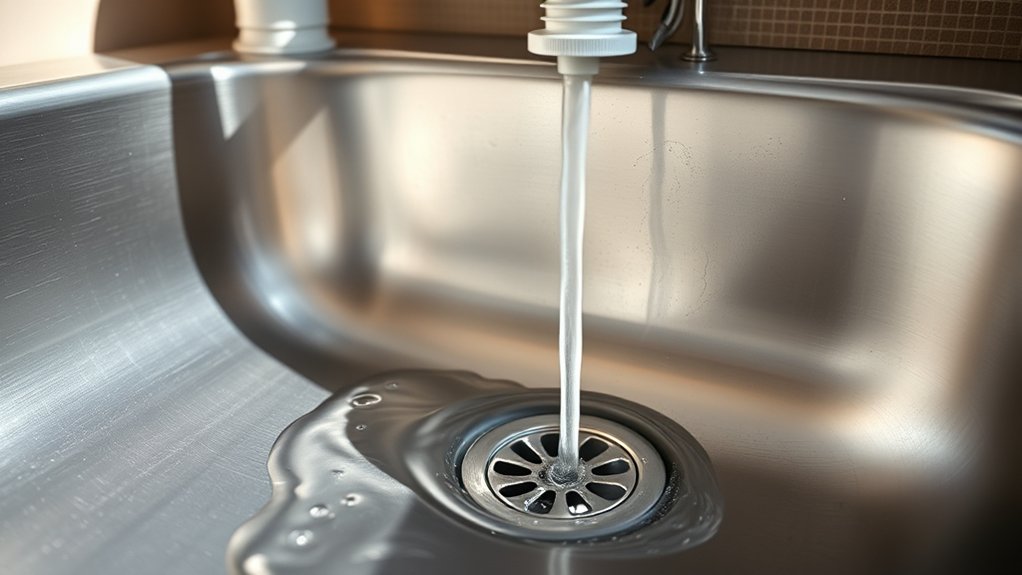
- Finally, check for any obstructions, secure all connections, and test the drainage. This will confirm that your venting system is working properly.
Why Proper Sink Venting Is Essential for Your Drainage
Proper sink venting is essential because it ensures your drainage system works smoothly and helps prevent annoying problems. If your sink isn’t vented properly, you might notice slow draining or gurgling sounds, which can make your kitchen look less appealing.
Proper sink venting keeps drains flowing smoothly and prevents annoying gurgling sounds.
Good venting allows air to flow freely through the pipes, keeping water moving steadily and stopping backups. This helps keep your kitchen tidy and reduces the chance of water damage or mold growth.
Plus, proper venting can even save water by preventing you from running the tap longer to clear clogs or slow drains. When your sink vents are working right, you avoid wasting water and keep your plumbing in good shape.
Maintaining proper venting also supports water conservation and keeps your kitchen looking nice. It makes cooking and cleaning easier and more enjoyable in an efficient space.
How Sink Venting Prevents Drain Backups
Proper vent placement is all about making sure air can flow easily through your drain. When vents are installed the right way, they help prevent any pressure from building up inside the pipes.
That’s important because without proper venting, you can get air locks—that’s when air gets trapped and stops water from moving smoothly. When that happens, water can back up and cause a mess. So, by ensuring your vents are correctly placed, you keep your sink draining nicely and avoid those frustrating backups.
Proper Vent Placement
When a sink isn’t vented correctly, air can’t flow freely through the drainpipe. This can cause water to drain slowly or even back up.
Proper vent placement is essential to maximize ventilation efficiency and ensure smooth drainage. You should position the vent close to the drain connection, ideally within a few feet of the trap, to avoid air pockets that hinder airflow.
The pipe configuration matters too. A well-designed vent system maintains balanced pressure, preventing suction that could slow or stop water flow. Make sure the vent rises vertically before connecting to the main vent stack.
Avoid sharp angles that restrict airflow. Correct placement guarantees your sink drains effectively, reducing backups and odors caused by improper ventilation.
Prevents Air Lock
If your sink isn’t vented correctly, air can get trapped in the drainpipe, causing something called air lock. This happens when the venting system isn’t allowing air to flow freely, which messes up the drainage.
An air lock can slow down water flow or even cause backups, making your sink unusable. Proper venting helps prevent this by letting air move freely through the vent system and balancing the pressure in the pipes.
To keep things working smoothly, make sure you have correct vent placement and clear vent openings. Avoid blockages and ensure your pipes are sloped properly. Regular inspections of your system also help catch issues early and keep drainage efficient.
Signs Your Kitchen Sink Needs Better Venting
Gurgling sounds coming from your sink or slow drainage are clear signs that your venting system isn’t working properly. When your sink struggles to drain smoothly, it’s often due to improper venting, which affects the overall plumbing efficiency.
You might also notice unpleasant odors lingering longer than they should or water backing up in adjacent fixtures. These issues can disrupt your kitchen decor by creating clutter or messes, and they make cleaning tips more challenging because standing water or odors demand extra attention.
If you observe frequent backups or persistent drainage problems, it’s a clear sign that your venting needs attention. Addressing these signs promptly helps maintain a pleasant kitchen environment and prevents costly repairs.
Proper venting ensures your sink drains efficiently, supports good hygiene, and keeps your space looking its best. Don’t overlook these indicators—they’re your cue to improve your venting system.
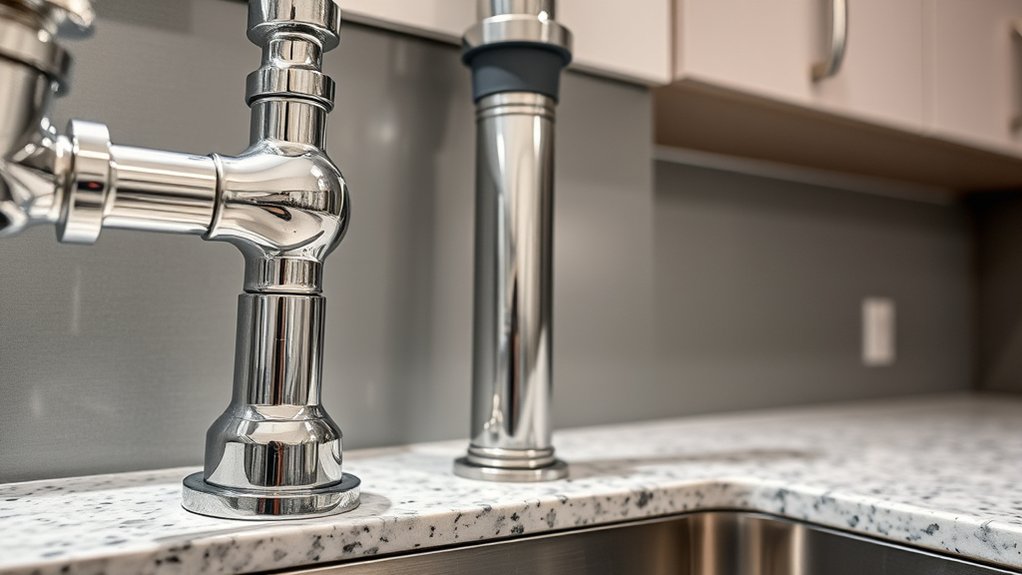
What Tools and Materials Do You Need to Vent Your Kitchen Sink?
To properly vent your kitchen sink, you’ll need specific tools and materials that make the installation process smoother and safer. Having the right items guarantees you can effectively implement ventilation techniques and select suitable pipe materials.
First, gather essential tools like a pipe wrench, hacksaw, pliers, and a tape measure. These help with cutting and fitting pipes securely.
Gather tools like a pipe wrench, hacksaw, pliers, and tape measure for secure pipe fitting and cutting.
Next, choose the correct pipe materials, such as PVC or ABS, known for their durability and ease of installation. You’ll also need primer and cement for sealing connections properly.
A vent cap or vent pipe fittings are vital for completing your ventilation system. Lastly, don’t forget safety gear like gloves and goggles to protect yourself during the process.
These tools and materials will streamline your venting project, making sure your kitchen sink functions well with proper ventilation techniques and prevents drainage issues.
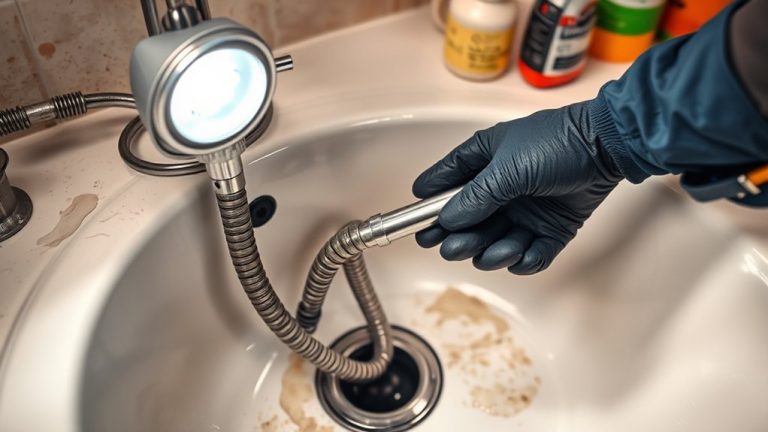
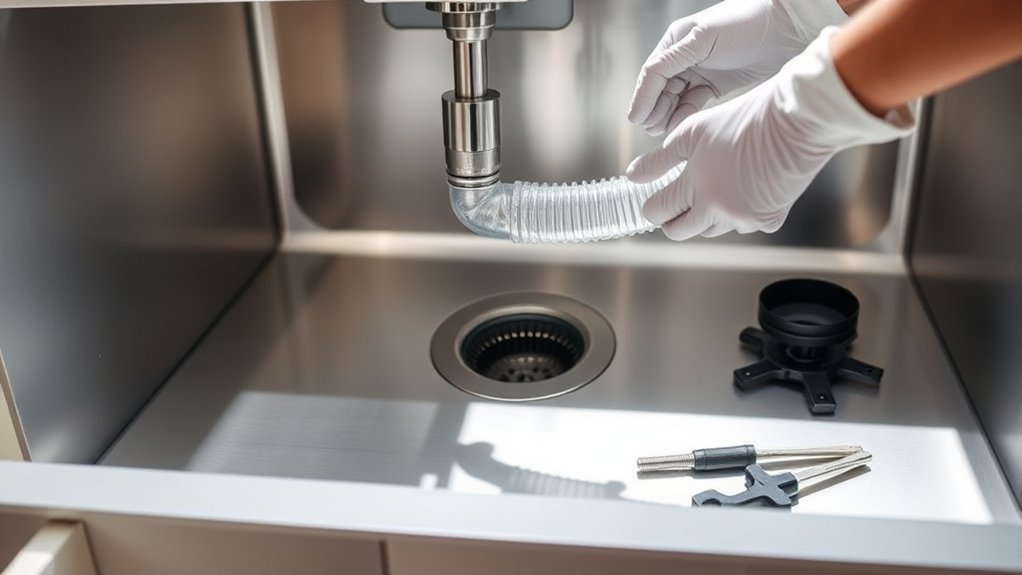
How to Install a Vent Pipe in Your Kitchen Sink
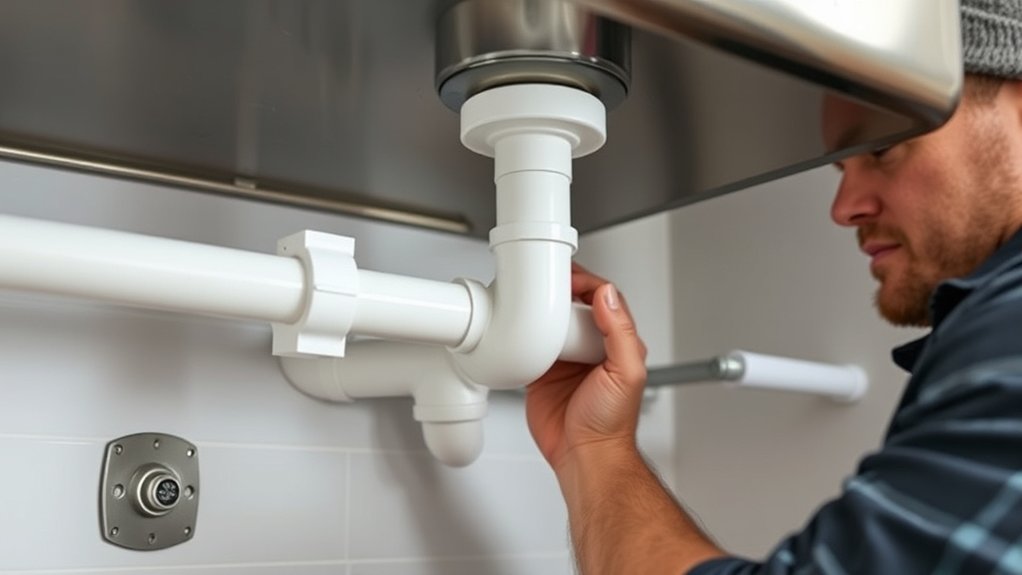
Installing a vent pipe in your kitchen sink is pretty straightforward and helps ensure proper drainage while preventing airlocks.
First, find the right spot on your drain pipe to connect the vent—usually above the trap. Carefully cut into the pipe using a saw or pipe cutter, then attach a vent fitting.
Make sure the vent pipe extends upward through your cabinet and goes above the roofline so air can flow freely. Use the right sealant to secure the connections and prevent leaks.
While working, keep your kitchen decor in mind; a neat installation keeps everything looking tidy. Regular cleaning, like removing grease buildup and debris, helps keep your vent clear and working well.
Proper venting improves drainage and cuts down on unpleasant odors. Take your time during installation to make sure everything fits snugly, and don’t rush.
A well-installed vent pipe keeps your sink draining smoothly and helps maintain the look of your kitchen space.
Which Venting Method Is Right for Your Setup?
Choosing the right venting method depends on your kitchen’s layout and plumbing setup. Your decision hinges on factors like pipe sizing, available space, and the types of ventilation techniques suitable for your system.
If your sink is close to the main vent stack, a direct vent connection might work best. For longer runs or complex layouts, air admittance valves could be an effective solution.
Understanding pipe sizing is essential; undersized pipes can hinder proper ventilation, leading to slow drainage or gurgling sounds.
Consider these options:
- Traditional vent stack connected directly to your main vent
- Air admittance valves for limited space or retrofit situations
- Wet venting, sharing a vent with other fixtures
- Loop vents for multiple fixtures in tight spaces
- Correct pipe sizing to guarantee proper airflow and drainage
Choosing the right method guarantees efficient ventilation techniques, prevents drainage issues, and maintains your plumbing system’s integrity.
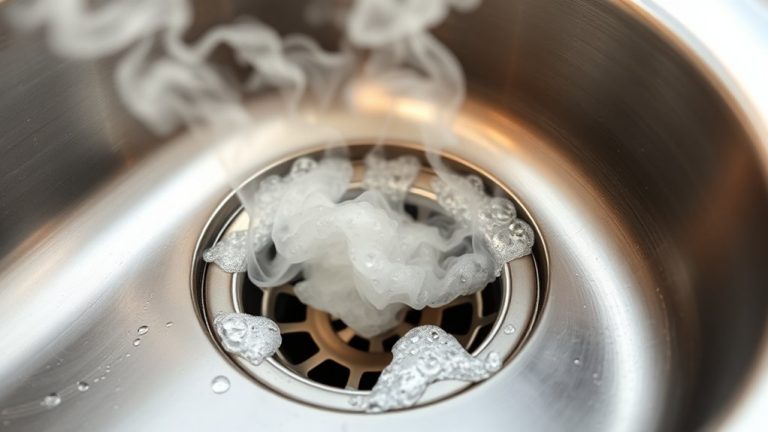
Common Mistakes That Cause Sink Drain Problems
Many common sink drain problems come from simple mistakes that you can easily avoid. One big mistake is neglecting regular drain cleaning, which allows buildup that can clog pipes and slow down drainage or cause backups.
Neglecting regular drain cleaning can lead to clogs, slow drainage, and backups.
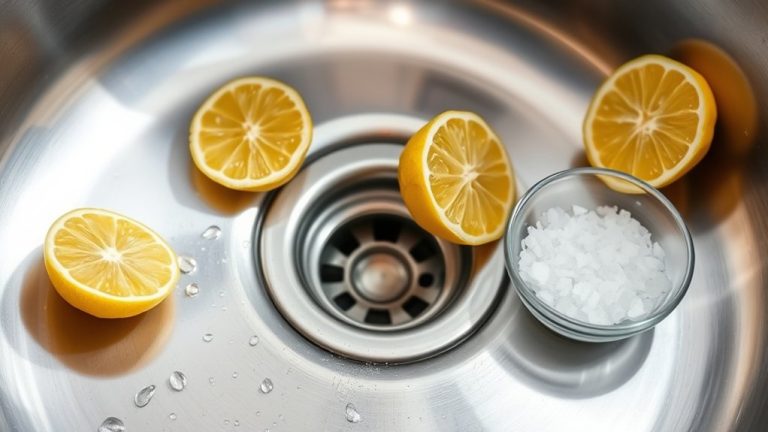
Avoid using harsh chemicals that might damage your pipes. Instead, go for safe, effective options like enzyme-based cleaners or mechanical snaking.
Another mistake is ignoring pipe insulation, especially when it gets cold. Without proper insulation, pipes can freeze and crack, leading to costly repairs and leaks.
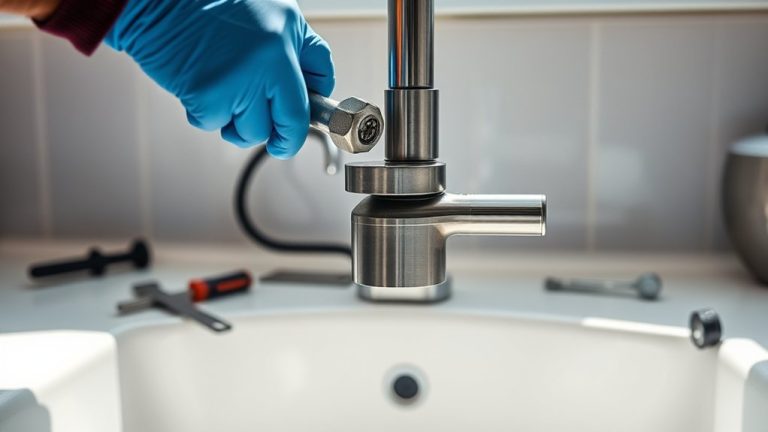
Also, improper installation of drain parts, like misaligned fittings or poorly sealed connections, can cause leaks and drainage issues. Over-tightening fittings can damage pipes or create gaps that let leaks happen.
How to Troubleshoot and Fix Sink Venting Problems
If you’re having trouble with your sink draining properly, the first thing you want to do is check for any signs of venting problems. Sometimes, you might notice gurgling sounds or slow drainage—that could be a clue that there’s a vent blockage or airflow issue.
Common causes for these problems are things like debris, bird nests, or even crushed pipes blocking the vent stack. It’s pretty straightforward to spot if something’s obstructing the vent—just take a look at the vent pipe on your roof or wherever it runs outside.
Once you find the culprit, fixing the issue is usually simple. You might just need to clean out the vent or remove any obstructions. Clearing out debris or nests, and making sure the pipes aren’t crushed or blocked, can often restore proper drainage without too much hassle.
Identifying Venting Issues
If your sink is draining slowly or making gurgling sounds, it’s a clear sign there’s a venting issue. You should check your ventilation systems to see if they’re working properly. Sometimes, vents can get blocked or installed incorrectly, which can violate plumbing codes.
Look for signs like gurgling noises during drainage, slow or backed-up water flow, and foul odors around the sink. Also, check for visible damage or disconnections in the vent pipes. Inconsistent drainage in connected fixtures can be a clue too.
Inspect the vent pipes from the roof or wall to see if they’re blocked or damaged. Make sure your system follows plumbing codes, which specify proper vent placement and size. Addressing these issues quickly can help prevent bigger drainage problems later on.
Common Causes of Blockages
Blocked vent pipes are a common cause of sink drainage problems. They often happen because debris, buildup, or pests block the airflow.
Clogged pipes, especially from grease, can also cause slow drainage or gurgling sounds. Pests nesting in vent openings can trap debris and disrupt airflow.
| Cause | Effect |
|---|---|
| Clogged Pipes | Slow drainage, foul odors |
| Grease Buildup | Vent obstruction, gurgling sounds |
| Pests | Blocked vents, poor airflow |
Keep an eye out for these issues to avoid bigger plumbing problems. Addressing them early helps your sink vent stay clear and functioning smoothly.
Effective Repair Techniques
When you notice slow draining or gurgling sounds from your sink, it’s a sign that your venting system might be clogged or obstructed. To troubleshoot, start by inspecting the vent pipe on your roof for debris or bird nests. Use a plumber’s snake or a high-pressure water jet to clear blockages in the vent.
Check for any loose or damaged pipe connections and tighten or replace as needed. Avoid unnecessary water waste by fixing leaks during repairs, supporting water conservation efforts. For a quick fix, consider installing a vent cap that prevents debris from entering.
When to Call a Plumber for Kitchen Sink Venting Help
Even with your best efforts, signs can show that your kitchen sink’s venting system isn’t working right. Spotting these early can save you from bigger plumbing headaches later on.
If your sink drains slowly, gurgles, or smells bad, it’s time to call a plumber. Poor venting can make water drain sluggishly, cause backups, or increase pipe noise.
While you might focus on decorating or cleaning your kitchen, don’t ignore these venting signals—they point to underlying issues. Trying to fix vent problems yourself can sometimes make things worse or cause hidden damage.
If problems stick around even after clearing clogs or maintaining your sink, professional help is a must. A licensed plumber can find the real cause and fix your venting system properly.
This way, you prevent future problems and keep your plumbing in good shape. Recognizing these signs early helps your kitchen run smoothly and protects your home’s value.
Tips to Maintain Proper Sink Venting and Prevent Future Issues
Regularly maintaining your sink’s venting system can prevent many common drainage problems before they start. Proper venting guarantees smooth water flow, reduces odors, and keeps your kitchen looking clean and working well.
Regular sink vent maintenance prevents clogs, odors, and drainage issues for a cleaner, more efficient kitchen.
To prevent future issues, keep an eye on your vent pipes and avoid clogging them with debris. Check for slow drainage or gurgling sounds, which often mean vent problems. Good venting also helps prevent stagnant water and bacteria buildup, supporting food safety.
Here are some simple tips to keep your sink venting in good shape:
- Clear any blockages or debris from vent openings.
- Avoid pouring grease or food scraps down the drain.
- Schedule professional inspections from time to time.
- Keep vents free from exterior obstructions.
- Use strainers to catch food particles and prevent clogs.
Following these tips will help keep your venting system working properly. This ensures your kitchen stays safe, efficient, and looking great.
Frequently Asked Questions
How Often Should I Inspect My Kitchen Sink Venting System?
You should inspect your kitchen sink venting system at least once a year. Regular maintenance helps prevent clogs and makes sure there’s proper airflow.
This reduces odors and drainage problems. During your inspection, check for leaks, corrosion, or blockages that could affect how well the vent works.
Keeping an eye on these things lets you catch problems early. That way, you can keep your drainage running smoothly and avoid costly repairs.
Can Improper Venting Cause Foul Odors in My Kitchen?
Yes, improper venting can cause foul odors in your kitchen. When the vent system isn’t working correctly, it disrupts air pressure and prevents proper airflow.
This can allow sewer gases to escape into your space, leading to unpleasant smells. Poor venting affects odor control and can make your kitchen smell worse.
Ensuring your venting is correctly installed and maintained helps keep the air flowing properly. Regular inspections can help prevent these issues and keep your kitchen smelling fresh.
Are There DIY Venting Solutions for Complex Sink Setups?
Think of your sink’s vent as a lifeline, keeping everything flowing smoothly. For complex setups, DIY solutions can work if you’re comfortable with plumbing.
You might install a wet vent or add an air admittance valve, but be sure to follow local codes. Remember, intricate systems may need professional help to prevent future issues.
If you’re confident, carefully research and plan your DIY venting. This way, you can keep your sink functioning flawlessly.
What Are the Signs of a Blocked or Damaged Vent Pipe?
You’ll notice signs of a vent pipe blockage or damage when your sink drains slowly, makes gurgling noises, or if you smell unpleasant odors.
If water backs up in neighboring fixtures or you see increased drain resistance, it’s probably a vent pipe issue.
These problems often come from blockages or damage to the vent pipe, which messes with airflow and causes drainage troubles.
Catching these signs early can help prevent bigger plumbing problems down the line.
How Does Venting Affect the Overall Plumbing System’s Lifespan?
Poor venting can cause slow drainage and frequent clogs, which puts extra wear on your plumbing system. For example, a homeowner ignored venting issues, leading to constant pipe corrosion and early replacement.
Proper venting helps improve your plumbing’s lifespan by keeping air pressure balanced. This prevents damage and makes sure the venting system works efficiently.
Regularly maintaining your vent system reduces the strain on your pipes. That means your plumbing will last longer and keep working smoothly over time.
Conclusion
Just as a river needs its dam to flow smoothly, your sink relies on proper venting to keep everything moving.
By following these steps, you become the architect of your plumbing’s harmony, preventing backups and future mishaps.
With vigilance and care, you can ensure your kitchen’s heartbeat remains steady.
Remember, a well-vented sink isn’t just plumbing. It’s the silent guardian of your daily flow, keeping chaos at bay and your home running smoothly.