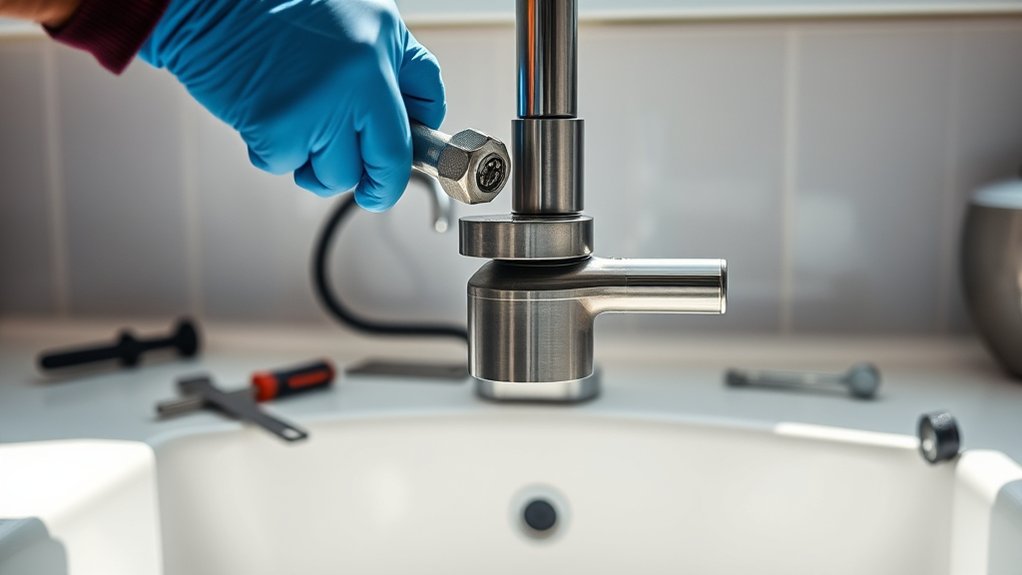
10 Easy Steps to Remove Kitchen Sink Faucet
Are you tired of dealing with stubborn or leaky kitchen sink faucets? You’re not alone—many people struggle with removing and replacing their faucets smoothly. If you’re considering a DIY upgrade or need to fix a leak, knowing how to remove a kitchen sink faucet is essential.
To remove your kitchen sink faucet, start by turning off the water supply and disconnecting the water lines with adjustable pliers. Remove the faucet handles, then loosen the mounting nuts beneath the sink.
Carefully lift out the faucet body, catching any residual water in a cloth or bucket. Check for damage or buildup, then reassemble or install your new faucet.
If you keep going, you’ll find out how to complete the process smoothly and safely.
Key Takeaways
- Turn off the main water supply and open the faucet to drain any remaining water.
- Use adjustable pliers to disconnect the hot and cold water supply lines.
- Remove the mounting nuts underneath the sink and detach the faucet from the sink surface.
- Carefully lift out the faucet, making sure not to damage the sink or surrounding area.
- Inspect and clean the area before installing a new faucet or reassembling everything.
Why You Might Need to Remove Your Kitchen Sink Faucet
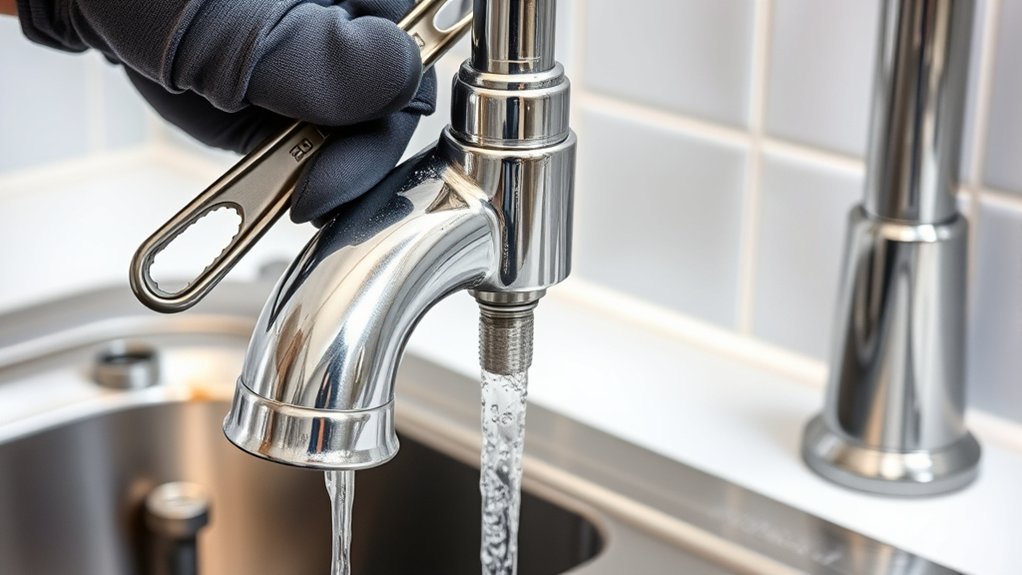
You might need to remove your kitchen sink faucet if it’s leaking, dripping, or not working properly. Over time, wear and tear can cause leaks that damage your sink area or boost your water bills.
Sometimes, a malfunctioning faucet makes daily tasks frustrating, so replacing it becomes necessary. Your kitchen design also plays a role; if you’re remodeling, upgrading to a modern faucet can improve both function and style.
A malfunctioning faucet can make daily tasks frustrating, making replacement essential for better function and style during remodels.
Different faucet styles—like pull-down, single-handle, or multi-function models—offer features that might better suit your needs. If your current faucet doesn’t match your new look or no longer fits your lifestyle, removing it makes sense.
Corrosion or mineral buildup can also impair performance, making replacement the best choice. Removing the faucet lets you upgrade to a more efficient, stylish, or easier-to-use model, improving your overall kitchen experience.
Gather the Tools Needed for Faucet Removal
Before you start, collect all the tools you’ll need to make the job easier and smoother. Knowing a bit about plumbing and faucet design helps you guess what tools might be necessary.
Modern faucets often have quick-connect fittings, but older models might need special tools. You’ll probably want an adjustable wrench, basin wrench, and Phillips and flathead screwdrivers.
Having a bucket or cloth nearby is helpful for catching any leftover water. If your faucet has a decorative escutcheon or unusual connections, you might also need pliers or a scraper.
Understanding the type of faucet you’re working with makes it easier to pick the right tools. Preparing everything beforehand prevents delays and potential damage.
Getting these essentials ready now sets you up for a hassle-free removal, no matter how old or complex your faucet is.
Turn Off the Water Supply and Prepare Your Workspace
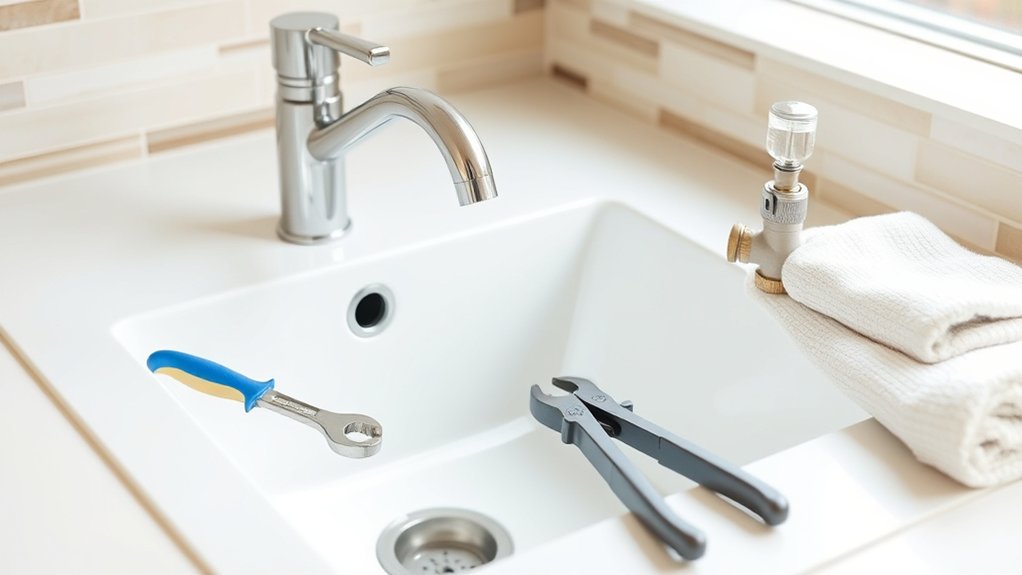
First things first, find your main water valves and turn them off. That way, you won’t have to worry about any leaks while you’re working. Once that’s done, clear out the area around the sink so you have plenty of space to work with. It’s also a good idea to protect nearby surfaces—maybe with a cloth or some tape—to prevent any damage. Having a tidy, organized workspace will make the whole removal process much smoother and safer.
Locate Main Water Valves
Locating the main water valves is an important first step before removing your kitchen sink faucet. Shutting these valves stops the water flow, helping you control water pressure and avoid messes.
You’ll usually find the valves under the sink or near the water meter. Knowing the different types, like ball or gate valves, makes operating them easier. Here’s a quick reference:
| Valve Type | Characteristics |
|---|---|
| Ball Valve | Single lever, quick shutoff |
| Gate Valve | Turn wheel, slower to operate |
| Stop Valve | Common under sinks, simple toggle |
| Check Valve | Prevents backflow |
| Pressure Valve | Regulates water pressure |
Make sure both hot and cold water valves are closed before you start working.
Clear and Protect Area
To start, turn off both the hot and cold water supply valves under the sink to prevent water from flowing during the faucet removal. Next, clear the area around the sink, removing any items that could get in your way. Cover nearby cabinets and countertops with a cloth or plastic to safeguard against spills or debris.
This is a good time to check your tools for maintenance—sharpen or replace worn-out tools to make the process smoother. Keep cleaning tips in mind: wipe down surfaces to avoid grime buildup and guarantee a clear workspace.
Organize the parts you remove so you know where everything belongs when reinstalling. Creating a clean, protected area minimizes mess and damage, making the faucet removal safer and more efficient.
Disconnect Water Lines and Remove Faucet Handles
Before removing the faucet handles, you need to disconnect the water lines to prevent leaks and water damage. Turn off the water supply valves under the sink, then open the faucet to drain any remaining water.
Use adjustable pliers to loosen and disconnect the water supply lines from the faucet. Be prepared for some residual water to drip out.
Once disconnected, you can proceed to remove the handles. Use a screwdriver to loosen any screws securing the handles, keeping in mind that different faucet models may have various screw types or hidden clips.
If the handles are stubborn, try applying a little penetrating oil to loosen any corrosion. Take care not to damage the handles during removal.
Keep track of all small parts and screws for reassembly. This step clears the way for further faucet removal and ensures a safe, leak-free process.
Loosen and Take Out the Faucet Body
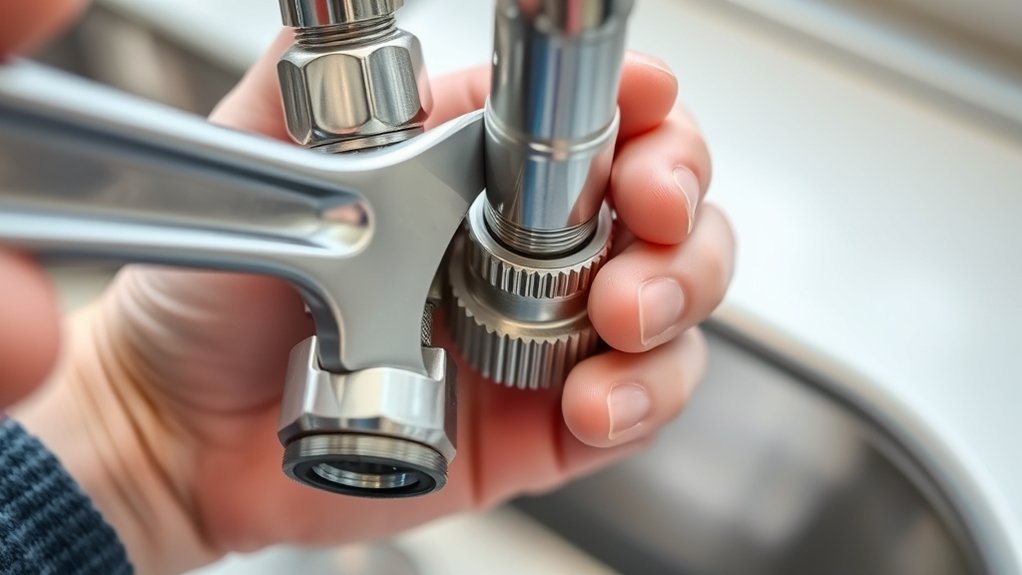
Once the handles and water lines are removed, you can start loosening the faucet body. Begin by locating the faucet mounting nuts underneath the sink. These nuts hold the faucet in place, so grab a wrench to loosen and remove them.
Loosen the mounting nuts beneath the sink to remove the faucet body.
Handle removal has already cleared the way, but double-check that all mounting hardware is accessible. Sometimes, there’s a gasket or mounting plate—carefully remove these if needed.
As you loosen the mounting nuts, gently wiggle the faucet body to free it from the sink. Be mindful of any remaining sealant or debris that might be holding it in place.
Once it’s loose, lift the entire faucet body straight up and out of the hole. Keep a towel or container nearby to catch any residual water.
Removing the faucet completes the disassembly, getting you ready for cleaning or installing a new faucet.
What to Do if the Faucet Is Stuck or Corroded?
If your faucet is stuck or corroded, don’t force it—applying too much pressure can damage the sink or the fixture. For a stuck faucet, carefully loosen the fittings using penetrating oil like WD-40. Let it sit for a few minutes to loosen rust or mineral buildup.
If fittings are corroded, you might need to replace them. But first, try soaking the area with lubricant to free up the stuck parts.
Here’s a quick guide:
| Issue | Solution |
|---|---|
| Stuck faucet | Use penetrating oil, gently twist, and apply steady force |
| Corroded fittings | Apply lubricant, wait, then carefully loosen or replace |
| Rust buildup | Soak with rust remover, then clean or replace fittings |
| Severe corrosion | Consider replacing fittings or call a professional |
Following these steps helps ensure safe removal without damaging your sink or fixture.
Inspect the Sink Area for Damage or Wear
Inspecting the sink area for damage or wear is an important step before removing the faucet. Hidden issues can cause problems during or after the process, so it’s best to evaluate the condition first.
Look for cracks, chips, or corrosion that could weaken the material or affect how it looks. Check around the faucet base for leaks or signs of deterioration. Make sure the mounting area is stable and free from rust or mold.
This helps ensure a smooth removal and a solid foundation for what comes next. Take a close look at the sink surface and surrounding surfaces to catch any issues early.
Install Your New Faucet or Reassemble the Old One
After confirming the sink area is free of damage or wear, it’s time to install your new faucet or reassemble the old one. Start by applying plumber’s tape to the threads of the faucet connections to prevent leaks.
Ensure the sink area is damage-free before installing or reassembling your faucet for a secure, leak-free fit.
Align the faucet properly, then tighten the mounting nuts securely by hand. Finish with a wrench, but be careful not to over-tighten, as that could damage the parts.
While installing, keep faucet maintenance tips in mind to ensure smooth operation and longevity. Once everything is in place, reconnect the water supply lines, making sure they’re snug but not overly tight.
Turn on the water supply and check the water pressure. It should flow steadily without sputtering or drops. If you notice low water pressure, double-check for kinks or blockages in the supply lines.
Proper installation and attention to water pressure will help your faucet function efficiently. This reduces the need for future repairs and keeps your faucet well-maintained.
Check for Leaks and Test the Faucet
Wondering whether your faucet is properly sealed? Before finishing up, you should check for leaks and test the faucet thoroughly. Turn on the water supply slowly and watch all the connections for drips or moisture.
Run both hot and cold water to make sure everything flows smoothly. This step is really important for your kitchen organization because leaks can cause water damage or mold over time.
Here are some key points to keep in mind:
- Inspect all joints and fittings for signs of leaks or drips.
- Use a paper towel or cloth around connections to easily spot any moisture.
- Test the faucet’s operation, making sure it moves smoothly and the water flows properly.
Tips for a Safe and Successful Faucet Removal
Before you begin removing the faucet, it’s really important to turn off the water supply completely. That way, you won’t have any surprises or water messes while you’re working.
Next, make sure you have the right tools on hand—using the proper tools makes the job way easier and helps prevent any damage. And don’t forget to wear protective gear like gloves and goggles; safety should always come first.
Following these simple steps will help ensure your faucet removal goes smoothly and safely.
Turn Off Water Supply
Turning off the water supply is the first step to safely removing your kitchen sink faucet. This stops water from spraying or leaking during the process, especially when dealing with different water pressures.
Before shutting off the valves, check the pipe material, as some types may need careful handling to avoid damage.
Locate the shut-off valves under the sink or near the main water supply. Turn both the hot and cold water valves clockwise to close them.
Open the faucet slightly to release any remaining pressure and make sure the water flow has stopped.
Taking these steps helps prevent water damage and makes the removal easier. Always double-check that the water has stopped before disconnecting the faucet.
Use Proper Tools
Gathering the right tools is key for a safe and successful faucet removal. Depending on your faucet type, you might need basic tools like an adjustable wrench and screwdriver, but sometimes alternative tools can make the job easier.
For tight spaces, a basin wrench can be really helpful, especially with corner-mounted or deck-mounted faucets. If bolts are stubborn, pliers or a socket set might come in handy.
Having the correct tools prevents damage to your sink or faucet and makes the process smoother. Always check the manufacturer’s instructions for any specific tool requirements.
Using the proper tools not only speeds up the removal but also keeps you safe during the task. Choose your tools wisely based on your faucet’s design and the challenges you expect to face.
Wear Protective Gear
Wearing protective gear is essential to keep yourself safe while removing a kitchen sink faucet. Safety precautions help prevent injuries from sharp edges, debris, or splashing water.
Always put on the right gear before starting the task. This includes gloves to protect your hands, safety goggles to shield your eyes from splashes, and a dust mask if you’re working in a dusty environment.
These protective items minimize risks and guarantee a safer working process. Remember, even small accidents can cause discomfort or injuries, so don’t skip safety precautions.
Taking these simple steps makes the faucet removal smoother and safer. Prioritize safety to avoid unnecessary setbacks and focus on completing the job efficiently.
Your safety should always come first during any plumbing project.
Frequently Asked Questions
Can I Remove My Kitchen Faucet Without Turning off the Water Supply?
You shouldn’t try to remove your kitchen faucet without turning off the water supply. It’s safer and makes the job easier.
Shutting off the water prevents messes and potential damage. If you skip this step, water could spray or leak, making the task more difficult.
Always turn off the shut-off valves before removing your faucet to ensure a smooth, mess-free process. This also helps you avoid costly repairs later.
What Safety Precautions Should I Take During Faucet Removal?
A stitch in time saves nine, so prioritize safety during faucet removal. You should turn off the water supply to prevent leaks or accidents. Wearing gloves can protect your hands, and using the right tools helps avoid damaging fixtures.
Be cautious of sharp edges and make sure your workspace is dry to prevent slips. These faucet safety tips and removal precautions keep you safe and make the process smoother. Following these steps helps avoid unnecessary mishaps.
How Do I Identify the Type of Faucet I Have?
To identify your faucet type, start by examining the faucet style—single-handle, double-handle, or pull-down.
Use clues like checking for mounting hardware underneath the sink, looking for brand labels, or measuring the number of holes in your sink.
These details help determine if you have a cartridge, compression, or ball faucet. Recognizing these features ensures you pick the right replacement parts and follow proper removal steps.
What Tools Are Essential for Removing a Stubborn or Rusted Faucet?
To remove a stubborn or rusted faucet, you’ll need essential plumbing tools like adjustable wrenches, basin pliers, and a screwdriver. Use these tools to loosen fittings carefully.
Applying rust removal techniques such as penetrating oil like WD-40 can help loosen rusted parts. Let the oil sit for a few minutes before turning the fittings.
Patience and proper tools make removing even the most stubborn faucet manageable. Just take your time and work carefully.
How Long Does the Faucet Removal Process Typically Take?
The faucet removal timeline usually takes about 30 minutes to an hour, depending on your experience and the faucet’s condition.
The removal process can take longer if you run into rusted or stubborn parts, which might need extra time or special tools.
To keep things moving smoothly, gather all your tools ahead of time, work patiently, and follow each step carefully.
This way, you can make the process efficient and avoid unnecessary delays.
Conclusion
Removing your kitchen sink faucet might seem intimidating, but with the right steps, it’s as smooth as peeling a ripe fruit. Take your time, stay organized, and follow each step carefully.
Once you finish, you’ll have a fresh, functioning faucet that’s ready to serve your needs. Think of it as giving your kitchen a little facelift—simple yet satisfying.
Before long, you’ll be enjoying your upgraded sink with confidence and ease. And remember, tackling this project is easier than you think when you follow these straightforward steps to remove your kitchen sink faucet.