7 Simple Steps to Fix a Leak Under Your Kitchen Sink
Dealing with a leak under your kitchen sink can be frustrating and stressful. Many people struggle with this common household problem and feel overwhelmed trying to fix it themselves. But don’t worry—you’re not alone, and fixing it is easier than you think.
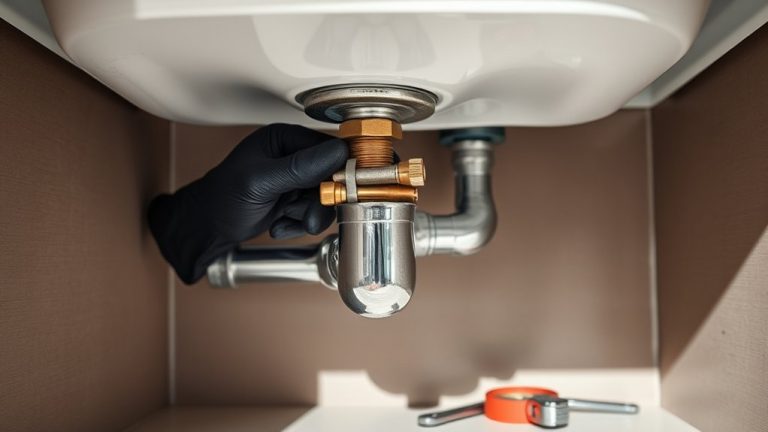
To fix a leak under your kitchen sink, start by locating the leak—inspect pipes and fittings for drips or moisture. Next, turn off the water supply to prevent more water damage. Gather essential tools like wrenches, replacement washers, and a bucket.
Then, tighten fittings or replace worn parts to stop the leak. Afterward, turn the water back on and check for leaks. If the problem persists, you’ll find detailed steps to resolve it completely below.
Key Takeaways
- Turn off the shut-off valve and drain any remaining water by opening the faucet.
- Next, look closely to find where the leak is coming from—check connections, fittings, or pipes visually.
- If you see loose fittings, tighten them or replace worn washers to fix minor leaks.
- For small cracks or damaged pipes, apply plumbing sealants or epoxy.
- Finally, turn the water back on and watch carefully for any leaks or drips still hanging around.
How Do You Find the Leak Under Your Kitchen Sink?
Wondering how to locate the leak under your kitchen sink? Start with leak detection by inspecting all visible pipes and fittings. Look for water spots, drips, or puddles that hint at the leak’s location.
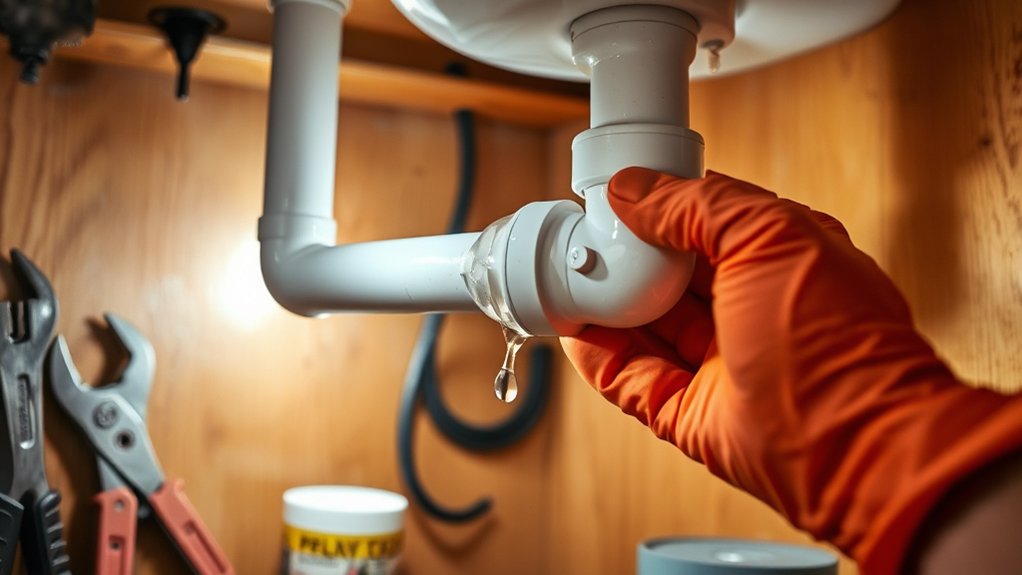
Water tracing involves following the path of water to its source. Turn on the faucet and watch where water drips or pools. Check under the sink, focusing on joints, connections, and seals.
Turn on the faucet and observe where water drips or pools to identify the leak source.
Use a dry cloth to wipe surfaces, then watch for fresh moisture. If water pools or seeps through, that can help pinpoint the exact spot. For hidden leaks, gently pressurize the pipes with water and observe if leaks appear.
Sometimes, a flashlight and mirror can reveal leaks in tight spots. Proper leak detection makes it easier to know where to focus your repair efforts, saving you time and preventing further damage.
How Do You Turn Off Water and Prepare Your Sink Area?
Before you start fixing the leak under your kitchen sink, it’s essential to shut off the water supply to prevent further water damage. Locate the shut-off valves beneath the sink and turn them clockwise to stop water flow. This reduces water pressure in the pipes, making the repair safer and easier.
Once the water is off, open the faucet to drain any remaining water and relieve pressure. Next, protect your sink area by placing a bucket or towel underneath to catch drips. If your pipes are insulated with pipe insulation, carefully remove or peel back the insulation to access the fittings.
This step helps prevent accidental damage and keeps your work area organized. Taking these precautions guarantees you won’t be overwhelmed by water pressure or leaks as you prepare to fix the leak. Properly shutting off the water and preparing the sink area sets the foundation for a smooth repair process.
What Tools and Materials Do You Need to Fix the Leak?
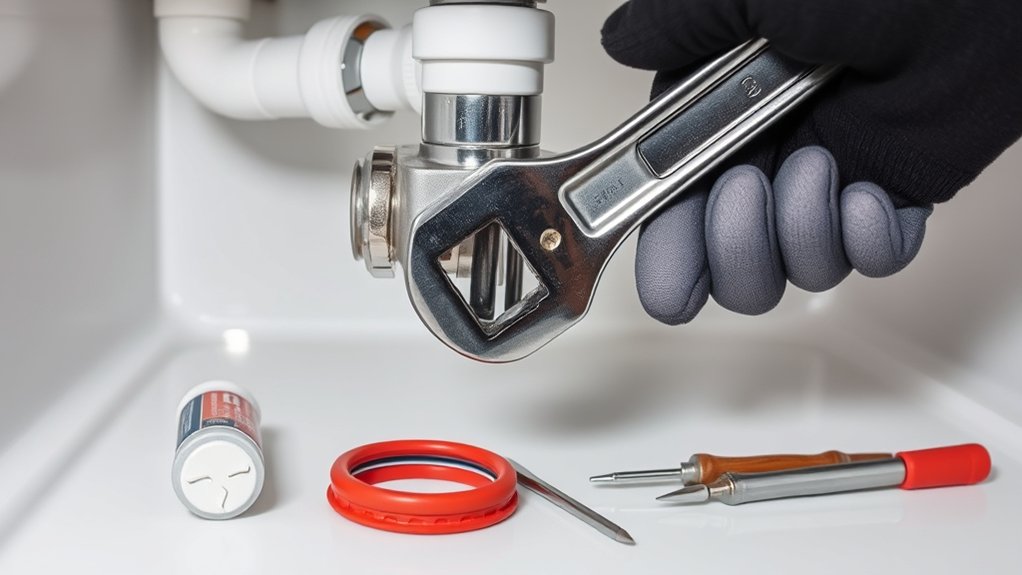
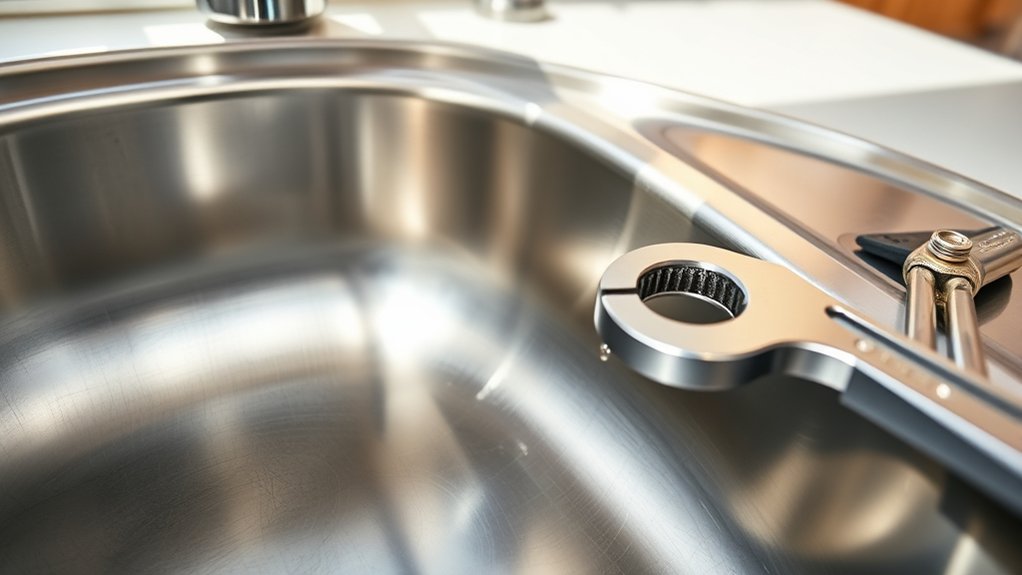
To effectively fix the leak under your kitchen sink, you’ll need a few essential tools and materials on hand. An overview includes an adjustable wrench, pliers, a screwdriver, and a putty knife.
These tools help you loosen fittings, remove damaged parts, and apply sealant if needed. For materials, gather plumber’s tape, replacement washers, pipe joint compound, and a bucket to catch any water.
Having a rag or sponge nearby is useful for cleaning up spills. You might also want a small hacksaw if you need to cut pipe sections. Make sure your tools are in good condition for easy handling.
Collecting these tools and materials beforehand will make the repair process smoother and quicker. Having the right equipment on hand ensures you can tackle common issues like loose fittings or worn washers efficiently, avoiding unnecessary delays or extra trips to the hardware store.
How Do You Fix Common Kitchen Sink Leaks?
Dealing with a leaky kitchen sink can be pretty frustrating, but the good news is, most leaks are pretty easy to fix. First things first, you want to figure out exactly where the water is coming from. Is it dripping from the faucet, underneath the sink, or maybe from the drain? Once you’ve pinpointed the source, it’s much easier to decide what needs fixing.
From there, you can take the right steps. Sometimes, it’s just a matter of tightening a loose fitting. Other times, you might need to replace a worn-out washer or seal a crack. Knowing what to do makes all the difference in getting your sink back to normal quickly and without too much hassle.
Identifying Leak Sources
When dealing with a leak under your kitchen sink, the first step is pinpointing where the water is coming from. Carefully inspecting the source helps you identify the leak quickly.
Start by wiping down all surfaces to see if new drips form. Then, check for signs like water stains, corrosion, or mineral buildup around the pipes and fittings.
Next, take a close look at pipe connections and fittings for any looseness or cracks. Don’t forget to inspect the sink drain and tailpiece for leaks, as well as the water supply lines for damage or leaks.
Applying Effective Repairs
Once you’ve identified the leak source, applying the right repair methods is essential to stopping the drip. You can try simple fixes like tightening fittings or replacing worn washers. For stubborn leaks, explore options like epoxy putty or rubber repair sleeves.
Be cautious of common plumbing mistakes, like over-tightening connections or using incompatible sealants, which can make leaks worse. Use the table below to choose the best method for your situation:
| Leak Type | Repair Technique |
|---|---|
| Loose fittings | Tighten or replace washers |
| Cracked pipe or fitting | Use epoxy or replace damaged parts |
| Worn out seals | Replace with new seals |
| Corrosion or rusted parts | Apply rust remover or replace parts |
| Minor drips from joints | Apply appropriate sealant or tape |
How Can You Confirm the Leak Is Fully Repaired?
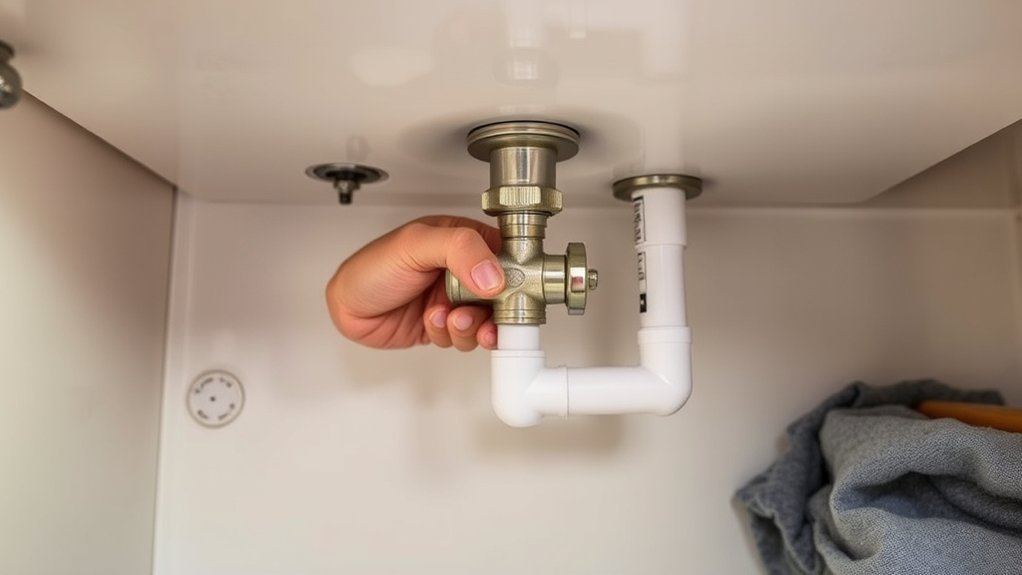
To make sure your repair did the trick, start by looking around the sink for any drips or wet spots. If everything looks dry, go ahead and turn on the water to see if the leak comes back or if you notice any water escaping.
After that, just keep an eye on things over the next few hours. Sometimes leaks can be sneaky and take a little time to show up again, so it’s a good idea to double-check that everything stays dry.
Check for Drips
How can you be sure the leak is truly fixed? The key is to do thorough drip detection by checking for any signs of dripping or moisture around the repair area. Look closely at the pipes, fittings, and underneath the sink for leak symptoms that may still show up.
To confirm, try these steps:
- Watch the area for a few minutes after running water to catch slow drips.
- Feel for dampness or moisture on pipes and cabinets.
- Use a dry cloth to wipe surfaces, then check again for new moisture.
If no drips or dampness appear, you’ve probably fixed the leak. Remember, even small leaks can be tricky. Pay attention to subtle leak signs to make sure the repair is complete.
Conduct a Water Test
Are you confident that the leak is fully sealed? To be sure, do a water test by turning on the faucet and watching the area under your sink.
Look for any signs of water, drips, or pooling that could mean there’s still a problem. Keep an eye on the water quality too; dirty or discolored water might hide small leaks or damage.
Think about the pipe materials involved. Some plastics or metals could show corrosion or cracks that aren’t obvious at first glance.
After running water for a few minutes, check all joints, fittings, and pipe surfaces closely. If you don’t see any water or dampness, it’s likely the leak is fixed.
But if you notice any moisture, go back and double-check your work. Tighten connections as needed and look carefully for any remaining issues.
Monitor for New Leaks
Wondering if the repair truly held? After fixing the leak, it’s important to keep an eye out for new leaks by checking for moisture and leaks regularly. Look under the sink often to spot any signs of water or drips early.
To make sure the repair is complete, try these steps:
- Visually inspect for water spots or corrosion
- Use a moisture meter to check for hidden dampness
- Run the tap and watch for any new leaks or dampness
Doing this helps ensure your fix is solid. Keep monitoring for at least 24 hours, especially after heavy use, to catch slow leaks early. Staying vigilant with moisture checks gives you peace of mind that your repair is fully successful.
How Do You Prevent Future Kitchen Sink Leaks?
Preventing future kitchen sink leaks mainly involves regular maintenance and mindful usage. Start with simple tips like inspecting under the sink once a month for signs of wear or corrosion.
Regular inspection and maintenance help prevent kitchen sink leaks before they start.
Tighten loose fittings and replace worn-out washers quickly to stop small issues from turning into bigger problems. Avoid pouring grease or harsh chemicals down the drain, as these can damage your pipes over time.
Using strainers to catch debris can prevent clogs and protect your plumbing. Keep an eye on water pressure because high pressure can stress connections and cause leaks.
Regularly check for leaks or moisture around connections and fix problems early. Staying vigilant and doing routine maintenance will help you avoid major repairs in the future.
Being proactive with these tips can extend your plumbing system’s life and keep your kitchen dry and leak-free.
When Should You Call a Professional Plumber?
Knowing when to call a professional plumber can save you time, money, and frustration. If your leak worsens or persists despite your efforts, it’s time to seek expert help.
You should call a plumber for emergency repairs that involve significant water damage or flooding to prevent further issues.
Also, if you notice persistent leaks that don’t stop after tightening fittings or replacing washers, it’s a good idea to get a pro involved.
Complex problems like pipe corrosion or hidden leaks behind walls require specialized tools and expertise, so don’t try to handle those on your own.
Cost is another factor—if your DIY attempts could lead to bigger problems or higher expenses later, hiring a professional makes more sense.
Some issues are beyond DIY fixes and can cause more damage if mishandled. When in doubt, consulting a licensed plumber ensures the job’s done right, safely, and efficiently.
Frequently Asked Questions
How Long Does It Typically Take to Fix a Kitchen Sink Leak?
It usually takes about 30 minutes to an hour to fix a kitchen sink leak, depending on how bad the problem is.
You’ll want to check the pipe insulation for any damage and see if water pressure is causing the leak.
If you find a loose connection or a damaged pipe, tightening fittings or replacing parts can make the fix quicker.
Take your time to ensure everything’s secure so the leak doesn’t come back.
Can I Fix a Leak Under My Kitchen Sink Myself?
You can absolutely fix that leak yourself, turning into a plumbing hero overnight!
With some DIY tools and the right plumbing materials, you have everything you need to conquer that stubborn drip.
Just follow basic steps—tighten fittings, replace worn-out washers, and seal any cracks.
No need for a plumber—your toolbox holds the power to stop the leak and save the day!
What Are the Common Causes of Kitchen Sink Leaks?
Common causes of kitchen sink leaks include pipe corrosion, which weakens the pipes and causes leaks over time, and worn-out washers, especially around the faucet and drain connections. If you notice water pooling or drips, check these areas first.
Corrosion can be caused by age or mineral buildup, while washers wear out from frequent use. Addressing these issues early can prevent further damage and costly repairs.
How Much Does Professional Leak Repair Usually Cost?
Ever wondered how much professional leak repair might set you back? Usually, the cost ranges from $150 to $350, depending on how bad the leak is.
Service providers typically charge for labor and parts, and some offer flat-rate pricing. Are you ready to invest in quality repair?
To avoid surprises, it’s a good idea to get multiple quotes. Don’t forget to ask what’s included so you can make a smart decision for your home.
Are There Any Safety Precautions I Should Take During Repair?
Yes, there are safety precautions you should take during repair. Always wear safety gear like gloves and goggles to protect yourself from sharp tools and debris.
Make sure the area is dry so you don’t slip or fall. If your sink is near electrical outlets or appliances, disconnect the power to avoid electrical hazards.
Taking these precautions helps keep you safe and makes the repair process smoother.
Conclusion
Fixing that pesky leak might feel like battling a stubborn dragon, but with patience and these simple steps, you’re the knight in shining armor. Once the leak’s sealed, your sink will sing a happy, drip-free song.
Remember, small drips can turn into big nightmares if ignored, so stay vigilant. With your toolkit ready and confidence soaring, you’re now equipped to keep your kitchen dry and your home safe from watery woes.