8 Simple Steps to Install Your Kitchen Sink Drain
Many homeowners find installing a kitchen sink drain to be more challenging than it seems. If you’re feeling overwhelmed or unsure where to start, you’re not alone—this is a common hurdle.
Luckily, with a little guidance, you can tackle this project confidently and avoid leaks or mistakes.
To install your kitchen sink drain, start by gathering all necessary tools and supplies. Shut off the water, clear your workspace, and remove the old drain.
Assemble the new drain components following the manufacturer’s instructions.
Position the flange and connect the drain pipe securely, sealing joints with plumber’s tape or putty.
Turn the water back on, check for leaks, and troubleshoot any issues.
If you follow these steps carefully, you’ll guarantee a leak-free, efficient drain setup—more tips await if you keep going.
Key Takeaways
- Turn off the water supply, disconnect the old drain, and clear the workspace so you have easy access.
- Carefully remove the existing drain parts, checking for any damage or corrosion as you go.
- Assemble the new drain parts following the manufacturer’s instructions, making sure everything lines up and fits properly.
- Install the flange using plumber’s putty or a gasket, then connect and tighten the drain pipe securely.
- Turn the water back on, look for leaks, and test the drain to make sure it’s working smoothly and sealing well.
Gather Tools and Materials for Your Kitchen Sink Drain
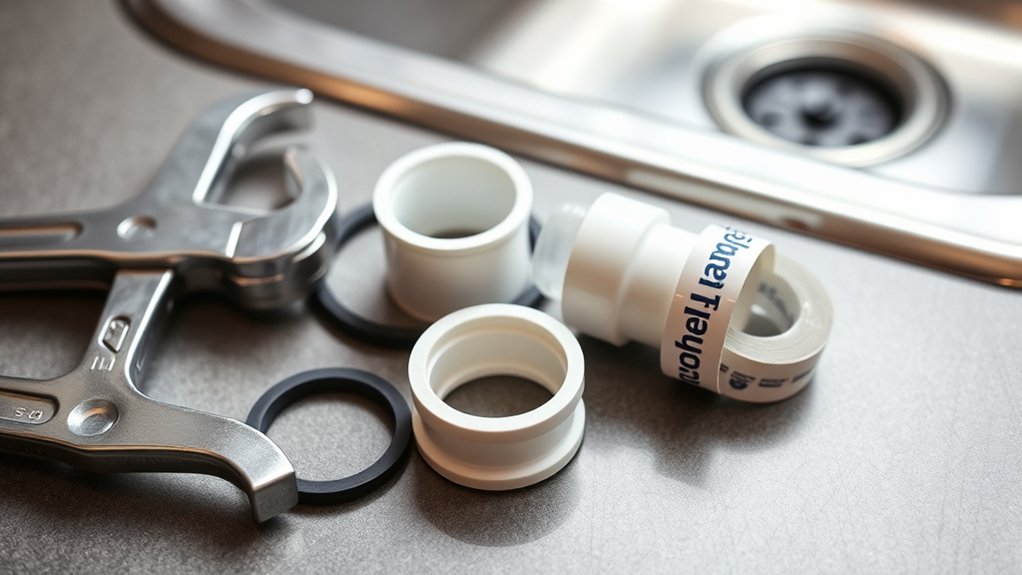
Before you start installing your kitchen sink drain, make sure you gather all the tools and materials you’ll need. Begin by collecting cleaning supplies to keep your workspace tidy and free of debris during the process.
You’ll also want to have essential plumbing parts like a drain assembly, plumber’s putty, a pipe wrench, slip-joint pliers, Teflon tape, and a bucket to catch any water. Having everything ready makes the installation smoother.
Check your existing hardware to see if any parts need replacing or if you need extra fittings. Gather some rags or towels to wipe off excess sealant and clean the area as you work.
Make sure your plumbing supplies are compatible with your sink’s specifications. Organizing everything beforehand helps prevent interruptions once you start.
With all your tools and supplies in place, you’ll be ready to confidently proceed with the installation.
Turn Off Water and Prepare Your Workspace
To start your installation safely, turn off the water supply valves under the sink to prevent leaks or water flow during the process. Water safety is crucial; never skip this step, as it helps avoid water damage and makes working safer.
Once the water is off, open the faucet to drain any remaining water, keeping your workspace dry and manageable. Next, clear the area around the sink, removing unnecessary items, and lay down a towel or bucket to catch drips.
Organizing your workspace helps you stay efficient, speeds up the process, and reduces frustration. Make sure your tools and replacement parts are within reach so you don’t have to search mid-project.
Taking these simple precautions ensures a safer, more organized environment, making the drain installation smoother and less stressful. Proper preparation at this stage sets a solid foundation for the rest of your project.
Remove the Old Sink Drain and Clear the Area
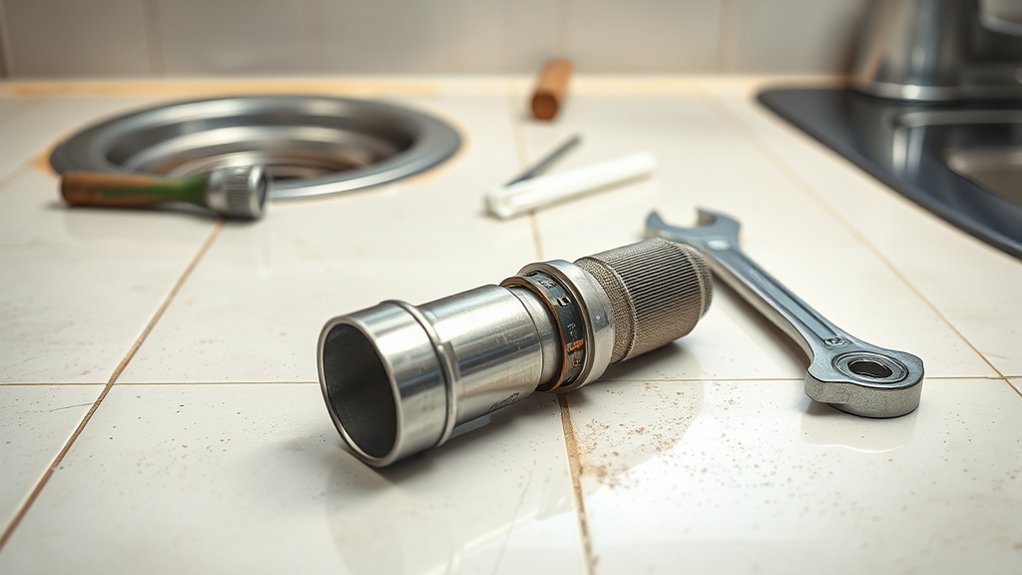
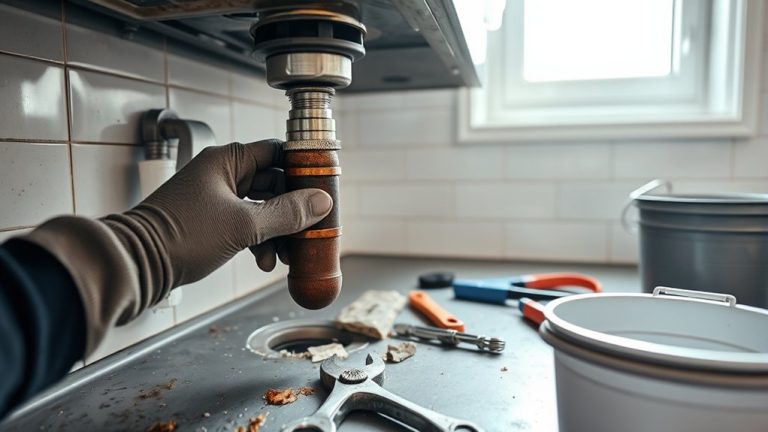
Before you start removing the old sink drain, it’s a good idea to turn off the water supply first. That way, you won’t have to worry about any leaks popping up while you’re working.
Next, clear out the area around the sink so you have plenty of space to work comfortably and safely. Taking these simple steps will make the whole removal process way easier and help prevent any accidental water damage.
Safely Turn Off Water
Start by shutting off the main water supply to prevent leaks or water damage. This is essential before removing the old sink drain. Once off, turn on the faucet to drain any remaining water and reduce water pressure in the lines.
Check local plumbing codes to verify you’re following proper safety procedures. To avoid surprises, consider these key points:
- Confirm the main shut-off valve works properly
- Use a wrench to loosen fittings carefully
- Keep a bucket handy for residual water
- Inspect pipes for any damage or corrosion
- Double-check water pressure is fully off before proceeding
Turning off the water supply protects you from potential leaks and keeps your work area dry. Following plumbing codes ensures safety and compliance throughout the process.
Clear Workspace Area
Have you cleared enough space around your sink? Before removing the old drain, make sure the area is free of decorations or any items that could get in the way. Clearing the workspace makes it easier to access pipes and prevents accidental damage.
Take a moment to organize cleaning tips. Use a bucket or towel to catch spills and wipe down the surrounding area. Removing clutter also helps you see any hidden debris or buildup that could interfere with installation.
A tidy workspace reduces frustration and speeds up the process. Once everything is clear, you can confidently remove the old sink drain without worrying about knocking over decorations or losing small parts. Keep the area clean and organized for a smooth installation.
Assemble Your New Kitchen Sink Drain Components
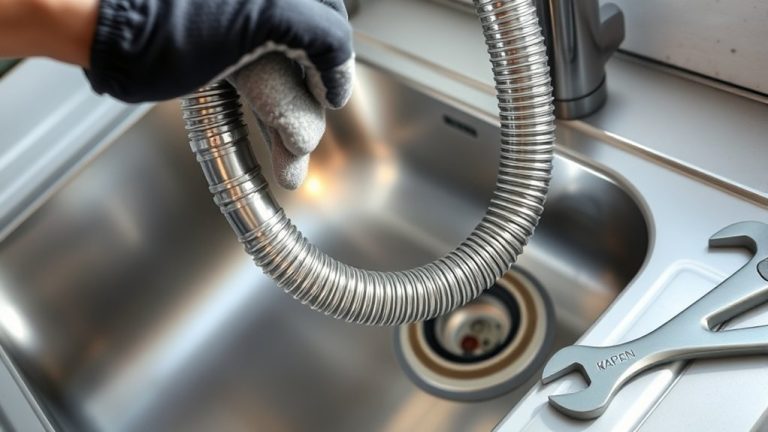
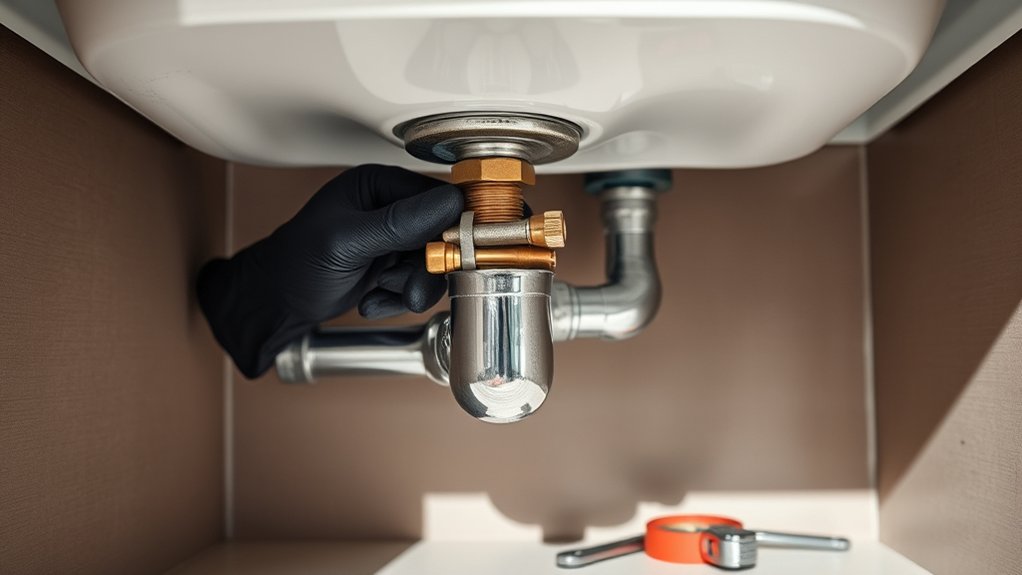
To make sure your sink works properly, start by gathering all the necessary parts—like the drain flange, gasket, tailpiece, and locknut—and arrange them in the order you’ll assemble them. This helps keep things organized and makes the process smoother.
Pay close attention to the assembly instructions when working with drain material. Proper fitting is important, so following the manufacturer’s steps will help prevent leaks.
Here are the key components you’ll need:
- Drain flange
- Rubber gasket
- Locknut
- Tailpiece
- Strainer basket
Arrange these items in the sequence you’ll use during assembly. Check the instructions specific to your drain material, as steps can vary.
Making sure each piece is aligned and tightened correctly will help avoid leaks and future issues. Once everything is assembled, you’ll be ready to install the drain flange and connect the drain pipe in the next step.
Install the Drain Flange and Connect the Drain Pipe
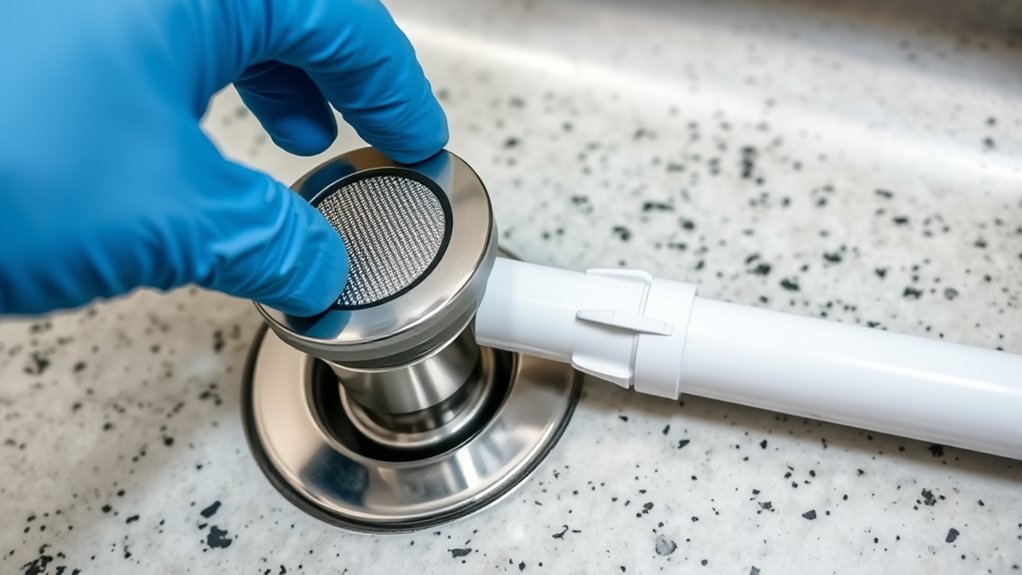
First off, place the drain flange so it sits flush with the surface of the sink. Make sure it’s sitting nice and even, then tighten it up securely to prevent any leaks. Once that’s in place, connect the drain pipe to the flange, ensuring all the fittings are snug and tight.
After everything’s connected, take a moment to double-check that everything is properly aligned and sealed. It’s always better to catch any issues now rather than dealing with leaks later. Once you’re happy with the setup, you’re all set to move on!
Positioning the Drain Flange
Wondering how to guarantee your drain flange is properly positioned? Verifying proper placement is key to preventing leaks and future issues.
First, confirm that the drain flange sits flush against the sink’s bottom. Use a gasket if provided to create a tight seal.
Make sure the flange’s lips are aligned with the sink opening for a smooth fit. Check that the flange is centered and level.
Tighten the mounting nut just enough to hold it securely but avoid overtightening, which can distort the flange.
Remember, proper positioning minimizes leaks and makes the connection process easier.
- Confirm the flange sits flush against the sink
- Use a gasket to ensure a tight seal
- Align the flange’s lips with the sink opening
- Center and level the flange before tightening
- Avoid overtightening to prevent damage
Securing the Flange Properly
With the flange properly positioned, it’s time to secure it firmly in place and connect the drain pipe. First, check the flange alignment to make sure it’s centered and flush against the sink’s bottom. This step is crucial for a good seal and to prevent leaks.
Use a gasket or plumber’s putty around the flange’s underside to create a tight seal. Tighten the mounting nut evenly, turning it clockwise, until the flange feels snug but isn’t overtightened, which could distort it.
As you tighten, keep an eye on the flange alignment to avoid wobbling or misplacement. Proper sealing is key to a leak-free drain connection. Once everything is secure, you’re ready to move on and connect the drain pipe.
Connecting the Drain Pipe
Once the flange is securely in place, you can move on to installing the drain flange and connecting the drain pipe. This step is key to keeping your plumbing working smoothly.
To connect the drain pipe effectively, fit it onto the flange and make sure the connection is snug to prevent leaks. Use plumber’s putty or a gasket for a watertight seal.
Tighten the slip nuts by hand first, then give them a gentle turn with a wrench. Be careful not to over-tighten, which can cause damage.
Double-check the alignment to avoid putting strain on the fittings. Once everything looks good, test the connection with water to spot any leaks before sealing everything completely.
Following these steps will help you create a secure, leak-free connection. This keeps your sink functioning well and helps prevent future plumbing headaches.
Seal Joints and Ensure Proper Fit
To prevent leaks and make sure your drain works properly, it’s important to seal the joints tightly and check the fit of each part. Start by applying plumber’s tape or a bead of pipe thread sealant to threaded connections to get a secure seal.
Seal joints tightly with plumber’s tape or sealant to ensure a leak-free, secure drain connection.
When fitting the drain components, make sure each piece fits snugly without forcing it. A good fit helps prevent gaps that could cause leaks. Tighten nuts and fittings by hand first, then use a wrench for a slight extra turn—just don’t over-tighten, as that can damage the parts.
As you put everything together, double-check that rubber gaskets and washers are properly seated and compressed evenly. Properly sealed joints create a watertight connection and help protect against future leaks.
Take your time to review each joint, making sure all connections are secure and aligned. This step is key to a reliable, leak-free kitchen sink drain system.
Turn Water Back On and Check for Leaks
After installing the drain components and making sure all joints are tight, it’s time to turn the water supply back on. Slowly open the shutoff valves and let water flow into the sink. Keep an eye on the water pressure to make sure it’s steady and normal.
As the water runs, carefully check around all joints and connections for any signs of leaks. Catching leaks early can save you from future water damage. Look for water seeping from fittings or seals, and listen for dripping sounds.
Use a paper towel or cloth to spot any moisture around the connections. Run both hot and cold water to test everything thoroughly. Also, check under the sink for any pooling water or drips.
If you notice leaks or hear dripping, gently tighten the fittings or reseal the joints. Properly checking water pressure and leaks now helps avoid problems later and ensures your drain is installed correctly.
Troubleshoot Common Drain Issues and Finalize Installation
Even with careful installation, drain issues can still happen, but many are easy to troubleshoot and fix. If you notice slow draining or unpleasant odors, start by cleaning the drain to clear minor clogs.
Check for leaks around fittings and tighten connections if needed. To prevent odors, make sure the P-trap has water in it and isn’t dry, as it blocks sewer gases.
Use a mixture of baking soda and vinegar to freshen the drain and reduce odors naturally.
| Issue | Solution | Prevention Tip |
|---|---|---|
| Slow draining | Clear debris or use a drain snake | Regular drain cleaning to prevent buildup |
| Odors | Ensure P-trap has water, use an odor eliminator | Avoid dry traps, clean periodically |
| Leaks | Tighten fittings or replace worn washers | Check connections during installation |
| Clogs | Avoid pouring grease and food scraps down | Use drain covers to trap debris |
Address issues promptly, and your sink will stay functional and odor-free.
Frequently Asked Questions
Can I Install a Kitchen Sink Drain Without Professional Help?
Yes, you can install a kitchen sink drain without professional help if you’re comfortable with DIY plumbing. Just follow clear instructions, gather the right tools, and take your time to ensure everything seals and fits properly.
If you run into complex problems or leaks, it’s a good idea to call in a professional. Doing it yourself can save money, but knowing when to ask for help helps make sure your installation is leak-free and lasts a long time.
How Do I Choose the Right Size Drain for My Sink?
Choosing the right drain size is like finding the perfect key for a lock—if it’s too small or too big, it won’t fit.
Measure your sink drain opening carefully, focusing on drain size compatibility. Use a sink drain measurement to make sure you pick a drain that fits snugly.
Usually, a 1.25 or 1.5-inch drain works for most sinks, but always double-check to keep everything flowing smoothly.
What Are the Signs of a Faulty Sink Drain?
You’ll notice a faulty sink drain if you see frequent drain clogs or water draining slowly. A leaking connection often causes water to seep around the drain or beneath the sink, which points to a seal problem.
Persistent odors or puddles around the base also signal issues. These signs mean you should inspect your drain for cracks, loose fittings, or blockages.
Consider repairing or replacing faulty components to prevent further damage.
How Often Should I Clean My Kitchen Sink Drain?
Ever wonder how often you should clean your kitchen sink drain? Regular maintenance is key—try to do it once a month. Using drain deodorizing products can help keep odors away and prevent buildup.
While you’re at it, check your pipe insulation. This can prevent freezing and reduce noise. These simple steps help keep your sink fresh and odor-free, making your kitchen more enjoyable to use.
Can I Reuse Old Drain Parts During Installation?
Yes, you can often reuse old drain parts if they’re in good shape. Just take a close look at the drain gasket—if it’s cracked or brittle, it’s better to replace it.
Use a pipe wrench to loosen and remove the old fittings carefully so you don’t damage them. When putting everything back together, make sure the gasket is sealing tightly to prevent leaks.
Reusing parts can save you some money, but always inspect each piece thoroughly. This way, you’ll avoid problems down the line.
Conclusion
Now, picture your kitchen sink shining clean, with the new drain fitting perfectly in place like a puzzle piece. Water flows smoothly without any drips or splashes, making your sink look fresh and functional.
With these simple steps, you’ve turned a messy, leaky fixture into a sleek, reliable part of your kitchen. Every tool used and seal secured brings a real sense of pride.
Your space is now ready to handle daily chores effortlessly, shining like a well-oiled machine. It’s all set for the next meal or cleanup, thanks to your new kitchen sink drain installation.