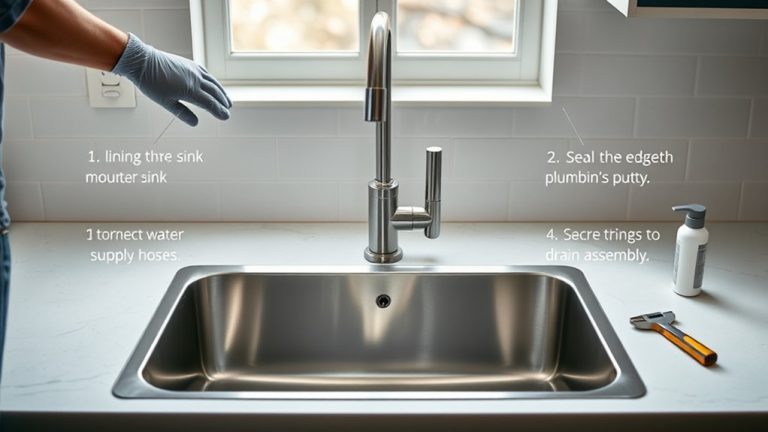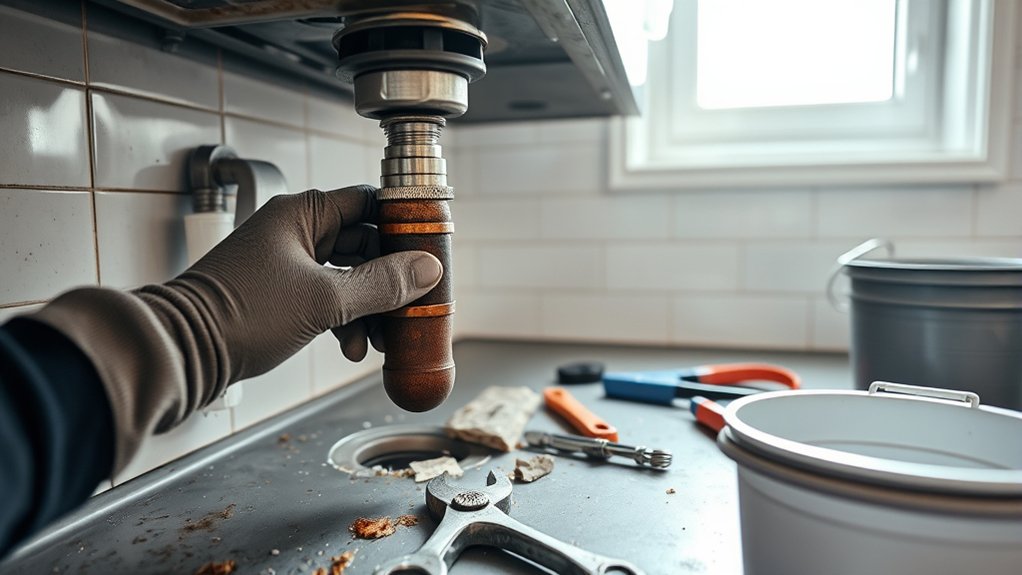
6 Simple Steps to Remove Your Kitchen Sink
Many homeowners find removing a kitchen sink to be a daunting task, often feeling overwhelmed by the plumbing and tight spaces. You’re not alone—this is a common struggle, but with the right steps, you can make it much easier.
Start by clearing the area around your sink and gather your tools. Turn off the main water supply, then open faucets to drain remaining water.
Disconnect the plumbing and fixtures, keeping parts organized.
Carefully detach the sink from the countertop or cabinet, using a utility knife for sealant if needed. Lift out the sink and clean the area.
If you want to know how to handle any tricky parts, keep going for more tips.
Key Takeaways
- Turn off the main water supply and drain any remaining water from the sink.
- Disconnect the water supply lines and remove the faucet and fixtures.
- Detach the sink from the countertop or cabinet by cutting through the sealant or loosening the brackets.
- Carefully lift out the sink, making sure all connections are fully detached.
- Clean the area and check for any damage before installing a new sink or reassembling everything.
Set Up Your Workspace and Gather Your Tools
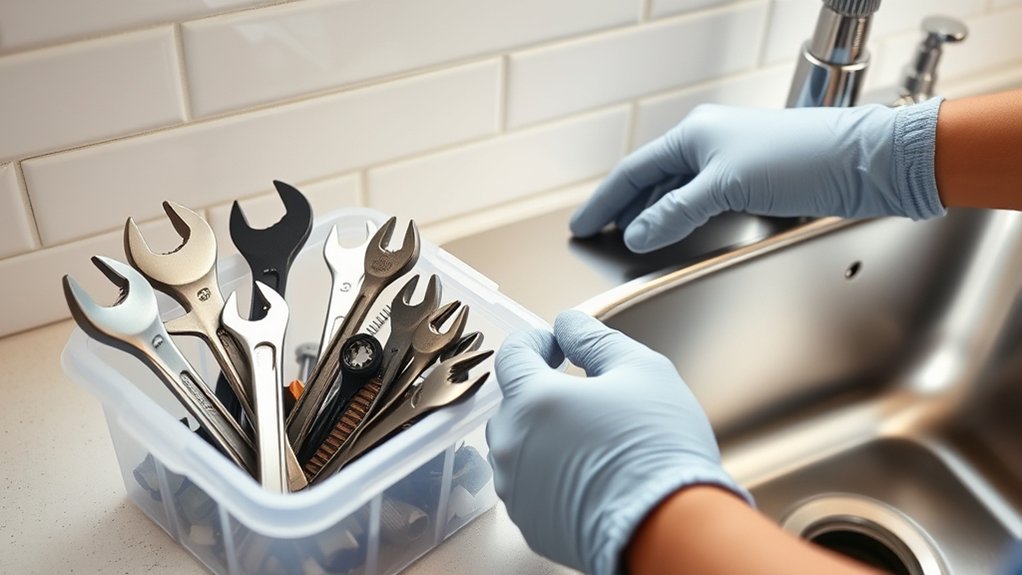
Before you start removing your kitchen sink, it’s important to clear the area around it. Make enough space to work comfortably and keep the area well-lit and clutter-free. This helps you stay safe and focused.
Clear the space around your sink for safety, comfort, and focus during removal.
Gather all the tools you’ll need, like a wrench, screwdrivers, pliers, and a bucket to catch water. Check that your tools are clean, in good condition, and working properly. Well-maintained tools make the job easier and safer.
Safety should always come first. Wear gloves and eye protection to avoid injuries from sharp edges or debris. Organizing your tools and supplies ahead of time keeps things running smoothly and reduces frustration.
Having a tidy, safe workspace sets a solid foundation for removing your sink efficiently. It makes the process less stressful and helps you get the job done right.
Turn Off Water, Drain the Sink, and Prepare for Removal
To start the removal process, turn off the main water supply to prevent leaks or flooding. Once you’ve shut it off, open the faucets to drain any remaining water in the pipes.
This step helps reduce water pressure, making it safer to work on the plumbing and sink. Keep in mind that older pipes might have corrosion, which could cause leaks or cracks when disturbed.
| Step | Action |
|---|---|
| 1 | Turn off the main water valve |
| 2 | Open faucets to drain remaining water |
| 3 | Check for residual water in pipes |
| 4 | Prepare towels or buckets for spills |
Disconnect Plumbing and Remove Fixtures
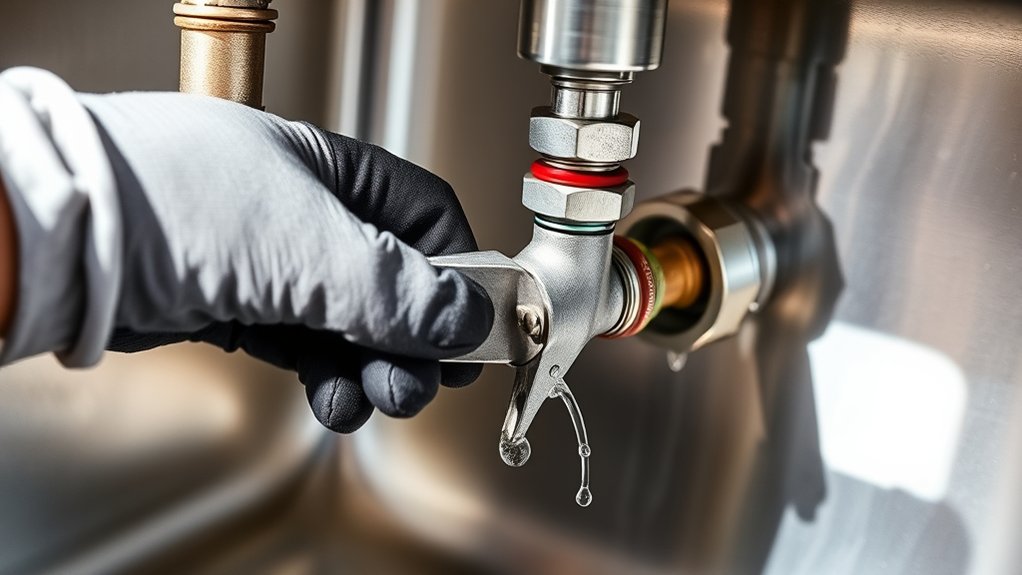
First, you’ll want to turn off the water supply. This step is super important to avoid any leaks or water spills. Once that’s taken care of, gently detach the sink fixtures. Be sure to use the right tools so you don’t accidentally damage anything. When the fixtures are all loosened and removed, you’re all set to take out the sink itself.
Turn Off Water Supply
Begin by turning off the main water supply to prevent leaks or water damage. This step is key to controlling water pressure and avoiding surprises during removal.
Once shut off, open a faucet to release any remaining water in the pipes. When disconnecting the plumbing, think about the pipe materials, since some may need special tools or techniques.
Remember:
- Water pressure can cause sudden water flow if not properly shut off.
- Pipe materials like copper or PVC may require different disconnection methods.
- Always have a bucket or towels ready to catch leftover water.
Turning off the water supply keeps the process safe and mess-free. These precautions help protect your home and make the job easier.
Detach Sink Fixtures
With the water supply turned off and drained, it’s time to detach the sink fixtures. Start by loosening the nuts securing the faucet and any other accessories with a wrench. Be careful not to damage the fixtures if you plan to reuse them for plumbing upgrades.
Next, disconnect the water supply lines from the shutoff valves. Keep a bucket handy for any residual water that might drip out. If your sink has a garbage disposal, disconnect it following the manufacturer’s instructions.
Removing these fixtures carefully makes maintenance easier later and helps prevent damage to the plumbing. Keep all nuts, washers, and fittings organized so you can easily reassemble or upgrade in the future.
Once everything is disconnected, gently lift the sink to prepare for the next step in your removal process.
Detach the Sink From the Countertop or Cabinet
Before you can remove the sink, you need to detach it from the countertop or cabinet. Start by carefully inspecting how it’s secured—some sinks are glued, others are bolted or sealed with caulk. Use a utility knife to cut through any caulk or sealant around the edges.
If your sink is made of a delicate material like porcelain, handle it gently to avoid cracks or chips. For stainless steel or composite sinks, more force might be needed to loosen clips or brackets. Keep in mind that removing the sink can impact your kitchen decor, so plan a clean workspace for reinstallation.
To ensure a smooth removal, consider these key points:
- Understand sink material to determine appropriate tools and techniques.
- Be cautious of old sealants that may break unevenly.
- Prepare a clean area for the sink’s removal and future reinstallation.
A careful approach makes the process easier and helps preserve your kitchen’s appearance.
Remove the Sink and Clean the Area
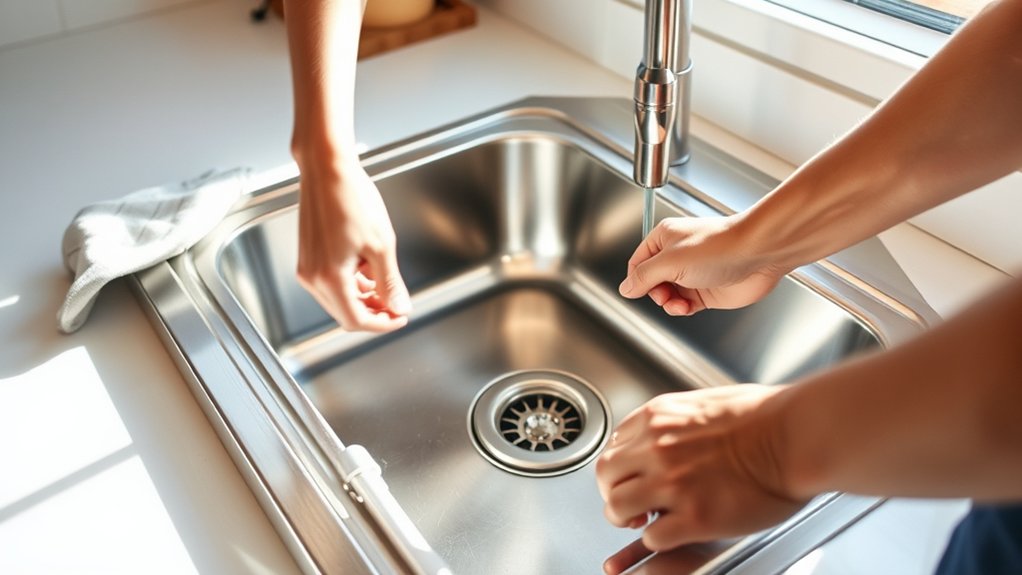
First, you’ll want to disconnect the plumbing connections and take out any remaining fixtures. Once the sink is out of the way, make sure to clear away any debris left behind. Then, give the area a good, thorough clean. This way, everything stays neat and ready for whatever comes next.
Disconnect Plumbing Connections
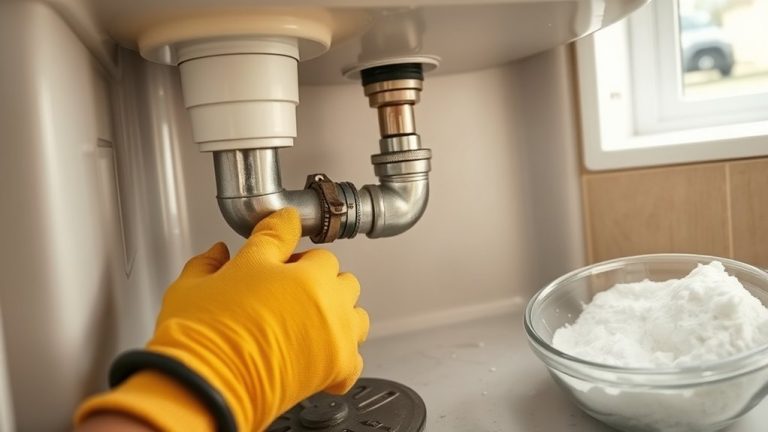
To disconnect the plumbing connections, start by turning off the water supply valves underneath the sink to prevent any leaks. Make sure all water is drained before disconnecting to avoid messes.
Next, use a wrench to loosen and disconnect the water supply lines from the faucet. Be cautious of water pressure, which can cause residual water to spill. Check for corrosion or buildup that might hinder removal.
As you detach the drain pipe, inspect for any blockages or signs of pipe wear that could affect future maintenance. Keep track of all parts to simplify reassembly later.
Clear and Clean Area
Once the plumbing is disconnected, carefully lift out the sink and set it aside. Now, clear the area of any remaining debris or loose parts.
Remove decorative accessories from the countertop and cabinets to prevent damage or accidents during cleaning. Wipe down the surrounding surfaces to eliminate dust, grime, and residue from the removal process.
This step helps you assess the space for repairs or upgrades and prepares it for future kitchen organization. Take the opportunity to inspect the area for water stains or damage that might need fixing.
A clean, clutter-free space makes the next steps easier and safer. Plus, a tidy workspace allows you to plan your new sink installation or renovation with clarity.
Inspect and Troubleshoot Common Issues
Before removing your kitchen sink, it’s important to inspect and troubleshoot any common issues that might be there. Start by checking for leaks or water damage around the sealant, as these can cause problems later on.
Take a look underneath the sink for mold, especially in dark, damp spots, to prevent health hazards and structural damage. Also, look for signs of corrosion or broken fittings that could make removal more difficult.
To make the process smoother, check the sealant’s integrity to prevent leaks when you reinstall. Detect mold growth early so you can address any underlying moisture problems.
Finally, identify any damaged or loose plumbing parts that might need replacing. Tackling these issues beforehand saves you time and effort, making your sink removal safer and more efficient.
Frequently Asked Questions
How Do I Identify the Type of Sink I Have?
To identify your sink type, start by checking the material—whether it’s stainless steel, porcelain, or composite.
Next, look at its fixture style, like a drop-in, undermount, or farmhouse. Notice how it’s installed and check for edges or mounting clips.
Then, measure its size and shape, and see if there are any unique features. This info will help you figure out the material and fixture type.
Knowing these details makes it easier to plan repairs or find replacements.
What Safety Precautions Should I Take During Removal?
As you start removing your sink, you might bump into sharp edges or heavy parts. To stay safe, always wear protective gear like gloves and goggles, and handle tools with care.
Keep in mind that tool safety is key. Use the right tools properly to prevent slips or injuries. Keep your workspace clear, and take your time.
A cautious approach ensures your project goes smoothly without accidents.
Can I Remove the Sink Without Professional Help?
Yes, you can remove your sink without professional help if you’re comfortable with DIY tasks and have the right tools.
Start by gathering essential tools like a wrench, screwdriver, and bucket.
Make sure to follow safety precautions, such as turning off the water supply and disconnecting the plumbing carefully.
Be patient and methodical, and don’t rush through the process.
If you run into any issues, consider checking out tutorials or asking for help to prevent damage or injury.
How Long Does the Sink Removal Process Typically Take?
You can typically expect the sink removal process to take about 1 to 3 hours. If you’re familiar with sink maintenance and have the right plumbing tools, you might finish faster.
The time really depends on things like the type of sink and your plumbing setup. Gathering your tools beforehand, turning off the water supply, and following each step carefully can help avoid delays.
Patience and preparation will make the process go more smoothly.
What Should I Do if I Encounter Unexpected Damage?
If you encounter unexpected damage, stop the removal process immediately. Take a moment to assess the damage carefully.
Then, consider repair options like sealing leaks or replacing damaged pipes. If the damage is severe, contact emergency contacts or a professional plumber for advice and assistance.
Stay calm and avoid rushing. Addressing unexpected issues promptly helps prevent further damage and ensures a safe, successful sink removal.
Conclusion
Removing your kitchen sink might seem intimidating, but with these simple steps, you’ll do it yourself in no time. Don’t worry if it feels tricky at first—you’re just disconnecting plumbing and unscrewing fixtures. It’s nothing too complex.
Remember, taking your time and staying organized makes the process smoother. Plus, once it’s out, you’ll have a fresh start for upgrades or repairs.
You’ve got this. Your new sink is just a few steps away!