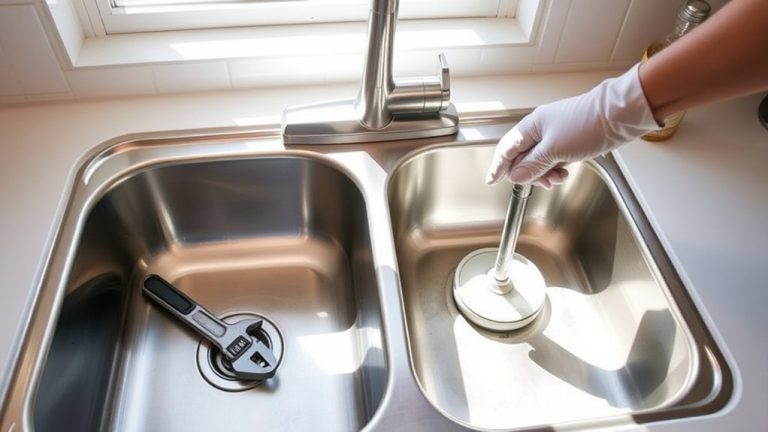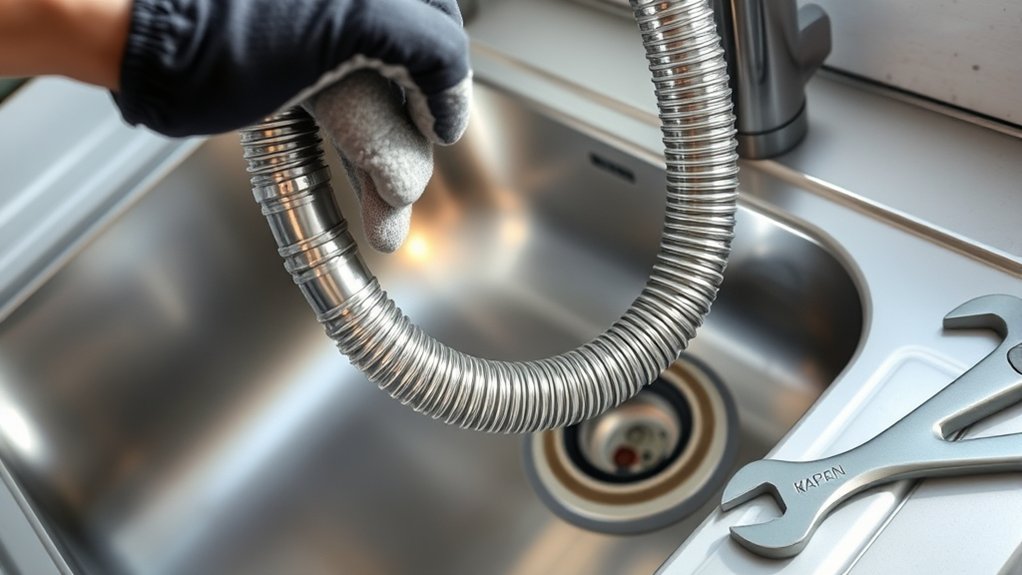
Replace Your Kitchen Sink Sprayer Hose in 5 Simple Steps
Dealing with a stubborn or leaking kitchen sink sprayer hose can be a real hassle. Many people struggle with figuring out how to replace it without making a mess or causing further issues. If you’re tired of leaks or just want a fresh, functional spray, you’re not alone.
To replace your kitchen sink sprayer hose, start by turning off the water supply and disconnecting the old hose with an adjustable wrench. Check for leaks or damage before removing it completely.
Attach the new hose, making sure fittings are tight and secure. Turn the water back on and test for leaks and proper spray.
Regular upkeep helps prevent issues, so keep going to uncover more tips for a smooth replacement process.
Key Takeaways
Turn off the water supply and disconnect the old hose using an adjustable wrench.
Next, remove any remaining fittings and check the area for damage or debris. This step helps ensure everything is clean and ready for the new hose.
Choose your new hose and attach it, making sure the connectors fit tightly. Proper fit is key to avoiding leaks.
Secure the hose to the faucet and sprayer head according to the manufacturer’s instructions. Take your time to ensure everything is snug.
Finally, turn the water back on and test the sprayer for leaks and the proper spray pattern. Adjust if needed to get everything working smoothly.
Signs Your Kitchen Sink Sprayer Hose Needs Replacement
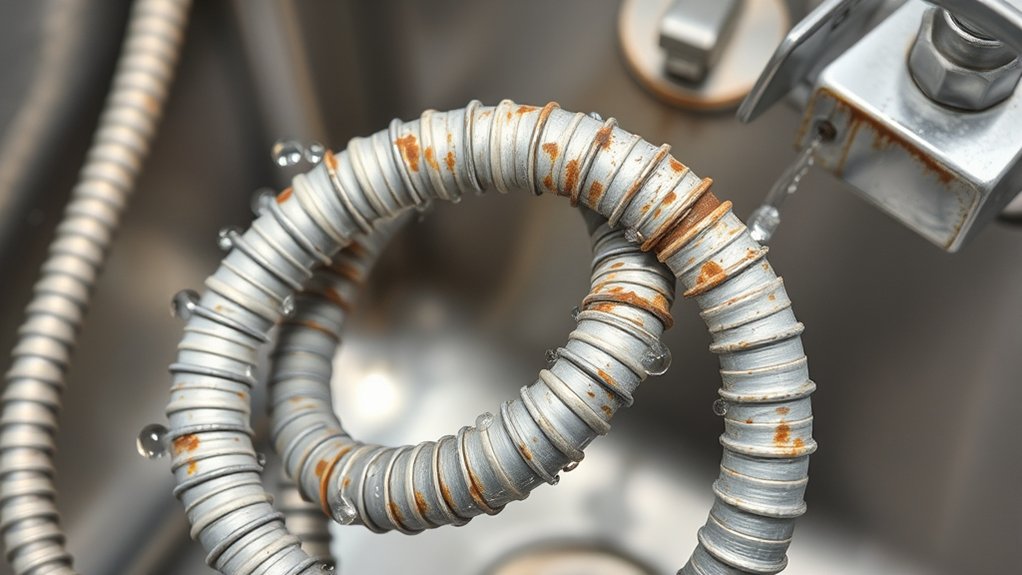
Over time, your kitchen sink sprayer hose can show clear signs it’s nearing the end of its lifespan. If you notice leaks or water pooling around the hose or connection points, it’s a good idea to check your kitchen sink maintenance routine.
Leaking or pooling water around the hose signals it’s time to inspect and possibly replace your sink sprayer hose.
Reduced water pressure or inconsistent spray patterns can also indicate internal damage or buildup, signaling it’s time for a replacement. Cracks, fraying, or visible wear on the hose are obvious signs that the material is degrading.
Ignoring these signs can jeopardize your plumbing safety, leading to leaks that cause water damage or mold growth. Regularly inspecting your sprayer hose helps you catch issues early and avoid costly repairs.
If you experience difficulty controlling the spray or notice a decrease in water flow, it’s probably time for a new hose. Staying attentive to these signs ensures your sink functions properly and keeps your plumbing safe and efficient.
Gather Tools and Materials for Replacing the Sprayer Hose
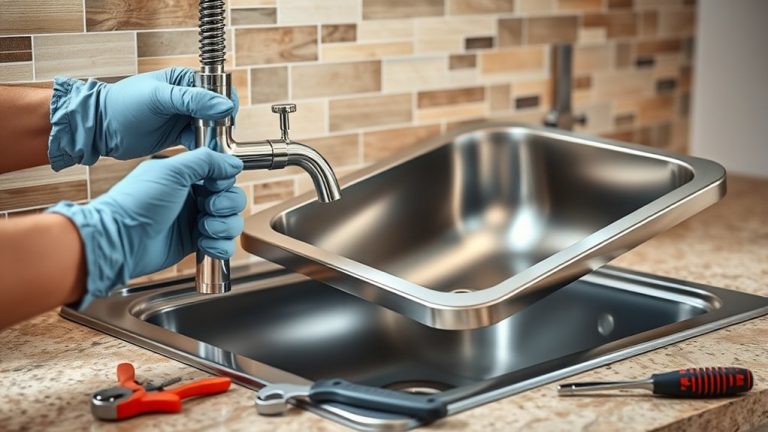
Before you start replacing your kitchen sink sprayer hose, gather all the necessary tools and materials to make the process go smoothly. You’ll need an adjustable wrench, pliers, and maybe a bucket or towel to catch any water drips.
Have a new sprayer hose compatible with your sink ready to go. It’s also helpful to have some cleaning tips in mind—use a cloth or brush to clean the fittings before installing the new hose to ensure a tight seal.
Check your tools for proper maintenance; sharpen or replace worn-out tools to prevent damage. Having everything in place minimizes disruptions and speeds up the job.
Remember, a well-maintained toolset makes future repairs easier and safer. Once you’re prepared, you’re ready to disconnect the old hose and move forward with the installation.
Gathering everything upfront saves time and helps you work efficiently without unnecessary interruptions.
Disconnect and Remove the Old Sprayer Hose
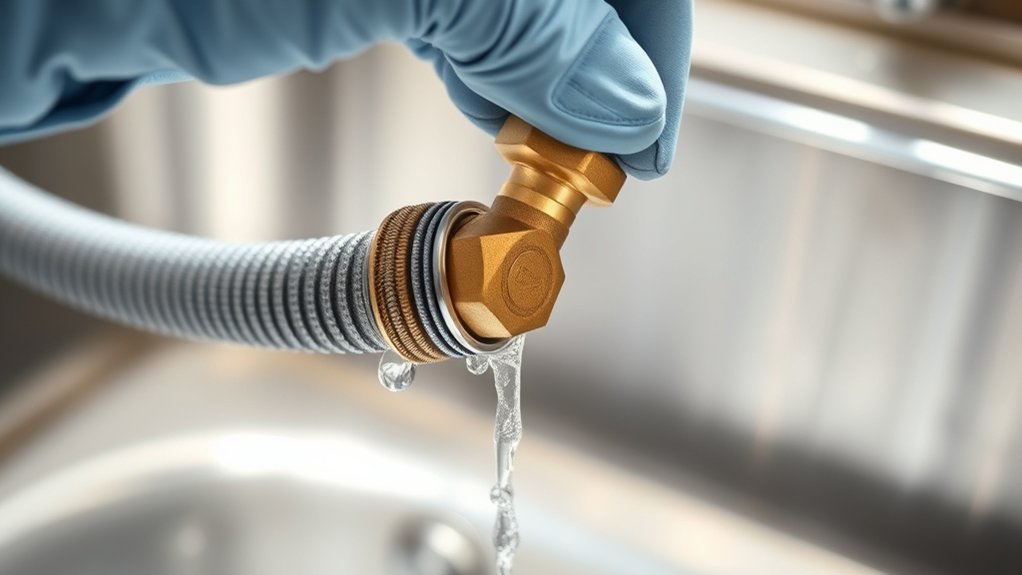
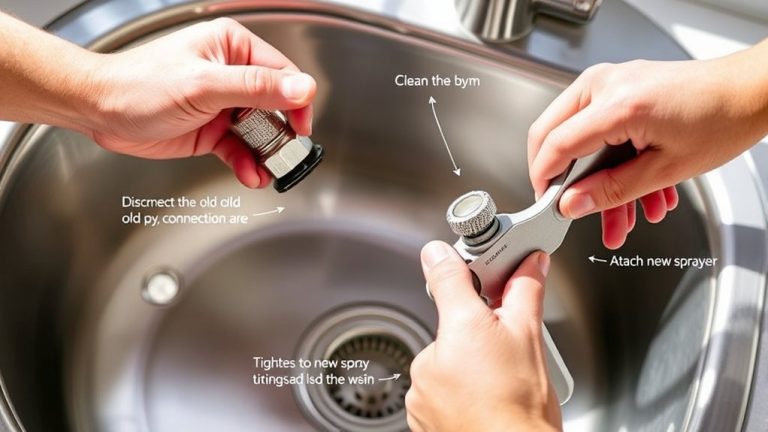
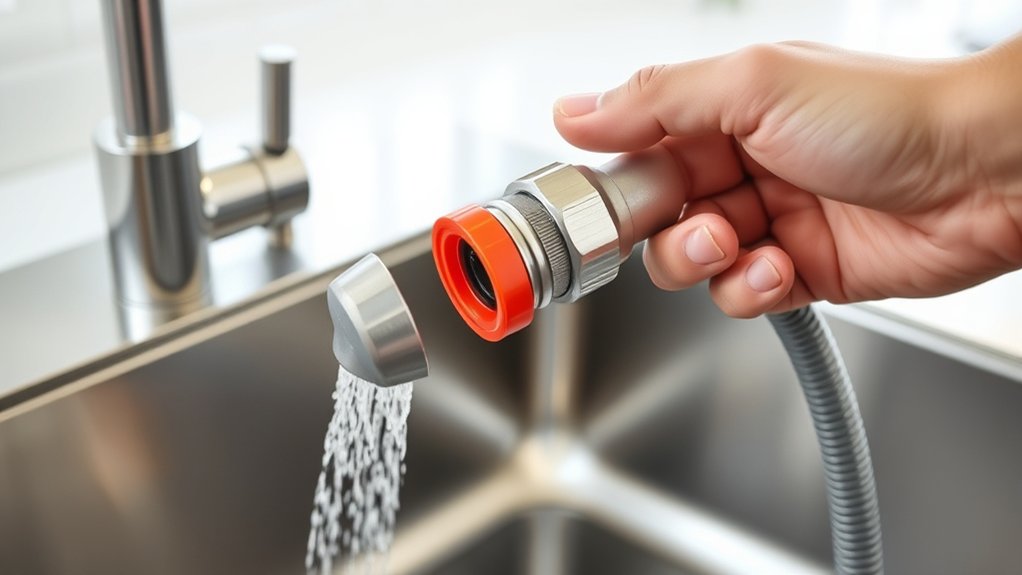
To disconnect and remove the old sprayer hose, start by turning off the water supply beneath your sink to prevent leaks. Next, locate the sprayer hose connection at the base of the kitchen faucet.
Use an adjustable wrench to loosen the nut securing the hose, but be careful not to overtighten and damage the fitting. As you work, keep a towel or small container nearby to catch any residual water.
During sprayer hose maintenance, inspect the hose for cracks or corrosion. If it looks worn, it’s time for a replacement. Also, check if your kitchen faucet is compatible with the new hose, especially if your sink has a unique setup.
Once the hose is free, gently pull it away from the faucet and remove any remaining fittings. This process clears the way for installing your new sprayer hose, ensuring a tight, leak-free connection later.
Install Your New Kitchen Sink Sprayer Hose
Once you’ve removed the old sprayer hose, it’s time to install the new one. Start by choosing the right hose type for your sink, like flexible or reinforced, based on your needs and water pressure.
Attach the hose’s connector to the sprayer head, making sure it’s tight but not overtightened, which could cause leaks. Next, connect the other end to your faucet’s spray outlet, ensuring all fittings are secure.
During installation, check the manufacturer’s instructions for any specific steps or tools you might need. Proper hose installation is key to preventing leaks and keeping everything working smoothly.
Once everything is connected, turn on the water supply gently to test for leaks and proper spray function. If leaks happen, tighten the fittings a bit more. Keep the hose free of kinks or twists to maintain good water flow and prolong its life.
Test Your Sprayer and Keep It in Good Shape
How can you guarantee your sprayer works effectively and stays in good condition? Regular sprayer maintenance is essential. After installing your new hose, test the sprayer by turning on the water and checking for leaks, proper spray pattern, and pressure.
Make sure the hose isn’t kinking or showing signs of wear, which can affect its durability. If the spray feels weak or uneven, try cleaning the nozzle to remove mineral buildup.
Periodically inspect for cracks or corrosion and replace any damaged parts right away. Proper maintenance extends your sprayer’s lifespan and keeps it working efficiently.
Keep the hose dry and avoid kinks or twisting, which can cause damage over time. A well-maintained sprayer performs better and helps prevent costly repairs.
Frequently Asked Questions
Can I Replace My Sink Sprayer Hose Myself Without Professional Help?
Yes, you can replace your sink sprayer hose yourself if you have some DIY skills.
You’ll need basic tools like pliers, an adjustable wrench, and a bucket to catch any water.
Start by turning off the water supply, then disconnect the old hose.
Next, attach the new one, following the manufacturer’s instructions carefully.
Take your time and work carefully, and you’ll save money while feeling accomplished.
What Are the Common Causes of Sprayer Hose Leaks?
Ever wondered why your sprayer hose leaks? Common causes include wear and tear on the hose material, which weakens its integrity over time. Loose fittings or damaged washers often lead to leaks, too.
Sometimes, improper hose installation can cause issues. Regular leak repair involves tightening fittings or replacing damaged sections. Do you check your hose connections regularly? Staying attentive helps prevent leaks and prolongs your sprayer’s lifespan.
How Long Does a Typical Kitchen Sink Sprayer Hose Last?
A typical kitchen sink sprayer hose lasts about 3 to 5 years. To make it last longer, check for leaks regularly and clean it gently to prevent buildup.
Keep an eye on the water pressure too. High pressure can wear out the hose faster.
Are There Different Types of Sprayer Hoses for Various Sink Models?
You know what they say, “the right tool makes all the difference.” When it comes to sprayer hoses, there are different types designed for various sink models to ensure a perfect fit.
You’ll find options in materials like stainless steel, rubber, or plastic, each suited for specific needs.
How Can I Prevent Future Damage to My New Sprayer Hose?
To prevent future damage to your new sprayer hose, choose a hose made from durable materials like reinforced rubber or stainless steel. These resist kinks and wear better over time.
Make sure the connectors are compatible with your sink’s fittings to avoid leaks or disconnections. Regularly check the hose for signs of wear and tear.
Avoid bending the hose excessively, which can cause damage. Gently clean it to keep it in good condition and extend its lifespan.
Proper installation and maintenance are key. Taking these steps can help your sprayer hose last longer and work better.
Conclusion
Replacing your kitchen sink sprayer hose is a quick fix that keeps everything running smoothly.
With just a few simple steps, you can bring new life to your sprayer and make sure it’s always ready to help out.
Think of it as giving your sink a little refresh—refreshing your space and keeping the water flowing effortlessly.
So, roll up your sleeves and enjoy that satisfying feeling of completing a simple but effective upgrade.
And that’s how you keep your kitchen in top shape by replacing your kitchen sink sprayer hose with ease.