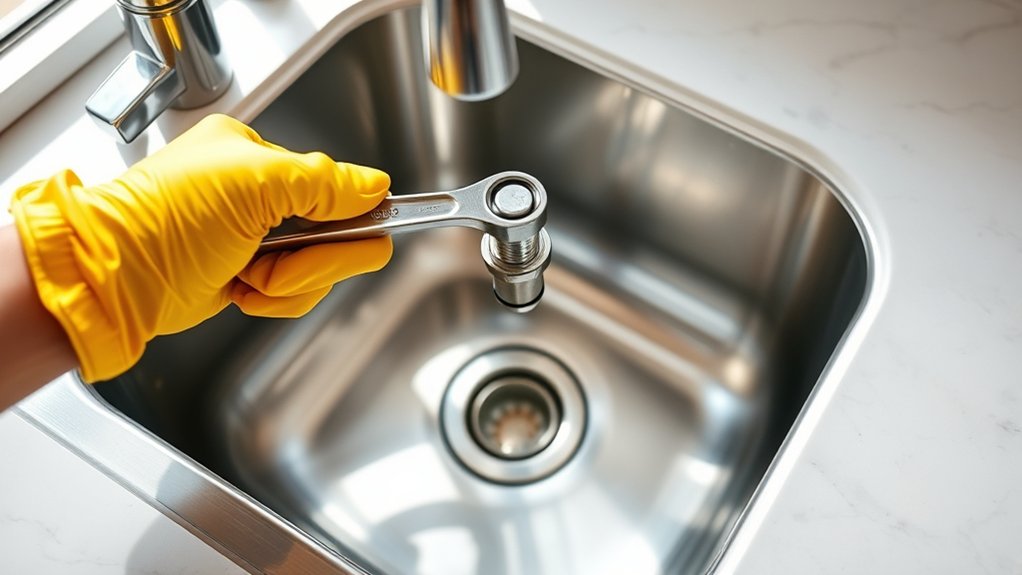
10 Simple Steps to Install a Kitchen Sink Faucet
Are you tired of dealing with leaks or struggling to install your kitchen sink faucet? You’re not alone—many people find this task tricky and frustrating. But don’t worry, with a little guidance, you can do it yourself and save time and money.
To install your kitchen sink faucet, start by gathering your tools and verifying all parts. Turn off the water supply and carefully remove the old faucet. Prepare the sink area by cleaning and installing any necessary mounting hardware. Connect the supply lines securely, then turn the water back on to check for leaks. Tighten fittings as needed and test the faucet’s operation.
If you want to guarantee everything is done correctly, continue with step-by-step guidance for a smooth installation.
Key Takeaways
- Turn off the water supply and carefully remove the old faucet, making sure to drain any leftover water and disconnect the supply lines.
- Prepare the sink area by cleaning the surfaces and securely installing the mounting hardware for your new faucet.
- Position the faucet in the sink holes, insert the mounting hardware from underneath, and tighten the nuts without overtightening to avoid damage.
- Connect the supply lines to the faucet, ensuring they fit properly and tightening the fittings securely to prevent leaks.
- Turn the water back on, check for leaks, and test both hot and cold flows. Finish up with a cleanup and a final inspection.
Gather Tools and Materials for Your Faucet Installation
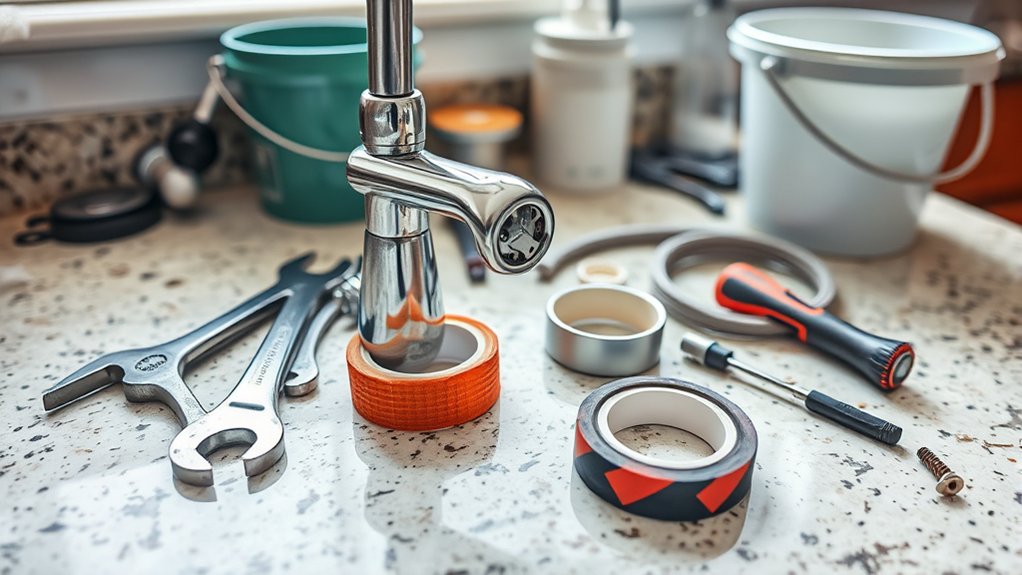
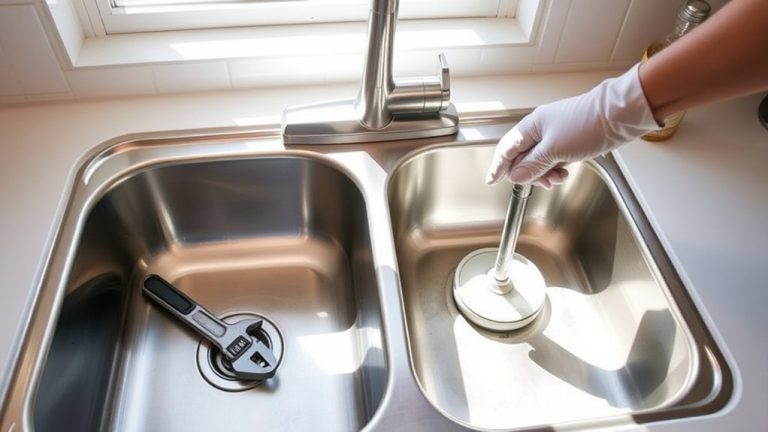
Before you start installing your kitchen sink faucet, make sure you gather all the tools and materials you’ll need. Organize your wrenches, screwdrivers, pliers, and a utility knife so everything is easy to find.
Having your tools ready helps you work smoothly and avoid delays. Next, choose the right faucet model that fits your sink. Make sure you have all the necessary hardware like mounting nuts, washers, and supply lines.
Check if your faucet kit includes sealing tape or plumber’s putty, which are key to preventing leaks. Also, double-check that your supply lines and connectors are the correct length and compatible with your setup.
Getting everything ready beforehand keeps the installation process hassle-free. Taking the time to organize your tools and pick quality materials makes for a smoother job, fewer mistakes, and a solid start to your faucet installation.
Turn Off the Water Supply to Your Sink
To prevent water from flooding your workspace or causing damage, turn off the water supply to your sink before removing or installing any components. Start by locating the shut-off valves under your sink—these control the water flow to your faucet.
Turn each valve clockwise to close them completely. This stops the water pressure from reaching the pipe fittings connected to your faucet. Make sure the valves are fully closed; otherwise, residual water can leak out during the process.
If your sink doesn’t have shut-off valves, you’ll need to turn off the main water supply to your home. After shutting off the valves, open the faucet to drain any remaining water in the lines.
This step ensures no water spills or sprays when you disconnect the pipe fittings. Taking these precautions keeps your workspace dry and prevents water damage while you work on your faucet installation.
Remove Your Old Faucet Carefully
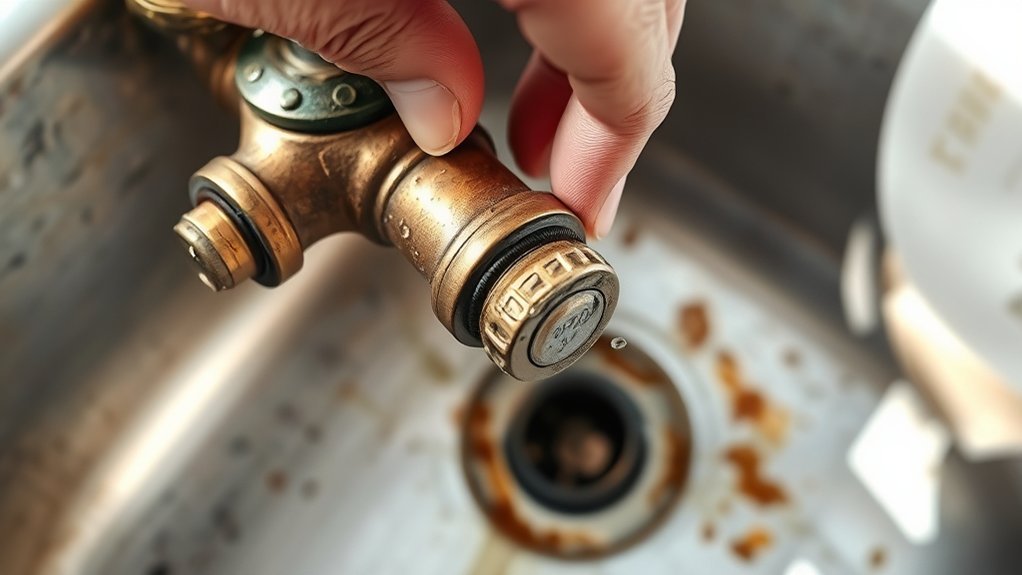
Before you start removing your old faucet, make sure to turn off the water supply first. It’s always better to be safe than sorry! Once the water is shut off, go ahead and loosen the mounting nuts that are holding the faucet in place.
As you lift out the faucet, just be careful and take your time. Keep an eye out for any leftover water or debris that might be sitting around—that way, you won’t make a mess or run into surprises later on.
Turn Off Water Supply
Start by locating the shut-off valves under your sink. Turning these valves off is essential to prevent water flow and avoid messes. Once shut, open the faucet to release any remaining water, making sure the area stays clean.
When you cut off the water supply, you’ll avoid surprises caused by water pressure or faulty faucet materials. Be cautious—if the valves are old or stuck, gently applying force helps prevent damage.
Feel confident knowing you control the water flow, which makes removing the faucet safer and easier. Remember, failing to turn off the water can lead to leaks, water damage, or frustration.
Take your time, double-check that the valves are fully closed, and prepare for a smooth faucet removal. Your careful attention makes the installation stress-free.
Loosen Mounting Nuts
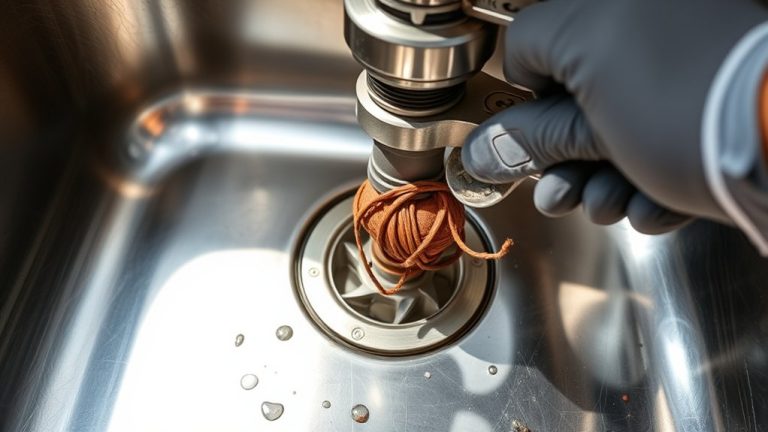
Once the water supply is turned off, you can start loosening the mounting nuts that hold the old faucet in place. Use a wrench to carefully turn the nuts counterclockwise.
These nuts keep the faucet firmly attached to the sink, so expect some resistance. Keep a steady hand on the faucet to prevent it from shifting as you work.
Loosening the mounting nuts is important for keeping the faucet stable as you remove it. If the nuts are stuck or corroded, try applying some penetrating oil and wait a few minutes before trying again.
Be gentle to avoid damaging the sink or nearby fixtures. Once the nuts are free, you’ll be able to lift out the old faucet and get ready for the new one.
Remove Old Faucet Carefully
After loosening the mounting nuts, carefully lift the old faucet from the sink. Take your time to avoid damaging the faucet or sink, especially if the design is intricate or delicate.
As you remove it, be mindful of any stubborn connections or mineral buildup that could cause sudden slips. Removing the old faucet can be satisfying and a good step toward a fresh, updated look.
Remember, installation safety is key—you don’t want to force parts or break the sink. Keep these steps in mind:
- Gently wiggle the faucet to loosen it, avoiding sudden pulls
- Use a cloth to catch any drips or debris
- Inspect for corroded or rusted connections
- Prepare your workspace for the new faucet installation
Taking care ensures a smooth transition to your new faucet.
Prepare Your Sink Area for the New Faucet
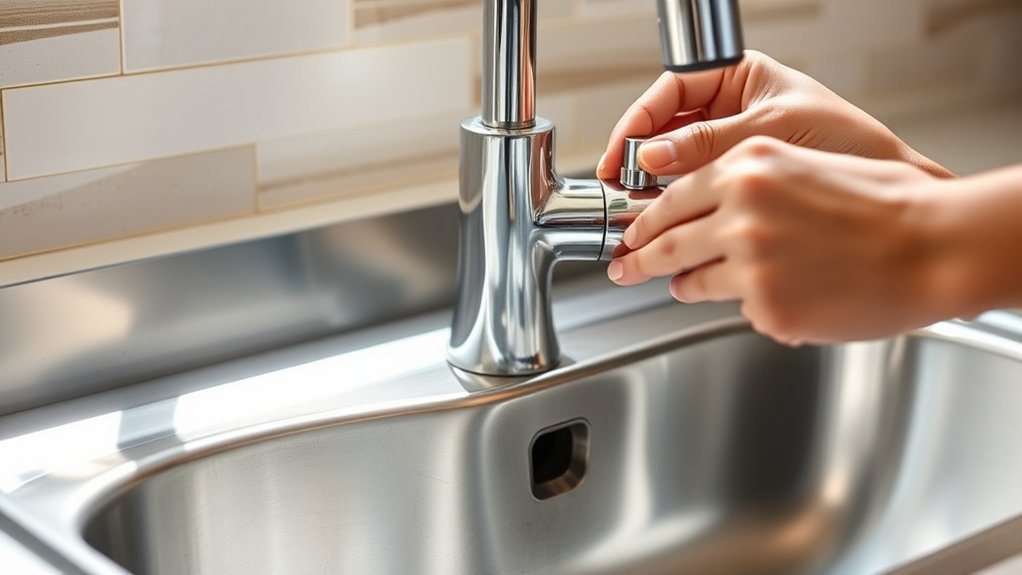
Before you get started with installing your new faucet, it’s a good idea to clear the sink area. Move away any dishes, soap bottles, or other items so you have a clean space to work with. Giving the surface a quick wipe down also helps ensure everything stays tidy and ready for the install.
Next, you’ll want to turn off the water supply. This step is really important to avoid any water leaks or spills while you’re working. Once the water’s shut off, you can move on to the actual installation with confidence.
Clear the Work Area
Clearing the work area is an important first step to ensure a smooth faucet installation. A tidy, organized space helps you work efficiently and keeps safety risks low.
Before you begin, remove any items around your sink—dishes, cleaning supplies, or decorations—that might distract you or cause accidents. Make sure your work area is well-lit so you can see every detail clearly.
Taking these safety precautions keeps you safe from injuries and makes the process easier. Feel confident knowing your space is safe and clutter-free.
Enjoy the satisfaction of a neat workspace. It also minimizes the risk of knocking things over or damaging surfaces.
Finally, a clean area helps you focus fully on the task without unnecessary distractions.
Turn Off Water Supply
Turning off the water supply is an important step to prevent leaks and water damage when installing your new faucet.
First, find the shut-off valves under your sink that control the water flow to the faucet. Turning these valves clockwise will stop the water.
If your faucet has separate hot and cold lines, make sure to shut off both. This prevents any residual water pressure from causing spills or damage.
Once the water is off, open the faucet handles to release any remaining pressure. Confirm that no water is flowing before starting your installation.
This will help ensure a safe and clean setup for your sink.
Install the Faucet Mounting Hardware
Have you prepared the mounting hardware that came with your faucet? Now it’s time for faucet mounting and hardware installation.
Properly securing your faucet guarantees it stays in place and functions smoothly. First, place the gasket or rubber washer on the underside of the faucet base to prevent leaks.
Securing your faucet properly ensures stability and smooth operation for long-lasting performance.
Then, insert the faucet into the mounting holes on the sink or countertop. From underneath, thread the mounting nuts onto the faucet’s shanks, tightening them by hand initially.
Use a wrench to secure everything firmly, but avoid overtightening, which can damage parts. As you tighten, feel confident knowing you’re creating a sturdy, leak-free connection.
Remember, the right hardware makes a difference in durability and performance. To keep your progress on track, focus on these key moments:
- Confirming a tight, leak-proof fit
- Handling hardware with care to avoid damage
- Using the correct tools for installation
- Confirming the faucet sits level and secure
Connect Water Supply Lines to Your New Faucet
Once your faucet is securely mounted, the next step is to connect the water supply lines. These lines bring hot and cold water from your plumbing system to the faucet.
Make sure you pick supply lines compatible with your faucet materials, as some handle water pressure better and last longer. Before attaching, turn off the main water supply.
Use adjustable wrenches to tighten the connections securely, but be careful not to overtighten, as that can damage fittings. Check that the water pressure is appropriate—high pressure can cause leaks, while low pressure might reduce flow.
| Supply Line Type | Suitable Faucet Materials |
|---|---|
| Braided Steel | Metal, ceramic, composite |
| Rubber Hose | Plastic, composite |
| Flexible PEX | Metal, plastic |
Matching the right supply line with your faucet materials ensures durability and steady water flow.
Check for Leaks and Tighten Connections
Are your connections secure and leak-free? Proper leak detection and connection tightening are essential for a successful faucet install.
Before turning on the water, carefully inspect all the connections. Look for any signs of moisture or drips that could mean a leak.
If you see any, tighten the fittings gently but firmly. Be careful not to overtighten, as that can damage the threads.
Here are some tips to make sure everything’s secure:
- Check all supply line connections for leaks or drips.
- Use a wrench to tighten fittings, but don’t overtighten.
- Wipe away any water so you can better spot leaks during inspection.
- Run water at each joint to test for leaks.
Taking these steps gives you peace of mind, prevents water damage, and keeps your faucet working smoothly.
Proper connection tightening and thorough leak detection save you time and frustration later on.
Turn Water Back On and Test Your Faucet
Alright, go ahead and turn the water supply back on. Once that’s done, run your faucet a bit to see how the water flows. Keep an eye out for any drips or leaks around the connections—that’s a good way to catch any issues early on. If everything seems to be working smoothly without any leaks, then congratulations! You’ve successfully tested your installation.
Check Water Flow
Before testing your faucet, double-check that all supply valves are fully open. Turn on the handle slowly to let the water start flowing. Keep an eye on the water pressure and flow rate—if they seem weak or irregular, you might need to adjust the valves.
Feel the water’s strength and listen for sputtering sounds, which could mean air or blockages are present. Look for steady, strong water flow without splashing.
Ensure the flow rate is consistent across both hot and cold handles. Watch out for sudden drops or surges in water pressure. The flow should be smooth and even, without noise or hesitation.
Making sure the water flows properly confirms your faucet is installed correctly and ready for everyday use. Adjust things as needed before moving on to the next step.
Inspect for Leaks
Once you’ve confirmed the water flows smoothly without any issues, it’s time to check for leaks. Turn the water back on gradually and watch around the faucet connections.
Proper leak detection helps you catch drips early and prevents potential water damage. Look for any water escaping from fittings or underneath the sink.
Use paper towels to help spot slow leaks or drips. Tighten any loose connections if needed to prevent future problems.
Here’s a quick visual:
| Area to Check | Signs of Leaks or Drips |
|---|---|
| Faucet Base | Water pooling or dampness |
| Under Sink | Pooled water or wet cabinet floor |
| Connections | Dripping sounds or moisture |
This step makes sure your installation is tight, helping prevent drips and giving you peace of mind.
Troubleshoot Common Installation Issues
Even with careful planning, installation issues can still pop up. Recognizing common errors makes troubleshooting much easier. When your faucet leaks or doesn’t work right, don’t panic—stay calm and try these simple tips.
First, check for loose connections. Tighten any fittings that seem wobbly or loose to prevent leaks. Next, look for misaligned parts. Make sure everything is properly aligned and seated correctly.
Then, examine the washers or seals. If you see any worn or damaged parts, replace them to stop drips. Also, verify the water supply valves. Ensure they are fully open and working properly.
Fixing these issues quickly can save you frustration and time. Most problems come from simple mistakes or overlooked details. Patience and careful inspection are your best tools for troubleshooting effectively.
Finish Up and Clean Your Work Area
After finishing the installation, take a moment to clean up your work area thoroughly. Keeping things tidy not only looks good but also helps protect your sink and faucet finishes.
Use gentle cleaning methods to avoid scratching or damaging delicate surfaces. Wipe everything down with a soft cloth and a mild cleaner, paying close attention to those tricky spots.
Make sure to remove any debris or packaging materials so your workspace stays clutter-free.
| Cleaning Step | Recommended Technique | Focus Area |
|---|---|---|
| Wiping surfaces | Soft cloth, gentle pressure | Faucet, sink edges |
| Removing debris | Sweeping or vacuuming small particles | Workstation corners |
| Final polishing | Non-abrasive polish for finishes | Decorative finishes |
Frequently Asked Questions
Can I Install a Kitchen Sink Faucet Without Professional Help?
Yes, you can install a kitchen sink faucet without professional help if you’re comfortable with DIY plumbing. Just follow clear instructions and make sure you turn off the water supply first.
This project also helps you learn basic faucet maintenance skills. Take your time, use the right tools, and double-check connections to prevent leaks.
With patience, you’ll successfully upgrade your faucet and gain confidence in handling future DIY plumbing tasks.
What Type of Tools Are Essential for Faucet Installation?
Think of your tools as the keys to completing a puzzle. You’ll need basic plumbing tools like an adjustable wrench, basin wrench, and pliers to tighten connections securely.
Gather faucet components such as the mounting hardware, supply lines, and washers. These essentials help you confidently install your faucet, ensuring it functions smoothly and prevents leaks.
With the right tools and components, you’ll master the task with ease.
How Long Does a Typical Faucet Installation Take?
A typical faucet installation takes about an hour, but it can vary based on your DIY plumbing skills.
You’ll need to turn off the water supply, remove the old faucet, and install the new one. If you follow clear steps, it can be pretty straightforward.
This process also helps with faucet maintenance, preventing leaks and keeping everything working smoothly.
Taking your time and double-checking connections can make your DIY project successful and hassle-free.
Are There Different Types of Kitchen Sink Faucets?
Yes, there are different types of kitchen sink faucets, including single-handle, double-handle, pull-down, and pull-out styles. When choosing, consider faucet material like stainless steel, brass, or chrome for durability and style.
Doing a brand comparison helps you find reliable options, as some brands offer better warranties and features. Your choice depends on your kitchen’s style, functionality needs, and budget, ensuring you get the best fit for your space.
How Often Should I Replace My Kitchen Sink Faucet?
Think of your kitchen sink faucet like a trusted friend—regular maintenance keeps it running smoothly. You should consider replacing it every 10-15 years, especially if leaks develop or water flow weakens.
Leak prevention is key. If you notice persistent drips or difficulty controlling water, it’s time for a new faucet.
Regularly checking for leaks and maintaining your faucet helps ensure it lasts longer and performs efficiently.
Conclusion
Now that you’re almost done, picture turning your new kitchen sink faucet on for the first time. Will everything flow smoothly, or will a hidden leak surprise you?
With these simple steps, you’re close to enjoying a fresh, upgraded sink. Just a quick check here and a final tighten there, and you’ll be ready to impress everyone with your handy skills.
Ready to see your hard work pay off? The moment’s almost here—trust yourself, and enjoy your new kitchen sink faucet!