10 Easy Steps to Clean Your White Kitchen Sink
Many people struggle with keeping their white kitchen sinks spotless. It’s frustrating to see stains, mineral deposits, and water spots dull the bright, clean look you want. But don’t worry—you’re not alone, and cleaning your sink doesn’t have to be a chore.
To clean your white kitchen sink easily, start by removing debris and clutter, then rinse with warm water. Use a gentle, eco-friendly cleaner like baking soda and vinegar to scrub the surface, focusing on stains and mineral deposits.
Disassemble fixtures to clean thoroughly and wipe the drain.
Polish with a vinegar or baking soda paste, and dry the sink to prevent water spots. Regular maintenance keeps your sink looking its best. If you want more tips, continue exploring.
Key Takeaways
- Remove debris, dishes, and clutter; rinse thoroughly with warm water to loosen dirt and residue.
- Use natural cleaning agents like baking soda and vinegar for effective, eco-friendly stain removal.
- Gently scrub with a soft sponge or brush, paying special attention to corners and stubborn stains.
- Wipe and buff the sink with a soft cloth to restore shine and prevent water spots.
- Regularly disinfect with natural solutions and dry the sink to keep it clean and bright.
How to Remove Stains From Your White Kitchen Sink
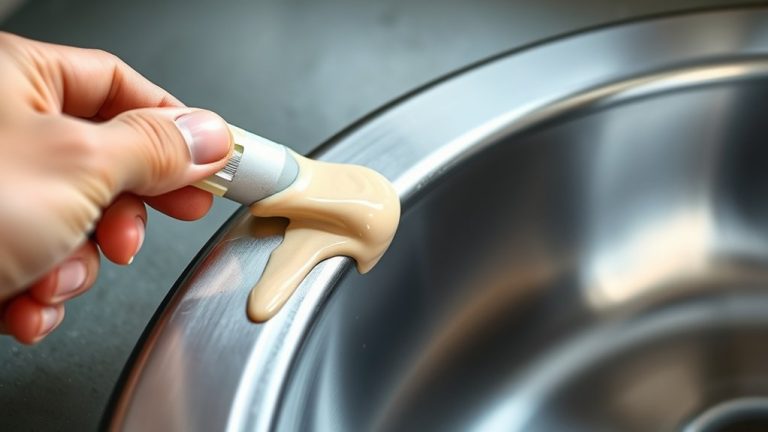
Stains on your white kitchen sink can be frustrating, but luckily, they’re usually easy to remove with the right approach. For effective stain removal, start by mixing a gentle cleaner like baking soda with water to form a paste. Apply it directly to stained areas and let it sit for a few minutes.
For easy stain removal, apply baking soda paste and let it sit briefly before scrubbing.
Use a soft scrub brush or sponge to gently scrub away the stains, then rinse thoroughly with warm water. For stubborn stains, a mixture of vinegar and baking soda can boost cleaning power. Always avoid harsh chemicals that might damage the surface.
To prevent future stains, wipe down your sink regularly after use, especially after contact with coffee, wine, or fruit juices. Keeping your sink dry and clean minimizes staining and makes stain prevention easier.
Consistent cleaning routines help maintain the bright white appearance and reduce the effort needed for stain removal in the long run.
Preparing Your Sink for Effective Cleaning
Before you dive into cleaning, it’s a good idea to clear out any debris and clutter from around the sink. This way, you won’t miss any spots and can clean more efficiently. Once everything’s out of the way, give the sink a good rinse with water to loosen up any dirt or residue. After rinsing, dry it off completely with a clean cloth to prevent water spots and make the cleaning process smoother. Taking these simple steps beforehand really helps make your cleaning quicker and more effective.
Clear Debris and Clutter
Start by removing all debris, dishes, and any clutter from around and inside your sink. This step is key for effective cleaning and helps prevent messes from spreading.
Use organizing essentials like a small basket or tray to gather loose items, making clutter easier to manage. Clearing the area exposes every surface so you can clean thoroughly without obstructions.
To stay motivated, try this quick checklist:
| Task | Purpose |
|---|---|
| Remove dishes | Clear workspace |
| Gather loose items | Simplify clutter management |
| Wipe counter surfaces | Prevent dirt transfer |
| Dispose of trash | Keep sink area tidy |
| Check for hidden debris | Ensure thorough cleaning |
Keeping the sink free of clutter sets the stage for deep cleaning and a shiny finish.
Rinse and Dry Thoroughly
Once you’ve cleared away any remaining debris and clutter, it’s time to rinse the sink thoroughly. Use cold water to conserve water and prevent mineral deposits. Make sure to cover all surfaces, including corners and drain areas.
After rinsing, dry the sink completely with a soft, microfiber cloth to prevent water spots and soap scum buildup. You can also use eco-friendly products like reusable cloths or sustainable paper towels.
Proper drying helps your sink stay bright and reduces the chances of mold or mildew growth. This step prepares your sink for deep cleaning and keeps its pristine white look.
Choosing the Best Cleaning Supplies for White Sinks
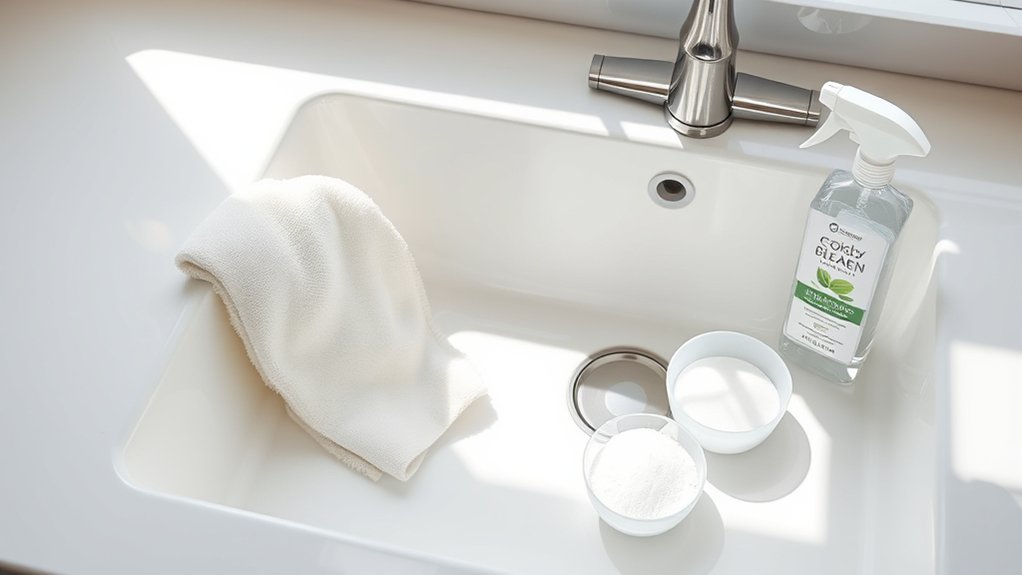
Choosing the right cleaning supplies is essential for maintaining the bright, pristine look of your white kitchen sink. Start by selecting eco-friendly options that are gentle on your sink and the environment.
Look for cleaners labeled as biodegradable or made with natural ingredients, which help prevent harsh chemical buildup. You can also create effective DIY cleaning solutions using common household items like baking soda, white vinegar, and lemon juice.
These natural options are affordable, safe, and powerful against stains, soap scum, and grime. When choosing commercial products, opt for non-abrasive formulas to avoid scratching the surface.
Always check labels for compatibility with white porcelain or stainless steel sinks. By selecting the right supplies—whether eco-friendly options or DIY solutions—you’ll guarantee your sink stays sparkling without damaging its finish or harming the environment.
Proper choice of cleaning products sets the foundation for a spotless, beautiful white sink.
How to Deep Clean and Dislodge Mineral Deposits
Mineral deposits can build up over time, making your white sink look dull and stained. To deep clean and dislodge these deposits, start with a mixture of equal parts white vinegar and water.
Spray or pour this solution directly onto the affected areas, focusing on stubborn spots. Let it sit for 15-20 minutes to help dissolve the buildup.
Next, use a soft sponge or brush to gently scrub the surface, paying attention to corners and seams. For tougher stains, sprinkle baking soda over the vinegar solution— the fizz helps loosen mineral deposits.
After scrubbing, rinse thoroughly with warm water to remove any residue. If the deposits are still stubborn, repeat the process until the stains are gone.
This method not only tackles mineral buildup but also helps remove stains, restoring your sink’s bright, white look. Regular deep cleaning can prevent future buildup and keep your sink looking fresh.
Simple Techniques to Polish and Shine Your Sink
Want that sink to really shine? It’s easier than you think! After giving it a good clean, you can use simple polishing techniques to make it sparkle. Just apply a gentle polish or even try mixing some baking soda with water — it works wonders.
Then, grab a soft cloth and buff the surface until it’s bright and spotless. Trust me, these easy steps will leave your sink looking fresh and gleaming in no time!
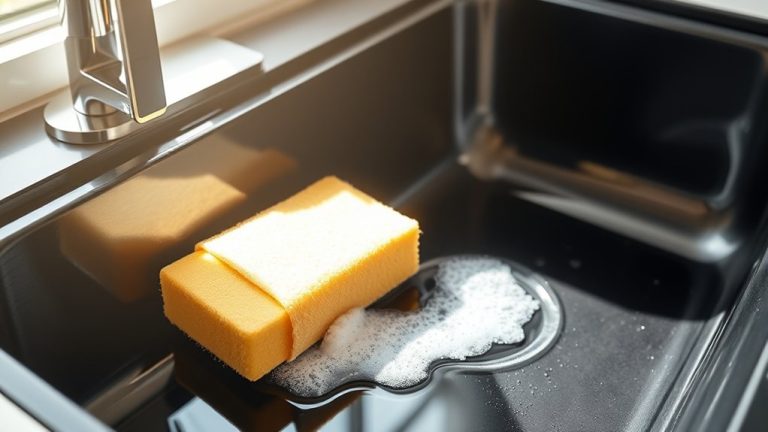
Effective Cleaning Methods
To achieve a sparkling, spotless sink, simple cleaning techniques can make a big difference. Start by removing sink accessories and decluttering your countertop to improve kitchen organization.
Use a mixture of baking soda and water to create a gentle scrub paste. Apply it to the sink’s surface, focusing on stains and grime. Let it sit for a few minutes before scrubbing with a soft sponge or brush. Rinse thoroughly with warm water.
For extra shine, wipe the sink with a damp cloth soaked in white vinegar. This helps break down mineral deposits. Regularly cleaning your sink accessories, like soap dispensers and sponge holders, prevents buildup.
These effective methods keep your white sink looking fresh, clean, and inviting every day.
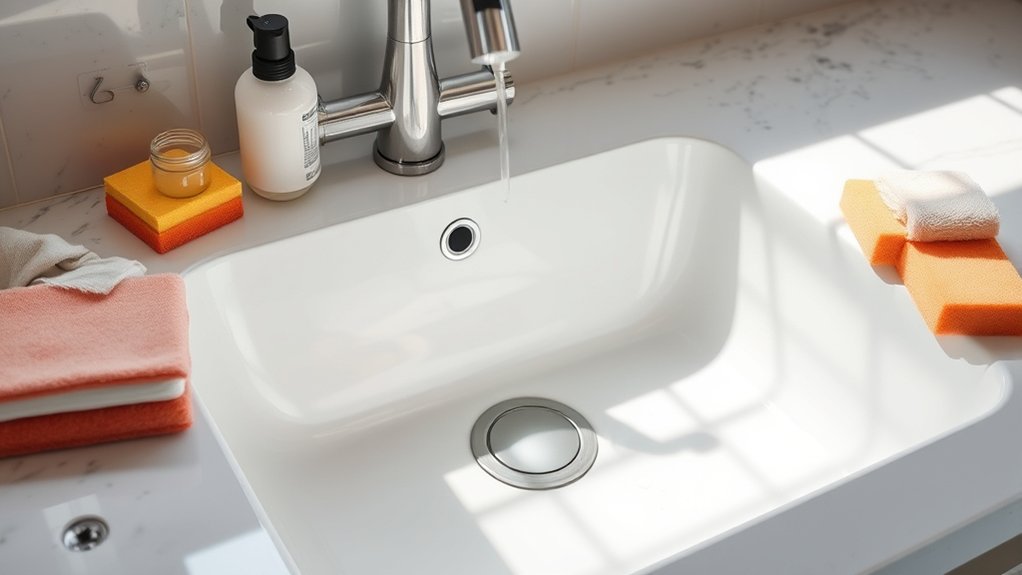
Achieving a Sparkling Finish
Achieving a sparkling finish on your white kitchen sink is easier than it seems with a few simple techniques. To polish and shine your sink, start by rinsing thoroughly with warm water, then use an eco-friendly cleaning solution to remove any residue.
For a glossy surface, buff gently with a microfiber cloth, focusing on any dull spots. Incorporate stain prevention tips by wiping down the sink after each use to prevent water spots and mineral buildup.
You can also apply a natural sealant, like baking soda or lemon juice, periodically to maintain brightness. Consider these quick steps:
- Use eco-friendly cleaning products for a streak-free shine
- Wipe the sink dry after each use to prevent stains
- Regularly polish with a soft cloth for a dazzling finish
Disinfecting Your White Sink Without Damage
Wondering how to disinfect your white sink effectively without causing damage? The key is to choose eco-friendly solutions and natural disinfectants that are gentle yet effective.
Vinegar is a popular natural disinfectant that kills germs without harsh chemicals, but avoid using it in excess on delicate surfaces.
Baking soda works as a mild abrasive to scrub away grime while also offering antibacterial properties.
For added safety, dilute tea tree oil or lemon juice with water—these natural disinfectants have antimicrobial qualities and won’t harm your sink’s finish.
Always test a small area first to ensure no discoloration occurs. After applying your chosen solution, let it sit for a few minutes before rinsing thoroughly with water.
Avoid bleach or strong chemical disinfectants, as they can weaken the surface over time.
With these eco-friendly and natural options, you can keep your white sink spotless and germ-free without risking damage.
Tips to Prevent Future Stains and Discoloration
Prevention is key to keeping your white sink looking pristine, especially since stains and discoloration can happen quickly if you’re not careful. To keep it bright, develop simple habits that help prevent stains.
Start by wiping down the sink daily with a soft cloth to remove soap residue and water spots. If you see spills or stains, clean them right away to stop them from setting.
You can also use natural remedies like baking soda and vinegar for regular cleaning—they gently lift stains and disinfect without harsh chemicals. Rubbing lemon juice on spots can brighten the surface naturally and help keep stains at bay.
Consistency is really important. Building these habits will help your sink stay looking new longer. By actively preventing stains and discoloration, you’ll spend less time on deep cleaning and preserve that crisp white look.
Cleaning the Drain and Fixtures for a Complete Refresh
If you want your sink to look and work like new, start by taking apart the fixtures and giving them a good clean. It’s surprising how much dirt and grime can hide there!
Then, move on to the drain—clear out any gunk and give it a good sanitizing. This not only keeps things smelling fresh but also helps prevent any buildup that could slow your sink down.
Just a few simple steps like these can make a big difference in giving your sink a complete refresh!
Disassemble and Clean Fixtures
Before you start scrubbing the sink, it’s important to disassemble the fixtures and drain. Taking apart the fixtures helps you get to hidden grime and stains, making cleaning more effective.
Carefully remove the faucet, aerator, and any other fixtures, and keep track of all the small parts. This way, you won’t lose anything during reassembly.
Inspect the fixtures for mineral buildup or soap scum and scrub them with a brush or vinegar solution. Soaking removable parts in warm, soapy water can help loosen grime and stains.
Use a toothbrush or small brush to clean tight spots and threads. Disassembling your fixtures ensures you reach every corner, preventing buildup and keeping everything looking fresh.
Once everything is clean, reassemble it securely. This step not only brightens your sink but also helps extend the life of your fixtures.
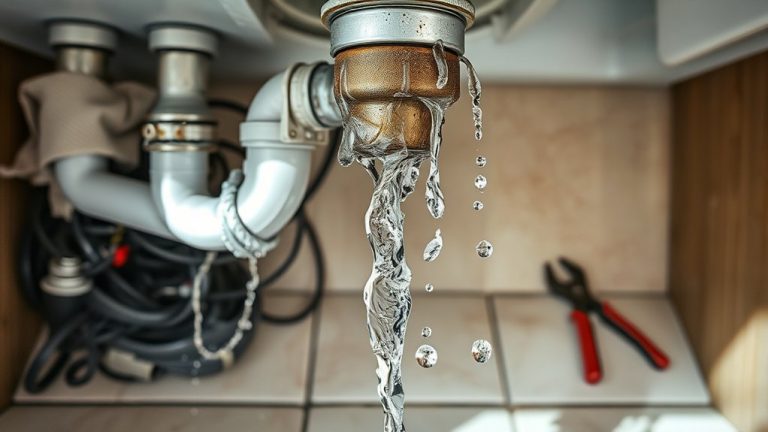
Clear and Sanitise Drain
Once you’ve disassembled the fixtures, it’s essential to clear and sanitize the drain to guarantee your sink is truly spotless. Start by pouring a mixture of baking soda and vinegar down the drain to break down buildup and control odors. Let it fizz for a few minutes, then flush with hot water.
For thorough drain maintenance, use a pipe brush to scrub the drain opening and remove any debris. Sanitizing the drain prevents bacteria growth and keeps your sink smelling fresh. Regular cleaning also helps avoid clogs and maintains proper water flow.
Finish by wiping down the drain area with a disinfectant cloth. This simple step ensures your sink stays hygienic, odor-free, and in top condition for everyday use.
Troubleshooting Tough Stains and When to Call a Pro
Tough stains on your white kitchen sink can be stubborn and frustrating, especially when household cleaning methods fall short. If standard stain removal techniques aren’t working, it might be time to reassess your cleaning schedule or try specialized products. Some stains, like mineral deposits or deep-set discoloration, need stronger solutions or professional help.
Stubborn sink stains may require stronger solutions or professional help to restore brightness.
Consider these options:
- Use a commercial stain remover designed for tough spots, following the instructions carefully.
- Try a paste of baking soda and hydrogen peroxide for more stubborn stains.
- When stains persist despite multiple attempts, it’s best to call a professional to prevent damage or discoloration.
Knowing when to escalate your efforts helps keep your sink bright. Regular cleaning can prevent future stain buildup, but some stains require expert attention to fully remove. Don’t hesitate to seek pro help when the stain seems impossible to tackle on your own.
Weekly Habits to Keep Your White Sink Sparkling
Maintaining your white sink’s brilliance requires consistent effort beyond occasional deep cleans. Implement weekly habits to keep it sparkling and pristine.
Start by rinsing the sink with warm water daily, removing food particles and soap scum before they stain. Use a gentle, non-abrasive cleaner weekly to wipe down surfaces, keeping your sink bright.
Incorporate color coordination in your cleaning supplies—choosing whites or light shades—so your tools blend seamlessly into your kitchen organization. This helps keep your workspace tidy and prevents clutter that can harbor grime.
Regularly check and clean the drain to prevent buildup, and consider applying a protective sealant once a month for extra shine.
Keeping your kitchen organized makes it easier to stick to these habits, making cleaning effortless.
Consistent maintenance will preserve your white sink’s look and contribute to a clean, harmonious kitchen environment.
Frequently Asked Questions
How Often Should I Clean My White Kitchen Sink?
You should clean your white kitchen sink at least once a week for DIY cleaning and stain prevention. Regular wiping removes food debris and helps prevent stains from setting.
After using the sink, rinse and dry it to keep it looking spotless. This quick step makes a big difference in maintaining its brightness.
For a deeper clean, use a gentle scrub with natural cleaners like baking soda and vinegar. Consistent care helps your sink stay bright, clean, and free of stains longer.
Can Natural Remedies Effectively Remove All Stains?
Natural cleaning can be effective for stain removal, but it depends on how bad the stain is.
For light to moderate stains, remedies like baking soda, lemon juice, and vinegar work well to lift stains naturally.
Just apply these solutions, scrub gently, and let them sit for a bit.
But for stubborn or deep-set stains, you might need stronger or commercial cleaners.
Always test natural remedies on a small area first to avoid damage.
Is It Safe to Use Bleach on a White Sink?
Did you know that over 60% of homeowners worry about cleaning safety? Using bleach on your white sink can be safe if you follow proper safety tips like diluting it correctly and rinsing thoroughly.
Bleach effectively removes stains and disinfects, but using too much might cause your sink to discolor. Always work in a well-ventilated area and avoid prolonged contact to keep your sink bright and clean safely.
What Are the Best Tools for Scrubbing Stubborn Stains?
To tackle stubborn stains, you should use the right tools. A variety of brush types, like nylon or soft-bristle scrub brushes, are effective for scrubbing without damaging the sink’s surface.
For tough stains, opt for a stiff-bristle brush that can scrub more aggressively. Always choose a brush suited for your sink’s material, and make sure to apply gentle, consistent pressure to lift stains without causing scratches.
How Can I Prevent Scratches on My White Sink?
To prevent scratches on your white sink, avoid using abrasive scrubbers and harsh cleaning tools. Instead, choose soft sponges or microfiber cloths for cleaning and polishing.
Regular rinsing and gently drying your sink help prevent buildup that can lead to scratches. Be careful with heavy or sharp objects around the sink area.
Always clean in gentle, circular motions. This simple approach keeps your sink looking pristine and free of scratches.
Conclusion
With these simple steps, your white sink can stay pristine and gleaming like fresh winter snow. Think of it as tending a delicate garden—regular care prevents stubborn stains from taking hold.
Imagine your sink as a mirror reflecting your neat, organized kitchen. When you stay consistent, cleaning becomes effortless, and your sink remains a shining centerpiece.
Keep up these habits, and you’ll enjoy a spotless, inviting space that feels as fresh as a crisp morning. A clean white kitchen sink is easier than you think when you make it part of your routine.