You Make Grilled Cheese in the Oven: 10 Simple Steps
Many people love the idea of a perfectly crispy, melty grilled cheese, but getting that just right can feel tricky. You’re not alone in struggling to find the easiest way to make one that’s golden on the outside and gooey on the inside.
Luckily, baking your grilled cheese in the oven is a simple, foolproof method.
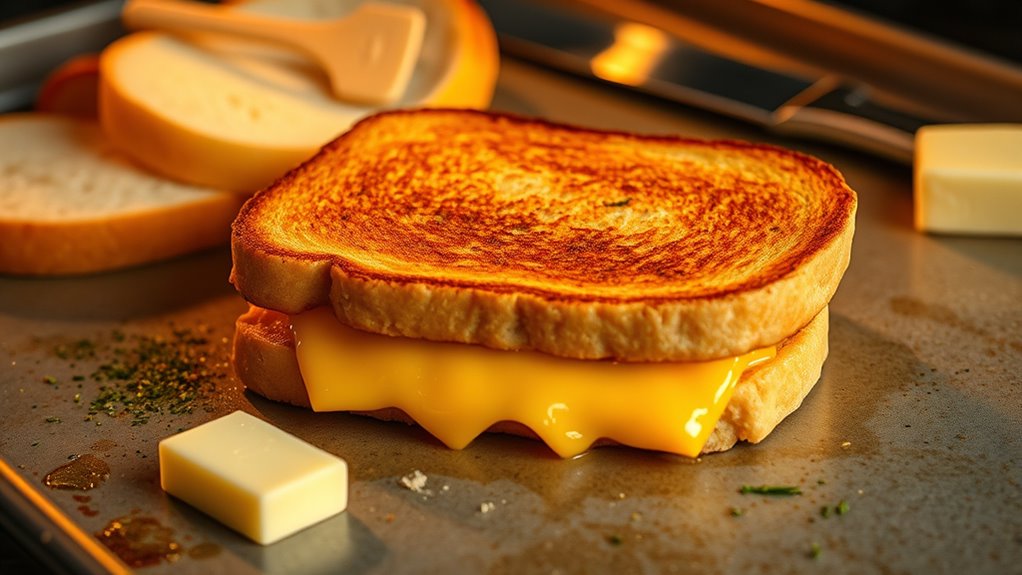
To make grilled cheese in the oven, start by choosing sturdy bread and high-quality cheese, then assemble your sandwich with buttered sides facing out.
Preheat your oven to 375°F and line a baking sheet with parchment paper.
Place the sandwiches and bake for 10-15 minutes until golden and bubbly.
Keep an eye on the crust and cheese, and for extra crispiness, try broiling at the end.
For more tips, learn how to perfect your crispy, melty masterpiece.
Key Takeaways
- Preheat the oven to 375°F and line a baking sheet with parchment paper or a silicone mat.
- Assemble sandwiches with cheese and optional extras between sturdy bread slices, buttered on the outside.
- Place sandwiches on the prepared sheet, making sure they’re spaced evenly. Bake for 10-15 minutes until golden and bubbly.
- Keep an eye on them for a crispy crust and melted cheese. You can use visual and sound cues, and broil if you want them extra crispy.
- When done, remove from the oven, let cool briefly, then cut and serve with your favorite toppings or sides.
Why Should You Bake Your Grilled Cheese in the Oven?
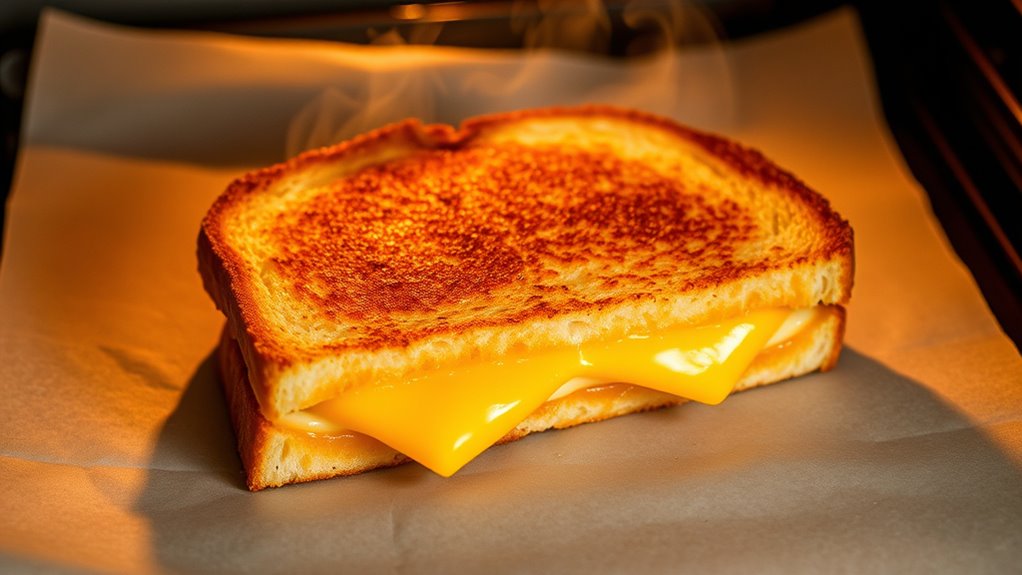
Baking your grilled cheese in the oven offers a hands-off approach that guarantees even cooking and crispiness. This method lets you use different techniques without constantly watching the sandwich.
With the right tools—like a baking sheet and parchment paper—you can set it up and forget about it until it’s perfectly toasted. Oven baking distributes heat evenly, so each bite gets that golden crust and melty interior.
It also lets you cook multiple sandwiches at once, which saves time if you’re feeding a crowd. Unlike stovetop cooking, which needs frequent flipping and monitoring, oven baking reduces the risk of burning or uneven browning.
Plus, you avoid the mess of greasy splatters on your stovetop. Overall, using the oven makes the process easier and produces consistently delicious grilled cheese. It’s a smart choice for both beginners and seasoned cooks.
How to Choose the Best Bread and Cheese for Oven-Baked Grilled Cheese
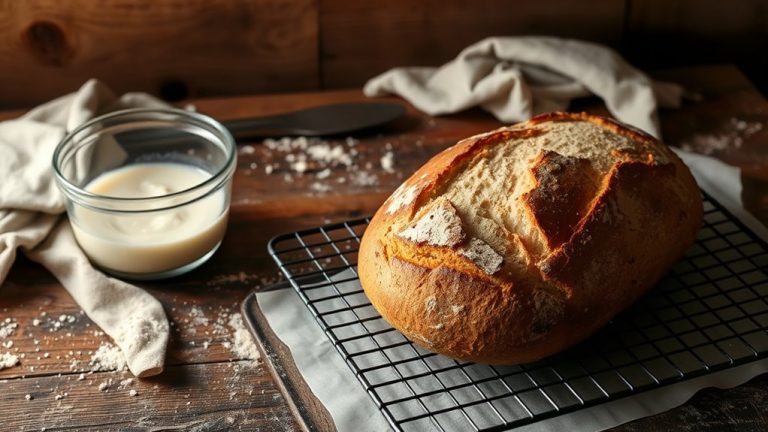
Picking the right bread and cheese can really make your oven-baked grilled cheese taste amazing. You want to go for sturdy breads like sourdough or Italian bread—that way, they hold up well and get nice and crispy in the oven.
As for the cheese, cheddar, Gruyère, or mozzarella are all great choices because they melt beautifully and add lots of flavor. If you’re feeling adventurous, you can even mix a few different cheeses for a more complex taste.
And hey, don’t forget to add some herbs or spices—like a sprinkle of thyme or a dash of paprika—to give your sandwich an extra flavor boost. It’s all about customizing it to make it just how you like!
Best Bread Types
Selecting the right bread is key to making the perfect oven-baked grilled cheese. You want bread with the right texture to hold up during baking and help the cheese melt nicely.
Choose breads that are sturdy yet tender, like sourdough, country loaf, or Italian bread. Light breads might fall apart, while dense ones can prevent proper melting.
Use the table below to find your ideal match:
| Bread Type | Texture & Suitability |
|---|---|
| Sourdough | Crusty outside, chewy inside; holds cheese well |
| Italian bread | Soft, airy, great for even cheese melting |
| Whole wheat | Nutty flavor, hearty; withstands oven baking |
| Brioche | Slightly sweet, soft, melts cheese nicely |
| Rye | Dense, flavorful, adds richness to your sandwich |
Choose based on texture and how well the bread supports cheese melting.
Ideal Cheese Choices
To create a perfectly melted and flavorful oven-baked grilled cheese, picking the right cheese is just as important as choosing the right bread. Opt for cheeses that melt well and have good flavor, and think about how aging affects their texture and taste.
You’ll want cheeses with high moisture content for the best melting. Younger cheeses like mild cheddar or mozzarella melt smoothly and give you that creamy texture everyone loves.
If you’re after a richer flavor, try aged cheeses like Gruyère or sharp cheddar. They add depth and complexity to your sandwich.
For those avoiding dairy, look for plant-based cheeses made specifically for melting. They can help you get that gooey, cheesy goodness without compromising dietary needs.
Remember to consider cheese aging to boost flavor, and don’t be afraid to experiment with dairy alternatives to find what works best for you.
Flavor Enhancements
The flavors of your grilled cheese can be improved a lot by paying attention to the bread and cheese combinations you choose. To elevate your sandwich, try adding herbs or spices directly to the cheese or butter for flavor infusions.
Seasoning techniques like sprinkling garlic powder, paprika, or black pepper on the bread’s exterior can add extra depth. Opt for breads with richer textures or added ingredients like rye, sourdough, or whole grain for more flavor complexity.
For cheese, mixing in sharp cheddar, gouda, or pepper jack can create a more vibrant taste profile. Combining thoughtful flavor infusions with seasoning ensures your oven-baked grilled cheese isn’t just cheesy but bursting with savory, well-rounded flavors that delight your palate.
Preparing Your Ingredients for Perfect Results
Getting your ingredients ready is the key to achieving that perfect grilled cheese. Start by choosing quality cheese and butter, making sure they’re fresh for the best melt and flavor.
Preparing your ingredients ensures a perfectly melted, flavorful grilled cheese every time.
Consider adding creative touches like garlic or a slice of tomato to give your sandwich extra flavor. When selecting bread, don’t hesitate to try alternatives like sourdough, rye, or gluten-free slices for unique textures and tastes.
Preparing your ingredients ahead of time saves you time and helps ensure even cooking.
Use high-quality cheese that melts well, such as cheddar, Gruyère, or mozzarella.
Layer your ingredients evenly to get consistent flavor and gooeyness.
Experiment with different bread options to add variety and meet dietary needs.
Assembling Your Oven-Baked Grilled Cheese Sandwiches
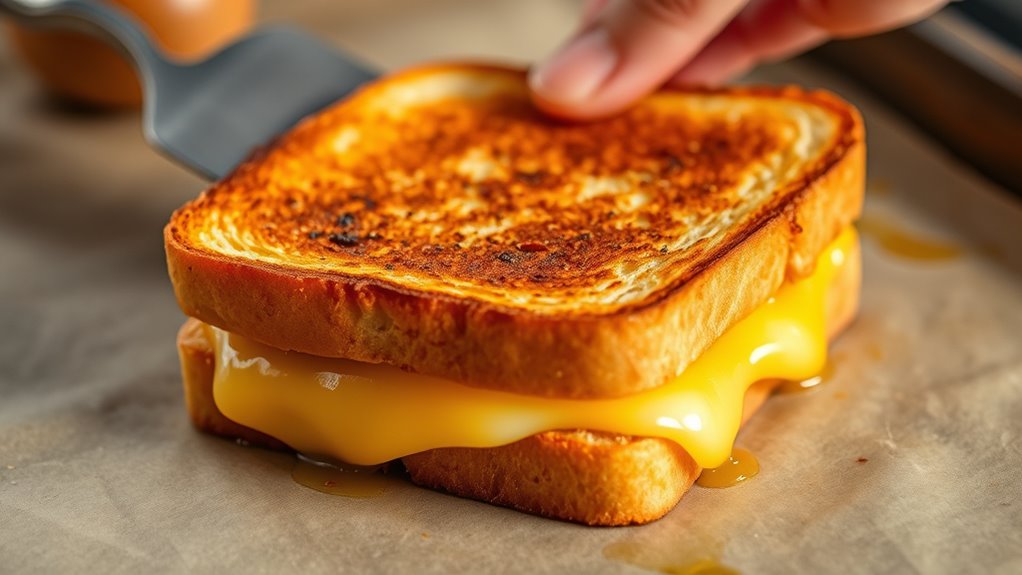
Once your ingredients are prepped and ready, it’s time to assemble your sandwiches for oven baking. Start by choosing your bread—try crusty sourdough or soft brioche to add some variety.
Spread butter evenly on one side of each slice to get that golden crust. If you’re feeling creative, layer in different cheese varieties—cheddar, mozzarella, or even blue cheese—for exciting flavors.
Add extras like sliced tomatoes, caramelized onions, or cooked bacon to make your sandwich even better. Place the cheese and fillings between two slices of bread, with the buttered sides facing out.
For a little extra flair, sprinkle herbs or spices between the layers. Make sure the sandwiches are snug but not overcrowded so the cheese melts evenly.
Once assembled, transfer them to a baking sheet. This step lets you personalize each sandwich for a delicious oven-baked grilled cheese experience.
How to Set Up Your Oven for Baking
Sure! Here’s a more conversational version of the text:
First off, you want to preheat your oven to the right temperature. For a grilled cheese, that’s usually around 375°F. It’s a good idea to double-check that you’re using the correct baking setting—either bake or convection—so everything cooks evenly. Getting this step right really helps make sure your sandwich comes out golden and crispy every single time.
Preheat Oven Properly
Preheating your oven is key to making the perfect grilled cheese. It ensures even cooking and melts the cheese just right.
Set the oven to the recommended temperature, usually around 375°F (190°C). This helps your bread get that nice golden crust while the cheese melts evenly.
Keep in mind that cheese pairings and bread textures can influence the best temperature and cooking time. Softer bread might need lower heat to avoid burning, while firmer bread can handle a higher temperature.
Use an oven thermometer to double-check the temperature for accuracy. Allow at least 15 minutes for the oven to fully preheat.
Finally, adjust the rack placement to promote even heat distribution and get the best results.
Use Correct Baking Settings
Setting the right baking settings is key to a perfectly cooked grilled cheese. Aim for about 375°F (190°C) to get even melting and crisping.
Using the correct techniques, like placing your sandwiches on a baking sheet lined with parchment paper or a silicone mat, helps prevent sticking.
If you’re swapping ingredients, such as different cheese or bread, try to match their moisture levels and melting points. Adjust the temperature if needed.
Keep an eye on your sandwiches as they bake so they don’t over-brown. Proper oven settings will give you that golden crust and gooey center every time.
Sticking to consistent baking settings ensures delicious results, no matter what ingredients you use.
Baking Your Sandwiches to a Golden, Melty Finish
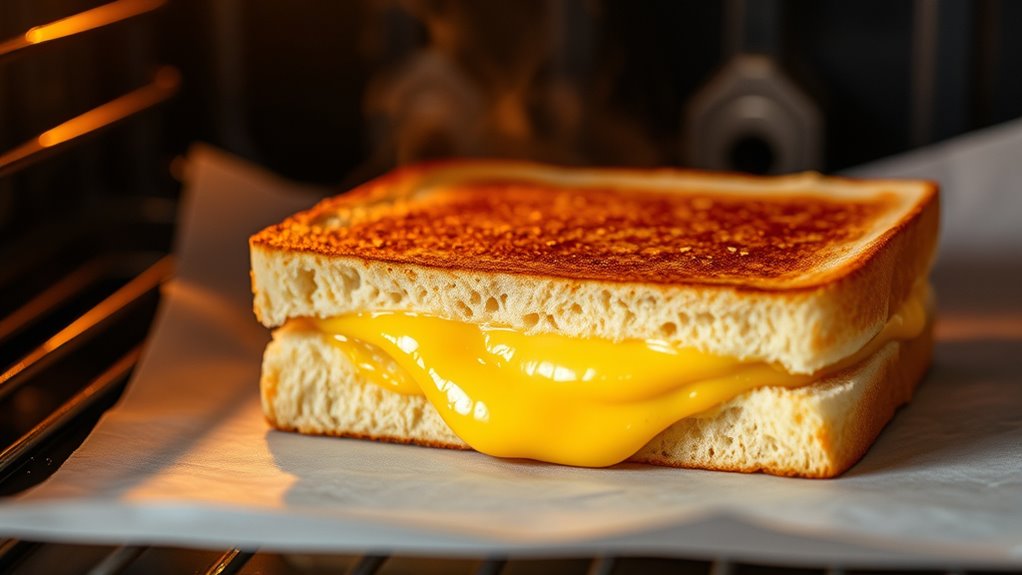
Once your oven is ready, place the assembled sandwiches on a baking sheet lined with parchment paper or a silicone mat. Bake at 375°F (190°C) for 10-15 minutes, or until the bread is golden and the cheese is melted.
To get that perfect finish, think about fun flavor pairings—like sharp cheddar with apple slices or spicy pepper jack with jalapeños. You can also try shaping the bread in creative ways, such as folding the edges inward or creating a border around the sandwich.
These techniques help promote even melting and a crispy crust. Keep an eye on your sandwiches during the last few minutes to prevent over-browning.
For an extra crispy touch, broil for 1-2 minutes, but watch closely so they don’t burn. This method ensures a beautifully golden, melty finish that looks great and tastes irresistible.
How to Tell When Your Grilled Cheese Is Ready?
So, how do you really know when your grilled cheese is ready? Well, first off, you want to see that the cheese inside is all melted and gooey. It should look nice and bubbly, almost like it’s inviting you to take a bite. That’s a good sign it’s heated through and ready to enjoy.
And don’t forget about the crust! You’re aiming for a deep golden brown color, with a crispy texture that you can feel when you tap it. If it’s that perfect crispy crust, you know it’s been grilled just right. Plus, if you listen closely, you might hear a gentle sizzling sound—that’s the cheese and bread heating up, telling you it’s hot and just about perfect to eat.
Melted Cheese Appearance
When your grilled cheese is ready, the melted cheese should have a smooth, gooey appearance that slightly oozes at the edges. You’ll notice a satisfying cheese stretch as you lift the sandwich, showing it’s perfectly melted.
The melting temperature varies depending on the cheese, but it generally reaches a point where it becomes fluid enough to ooze without losing its structure. Look for a glossy, moist surface—if it looks dull or firm, it needs a bit more time.
The cheese should be evenly melted throughout, with no unmelted chunks. Achieving the right appearance guarantees your cheese is at its peak meltiness, giving that irresistible gooey texture.
Keep an eye out for these cues to get your grilled cheese just right. Cheese stretch indicates ideal melting, and a glossy, moist surface is a good sign.
Golden Brown Crust
A perfectly cooked grilled cheese develops a golden brown crust that signals it’s ready to be enjoyed. You’ll notice the bread toasting evenly, with a rich, caramelized color that’s hard to miss.
Look for the edges to turn a deep, golden hue. This indicates the bread has crisped up and the cheese melting inside has fused beautifully.
When the crust reaches this shade, the cheese is likely perfectly melted, with gooeyness inside. You can gently lift the sandwich to check the color; if it’s uniformly golden and crisp, your grilled cheese is ready.
Avoid over-browning, which can lead to burnt bread. A well-toasted crust combined with melted cheese makes for the perfect bite.
Audible Sizzling Sound
As the crust turns a perfect golden brown, an audible sizzling sound begins to emerge, signaling that your grilled cheese is nearing perfection. This sound is a key indicator in the kitchen ambiance, confirming that the cheese is melting and the bread is crisping just right.
Listen closely, and you’ll notice a steady, bubbling noise that grows louder as the sandwich reaches completion. The sizzling should be consistent, not sporadic, showing even cooking throughout.
A slight crackling indicates the cheese is melting and the crust is sealing. When the sizzling starts to decrease or quiets, it’s a sign to remove the grilled cheese before it overcooks.
Pay attention to these cues to ensure perfect timing and delicious results.
Tips for Getting Crispy, Melty Cheese Every Time
Getting crispy, melty cheese every time starts with choosing the right cheese. Opt for varieties like cheddar, American, or Gruyère, which melt well and develop a nice crust. Avoid cheeses that are too oily or crumbly, as they won’t melt evenly.
Next, think about your bread. A sturdy, slightly thick slice helps hold the cheese and prevents sogginess. A firm loaf or denser bread keeps the exterior crispy while keeping that gooey center.
To get the best melt, layer your cheese evenly across the bread, covering the entire surface to avoid dry spots. Using shredded cheese instead of slices spreads better and melts faster.
Watch your oven temperature—around 375°F (190°C) usually gives you a golden, crispy crust with perfectly melted cheese. Follow these tips for consistently delicious results every time.
Serve and Customize Your Oven-Baked Grilled Cheese
Once your oven-baked grilled cheese is perfectly crispy and melty, it’s time to focus on serving and personalizing it to suit your taste. You can get creative by adding toppings like sliced tomatoes, crispy bacon, or fresh herbs for an extra flavor boost.
Consider exploring creative flavor combinations, such as pairing sharp cheddar with apple slices or spicy jalapeños for a kick. To match your dietary preferences or switch things up, try using alternative bread options like sourdough, rye, or whole wheat.
These choices can add different textures and flavors, making each sandwich unique. Once plated, cut the grilled cheese into halves or quarters for easy sharing or dipping. Remember, the key to a perfect serving is customizing it to your preferences and experimenting with new ingredients.
This approach keeps every bite exciting and tailored to your taste buds.
Common Problems and How to Fix Them
Even with careful preparation, you might run into some common issues when making oven-baked grilled cheese. One frequent problem is cheese not melting evenly. To fix this, try lowering the oven temperature or lightly covering the sandwich with foil to trap heat and help the cheese melt more uniformly.
If the cheese is over-melting and spilling out, it’s a sign the heat is too high or you’re using too much cheese. Simply reduce the heat or cut back on the cheese quantity.
Another common issue is bread burning before the cheese melts thoroughly. To prevent this, keep a close eye on the oven and bake at a moderate temperature, around 375°F.
Placing the sandwich on a middle rack can also help ensure even heat distribution. Using a baking sheet with a silicone mat or parchment paper prevents sticking and burning.
Adjusting your temperature and baking time will help you get a perfect grilled cheese—golden, gooey, and delicious.
Frequently Asked Questions
Can I Use Different Types of Bread for Oven-Baked Grilled Cheese?
Yes, you can use different types of bread for oven-baked grilled cheese. Sourdough, rye, or even gluten-free options work well.
Feel free to experiment with cheese varieties like cheddar, Swiss, or pepper jack to match your taste. Just make sure the bread is sturdy enough to hold the cheese and fillings.
Adjust the baking time if needed to get that perfect, crispy crust. Enjoy customizing your grilled cheese to make it just right for you!
What Is the Ideal Cheese-To-Bread Ratio?
Imagine a perfect bite of grilled cheese—cheese melting into every nook of warm, crispy bread. The ideal cheese-to-bread ratio is about one-third cheese to two-thirds bread, so you get that gooey cheese with crispy edges.
Too much cheese can make it soggy and cause excess melting. On the other hand, too little cheese leaves it dry and less satisfying.
Find the right balance so each slice gives you that perfect combo of cheesy melt and crispy bread. That’s what makes the ultimate grilled cheese experience.
How Do I Prevent the Bread From Burning?
To prevent the bread from burning, keep an eye on the oven temperature and adjust it as needed. Using medium heat, around 375°F, works well.
Choose bread with a thicker crust or slice thickness, which helps insulate against direct heat. It’s a simple trick to avoid burning.
You might also want to place the sandwich on a baking sheet lined with parchment paper. Flipping it halfway through cooking can help it brown evenly.
Following these steps will make sure your grilled cheese gets that perfect golden color without burning.
Can I Add Extra Ingredients Like Tomatoes or Bacon?
Absolutely, you can turn your grilled cheese into a flavor masterpiece. Adding tomatoes gives it a juicy burst that balances the richness, while bacon adds a smoky crunch that makes every bite memorable.
Just layer the ingredients carefully and keep an eye on the oven to prevent burning. Feel free to experiment with these toppings to create a sandwich that’s uniquely yours—delicious, savory, and satisfying.
How Long Can I Store Leftovers Safely?
You can store leftovers safely for 3 to 4 days in the refrigerator. To keep your food safe, use airtight containers or wrap your grilled cheese tightly with plastic wrap or foil.
Always let it cool before storing, and make sure to reheat thoroughly before eating. Remember to label leftovers with dates and keep your fridge at 40°F (4°C).
If you’re unsure, it’s best to discard leftovers that smell or look unusual to avoid foodborne illnesses.
Conclusion
So, enjoy your perfectly baked grilled cheese because nothing says “culinary genius” like a golden, melty masterpiece straight from the oven. Who knew that crispy bread and ooey cheese could be this simple?
Just follow these steps, and you’ll impress everyone with your “easy” gourmet skills. Even the best oven-baked sandwiches can turn into a gooey mess, but hey, isn’t that part of the charm?
Remember, making a grilled cheese in the oven is all about having fun and mastering the art of crispy bread and cheesy goodness. Enjoy your delicious creation!