What Happens When You Put a Dutch Oven in the Oven?
Many home cooks struggle with getting their dishes just right—especially when it comes to baking, roasting, or simmering. If you’ve ever wondered how to unlock those rich flavors and perfect textures, you’re not alone. A Dutch oven is a versatile tool that can help, but knowing how to use it properly makes all the difference.
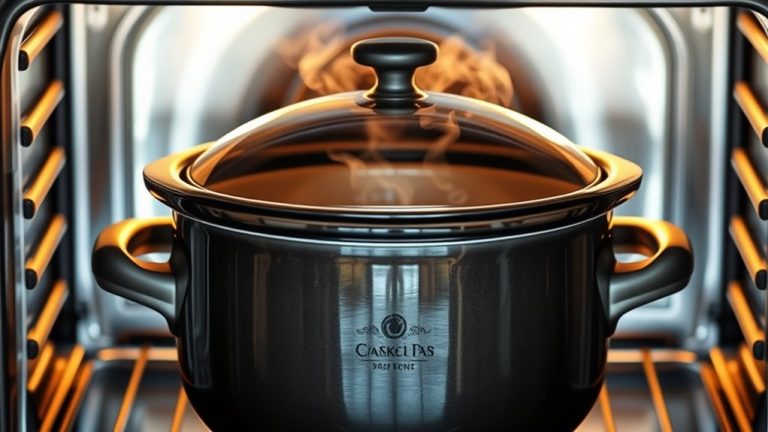
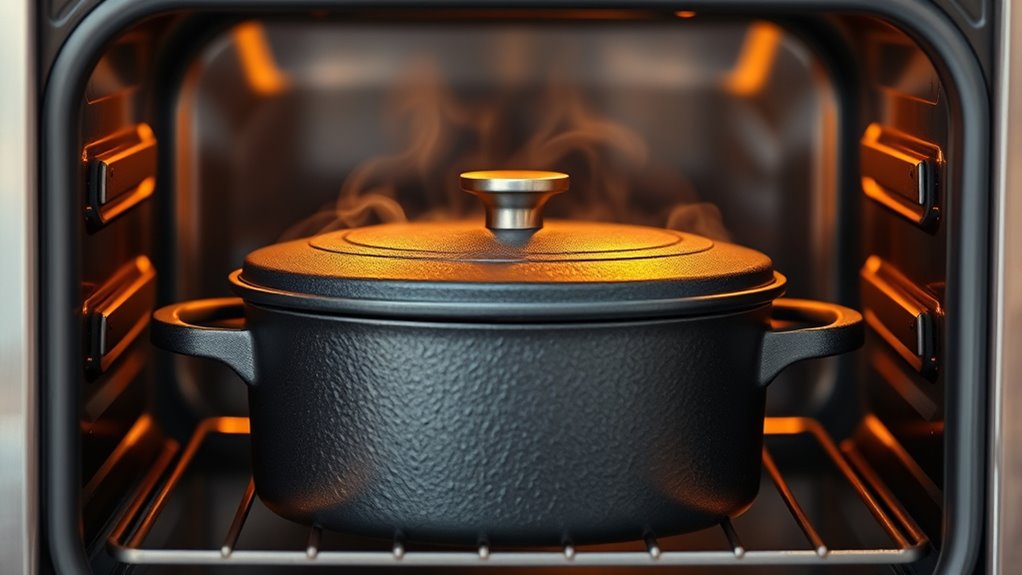
When you put a Dutch oven in the oven, it heats evenly and creates a sealed environment that helps develop rich flavors and tender textures in your food. The thick material retains high heat, making it ideal for baking bread or roasting.
However, sudden temperature changes can cause warping or cracking, especially with enameled or ceramic versions. Proper handling, preheating, and maintenance are key to keeping your Dutch oven in top shape.
Keep exploring for more tips and insights.
Key Takeaways
- The Dutch oven heats up gradually, so heat spreads evenly, helping your dishes cook and brown consistently.
- Its thick walls hold onto heat well, creating a sealed environment that’s perfect for baking and roasting.
- Be careful with rapid temperature changes, especially with enameled or ceramic Dutch ovens, since they can crack or warp.
- The handles and lids get really hot, so make sure to use oven mitts when handling them during and after baking.
- Preheating properly helps distribute the heat evenly, which improves crust formation and boosts your overall cooking results.
What Is a Dutch Oven and Why Use It in the Oven?
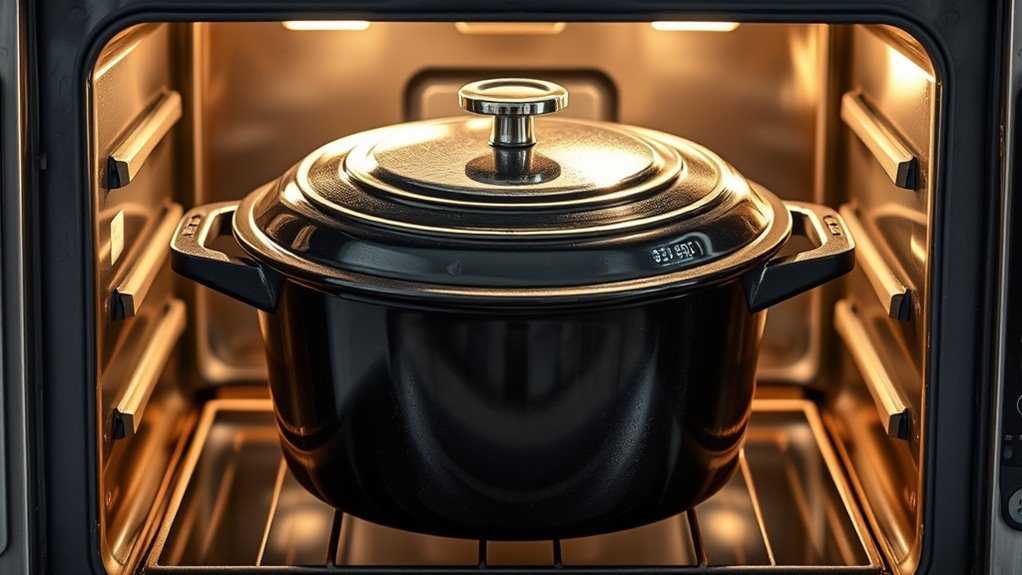
A Dutch oven is a heavy, thick-walled pot usually made of cast iron, designed to distribute heat evenly. Its durability is one of its biggest advantages, so with proper care, it can last for generations.
You can find Dutch ovens made from various materials, like enameled cast iron, raw cast iron, and even ceramic. The material you choose affects how you use and maintain your Dutch oven, but all are great for slow cooking, braising, and baking.
Thanks to its sturdy construction, a Dutch oven can handle high oven temperatures. That makes it perfect for roasting or baking bread. Enameled versions are easier to clean and don’t need seasoning, while raw cast iron is prized for long-lasting quality and excellent heat retention.
Whether you go with a smooth enamel surface or traditional cast iron, your Dutch oven will be a versatile and durable tool in your kitchen. It’s perfect for a wide range of oven-based recipes.
How Does Heat Transfer Work Inside a Dutch Oven?
When you put a Dutch oven in the oven, heat moves mainly through conduction, convection, and radiation. These methods work together to cook your food evenly.
The Dutch oven’s material, like cast iron or enameled cast iron, is important in this process. Conduction happens as heat moves directly from the oven’s heat source into the Dutch oven’s walls and base, keeping the temperature steady.
Convection transfers heat through circulating air inside the oven, helping spread warmth evenly across the Dutch oven’s surface. Radiation involves infrared heat waves that penetrate the Dutch oven’s surface, adding to consistent cooking.
Because of its durable materials, a Dutch oven handles these heat transfer methods well. It’s perfect for slow braising, baking, and roasting.
All these heat transfer principles working together make sure your dishes are cooked thoroughly and evenly every time.
What Happens to My Dutch Oven When I Bake in the Oven?
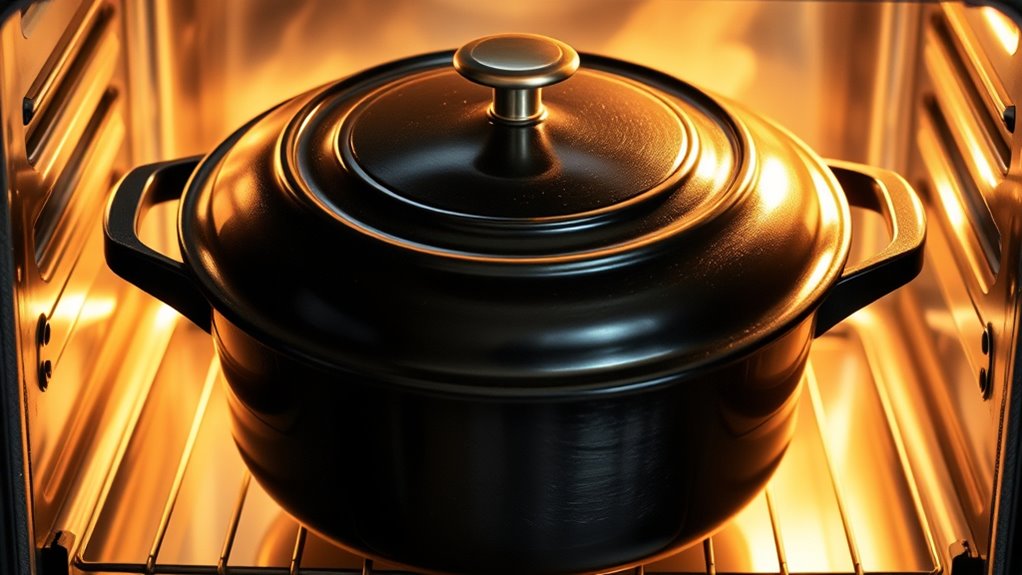
Baking in the oven causes your Dutch oven to undergo several changes that guarantee your food cooks properly. When exposed to high temperatures, your Dutch oven’s durability is tested but it remains resilient if you follow proper oven safety tips. The thick cast iron or ceramic material retains heat evenly, ensuring thorough cooking and browning.
However, extreme or sudden temperature changes can cause cracking or warping. So, avoid placing a cold Dutch oven directly into a hot oven. During baking, the lid and sides may become hot, so use oven mitts to handle it safely.
The seasoning on a cast iron Dutch oven will deepen over time, which enhances its non-stick properties and flavor. Overall, your Dutch oven is built for oven use, but respecting temperature limits and handling it carefully will help preserve its longevity.
Regularly check for any damage to keep your baking safe and effective. Proper care ensures your Dutch oven stays in great shape and continues to deliver delicious results.
How Does Baking Affect the Material of My Dutch Oven?
Baking directly influences the physical properties of your Dutch oven’s material, especially how it reacts to heat. Different styles, like enameled cast iron or traditional clay, respond distinctively during baking. Over time, high temperatures can affect durability, especially if you don’t follow proper care.
Here are three key effects:
- Enameled surfaces may develop chips or cracks if exposed to sudden temperature changes, which can weaken the material.
- Cast iron Dutch ovens become seasoned over time, improving non-stick qualities but can rust if not properly maintained.
- Clay or ceramic styles are more sensitive to thermal shock and can crack or break with rapid temperature shifts.
Knowing how baking impacts the material helps you pick the right Dutch oven and extend its lifespan. This way, you ensure consistent performance and durability.
How Does Using a Dutch Oven in the Oven Change Food Texture and Flavor?
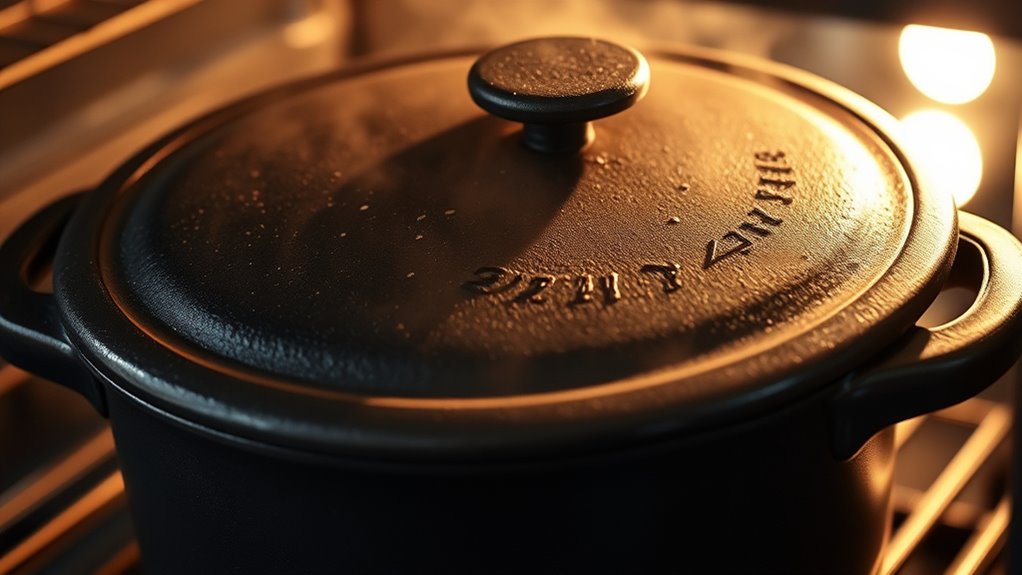
Using a Dutch oven in the oven can really boost the texture and flavor of your food. Its thick walls and tight-fitting lid create a sealed environment that helps the flavors meld together. This means spices and herbs penetrate your dishes better, making the taste richer and more developed.
Plus, the Dutch oven’s great moisture retention keeps your ingredients from drying out. That results in tender, juicy meats and moist, flavorful stews every time. The even heat distribution also helps break down tough tissues, improving the overall texture.
Whether you’re roasting, braising, or baking, the Dutch oven locks in moisture and flavors, elevating your dishes. The slow, gentle heat allows complex flavors to develop over time, making your meals more satisfying.
Safe Techniques for Putting a Dutch Oven in the Oven
To safely put a Dutch oven in the oven, handling it properly and following specific precautions is essential. First, always check that your Dutch oven is oven-safe and compatible with your intended temperature. Use proper accessories like oven mitts or silicone grippers to prevent burns.
Always verify your Dutch oven is oven-safe and use protective accessories to prevent burns.
Avoid sudden temperature changes to prevent cracking, especially if your Dutch oven is cast iron. If you’re exploring alternative cooking methods, verify that the lid and handles are heat-resistant.
Here are some key safety tips:
- Always lift with both hands or use protective accessories to avoid burns.
- Preheat gradually to prevent thermal shock.
- Use oven mitts or silicone pot holders when moving or removing the Dutch oven.
Following these techniques guarantees safe handling and helps preserve your Dutch oven’s integrity during oven use.
What Temperature Should I Use When Baking With My Dutch Oven?
When you’re baking with your Dutch oven, getting the temperature just right is really important for the best results. Usually, you’ll want to preheat it to about 450°F, especially when you’re making bread or roasting. This helps ensure everything cooks evenly and gives you that nice, crispy crust you’re after.
And don’t forget, preheating properly is key. It helps your Dutch oven reach the perfect baking temperature and also prevents sticking or uneven browning. So, taking a few extra minutes to heat it up before adding your ingredients can make a big difference in how your dish turns out.
Optimal Baking Temperatures
Achieving the right baking temperature is key to getting the best results from your Dutch oven. Usually, you want to preheat your oven to between 450°F and 500°F for baking bread and hearty dishes. This range helps ensure even heat and a crispy crust.
Make sure to preheat your Dutch oven along with the oven for even heating. When using accessories like silicone trivets or oven mitts, check that they’re rated for high temperatures to keep everything safe. Always keep an accurate thermometer handy to monitor your oven’s temperature.
Here are some quick tips:
- Preheat both the Dutch oven and oven together for even heat.
- Use oven-safe accessories designed for high temperatures.
- Keep the oven temperature steady for the best results and safety.
Preheating Tips and Tricks
Preheating your Dutch oven properly is essential for creating the perfect baking environment, and choosing the right temperature can make all the difference. Typically, preheat your oven to 450°F (232°C) for bread or roasting. This helps ensure even heat distribution and a crispy crust.
Use your Dutch oven accessories, like oven mitts and lid lifters, to handle the hot vessel safely. To keep it in good shape and prevent sticking, wipe it with a little oil after each use or season it regularly.
Avoid sudden temperature changes to prevent cracking. Preheating for at least 30 minutes makes sure the Dutch oven is thoroughly hot, which helps you get great results and extends its lifespan.
Proper preheating is key for consistent, delicious baking every time.
Can I Use My Dutch Oven for Baking Bread or Roasting?
Are you wondering if your Dutch oven is suitable for baking bread or roasting? The good news is, most Dutch ovens work great for these tasks. Their durability allows them to handle high oven temperatures, making them perfect for baking bread and roasting.
Plus, the lid design traps moisture effectively, creating a steamy environment that helps develop a crust on bread and tenderizes meats.
Here’s what you should consider:
- Dutch oven durability – Make sure it’s made from cast iron or heavy-duty enameled material to handle the heat.
- Lid design – A tight-fitting lid keeps moisture in, which is ideal for bread and roasting.
- Heat distribution – A well-made Dutch oven distributes heat evenly, preventing hot spots during baking or roasting.
Common Mistakes to Avoid When Oven-Testing Your Dutch Oven
While oven-testing your Dutch oven, one common mistake is not preparing or seasoning it properly beforehand. This can lead to uneven heat distribution or sticking issues during use. Poorly seasoned cookware also affects its durability and can damage the lid’s design features.
To avoid this, make sure your Dutch oven is thoroughly seasoned. This creates a non-stick surface that can handle high temperatures and lasts longer. Proper preparation will give you better results and extend the life of your cookware.
How to Care for and Maintain Your Dutch Oven After Oven Cooking
After you’ve finished oven cooking, it’s important to give your Dutch oven a good clean to keep it in tip-top shape. When cleaning, try to use gentle methods—avoid harsh scrubbing or soap on the seasoned surfaces because that can strip away the seasoning. Instead, a soft sponge or brush with warm water usually does the trick.
Once it’s clean, make sure to dry it thoroughly to prevent rust. Store your Dutch oven in a dry place, and every now and then, it’s a good idea to re-season it a bit to keep that non-stick surface in great condition. With a little care, your Dutch oven will last for years and continue to perform beautifully!
Proper Cleaning Techniques
Proper cleaning is essential to keep your Dutch oven in top shape, especially after oven cooking. To maintain its quality and ensure safe use for future recipes, follow these steps.
- Rinse with warm water immediately after use, avoiding soap if it’s cast iron to preserve the seasoning.
- Use a gentle brush or non-abrasive scrubber to remove stuck-on food, then dry thoroughly to prevent rust.
- For stubborn residue, soak briefly or use coarse salt as a scrubber, avoiding harsh detergents that can weaken the oven’s coating.
Regular cleaning helps preserve the seasoning and prevents rust. Proper care ensures your Dutch oven stays durable and ready for your next meal, making oven safety and maintenance simple and effective.
Seasoning and Storage Tips
To keep your Dutch oven in great shape, it’s important to season and store it properly after cooking. After cleaning, lightly coat the inside with vegetable oil to help maintain its non-stick surface, and avoid harsh soaps.
Dry it thoroughly to prevent rust, especially if it’s cast iron. When storing, pick a cool, dry spot and use a paper towel or cloth to protect the cooking surface.
If your Dutch oven has a lid, store it with the lid slightly ajar. This allows air to circulate and helps prevent moisture buildup. Good storage habits will extend your Dutch oven’s lifespan and keep it ready for your next delicious meal.
Frequently Asked Questions
Can I Put a Dutch Oven Directly Into a Hot Oven?
Yes, you can put a Dutch oven directly into a hot oven. Just make sure your cast iron care is proper, like seasoning it well, and that the lid and handles are oven-safe.
Preheat your oven before placing the Dutch oven inside to avoid thermal shock. This helps protect your cookware and ensures even heating.
Avoid sudden temperature changes to keep your Dutch oven in good shape. Always check the manufacturer’s instructions for specific temperature limits and care tips.
Does Preheating Affect the Dutch Oven’s Performance?
Preheating your Dutch oven is like warming up an orchestra before a symphony—it’s essential for harmony. It helps the seasoned coating develop better and creates a more effective non-stick surface.
Plus, preheating boosts heat retention, making sure your food cooks evenly. When you put a hot Dutch oven into the oven, it locks in flavors and moisture, giving you tender dishes.
Skipping preheat can lead to uneven cooking and may affect how well your Dutch oven performs overall.
Will My Dutch Oven Crack From Oven Heat?
Your Dutch oven is unlikely to crack if you follow proper oven temperature considerations and use the right Dutch oven material, such as cast iron or ceramic.
Avoid sudden temperature changes, like placing a cold Dutch oven in a hot oven, which can cause cracking.
Always preheat gradually and check the manufacturer’s guidelines for maximum safe oven temperatures.
This way, you can keep your Dutch oven intact and ensure it performs well over time.
Is It Safe to Put a Dutch Oven in the Oven Without a Lid?
Yes, it’s safe to put a Dutch oven in the oven without a lid, especially when you’re cleaning it or doing cast iron maintenance. Just make sure the oven is preheated and avoid sudden temperature changes to prevent cracking.
Leaving the lid off helps moisture escape during baking or seasoning. Remember to handle it carefully, since cast iron retains heat really well.
Proper maintenance keeps your Dutch oven in great shape for years to come.
How Long Can I Leave Food in the Dutch Oven During Baking?
Think of your Dutch oven as a treasure chest; you don’t want to leave your food inside too long.
Generally, aim for 1-2 hours during baking, especially if seasoning is involved, to prevent overcooking or damage.
Leaving food longer risks burning or sticking, which can make cleaning the oven more difficult later.
Keep an eye on the clock, and your Dutch oven will serve you well, maintaining its seasoning and shine.
Conclusion
Think of your Dutch oven as a loyal vessel, holding the heart of your culinary creations. When you bake in it, you’re nurturing a tradition that transforms simple ingredients into comfort and artistry.
Like a trusted friend, it endures the heat, shaping flavors and textures with gentle strength. Welcome this timeless tool, and let each bake be a symbol of patience, warmth, and the timeless bond between cook and creation.
Putting a Dutch oven in the oven is like giving it a warm hug. It heats evenly, helping your food cook perfectly from all sides. This helps develop richer flavors and better textures in your dishes.
Plus, baking with your Dutch oven in the oven creates a beautiful, crispy crust on bread or a tender, moist interior on roasts. It’s a simple trick that makes a big difference in your cooking.
So, when you put your Dutch oven in the oven, you’re not just using a pot—you’re using a versatile, dependable tool that elevates your cooking. It’s a classic, essential part of any kitchen.