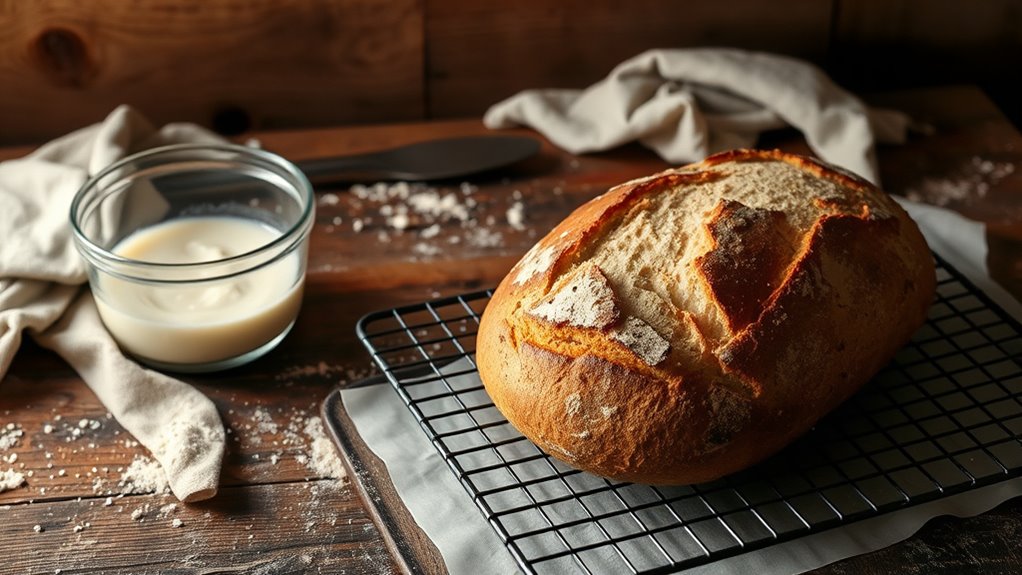
How You Make Sourdough Without a Dutch Oven
Baking crusty sourdough bread at home is a goal many bread lovers dream of, but it can be frustrating when you don’t have the right equipment. Many people struggle with getting that perfect crispy crust without a Dutch oven, feeling stuck or unsure of how to replicate that ideal environment.
You can make crusty sourdough bread without a Dutch oven by using common kitchen tools like a cast iron skillet, roasting pan, or baking stone preheated at high heat.
To create steam, place water in a hot pan, spritz the dough, or add ice cubes to a tray.
Covering the dough with foil or a makeshift cloche also helps trap steam.
With these techniques, you’ll achieve a crispy crust—so keep exploring for full step-by-step tips.
Key Takeaways
- Use other vessels like cast iron, baking stones, or steel to trap heat and create a steamy environment for crust development.
- Generate steam by adding water to hot pans, spritzing with a spray bottle, or placing water on preheated surfaces.
- Make sure to preheat your oven and baking surface thoroughly so you get even heat and good oven spring.
- Shape your dough carefully to keep the gluten structure and surface tension, which helps with a nice rise and crust.
- Cool your bread completely on a wire rack to set the crust and keep it from getting soggy.
Why Bake Sourdough Without a Dutch Oven?
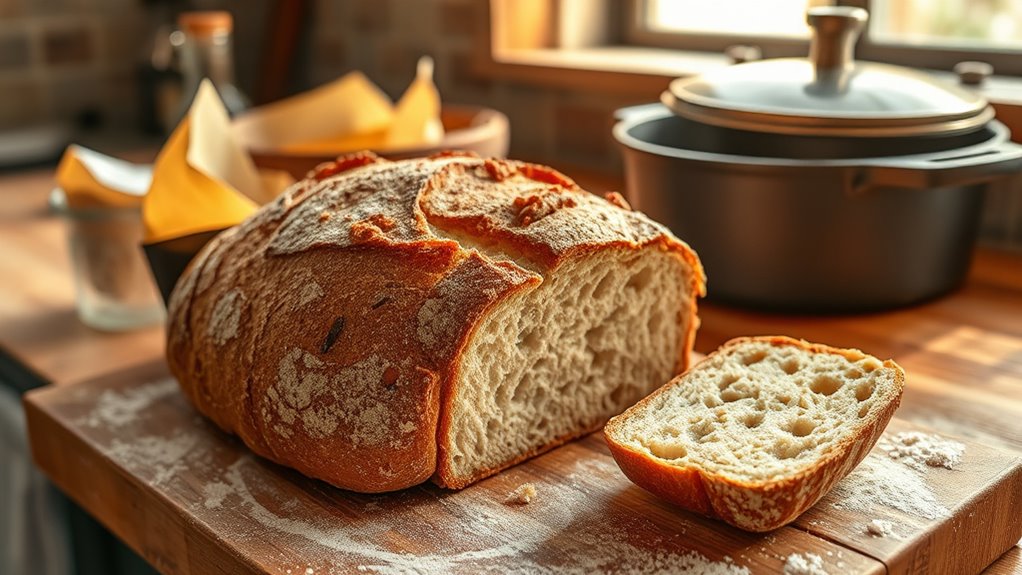
While a Dutch oven is a popular tool for baking sourdough, it’s not the only way to get a crusty, well-shaped loaf. Baking without one lets you explore other methods that can give you equally great results.
During fermentation, the dough develops flavor and structure, but it’s the baking process that creates that signature crust. Using traditional or DIY methods, like a baking stone or steel, helps trap steam and mimic the Dutch oven’s environment.
This promotes good oven spring and crust formation. Some bakers prefer not to use a Dutch oven because of its heaviness or simply want to try different oven setups.
Baking without it also gives you more control over crust color and texture. In the end, you can still achieve a beautifully baked loaf by tweaking your technique during fermentation and trying out creative baking vessels or methods.
Preparing Your Sourdough Dough for Oven Baking
Before you pop your sourdough into the oven, double-check that your dough has the right amount of hydration. It’s important because the right hydration helps give your bread that nice oven spring and a good texture.
When you’re ready to shape it, use gentle folding techniques to strengthen the dough without knocking out all the air. This helps it keep its shape and gives you that lovely, airy crumb. And don’t forget to shape your dough consistently—this way, it will bake evenly and develop a beautiful, uniform crust.
Proper Dough Hydration Levels
Achieving the right dough hydration is key for a successful sourdough bake, especially if you’re not using a Dutch oven. Proper hydration impacts fermentation time, dough elasticity, and how well it rises.
Generally, aim for 70-85% hydration, depending on your flour. Higher hydration gives you a more open crumb but can be trickier to handle. Use this table to help guide your hydration:
| Flour Type | Hydration Range | Notes |
|---|---|---|
| Bread Flour | 75-80% | Strong gluten, easier to work with |
| Whole Grain | 80-85% | Absorbs more water, needs longer fermentation |
| All-Purpose | 70-75% | Versatile, moderate hydration |
Adjust your hydration based on how your flour absorbs water and how long fermentation takes for the best results.
Gentle Folding Techniques
Once your dough has reached the right hydration level and has undergone bulk fermentation, it’s time to shape and prepare it for oven baking.
Use gentle folding techniques to handle the dough carefully, preserving its structure and gas bubbles. During fermentation timing, avoid overworking the dough, which can deflate it and affect the rise.
When folding, use a light touch, stretching and folding the dough over itself to strengthen gluten. Flour selection is vital; opt for a high-quality, unbleached flour that provides good extensibility.
This guarantees the dough remains elastic and easy to shape without tearing. Proper folding preserves the dough’s aeration, resulting in a better oven spring and a crusty, airy loaf.
Achieving Consistent Dough Shape
To guarantee your sourdough bakes evenly and looks professional, shaping your dough with precision is essential. Focus on consistent dough shaping by using proper flour techniques to prevent sticking and assure even tension.
Lightly flour your work surface and dough, but avoid using too much. This helps with smooth handling and prevents sticking. When shaping, create a tight boule or batard by pulling the dough’s edges inward and rotating it, maintaining surface tension.
Use gentle, deliberate movements to avoid deflating the dough. Practice uniform shaping to promote even oven spring and a beautiful crust. Remember, consistent dough shape not only improves the look but also impacts how the bread rises and bakes.
With careful dough shaping, your sourdough will turn out with professional-looking, evenly baked results every time.
How to Generate Steam Using Common Kitchen Items
Generating steam is key for baking crusty sourdough without a Dutch oven, and you can do it with common kitchen items. Steam creates a moist environment that helps develop a shiny, crisp crust, boosting flavor and ensuring proper fermentation timing. Here are four easy methods:
- Place a shallow pan of water on the oven floor while preheating. As the oven heats up, the water evaporates and creates steam.
- Spray water directly onto the dough with a spray bottle just before baking for instant moisture.
- Add ice cubes to a preheated baking sheet or pan. They melt and release steam during baking.
- Put a heatproof bowl of water on a rack above the dough. The steam rises and surrounds the bread.
These simple techniques help you control the baking environment, giving your crust an excellent texture and flavor. They also support proper fermentation timing for perfect sourdough development.
Baking Sourdough on a Rimmed Baking Sheet for a Crusty Loaf
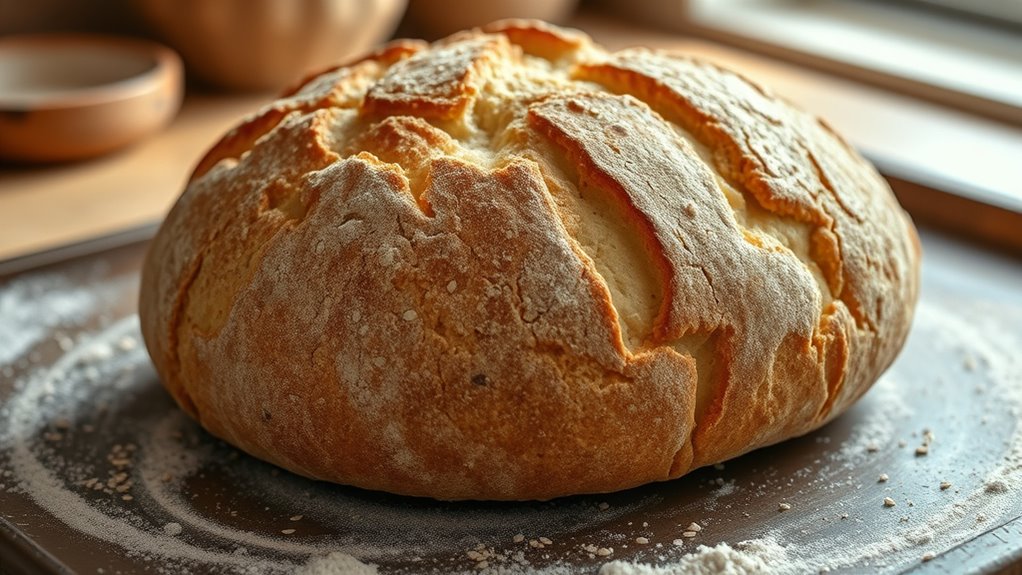
Preheating your rimmed baking sheet is a simple trick that makes a big difference. It helps create that nice, crispy crust by trapping heat so the bread cooks evenly and gets that perfect texture.
And don’t forget about steaming! Adding steam during baking keeps the crust tender and glossy, while also giving your bread a soft, moist interior. It’s a great way to mimic professional bakery results at home.
Finally, handling your dough with care is key. Proper shaping and gentle handling help ensure even oven spring, giving your loaf a nice rise and the perfect shape. With these tips, you’ll be on your way to baking a delicious, crusty sourdough every time!
Preheat for Crispy Crust
Ensuring your oven is properly preheated is key to getting that perfect crispy crust on sourdough baked on a rimmed baking sheet. A hot oven mimics professional bread ovens, helping increase the Maillard reaction for that ideal crust.
Preheat your oven to at least 450°F (232°C) and let it sit for about 30 minutes to stabilize. Use a heavy-duty rimmed baking sheet that can handle high heat without warping.
Choose the right flour—bread flour or high-protein options help develop gluten for better oven spring and crust. Proper fermentation of your sourdough also builds flavor and gluten, contributing to a crisp crust.
A well-preheated oven works together with your fermentation process to produce a beautifully crusty loaf.
Use Steaming Techniques
To get that perfect crispy crust on your sourdough, adding steam during baking really makes a difference. It keeps the crust moist at first, helping the dough expand fully and develop better flavor.
Without steam, the crust can end up dull and tough. To steam effectively on a rimmed baking sheet, place a shallow pan of hot water in the oven or spritz the dough with water before baking.
This creates a humid environment, which helps the crust turn out beautifully crunchy. It’s a simple trick that elevates your bread’s overall look and taste.
| Effect of Steam | Benefits for Your Loaf |
|---|---|
| Improves crust | Achieves a golden, crispy exterior |
| Promotes rise | Allows proper oven spring |
| Boosts flavor | Develops richer, complex notes |
Proper Dough Handling
Handling your dough properly is key to getting that perfect crust when baking on a rimmed baking sheet. Doing it right keeps the sourdough flavor intact and ensures your fermentation is on point.
Gently shape the dough to avoid degassing, which helps keep the gases that develop flavor. Using a bench scraper makes it easier to move and position the dough without disturbing its structure.
Make sure to give the dough enough proofing time. Rushing fermentation can weaken the gluten network and reduce the flavor. Before baking, score the dough to control how it expands and to create that nice crusty exterior.
Using a Cast Iron Skillet or Roasting Pan as an Oven Substitute
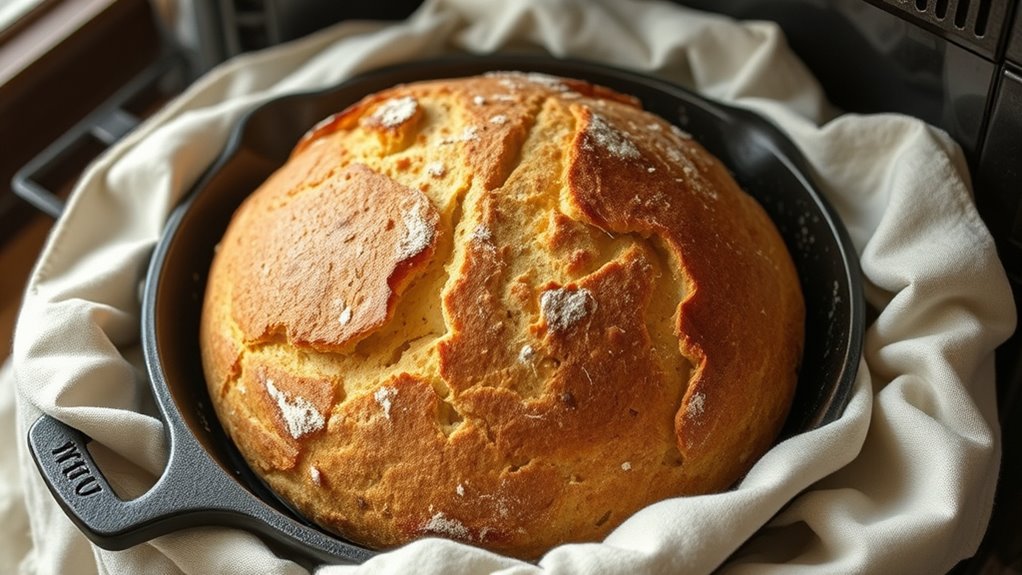
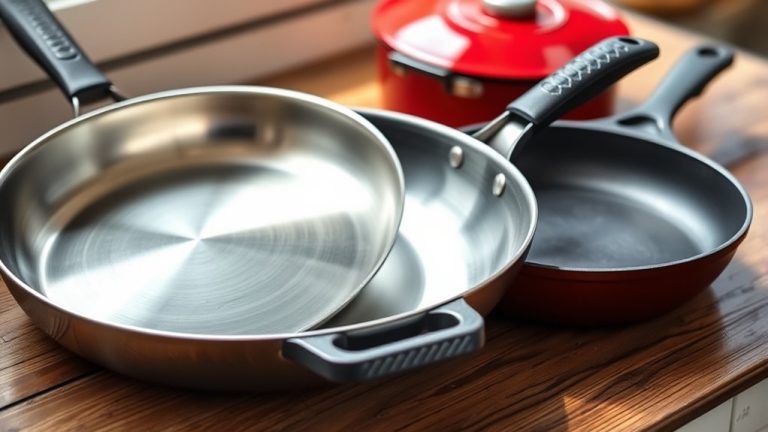
If you don’t have a Dutch oven, a cast iron skillet or roasting pan can work well as an oven substitute for baking sourdough. These tools trap heat effectively, creating a steamy environment that helps your bread rise and develop a flavorful crust.
To get the best results, preheat your skillet or pan thoroughly before placing the dough inside. Covering the dough with a lid or foil during the first part of baking mimics the Dutch oven effect, aiding fermentation timing and oven spring.
| Tool | Benefits | Tips |
|---|---|---|
| Cast Iron Skillet | Even heat distribution, good moisture retention | Use a lid or foil to trap steam and boost rise |
| Roasting Pan | Large surface area, retains heat effectively | Preheat thoroughly for consistent baking |
| Both | Enhance flavor and improve crust development | Add water to create steam for a crusty exterior |
This method balances heat retention and flavor, helping you make great sourdough without a Dutch oven.
Achieving a Crispy Crust With a Baking Stone or Brick
Achieving a crispy crust on your sourdough is easier when you use a baking stone or brick because these tools mimic the high, even heat of professional ovens. They absorb and spread heat evenly, giving you a beautifully crisp exterior.
To get the best results, preheat your stone or brick in the oven at the highest temperature for at least 30 minutes before baking. Place your dough directly on the hot surface to encourage quick crust formation, which enhances the sourdough’s flavor with caramelized notes.
Use a baking peel or parchment paper for easy transfer. This helps prevent the dough from deflating and keeps with traditional sourdough techniques. Finish with a quick broil or steam to boost crust crispiness and deepen flavor.
With these steps, you’ll create bakery-quality sourdough that celebrates its rich history and satisfies your craving for a crunchy, flavorful crust.
Mimicking a Dutch Oven With Aluminum Foil or a Cloche
You can mimic the effects of a Dutch oven by creating a makeshift enclosure using aluminum foil or a cloche, which traps steam and retains heat. This helps develop that signature crust and tender crumb.
This setup mimics the high-humidity environment that’s crucial during sourdough fermentation and baking. It helps your bread get the right texture.
To do this, shape your dough and place it on a preheated baking sheet or stone. Cover it tightly with aluminum foil or the cloche, sealing in moisture.
The trapped steam encourages a crispy crust and enhances flavor. It allows the bread to expand fully and develop complex tastes.
Keep the enclosure on during the initial baking phase. Then, remove it to finish baking and brown the crust.
This method ensures your sourdough bakes evenly, with a beautiful crust and rich flavor, even without a traditional Dutch oven.
Tips for Even Heating and Proper Steam During Baking
To make sure your bread heats evenly and gets the right amount of steam, it’s a good idea to preheat your baking vessel really well before you add the dough. This helps create a nice, even heat from the start.
When it comes to adding steam, you can use simple methods like spritzing water onto the oven walls or placing hot water in a tray at the bottom of the oven. Just a little steam goes a long way in giving your bread that beautiful crust.
Also, keeping your oven at a steady temperature is key. Hot spots can cause uneven baking, so try to avoid sudden temperature changes. With these tips, you’ll get perfectly baked bread with a great crust and interior!
Preheat Your Baking Vessel
Preheating your baking vessel is key to getting an even heat spread and creating the right environment for a crisp crust. A hot surface helps mimic a traditional oven’s steam and heat, giving your sourdough a better rise and texture.
To do this right, place your baking surface, like a cast-iron skillet or heavy-duty baking sheet, in the oven while it preheats. Make sure to preheat the oven with the baking surface inside for at least 30 minutes.
Shape your dough carefully to prevent it from deflating, then transfer it onto the hot surface quickly. Using a tray or pan underneath can catch moisture and help generate steam.
Preheating ensures the dough starts baking immediately, leading to better oven spring and a beautifully crisp crust.
Use Proper Water Methods
Using proper water methods during baking is key for even heat distribution and creating the steam needed for a crisp crust.
Make sure your dough has the right fermentation timing because under-fermented dough won’t hold steam well, which affects crust development.
When choosing flour, go for high-protein options like bread flour, as they retain more moisture and help generate steam during baking.
Before baking, place a shallow pan filled with hot water at the bottom of your oven or spray water onto the oven walls just before closing the door.
These methods promote consistent heat and humidity, mimicking a professional steam-injected oven.
Proper water techniques are essential for that perfect rise, crust, and texture in your homemade sourdough.
Maintain Consistent Oven Temperature
Maintaining a consistent oven temperature is key for even baking and that perfect crust on your sourdough. Fluctuations can cause uneven browning and mess with your dough’s consistency.
To keep your oven steady, use an oven thermometer to check the actual temperature regularly. Make sure to preheat fully before baking to stabilize things.
Try not to open the oven door too often, as that can cause temperature drops. If possible, rotate your bread halfway through baking to promote even heat distribution.
Following these steps helps ensure your oven stays steady, giving you a well-baked loaf with a uniform crust. Keeping the temperature consistent helps your dough develop the right structure and prevents overbaking or underbaking.
Good oven management is essential for sourdough success.
Troubleshooting Common Issues When Baking Sourdough Without a Dutch Oven
Baking sourdough without a Dutch oven can lead to common issues like uneven crusts or insufficient oven spring, but understanding how to troubleshoot these problems can help you get better results. If your loaf isn’t rising enough, check your fermentation timing. Under-fermented dough won’t develop enough gluten, which limits oven spring.
Over-fermented dough can collapse and create dense bread. Adjust your fermentation schedule to find the right balance of flavor and dough strength. Make sure it’s bubbly and airy before baking. Uneven crusts often come from inconsistent heat or moisture loss.
To fix this, try creating a steamy environment by using a covered baking vessel like a heat-safe bowl or a Dutch oven substitute. Consistent preheating and moisture retention help develop a crust that’s even and crispy. Fine-tuning fermentation timing and experimenting with moisture will help you troubleshoot common issues and produce bakery-quality sourdough without a Dutch oven.
Final Tips for Perfect, Crusty Sourdough Loaves
Achieving that perfect crust on your sourdough loaf often comes down to a few final tweaks and techniques. Proper fermentation and handling of your sourdough starters are essential for flavor and texture. To improve crustiness, focus on these tips:
- Use the right fermentation techniques: Let your dough ferment until it reaches ideal gluten development and flavor. Longer, slower fermentation creates a better crust.
- Preheat your baking vessel: Whether you’re using a cast-iron skillet or a baking sheet, make sure to preheat it thoroughly. This mimics the heat of a Dutch oven and helps develop a crust.
- Create steam during baking: Add water to a hot pan or use a spray bottle to generate steam. This process helps develop that nice, crusty exterior.
- Finish with high heat and proper cooling: Bake your bread at a high temperature and let it cool completely on a wire rack. This sets the crust and prevents sogginess.
Mastering these steps guarantees your sourdough turns out crusty and delicious every time.
Frequently Asked Questions
Can I Use a Regular Oven Rack Instead of a Baking Stone?
Yes, you can use a regular oven rack instead of a baking stone for baking. Just place your loaf directly on the rack.
For a better crust, put a preheated baking sheet or cast iron pan underneath the rack to create steam. This helps mimic the environment of a baking stone.
When your bread is done, use a bench scraper or spatula to gently lift it off. This prevents sticking and keeps your loaf intact.
This method is a great way to get a crispy crust without needing a Dutch oven.
How Long Should I Preheat My Alternative Baking Vessel?
Preheat your alternative cookware for about 30 minutes to mimic a Dutch oven’s heat. Think of your baking vessel as a furnace ready to release your bread’s potential—long enough to build a heat reservoir that results in a crispy crust.
Follow preheating guidelines closely, making sure your oven and cookware reach at least 450°F. This helps create the steam and heat needed for that perfect sourdough crust.
What’s the Ideal Temperature for Baking Sourdough Without a Dutch Oven?
You should bake your sourdough at around 450°F (232°C) for the best crust and rise. Make sure your oven or alternative vessel is preheated thoroughly to keep the temperature steady.
Keep in mind that the hydration and fermentation temperature of your dough influence its elasticity and flavor. So, you might need to adjust your baking time a bit.
Using a covered vessel traps steam, which helps mimic the environment of a Dutch oven for a better oven spring.
How Do I Prevent My Loaf From Sticking to Non-Traditional Bakeware?
To prevent sticking on a non-traditional bakeware, start with a well-prepared baking surface. Use simple non-stick techniques like parchment paper or lightly oiling your pan.
The key is creating a smooth, coated surface that acts as a barrier. When shaping your loaf, make sure it’s dry and well-floured.
These easy steps help create a non-stick environment, letting your sourdough slide out easily, whether you’re using a baking sheet, skillet, or another makeshift vessel.
Can I Bake Sourdough Directly on a Pizza Stone?
Yes, you can bake sourdough directly on a pizza stone. Just make sure your alternative cookware is preheated properly to prevent sticking and promote even baking.
Use a piece of parchment paper or a banneton basket to handle the dough safely. For sourdough safety, avoid sudden temperature changes and always monitor baking temperatures.
This method produces a crispy crust and authentic bakery-style bread without needing a Dutch oven.
Conclusion
While skipping the traditional Dutch oven might feel like casting a small shadow over your baking day, it’s truly just a gentle cloud passing by. With a bit of ingenuity and the right tricks, you can still craft a loaf that’s golden and crusty enough to make your kitchen feel like a cozy bakery.
Welcome the adventure, and soon you’ll see that your homemade sourdough can shine just as brightly, no matter the vessel you choose. Baking without a Dutch oven isn’t just possible — it’s a fun way to get creative and learn new techniques.