10 Simple Steps to Install Kitchen Cabinet Knobs
Feeling overwhelmed by the idea of installing kitchen cabinet knobs? You’re not alone—many people struggle with making their cabinets look professional without hiring a pro. But don’t worry, with a little guidance, you can do it yourself and achieve great results.
To install kitchen cabinet knobs, start by choosing knobs that match your style and organizing your tools. Measure and mark where you want each knob, then drill carefully to make clean holes.
Attach the knobs securely, ensuring they’re aligned and tightened properly for a professional look. Fix any issues like misaligned holes or loose hardware.
Finally, clean and maintain your knobs. Keep going for detailed tips that’ll help you do a perfect job every time.
Key Takeaways
- Measure and mark the exact locations for each knob using a ruler and level to ensure precise alignment.
- Gather all necessary tools, like a drill, screwdriver, measuring tape, and pencils, and set up your workspace.
- Carefully drill holes at your marked points, making sure they’re perpendicular and deep enough to prevent misalignment.
- Attach the knobs securely with a screwdriver, tightening the screws without overtightening to avoid damage.
- Regularly clean and polish your knobs, and make adjustments as needed for a professional, cohesive look across all your cabinets.
How to Choose the Perfect Kitchen Cabinet Knobs for Your Style

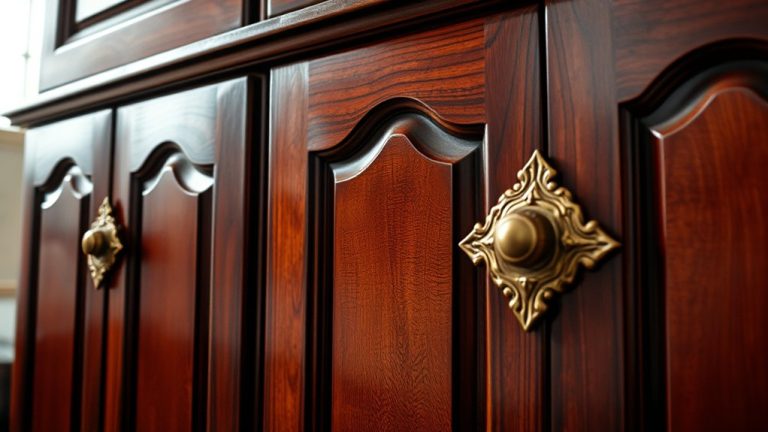
Choosing the right kitchen cabinet knobs is important because they can really influence your overall kitchen style. Think about your decor style—whether it’s modern, rustic, or vintage. Your knobs should match your cabinets and overall look.
For a sleek, contemporary vibe, go for minimalist designs with clean lines and simple shapes. If your style is more rustic or farmhouse, pick knobs with decorative details or a distressed finish.
Material durability matters too. Knobs made from solid metals like brass or stainless steel usually last longer and handle daily use better than plastic or resin options. Consider how the material feels in your hand and if it fits your lifestyle.
Gather Your Tools and Materials for Easy Installation
Before you dive in, make sure you’ve got all the tools you’ll need—stuff like a screwdriver, a drill, and a measuring tape. Don’t forget the materials too, like knobs and screws. It’s a good idea to have everything within arm’s reach so you won’t have to stop and hunt for stuff in the middle of your project.
Also, take a moment to organize your workspace. Clearing the area and setting up everything beforehand will make the whole process smoother and more enjoyable. Plus, you’ll avoid any frustrating interruptions along the way.
Essential Tools Needed
To guarantee a smooth and straightforward cabinet knob installation, gathering the right tools and materials is essential. Having the proper tools ensures your project fits seamlessly into your kitchen decor and prevents damage during cabinet cleaning or installation. You’ll need:
- Drill with bits
- Screwdriver
- Measuring tape or ruler
- Pencil for marking
These tools help you make precise measurements, secure the knobs firmly, and avoid misalignment. A drill speeds things up, while a screwdriver helps tighten the screws properly. Measuring and marking ensure consistent placement, giving your cabinets a polished look. Keep your workspace organized to make the process easier. With these essentials, you’re ready to install your knobs efficiently, enhancing your kitchen’s style and functionality.
Gather Necessary Materials
Once you have your tools ready, it’s time to gather all the materials needed for a smooth installation. Start by selecting your decorative accents, like stylish knobs that match your room’s color schemes. Make sure you have the right screws that fit your cabinet doors or drawers.
Consider the finish and style to match your decor, whether modern, rustic, or vintage. Double-check that the knobs’ size and design match your aesthetic goals. You’ll also need a drill, a screwdriver, and a measuring tape to ensure precise placement.
Gathering everything beforehand helps prevent interruptions and keeps your project running smoothly. By choosing the right decorative accents and matching them to your overall color scheme, you’ll create a cohesive, polished look.
Organize Workspace Efficiently
Have you ever started a project only to find yourself searching for tools halfway through? Organizing your workspace beforehand saves time and frustration. Gather all the tools and materials you’ll need, like a screwdriver, drill, measuring tape, and the cabinet knobs. Keep these within reach to guarantee a smooth install.
A tidy workspace promotes safety, much like practicing cooking safety in the kitchen. Check your appliances for maintenance issues that could interfere with the project, such as loose screws or malfunctioning hardware.
Consider setting up a dedicated area for tools and materials so you’re not constantly hunting for items. Proper organization makes the process quicker, safer, and more efficient. It helps you avoid unnecessary mistakes and ensures your cabinet knobs are installed perfectly.
Measure and Mark the Spot for Your Knobs
Want your knobs to look great and be easy to use? First, you’ll want to find the right height and mark where they should go. Take your time measuring so each knob is level and spaced evenly across your cabinets. It’s all about making sure everything lines up nicely.
Once you’ve got the perfect spot, mark the center points clearly. This will give you a clear guide for when you’re ready to install. Taking these small steps makes a big difference in the final look!
Find the Perfect Height
Finding the right height for your cabinet knobs is key for both comfort and style. Proper placement *improves* ergonomic design and highlights decorative accents on your cabinets. To figure out the best spot, consider these tips:
- Position knobs about 2.5 to 3 inches from the top or bottom edge of the door or drawer.
- Guarantee consistent height across all cabinet doors and drawers for a cohesive look.
- Think about accessibility; lower heights can be easier to reach for children or those with limited mobility.
- Visualize how the knobs will complement your cabinetry and overall kitchen decor.
Using these guidelines, you’ll find a height that balances style and functionality, making your kitchen both attractive and easy to use. Marking this spot accurately is the key to a smooth installation.
Mark Center Accurately
Once you’ve figured out the perfect height for your knobs, the next step is to mark exactly where you’ll drill. Accurate marking makes sure your knobs line up perfectly, whether you’re going for a trendy look or restoring a vintage piece.
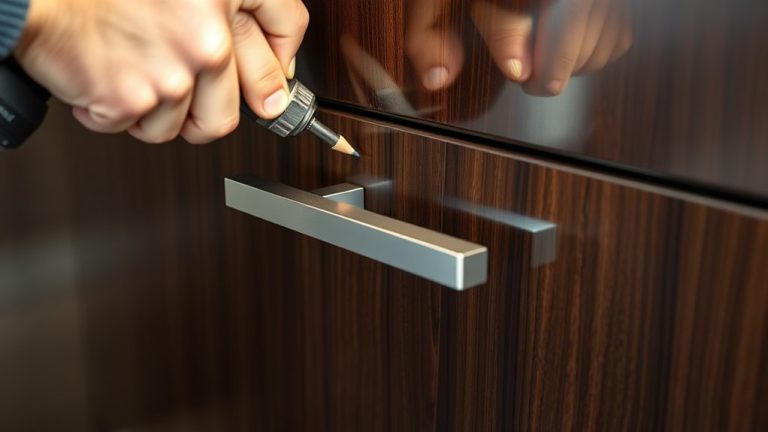
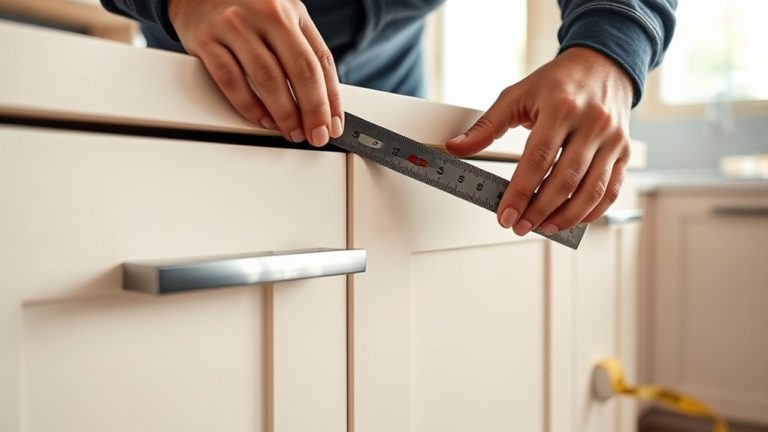
Use a measuring tape to find the center point of each drawer or door, and lightly mark it with a pencil. Measure from the edges or the top of the cabinet, depending on your style preference.
Think about the overall look—sleek modern kitchens might have knobs placed lower, while traditional styles often position them higher on the drawer front. Take your time to double-check your measurements.
Make sure each mark is precise before you start drilling. Paying attention to details like this will give you a professional, balanced finish.
Drill Holes Carefully for a Clean Finish

Careful drilling is key to getting a professional-looking finish when installing cabinet knobs. Taking your time helps prevent crooked holes and cuts down on mistakes that can mess up your hardware’s look.
To make sure everything lines up perfectly, use a template or measuring guide to mark your drill points. Double-check your measurements before you start drilling to avoid any surprises.
Keep the drill steady and make sure it stays perpendicular to the surface. Drill slowly to prevent splintering or damaging the wood. Taking these small steps makes a big difference in the final result.
Attach Your Knobs Securely for a Professional Look
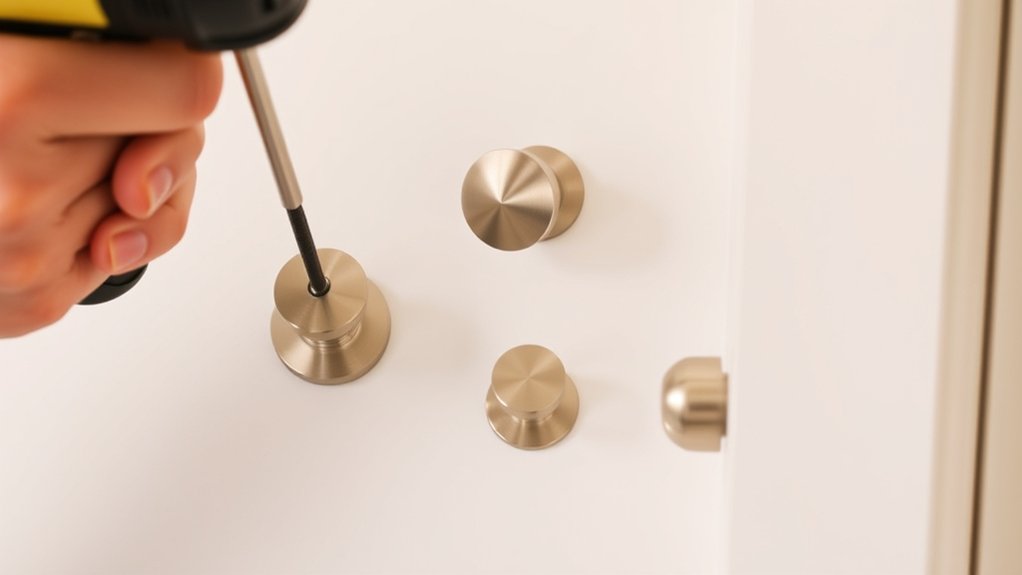
After drilling the holes, it’s time to attach your knobs securely. Use a screwdriver to tighten each knob firmly, making sure it doesn’t wobble or feel loose.
Properly secured knobs give your cabinets a polished, professional look and enhance their decorative details. Remember, tight but not overtightened screws help keep the knobs durable over time.
Properly secured knobs add a polished look and ensure long-lasting durability.
Overtightening can cause damage or stripping, so be careful. If your knobs have decorative features, check that they are aligned correctly before tightening completely.
After installation, test each knob’s stability. A loose knob can ruin the overall finish and feel of your cabinets. Using the right tools and steady pressure ensures your knobs stay securely attached and look great.
This step is key for a sleek, cohesive look that boosts your kitchen’s style. Plus, it keeps your knobs functional and durable for everyday use.
Align Multiple Knobs for a Consistent Style

To get a cohesive and polished look, make sure to align all your knobs carefully before tightening them fully. Proper placement helps each knob sit evenly, enhancing the overall look of your cabinets. Take your time to measure and mark each spot precisely so the knobs follow a straight line or your desired pattern.
Using a ruler or level can help you keep everything perfectly horizontal or vertical. Mark all the placement points lightly with a pencil to guide you. Double-check the spacing between knobs to keep it uniform.
Start tightening the knobs gradually, checking the alignment as you go to make sure everything stays straight.
Fix Common Installation Problems
Even with careful planning, installation problems can still happen, but most are easy to fix with a few simple steps. If knobs are misaligned, check your drill holes and adjust the placement as needed.
Loose hardware can be tightened with a screwdriver, which will help improve stability. For crooked knobs, loosen the screw, realign the knob, and tighten again.
If your cabinet restoration reveals uneven surfaces, try adding small washers behind the knobs for a smoother fit. When replacing hardware during upgrades, make sure the new holes match your existing ones or drill new ones carefully.
| Problem | Solution | Tip |
|---|---|---|
| Misaligned holes | Realign and re-drill if needed | Use a template for accuracy |
| Loose knobs | Tighten screws securely | Check for stripped threads |
| Crooked knobs | Loosen, realign, tighten | Use a level for precision |
These simple fixes help keep your cabinet looking professional and your hardware upgrades seamless.
Clean and Maintain Your Kitchen Cabinet Hardware
Regularly cleaning and maintaining your kitchen cabinet hardware can prevent dirt and grime buildup, keeping your cabinets looking their best. Proper care also helps extend the life of your hardware and keeps its shine.
Use gentle cleaning tips to avoid damaging finishes. Wipe with a soft, damp cloth regularly to remove dust and fingerprints. For stubborn grime, use mild soap and water, then dry thoroughly.
Avoid harsh chemicals or abrasive scrubbers that can scratch surfaces. Instead, polish metal hardware with a suitable cleaner to restore its shine.
Consistent cleaning prevents dirt from settling in crevices, which can cause rust or tarnish over time. When caring for your hardware, stick to gentle, routine methods and avoid overusing harsh products.
This simple upkeep keeps your hardware attractive and functional for years to come.
Personalize Your Kitchen With Unique Knob Choices
Want to add a personal touch to your kitchen? Choosing unique knobs is a great way to do that! They let you show off your style and make your space feel more like your own. Think about how different materials and finishes can match your cabinets and overall decor — it’s all about creating a look that feels just right for you.
Take some time to explore various styles and options. When everything coordinates well, your kitchen will look polished and personalized. It’s those little details, like knobs, that can really make a big difference in bringing your vision to life.
Style Coordination Tips
To create a cohesive and personalized look in your kitchen, selecting the right cabinet knobs is essential. Think about decor pairing and color coordination to improve your style.
Choose knobs that complement your cabinet finish and overall color palette, whether that’s warm tones or cool shades. Mixing different styles or finishes can add visual interest, as long as they stay within a common theme.
Consider the following tips:
- Match knob color with your hardware accents for a unified look
- Pair vintage-style knobs with antique-inspired decor
- Use bold or contrasting knobs to make a statement
- Coordinate knob finishes with appliances or fixtures for harmony
Material and Finish Options
Selecting the right material and finish for your cabinet knobs lets you personalize your kitchen and create a unique style. Material durability varies, so opt for options like metal or ceramic that can handle daily use.
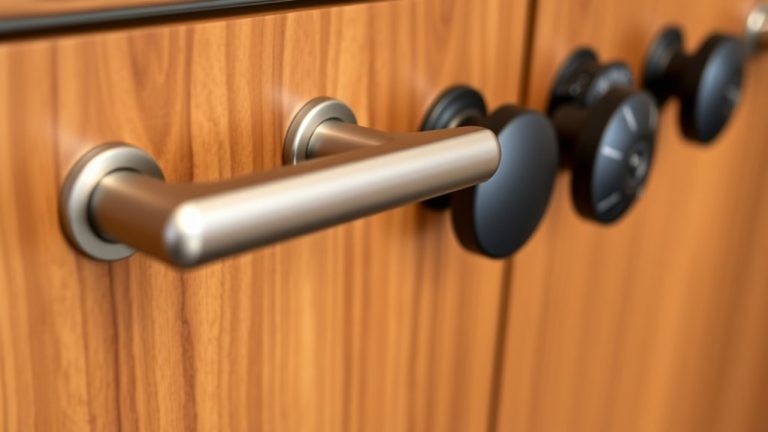
Metal knobs, such as brass or stainless steel, provide strength and longevity, making them perfect for high-traffic areas. Finish choices range from matte to polished, brushed, or antique, giving you plenty of ways to match or contrast your cabinets.
A polished chrome finish adds a modern shine, while matte black offers a sleek, sophisticated look. Think about the overall style you want to achieve. Durable materials with the right finish will keep your knobs looking beautiful and working well for years.
Choose wisely to enhance your kitchen’s look and ensure lasting durability.
Last Tips for a Smooth, Hassle-Free Installation
Before you start installing your cabinet knobs, double-check that you have all the necessary tools and hardware ready. To make the process smooth and hassle-free, keep these last-minute tips in mind.
First, plan your placement carefully to create balanced, eye-catching decorative accents. Use a template or painter’s tape to mark the exact spots for drilling, which helps prevent uneven holes.
Plan your knob placement carefully with templates or painter’s tape for even, eye-catching results.
Keep ergonomic design in mind—choose knobs that feel comfortable in your hand for easier use. Double-check your measurements before drilling to avoid mistakes.
Finally, tighten the screws securely but don’t overtighten, as this can damage the knobs or the cabinet surface. Following these tips helps you avoid common pitfalls and ensures your cabinet knobs are both functional and stylish.
Frequently Asked Questions
Can I Install Cabinet Knobs Without Drilling Holes?
You can’t typically install decorative knobs without drilling holes unless you use an alternative mounting method. Some knobs come with adhesive backing for easy, drill-free installation, offering another option.
Just make sure the surface is clean and dry before applying. Keep in mind, adhesive options may not be as secure as drilled-in knobs, especially for heavy or frequently used cabinets.
Always check the product instructions for the best results.
What Is the Ideal Height for Placing Cabinet Knobs?
The ideal height for placing cabinet knobs is about 2.5 to 3 inches from the bottom of the cabinet door or drawer. This makes it easy to grab and use without stretching or straining.
This position also lines up with ergonomic design, so you can open your cabinets comfortably. You can adjust slightly based on what feels best for you and the size of your cabinets.
Choose decorative finishes that match your kitchen style to add a nice touch. Place the knobs consistently across all cabinets for a cohesive look that ties everything together.
How Do I Remove Old Knobs Without Damaging the Cabinets?
To remove old knobs without damaging your cabinets, start by checking what type of screw they have—whether it’s Phillips, flat-head, or hex. Use the right screwdriver to carefully unscrew them, applying gentle pressure so you don’t chip or scratch the finish.
If the screws are stubborn or stuck, try applying a little penetrating oil or gently wiggling them loose. Take your time with this so you don’t accidentally damage the surface or finish.
Are There Different Installation Methods for Various Knob Styles?
Yes, different knob styles require various installation methods, depending on their materials and design.
For example, metal knobs often need specific tools like a drill and screwdriver. Ceramic or glass knobs might require special adhesives or hardware.
Always check the manufacturer’s instructions for the best method. Make sure you have the right tools on hand.
This way, you can securely install your knobs and achieve a polished look.
How Long Does the Installation Process Typically Take?
The installation usually takes about 10 to 30 minutes, depending on your experience and the number of knobs.
When choosing material options, consider durability and style. Your aesthetic preferences will influence your choice of finish and design.
You’ll need a drill, screwdriver, and the knobs to get started.
Conclusion
Now that you’ve completed the simple steps, your kitchen is ready to shine brighter than a polished gem. Think of your new kitchen cabinet knobs as tiny, stylish accents that really bring your space to life—like jewelry for your cabinets.
With just a little patience and a steady hand, you’ve turned a simple task into a satisfying craft.
So, step back and enjoy your handiwork. Your kitchen’s new look is truly a sight to behold, and those new knobs are the perfect finishing touch.