5 Simple Steps to Remove a Kitchen Cabinet
Removing a kitchen cabinet can seem like a daunting task, especially if you’re not sure where to start or worried about damaging your walls. Many people struggle with this project because they don’t have a clear step-by-step guide, but you’re not alone.
With a little patience and the right tools, you can tackle it yourself.
To remove a kitchen cabinet, start by gathering your tools like screwdrivers, a pry bar, and safety gear. Carefully unscrew and remove hinges and hardware, then support and detach the cabinet from the wall mounts.
Lift the cabinet straight off, making sure it’s fully free of fasteners, and finally clean up the area.
If you follow these steps, you’ll find it easier to handle the job. Keep going to learn more tips for a smooth removal.
Key Takeaways
- Gather your tools like a screwdriver, pry bar, and safety gear, and set up a clean workspace.
- Take off all hardware such as handles and knobs so you don’t damage anything or get caught on them.
- Unscrew and detach the hinges, then carefully remove any wall mounts or brackets holding the cabinet in place.
- Support the cabinet as you lift it straight up to detach it from the wall.
- Clear out any debris, store the hardware, and check the area for cleanup or any additional work needed.
Introduction: Why and When to Remove a Kitchen Cabinet
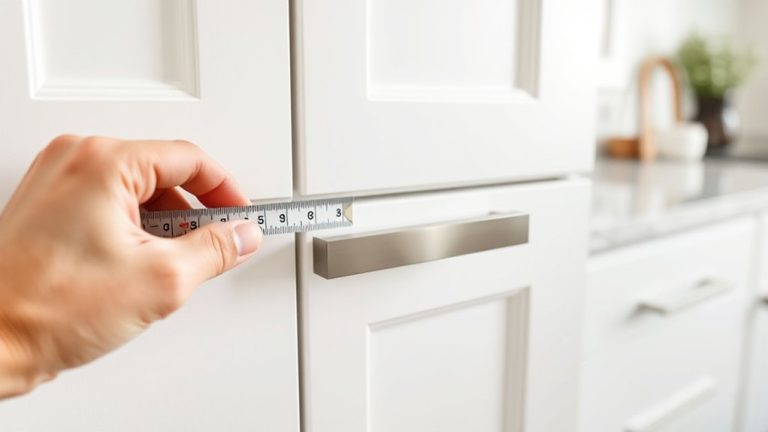
Knowing when to remove a kitchen cabinet is key to a successful upgrade or repair. If your cabinets look outdated, peeling, or stained, removing them for a fresh coat of paint can really transform your space. You might also want to swap out decorative hardware to give your kitchen a modern vibe.
Removing cabinets becomes necessary when they’re damaged or if you’re planning a major remodel. Sometimes, the existing hardware makes updating the look more tricky, so taking out the cabinets gives you a clean slate.
It can also help to improve access for plumbing or electrical work behind them. Keep in mind that if your cabinets are still solid but just need a style refresh, removing them temporarily allows you to sand, paint, and reattach with new hardware.
Knowing the right time to remove cabinets helps your project go smoothly and ensures you end up with a kitchen that’s both functional and stylish.
Gather Your Tools and Prepare Your Workspace
Before you start removing your kitchen cabinets, it’s important to gather all the necessary tools and set up a clean, organized workspace. This step ensures the process goes smoothly and helps avoid unnecessary delays.
Think of this as laying the foundation for your project, whether you’re decorating or replacing cabinets. Having everything ready allows you to work efficiently and safely.
Here’s a quick checklist:
| Tools Needed | Workspace Setup |
|---|---|
| Screwdriver & Drill | Clear counter space |
| Pry Bar & Utility Knife | Drop cloths to protect floors |
| Safety Glasses & Gloves | Well-lit area |
| Hammer & Level | Easy access to tools |
Keeping your tools within reach and your space tidy helps you stay focused. Proper preparation makes removing cabinets easier and sets the stage for your next decorating or renovation step.
Remove Hinges and Hardware for Easy Detachment
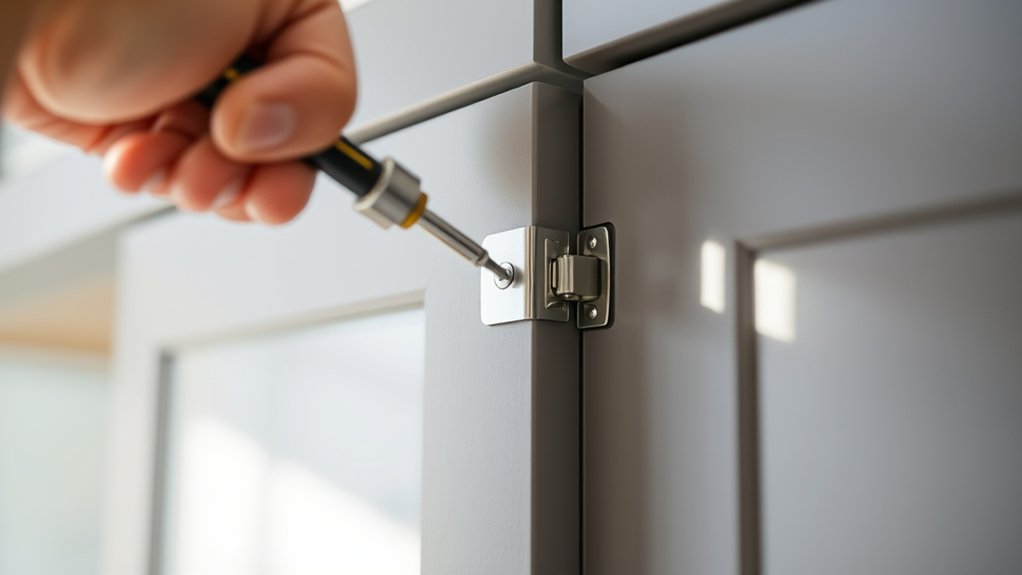
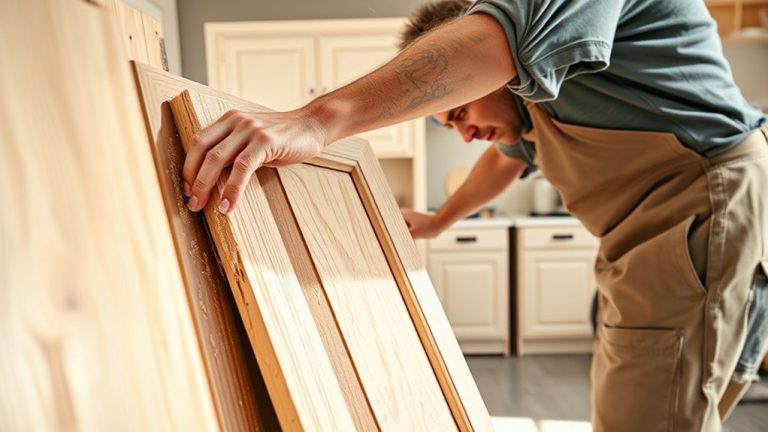
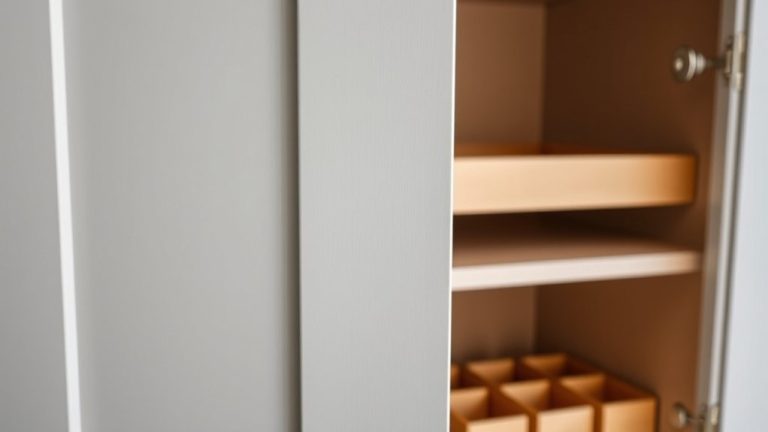
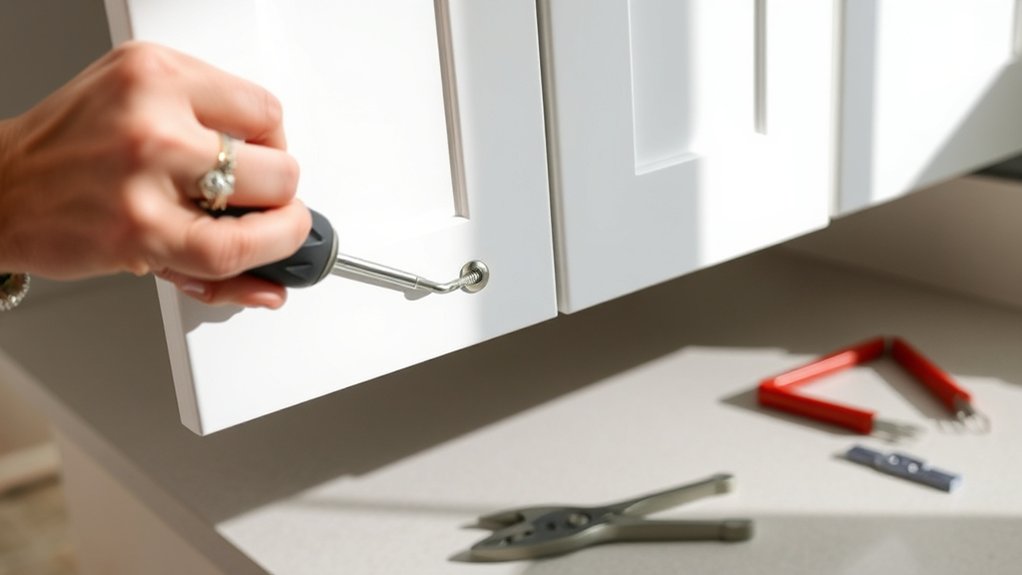
To make removing your kitchen cabinets easier, start by taking off the hinges and removing any hardware like handles and knobs. Carefully unscrew the hinges with a screwdriver, keeping track of the screws for later.
Start by removing hinges and hardware, carefully keeping screws for easy reinstallation.
This step prevents damage to the cabinet and wall, making the whole process smoother. Remove all hardware, such as handles and knobs, so nothing gets snagged or broken when you pull the cabinets away.
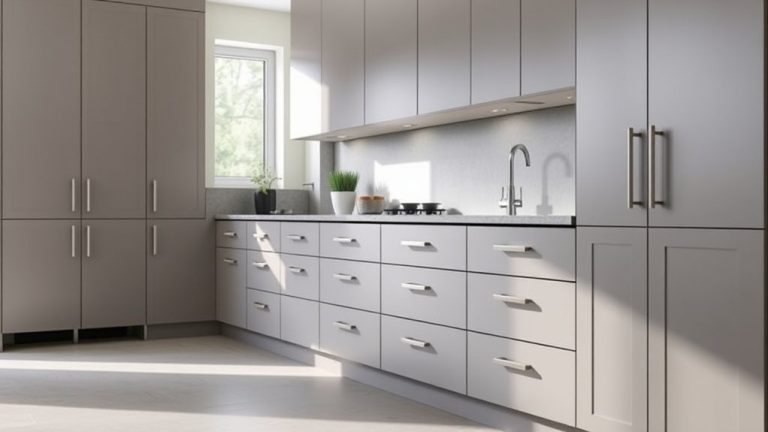
If your hardware is outdated or damaged, now’s a good time to upgrade. Pick new handles or knobs that match your style. When removing hinges, check their condition; if they’re rusty or loose, consider replacing them with new ones for easier reinstallation or future use.
Taking the time to properly detach hinges and update hardware makes the entire job easier and less stressful. It sets a solid foundation for the next steps in your cabinet removal project.
Safely Detach the Cabinet From Wall Mounts
After removing hinges and hardware, it’s time to carefully detach the cabinet from its wall mounts. First, check for any remaining screws or brackets holding the cabinet in place. Use a screwdriver to loosen and remove these fasteners, making sure to support the cabinet so it doesn’t fall suddenly.
If your cabinet has decorative molding, be mindful not to damage it during detachment. Gently wiggle the cabinet to see if it’s loose; if you feel resistance, double-check for hidden screws or clips. Once it’s free, lift the cabinet straight off the wall mounts, keeping your grip firm but gentle.
This step is important if you plan to repaint or refinish the cabinet, as removing it fully gives you better access and a smoother surface. Take your time and work steadily to avoid damaging the wall or molding. Carefully set the cabinet aside on a soft surface to prevent scratches or dents during your project.
Lift, Remove, and Clean Up After Your Cabinet
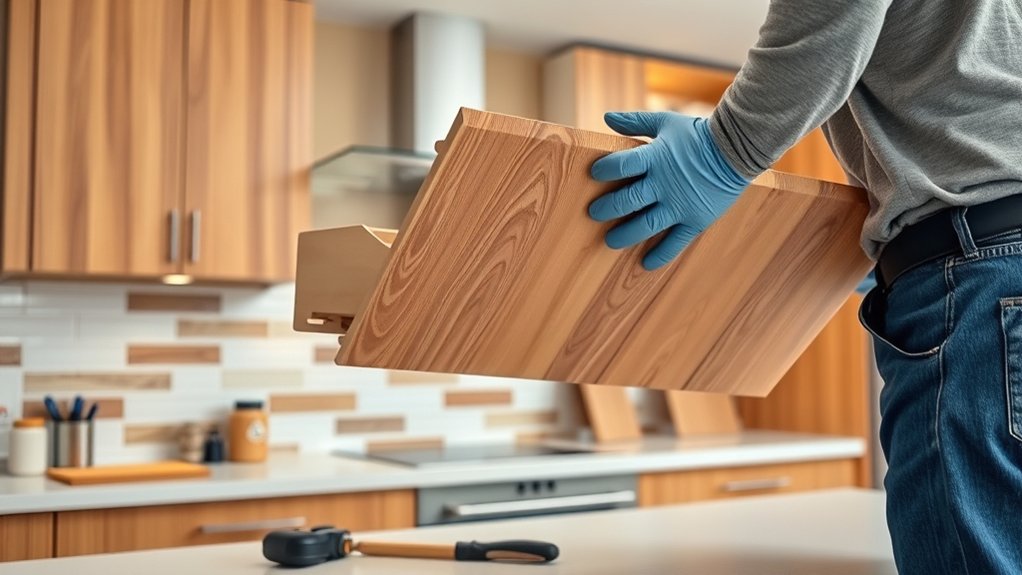
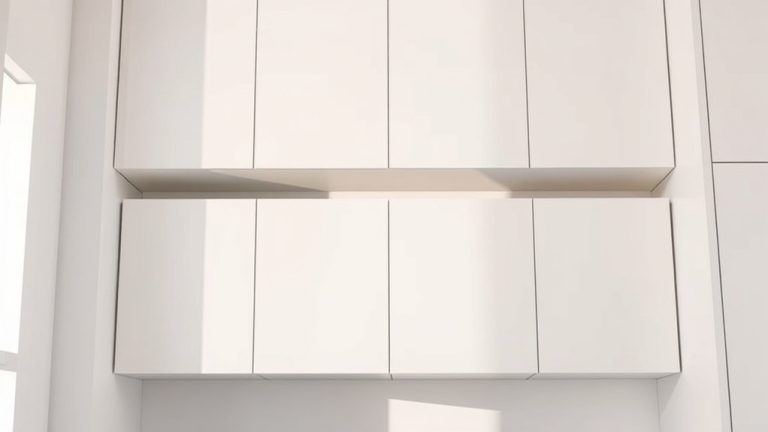
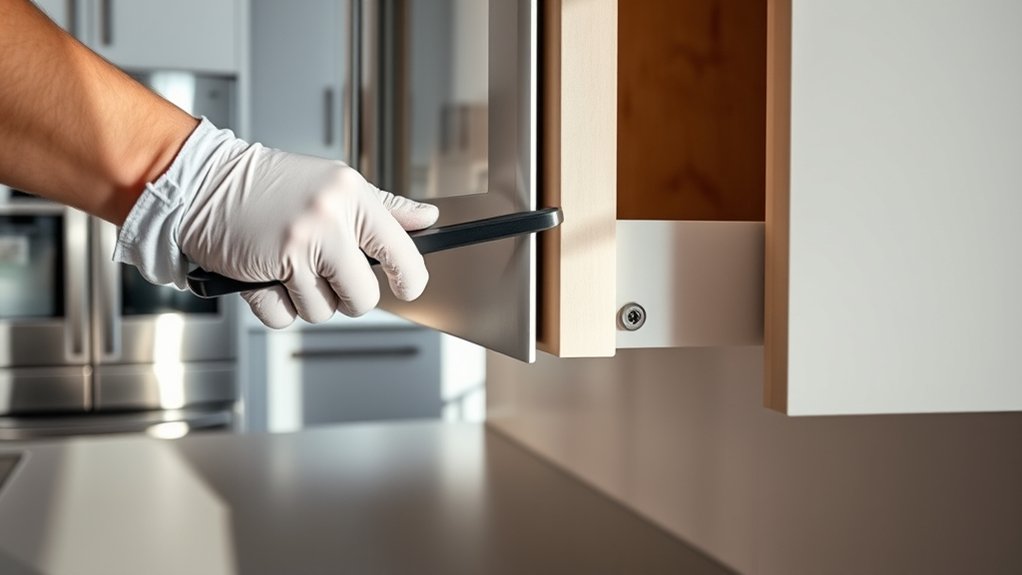
Once the cabinet is fully detached from the wall, carefully lift it straight upward, supporting its weight to prevent sudden drops or damage. This makes removing the cabinet easier and safer.
Carefully lift the detached cabinet straight up, supporting its weight to ensure a safe and damage-free removal.
As you lift, check for any remaining connections or hardware, and set aside decorative accessories or hardware for reuse or recycling.
After removing the cabinet, clear the area of debris and dust, especially if you plan to paint or refurbish it later. Cleaning thoroughly helps prepare the surface for painting or refinishing.
If your cabinet has decorative accessories like knobs or handles, store them safely or replace them during installation.
Be mindful of how much space you need to maneuver the cabinet out of the room. Once removed, take a moment to inspect it for any damage or wear.
Properly cleaning and organizing your workspace ensures a smooth process for your next steps, whether painting, refinishing, or reinstallation.
Frequently Asked Questions
How Do I Prevent Damage to Surrounding Walls During Removal?
To prevent damage to your walls, tape around the edges of the cabinet before you start. This acts as a protective barrier and helps keep the wall safe.
Carefully pry the cabinet away from the wall with gentle force to avoid dents or scratches. Take your time to prevent any accidental damage.
Keep wall repair supplies nearby in case you need quick fixes. Planning for some paint touch-up afterward can help restore minor scuffs or holes easily.
This method helps keep your walls looking great throughout the removal process.
What Safety Gear Should I Wear During Cabinet Removal?
You should wear protective gloves to safeguard your hands from splinters and sharp edges during cabinet removal. Safety goggles are essential to protect your eyes from dust, debris, or accidental impacts.
Make sure your gear fits well and is comfortable, so you don’t have to adjust it constantly. Wearing this safety gear helps prevent injuries and makes your cabinet removal safer and more efficient.
How Can I Identify Different Types of Wall Mounts?
Think of wall mounts as the secret handshake of cabinets. To identify different types, look for mounting brackets that secure the cabinet directly to studs or wall anchors that hold into drywall.
Mounting brackets are usually visible and sturdy, while wall anchors might be hidden behind the cabinet or inside the wall. Check for screws or brackets, and gently tap to see if they’re firmly attached or removable for easy cabinet removal.
What Should I Do if the Cabinet Is Stuck or Difficult to Remove?
If your cabinet is stuck or hard to remove, start by carefully using a cabinet pry to loosen it without damaging the wall.
Look for any wall reinforcement or nails holding it in place, and gently work around those areas.
Apply steady pressure, and if needed, use a hammer to tap the pry for extra leverage.
Be patient and cautious to prevent wall damage while freeing the cabinet.
How Do I Dispose of or Recycle the Removed Cabinet?
Thinking about disposal options? Why not look into cabinet recycling! You can donate your cabinet to local reuse centers or charity shops if it’s still in good shape.
If not, consider proper disposal methods through your city’s waste management services. Many areas have designated options for large furniture.
Recycling your cabinet helps reduce waste and supports sustainable practices. Have you checked if your community offers special pickup for bulky items?
Conclusion
Removing a kitchen cabinet might seem intimidating, but with the right steps, you can do it safely and efficiently. Think of your kitchen as a well-oiled machine—each part has a purpose, and sometimes, a little maintenance is necessary to keep everything running smoothly.
Curiously, some experts believe that updating cabinetry can even boost your home’s value. So, whether you’re doing a remodel or fixing something, taking down your cabinet is a manageable task.
Following these simple steps can help you remove your kitchen cabinet with ease and confidence, making way for a fresh, new space.