5 Simple Steps to Refinish Kitchen Cabinet Doors
Many homeowners dream of freshening up their kitchen, but refinishing cabinet doors can seem overwhelming. You’re not alone—lots of people struggle with knowing where to start or how to get professional-looking results at home.
Luckily, with a little guidance, you can transform your space in just five simple steps.
To refinish your kitchen cabinet doors in five simple steps, start by choosing a finish that matches your style and complements your space.
Next, remove all hardware and strip the old finish using a suitable stripper.
Sand the surfaces smoothly, then clean thoroughly to remove dust.
Apply your chosen paint or stain in thin, even coats, following the wood grain.
Finally, let everything cure fully and maintain carefully to keep your cabinets looking beautiful longer.
Stay tuned for more tips to perfect your project.
Key Takeaways
- Remove all hardware and give your cabinets a thorough clean to make sure the surface is smooth.
- Use a suitable paint stripper to remove the old paint or finish, and follow all safety instructions.
- Sand the surfaces with fine-grit sandpaper until they feel smooth and even.
- Apply thin coats of paint or stain, making sure to follow the wood grain for a consistent look.
- Let the finish cure fully, then clean and maintain your cabinets to keep them looking great.
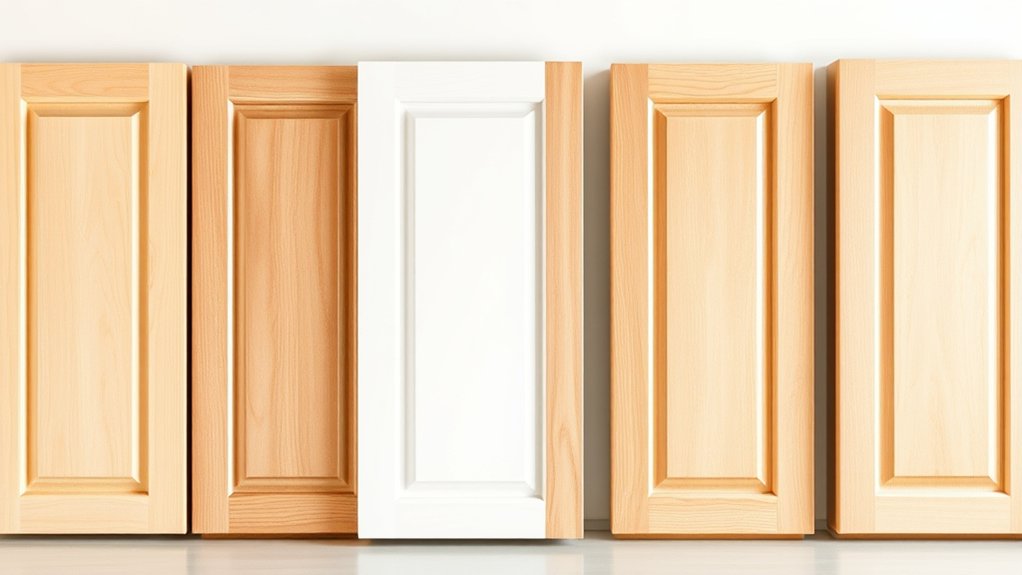
How to Choose the Best Finish for Your Kitchen Cabinets
Choosing the right finish for your kitchen cabinets is key because it impacts both how they look and how durable they are.
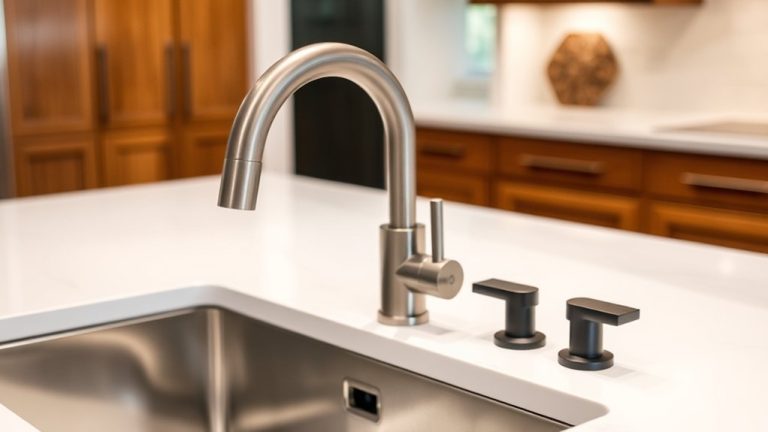
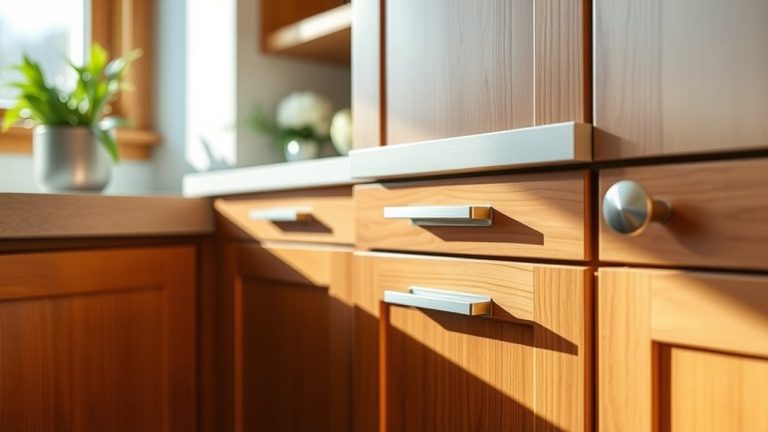
When picking a finish, think about your hardware. The style and finish of knobs and pulls can either enhance or clash with your cabinet color.
Go for hardware that matches your chosen finish—brushed nickel pairs nicely with matte finishes, while brass looks great with warm tones.
Next, consider color coordination. Decide if you want a cohesive look or something more contrasting.
Light finishes can make the space feel brighter, while darker ones add richness and depth.
Look at your overall kitchen color scheme, including walls and countertops, to create harmony.
Some finishes hide wear and tear better than others, so durability might influence what you pick.
In the end, choose a finish that shows off your style and stays beautiful for years to come.
Preparing Your Cabinets for Refinishing
Before you start refinishing your cabinets, it’s really important to prepare the surfaces properly for a smooth, long-lasting finish. Begin by removing all hardware like knobs, hinges, and handles. This makes your job easier and prevents paint from sticking to areas you don’t want painted.
Remove hardware first for a smooth, professional cabinet finish.
If your cabinets have an old finish or paint, you’ll want to strip it off first. Use a paint stripper that’s suitable for your surface to remove the existing coating. Just make sure to follow the instructions on the product and wear protective gear like gloves and masks.
Once the old finish is stripped, clean the surfaces thoroughly. Removing dust, grease, or any residue is key to getting a nice, smooth finish. Proper hardware removal and effective paint stripping are essential steps to create a solid base for your project.
Taking these precautions will save you time and help your cabinets look professionally finished.
Step-by-Step: Sand, Clean, and Ready Your Cabinets
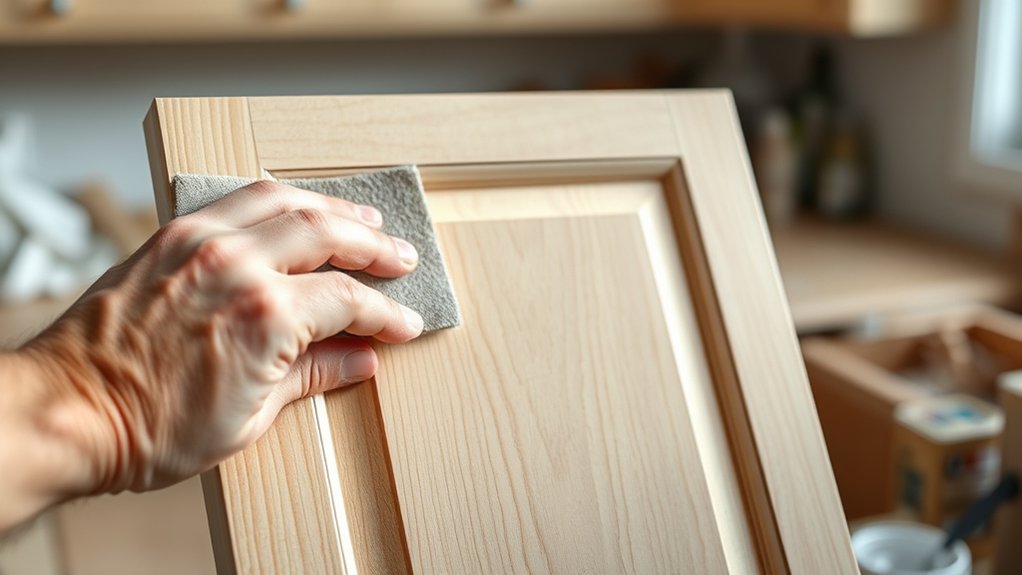
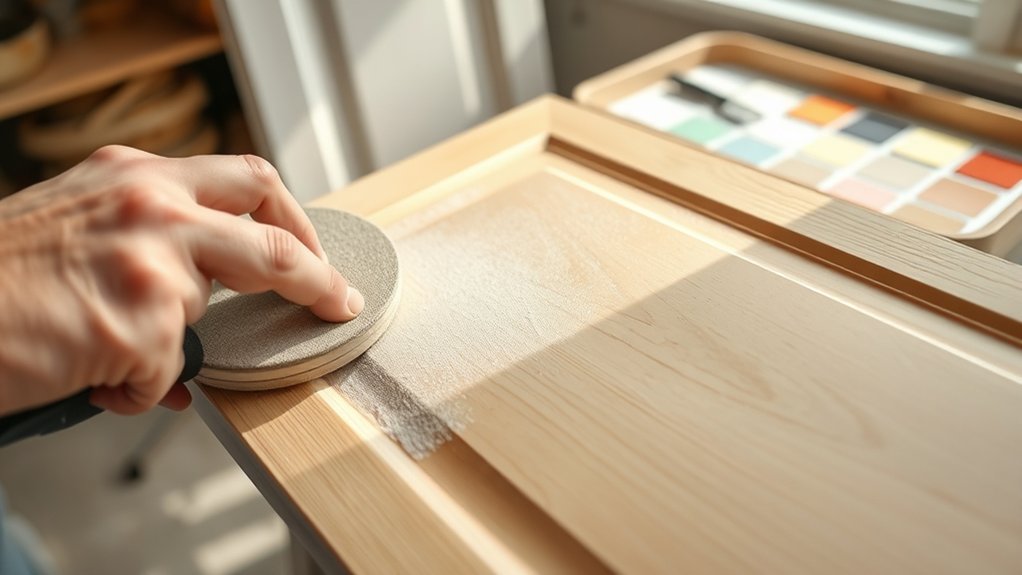
Once you’ve removed the hardware and stripped off the old finish, the next step is to prepare your cabinets for the new coat of paint or stain. Start by sanding the surfaces to create a smooth, even base. Use fine-grit sandpaper and work in circular motions, paying special attention to edges and corners.
This helps remove any remaining finish and opens the wood grain for better adhesion. After sanding, clean the cabinets thoroughly with a damp cloth to remove dust and grease. Making sure the surfaces are clean is essential for a flawless finish.
When it’s time to paint or stain, use your paintbrush with proper technique. Apply light, even strokes to avoid drips and brush marks. Be sure to follow the grain of the wood for a professional look. Also, check your cabinet hardware to verify it’s clean and ready for reinstallation once your finish is dry.
Applying Paint or Stain for a Smooth, Durable Finish
Applying paint or stain carefully is key to getting a smooth, durable finish on your cabinets. Start by choosing a color that matches and complements your kitchen’s style.
Use quality brushes or rollers suited for your desired finish sheen, whether matte, satin, or semi-gloss. This helps ensure an even application every time.
Work in thin, consistent coats to prevent drips and uneven coverage. When staining, always follow the grain of the wood and wipe away excess for a uniform look.
If you’re painting, maintain a wet edge to avoid lap marks. Let each coat dry completely before adding the next to build durability and a polished look.
Pay attention to the finish sheen you want, as it influences both the appearance and how easy it is to maintain. Proper technique will help your cabinets look great and last for years of daily use.
Curing, Maintaining, and Avoiding Common Restoration Mistakes
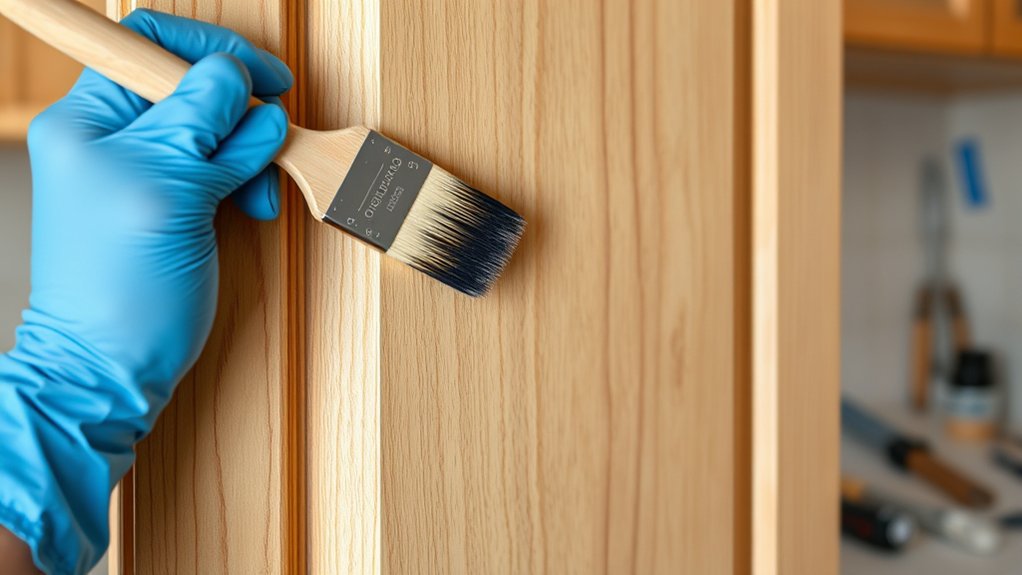
Proper curing and ongoing maintenance are essential to guarantee your cabinet refinishing lasts and looks its best. The curing process ensures the paint or stain fully hardens, preventing scratches or peeling later. After applying your finish, avoid heavy use for at least a few days and keep the cabinets dry.
Maintaining the finish involves regular cleaning and avoiding harsh chemicals that can damage the surface. To prevent common restoration mistakes, pay attention to these tips:
- Allow sufficient curing time before use
- Clean surfaces gently with mild soap and water
- Avoid excessive moisture or heat exposure
- Touch up small chips promptly to prevent chipping
- Use soft cloths for cleaning, avoiding abrasive tools
Frequently Asked Questions
How Long Does It Typically Take to Refinish Kitchen Cabinet Doors?
Refinishing your kitchen cabinet doors usually takes about 2 to 4 days. The exact time depends on how much prep work you do and drying times in between.
Start by cleaning the cabinets to get rid of grease and dirt. Then, sand and prime before you start painting. Picking the right paint is key—go for durable, kitchen-friendly finishes.
Make sure each coat dries completely before adding the next. Also, leave enough time for curing to get a smooth, lasting finish. Patience is your best friend for a professional look that stands the test of time.
Can I Refinish Cabinets Without Removing the Doors?
Yes, you can refinish cabinets without removing the doors. Start by removing or covering cabinet hardware to protect it during surface prep.
Next, thoroughly clean and lightly sand the surfaces to ensure good paint or stain adhesion. Use painter’s tape to mask off edges and hardware.
This method lets you refinish your cabinets efficiently while keeping the doors in place. It saves time and effort and gives you a fresh, updated look.
What Tools Are Essential for Refinishing Cabinet Doors?
Imagine you’re in a 1920s speakeasy—your tools are just as essential. You’ll need a screwdriver to remove cabinet handles, sandpaper or a sanding block for surface preparation, and a paintbrush or roller for applying finish.
Don’t forget a painter’s tape for clean edges and a primer if needed. These tools help you achieve a smooth, professional look, even if you’re tackling the project solo.
How Do I Prevent Paint From Peeling or Chipping Over Time?
To prevent paint from peeling or chipping over time, start with good surface preparation by cleaning and sanding your cabinet doors thoroughly.
Using high-quality, durable paint helps ensure your paint lasts longer. Applying a primer before painting also improves adhesion and gives a better finish.
Make sure to allow enough drying time between coats and avoid heavy use immediately after finishing. These steps help your paint stay intact and look fresh for years.
Is It Necessary to Use a Primer Before Refinishing?
You might think primer isn’t necessary, but it’s really important for a smooth, long-lasting finish. Primer helps seal the surface and makes the paint stick better, which helps prevent peeling or chipping later on.
Proper surface prep, like cleaning and lightly sanding, ensures the primer bonds well. Skipping primer can lead to uneven color, poor adhesion, and your finish might not last as long.
Conclusion
By following these five simple steps, your kitchen cabinets will look stunning and feel brand new—like they’ve been transformed overnight! With patience and the right techniques, you can achieve a professional finish that lasts for years.
Don’t let fear hold you back. Your kitchen deserves a makeover that’ll turn heads and leave visitors in awe.
Get ready to impress everyone with your DIY skills and enjoy your beautifully refinished cabinets every day!
Refinishing your kitchen cabinet doors is easier than you think. Just follow these simple steps, and you’ll be amazed by the results.
Trust the process, and soon your cabinets will look fresh and stylish, adding a whole new vibe to your kitchen.