7 Simple Steps to Install Crown Molding on Kitchen Cabinets
Installing crown molding on your kitchen cabinets can be a rewarding upgrade, but many people struggle with getting it just right. If you’ve ever felt overwhelmed by measuring, cutting, and fitting, you’re not alone.
The good news is, with a little patience and the right steps, you can achieve a professional look.
To install crown molding on your kitchen cabinets, start by thoroughly cleaning your cabinets and gathering all your tools. Measure and plan your layout carefully to guarantee precise cuts.
Cut the molding to fit each section, then attach it securely with nails and glue. Finish by caulking gaps, painting or staining, and adding any decorative touches.
Avoid common mistakes like rushing or mismeasuring. If you keep going, you’ll find out how to perfect your installation and achieve a professional look.
Key Takeaways
- Measure your cabinet dimensions carefully and plan your molding lengths to get a perfect fit.
- Choose the right crown molding style and gather all your tools before you start.
- Use a miter saw to cut the molding precisely, setting the correct angles for corners and joints.
- Dry-fit the pieces first, then secure them with nails or screws into the studs, adding glue for extra stability.
- Finish up by filling gaps, sanding smoothly, and painting or staining for a seamless, professional look.
Prepare Your Cabinets and Gather Your Tools
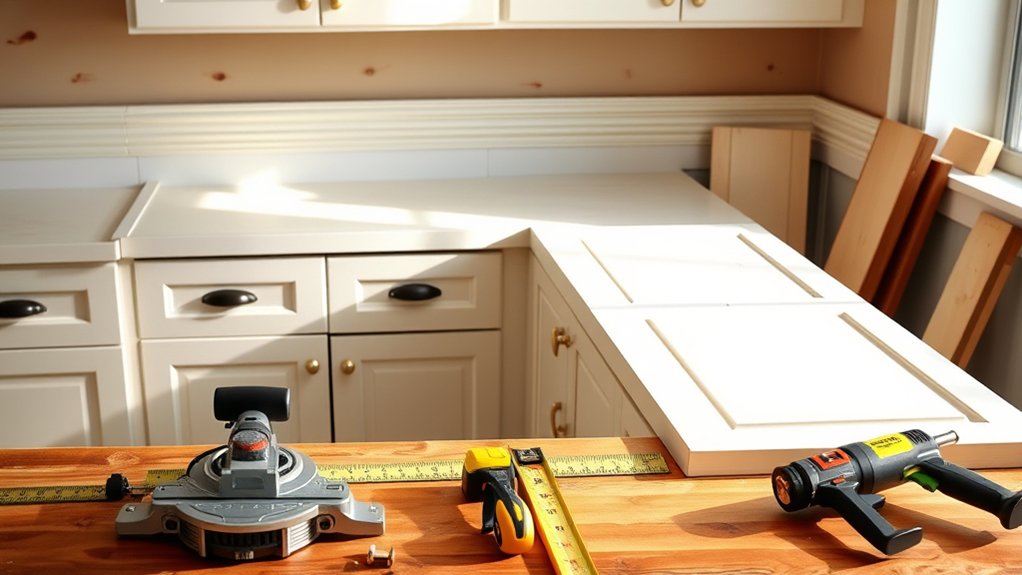
Before you start installing crown molding, it’s important to prepare your cabinets and gather all your tools. Begin by cleaning your cabinets thoroughly to remove dust, grease, and debris. This helps the molding fit snugly and stay in place.
Next, check your tools and calibrate them if needed. Accurate measurements depend on well-calibrated tools like a miter saw, level, and tape measure. Gather everything beforehand—saws, nails, adhesive, a pencil, and safety gear.
Make sure your tools are accurate, especially the miter saw, to ensure precise angles. Having everything ready will make the process smoother and more efficient. These initial steps create a clean workspace and a solid foundation for your project.
Proper preparation saves time and helps you avoid mistakes later on. Taking these small steps now will make your crown molding installation way easier and more successful.
Measure and Plan Your Crown Molding Layout
First, grab a tape measure and carefully measure your cabinet dimensions. This way, you can be sure that the crown molding will fit just right. After that, take some time to choose a style that really matches your kitchen’s vibe — whether it’s sleek and modern or more traditional.
Once you’ve picked the style, it’s a good idea to sketch out a layout plan. This helps you picture how everything will look and makes the whole process a lot smoother. Planning ahead like this means fewer surprises when it’s time to make cuts and install everything.
Determine Cabinet Dimensions
To guarantee a seamless fit, you need to accurately measure your cabinets and plan your crown molding layout. Start by measuring the cabinet depth, which determines how far the molding will extend outward. This helps ensure the molding aligns properly without overhanging or gaps.
Next, measure the width of each cabinet section to know how much molding you’ll need and where to make cuts. For the molding height, decide on an appropriate size that complements your cabinets’ proportions. Generally, taller molding makes a bolder statement, while shorter molding offers a subtle look.
Keep in mind that precise measurements help avoid gaps or uneven edges later. By carefully evaluating cabinet depth and planning the molding height, you set a solid foundation for a professional finish.
Choose Appropriate Molding Style
Choosing the right crown molding style begins with evaluating the overall look you want to achieve and how it complements your cabinets.
Material options vary from wood and MDF to polyurethane, each offering different durability and finishes. Think about your style considerations—traditional, modern, or rustic—to guide your choice.
If you prefer a classic appearance, detailed wood moldings may suit you, while sleek, minimal designs work well for contemporary kitchens.
Keep in mind the molding’s profile and size in relation to your cabinets’ height and depth. Your goal is to select a style that elevates the space without overwhelming it.
Taking time to reflect on material options and style considerations ensures your crown molding will look cohesive and polished once installed.
Sketch a Layout Plan
Have you measured your cabinets and walls yet? Before sketching your layout, consider using design software to visualize your crown molding placement. Accurate measurements are key for a seamless look.
Decide on your material based on your style and budget, then plan your cuts accordingly. Here’s a simple way to picture your layout:
| Wall Section | Molding Length |
|---|---|
| Top of cabinets | 120 inches |
| Side panel 1 | 48 inches |
| Side panel 2 | 48 inches |
| Bottom edge | 120 inches |
This table helps you plan the lengths needed and spot potential miter cuts. A well-thought-out layout minimizes waste and makes your installation smoother and more professional.
Cut Crown Molding for a Precise Fit
Accurate cuts are key to making sure your crown molding fits perfectly on your kitchen cabinets. Use a good quality miter saw to make precise angle cuts. Keep in mind, corners often need coping instead of simple miter cuts, so take your time to carve out the profile for a seamless joint.
Here are some tips to help you cut accurately:
- Always measure twice before making any cuts.
- Set your miter saw to the right degree for inside or outside corners.
- For tight joints, think about coping instead of mitering—this involves cutting along the molding’s profile for a cleaner fit.
- Keep your cuts smooth and steady to avoid jagged edges that could throw off the fit.
Follow these steps, and you’ll get each piece to fit perfectly, giving your cabinet crown molding a professional, polished look.
Attach Crown Molding to Your Cabinets
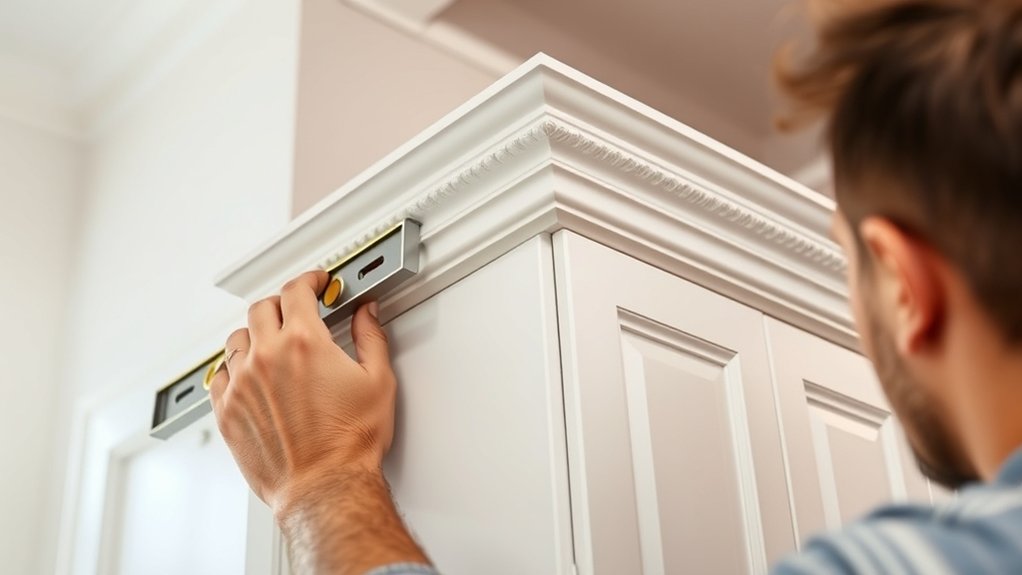
Now that everything is prepped, it’s time to attach the crown molding to your cabinets. Just make sure your pieces are ready to go—double-check that they’re cut to the right size and fit properly. Once you’re all set, carefully align the molding with the top of your cabinets so it sits nicely in place.
Take your time to secure the molding well. Using the right nails or screws, make sure it’s firmly attached. When you do this right, it’ll give your cabinets a sleek, professional finish that really stands out.
Preparing the Molding Pieces
Are you ready to prepare your crown molding pieces for installation? First, gather your molding material, whether it’s wood, MDF, or polyurethane, based on your look and budget.
Next, measure and cut the pieces accurately, keeping in mind corners and angles. To make sure your decorative accents fit perfectly, dry-fit the pieces before the final installation.
Remember, proper prep work saves time later. Sand any rough edges and smooth surfaces for a polished finish. Finally, check that each piece matches your cabinet dimensions and style so the accents enhance your kitchen’s look.
This prep work helps ensure your crown molding looks professional and flawless when you attach it to your cabinets.
Properly Aligning and Securing
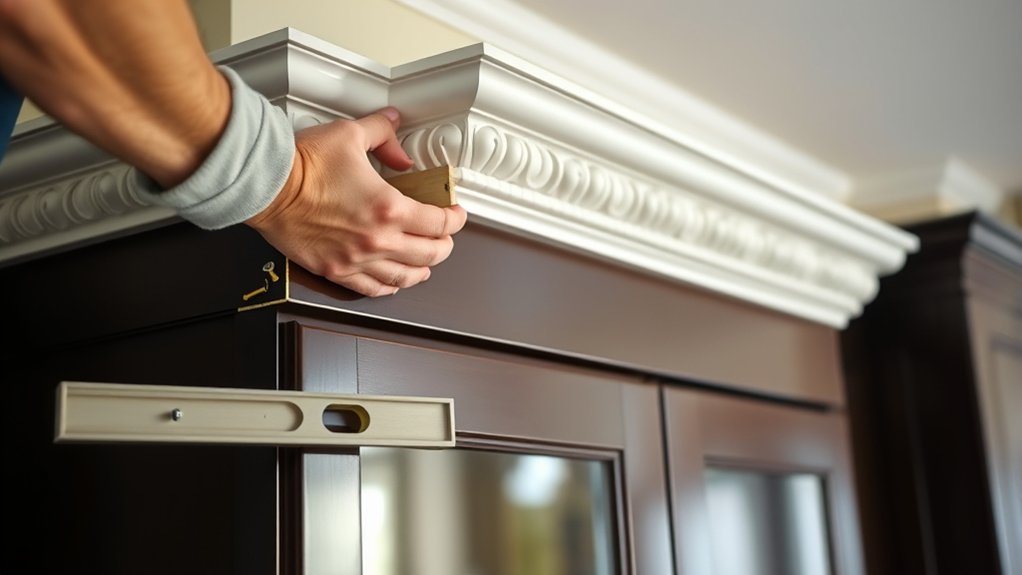
Wondering how to guarantee your crown molding stays perfectly aligned and securely attached? First, carefully position your decorative accents and molding materials, making sure they sit flush against the cabinets. Double-check the alignment with a level before you secure anything.
When attaching, drive nails or finish screws into the molding, aiming for the studs behind the cabinets for a solid hold. Applying glue to the back of the molding adds extra stability, especially if you’re working with heavier materials.
Clamp the molding in place if needed, and be sure to wipe away any excess glue before it dries. Take your time to get each piece aligned properly, which will give your cabinets a polished, professional look.
Properly securing and aligning your crown molding not only improves the overall aesthetic but also helps it last for years to come.
Finish With Caulking, Painting, and Detailing
Finishing your crown molding project isn’t just about attaching the pieces; it’s about perfecting the details to get that polished look. Use caulking to fill gaps and create smooth transitions between the molding and cabinets. Once the caulk dries, sand any excess for a seamless finish.
Next, apply paint or stain to match your cabinets or add contrast. This step really helps enhance decorative accents and makes your crown molding stand out. For extra detail, consider adding trim or rosettes to give it a more finished look.
Highlighting intricate profiles with a contrasting color can add depth and character. Use a small brush for precise painting around edges. Afterward, smooth out the paint or stain with a clean cloth for an even, professional finish.
These finishing touches turn your crown molding from a simple installation into a stylish feature that elevates your kitchen’s overall look.
Avoid Common Mistakes During Installation
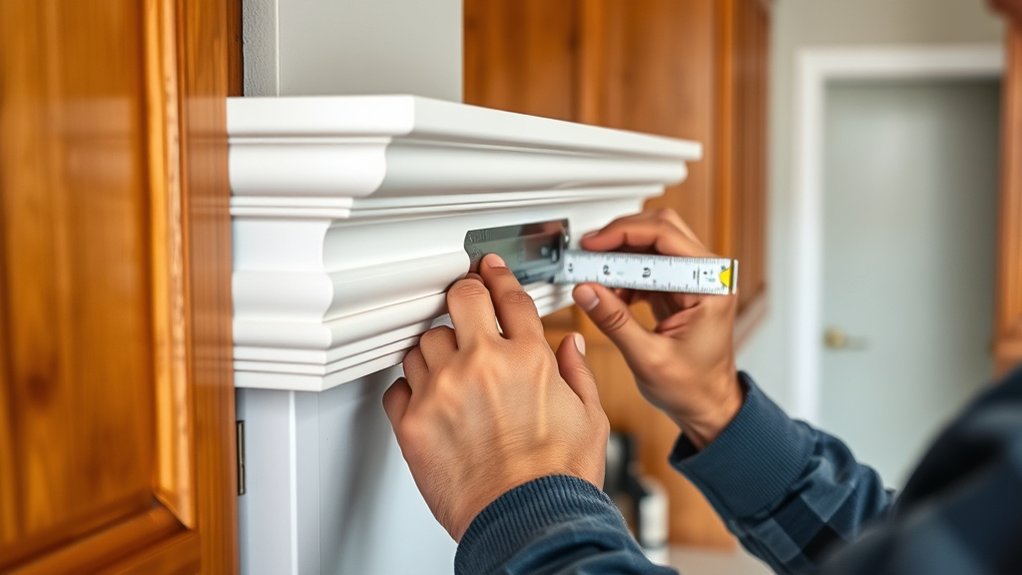
To guarantee your crown molding installation looks professional and lasts for years, it’s essential to avoid common mistakes that can compromise the project’s quality. One of the biggest errors is using incorrect measurements, which can lead to gaps or uneven joints. Always double-check your measurements before cutting to ensure accuracy.
Another mistake is relying on improper tools; using the wrong saw or lacking a miter box can result in poor cuts and misaligned corners. Take the time to select the right tools for the job, like a high-quality miter saw or coping saw, to get precise angles.
Rushing through the process can cause mistakes, so work carefully and verify each step. Avoiding these pitfalls helps ensure your crown molding fits perfectly and looks seamless.
Maintain Your Crown Molding Over Time
Regular maintenance is key to keeping your crown molding looking its best over the years. To preserve its decorative accents and overall appearance, regularly inspect for damage or dirt buildup.
Regular upkeep ensures your crown molding stays beautiful and damage-free over time.
Dust with a soft cloth or brush to prevent dust from settling into the crevices. When needed, touch up paint or caulk to fix chips or cracks. Use gentle cleaning products to avoid damaging the finish.
Here are some essential maintenance tips:
- Regularly dust and wipe down the crown molding
- Check for loose or cracked sections and secure or repair as needed
- Repaint or re-stain to restore its original look
- Keep an eye out for moisture damage or warping
Frequently Asked Questions
Can I Install Crown Molding on Curved or Uneven Cabinet Surfaces?
Yes, you can install crown molding on curved or uneven cabinet surfaces. The key is to start with proper surface preparation, making sure everything is clean and smooth.
Use flexible molding or steam the wood to bend it around the curves. This way, the crown molding will follow the contours of your cabinets smoothly.
This approach helps you get a seamless, professional look even if your cabinet surfaces aren’t perfectly flat.
What Types of Crown Molding Materials Are Best for Kitchen Cabinets?
A stitch in time saves nine, so choosing the right crown molding material is key. For kitchen cabinets, MDF or solid wood are great options because they’re durable and hold decorative finishes well.
PVC is also a good choice if moisture resistance is a priority. These materials ensure your crown molding looks stunning and lasts long.
They give your space a timeless decorative finish that really enhances the overall look.
How Do I Ensure Consistent Spacing Between Multiple Crown Moldings?
To guarantee consistent spacing between multiple crown moldings, use crown molding techniques like marking and measuring carefully.
Apply spacing measurement tips such as using a ruler or tape measure to mark equal intervals along the cabinet tops.
Double-check your measurements before cutting or installing, and use a level to keep the moldings aligned.
This approach helps ensure uniform spacing and gives your project a professional, polished look.
Is It Necessary to Use a Miter Saw for Cutting Crown Molding?
Using a miter saw for cutting crown molding is highly recommended because it provides precise, clean cuts essential for decorative finishes. While other tools might work, a miter saw ensures accurate angles, especially for complex cuts.
This makes the process easier and results look more professional. It’s an investment that helps you get seamless joints and a polished look, making your crown molding installation much simpler.
How Can I Remove or Replace Crown Molding Without Damaging Cabinets?
Sure, removing or replacing crown molding without damaging your cabinets is pretty straightforward—think of it as a gentle dance.
Gently pry it off using a putty knife, being careful around the decorative accents and molding styles. Take your time, and use painter’s tape to protect the cabinets.
Once it’s removed, you can update or replace the crown molding, giving your kitchen a fresh look. It’s a simple way to remodel without a scratch—who knew?
Conclusion
Now that you’ve learned these essential steps, you’re ready to transform your kitchen with elegant crown molding.
But remember, the real challenge is in perfecting each detail and avoiding common pitfalls.
With patience and precision, you’ll soon enjoy a stunning upgrade that’s both stylish and durable.
The question is—are you prepared to take the final step and bring your vision to life?
The finishing touch is waiting, and your kitchen’s new look is just a decision away.
Adding crown molding to your kitchen cabinets can truly elevate the space.