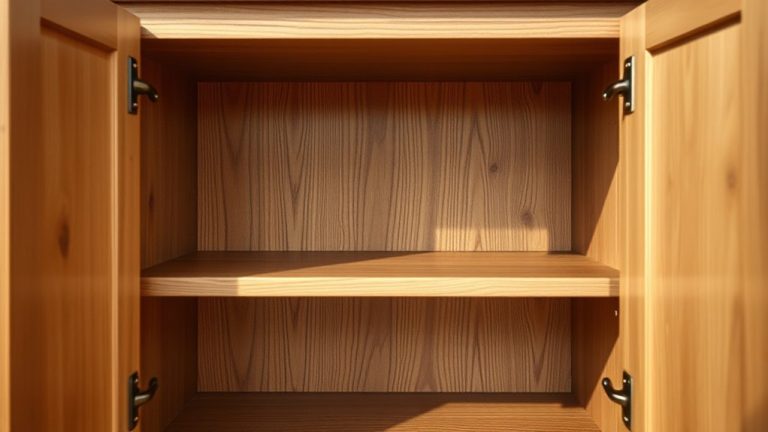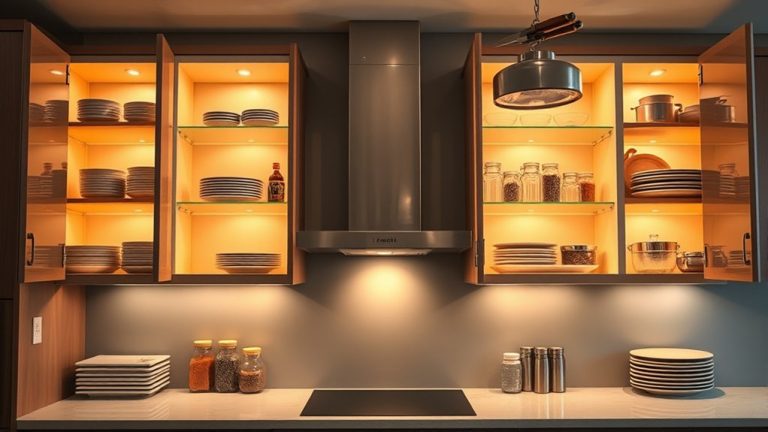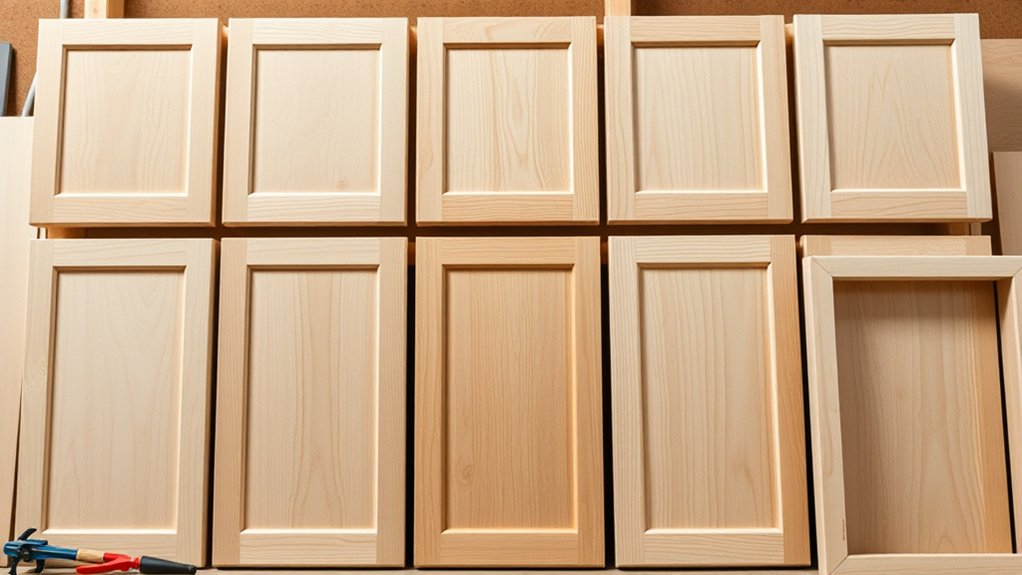
10 Simple Steps to Make Kitchen Cabinet Doors
Feeling overwhelmed by the thought of making your own kitchen cabinet doors? You’re not alone—many people struggle with turning their DIY dreams into reality. But with a bit of guidance, you can easily create beautiful, custom doors that transform your space.
To make kitchen cabinet doors, start by gathering all your tools and materials. Measure your cabinets carefully for a perfect fit, then choose durable materials like solid wood or MDF with your preferred finish.
Next, cut and assemble the panels, sand everything smoothly, and attach hinges and handles for easy use. Finish with paint or stain to add style and protection.
For detailed tips on each step, stick with us to learn more.
Key Takeaways
- Measure your cabinet openings carefully, noting the width, height, and depth at several points for an accurate fit.
- Pick the right materials like solid wood, MDF, or laminate, and gather all your tools and supplies before you begin.
- Cut your panels and frames precisely with saws, then smooth out the edges with sandpaper for a clean, professional look.
- Assemble the panels and attach your hardware, making sure everything lines up correctly and is securely fastened for lasting durability.
- Finish with paint or stain, then seal the surfaces with protective coatings. Don’t forget to maintain your hardware and surfaces regularly.
Why Build Your Own Kitchen Cabinet Doors?
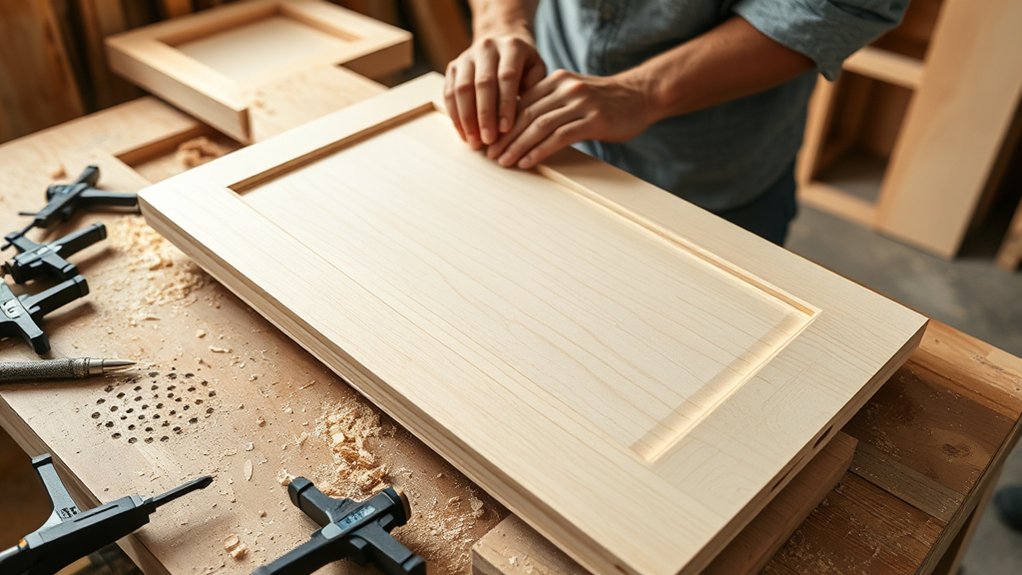
Have you ever thought about building your own kitchen cabinet doors? Creating custom doors lets you add decorative touches that show off your personal style, from detailed carvings to sleek modern designs.
It’s a great chance to bring in historical styles, giving your kitchen a timeless or vintage vibe that store-bought options just can’t match. Building your own doors means you get to choose the perfect materials, colors, and finishes, making your kitchen uniquely yours.
Plus, you’ll feel proud of the craftsmanship and have the freedom to customize every detail—from decorative accents to the overall design. DIY cabinet doors also give you control over quality, so you avoid shortcuts often found in mass-produced options.
Whether you’re going for a traditional, rustic, or contemporary look, making your own doors lets you infuse your personality into your space. It creates a warm, inviting atmosphere that truly feels like home.
Gather the Tools and Materials Needed for DIY Cabinet Doors
Before you start building your DIY cabinet doors, it’s important to gather all the tools and materials you’ll need. This helps make the process smoother and keeps you from having to stop halfway through.
First, decide on your preferred cabinet door style—shaker, raised panel, or flat panel—as this choice affects your supplies. Once you know the style, you can pick the right materials and tools.
Common tools include a saw, drill, measuring tape, clamps, and a screwdriver. You’ll also want some sandpaper, wood glue, and primer or paint based on your finish.
For materials, choose quality wood or MDF that matches your selected style. Don’t forget hardware like knobs, handles, or hinges that fit your design.
Having everything ready before you start helps you work efficiently and prevents interruptions. Double-check your measurements and make sure your hardware matches your door style for a cohesive look.
Being properly prepared will help keep your project on track and result in beautiful, functional cabinet doors.
Measure Your Cabinets Carefully for a Perfect Fit
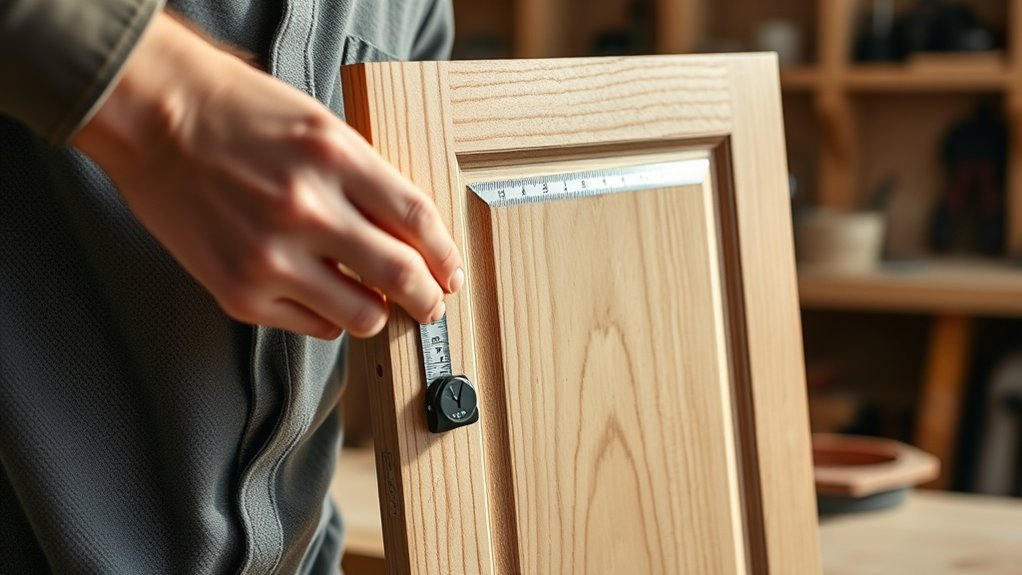
Accurately measuring your cabinets is key to making sure your DIY doors fit just right and work smoothly. The layout of your cabinets determines the size and placement of each door, so getting precise measurements is a must.
Use a tape measure to note the width, height, and depth of each opening, and don’t forget to check for any irregularities or obstacles. It’s best to measure in multiple spots to ensure your measurements are accurate, especially if your cabinets aren’t perfectly square.
Here’s a quick reminder of the main points to measure:
| Measurement Point | What to Measure | Why It Matters |
|---|---|---|
| Width | Inside to inside | Ensures the door fits the opening |
| Height | Top to bottom | Prevents gaps or overlaps |
| Depth | Front to back | Keeps doors flush with the cabinet frame |
Always prioritize accuracy over estimation. Small errors can cause your doors to not fit right, so double-check your measurements before moving forward.
Choose the Best Materials and Finish for Your Style
Choosing the right materials and finish for your cabinet doors can really impact both their durability and your overall style. You want materials that can handle daily use while making your kitchen look great.
Selecting quality materials and finishes ensures your cabinets are durable and elevate your kitchen’s style.
Here are some options to consider:
- Solid Wood offers excellent durability and a timeless look, making it perfect for traditional or rustic styles.
- Medium Density Fiberboard (MDF) provides a smooth surface that’s ideal for painted finishes, giving a sleek, modern vibe.
- Laminate is budget-friendly and highly durable, available in many colors and patterns, suitable for contemporary or eclectic kitchens.
When it comes to finishes, go for durable options like polyurethane or varnish to protect against moisture and scratches.
The right combination of materials and finishes will ensure your cabinet doors look fantastic and stand up to everyday kitchen life.
Cut and Assemble the Cabinet Door Panels
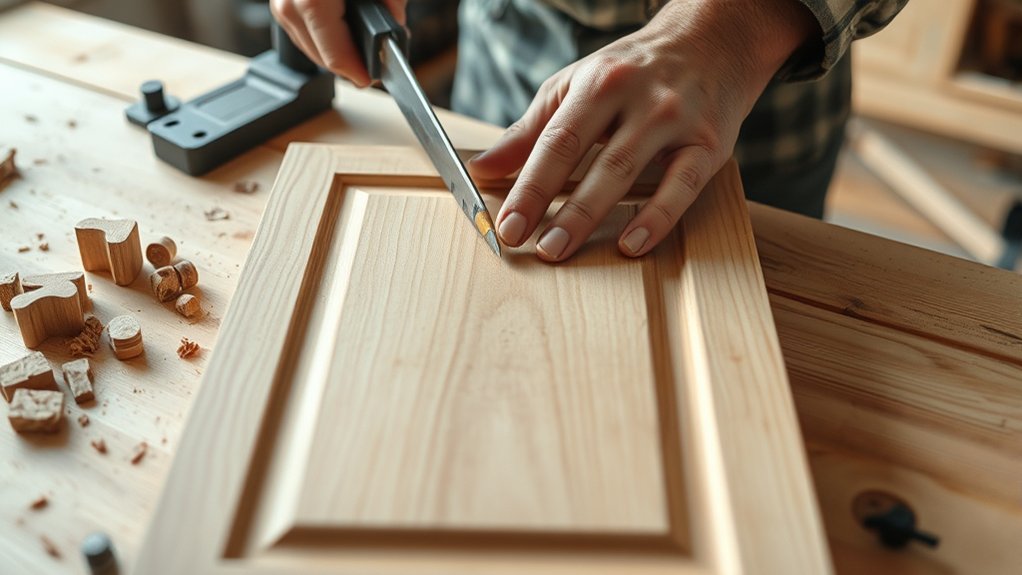
Once you’ve chosen your materials and finishes, it’s time to cut and assemble the cabinet door panels. Start by measuring carefully and marking your panels precisely.
Use proper cutting tools like a table saw or a circular saw to get clean, straight edges. Always double-check your measurements before making any cuts.
Keep the blade steady and move slowly to ensure accuracy. If you’re working with thicker or delicate materials, consider using clamps or guides to help maintain control.
After cutting, smooth out the edges with fine-grit sandpaper to remove splinters or rough spots. Take your time so each panel fits perfectly into your design.
Once the panels are cut, carefully align them during assembly, making sure they are square and flush. Proper fabrication and precise cutting are key to creating sturdy, attractive cabinet doors.
Attach the Frame and Keep It Aligned
Before attaching the frame, make sure your cabinet door panels are perfectly aligned and square. Proper alignment makes your cabinet look professional and work smoothly. To keep everything steady, use clamps to hold the frame in place as you attach it. This prevents shifting and keeps even gaps.
Ensure cabinet door panels are perfectly aligned and square for a professional, smooth finish. Use clamps to keep everything steady.
When working with wood, always prioritize safety. Wear eye protection and handle tools carefully. Taking these precautions helps avoid accidents and ensures a better finish.
Here are three key steps:
- Mark the attachment points precisely, making sure the frame stays square to the panel.
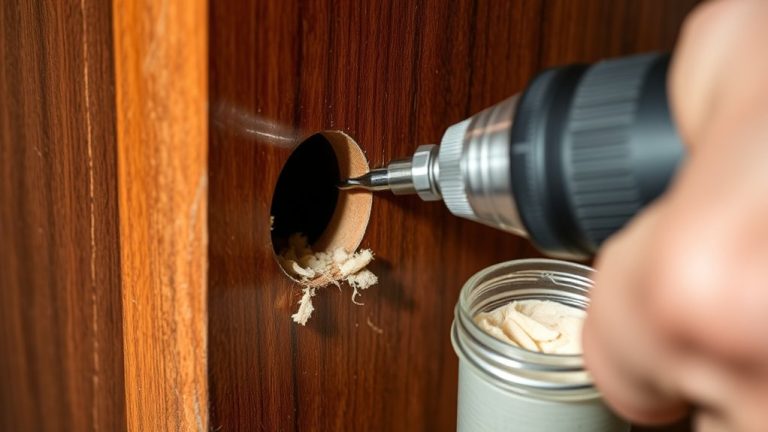
- Use a drill with the right bits to make clean, controlled holes. This avoids splinters or damage.
- Secure the frame with screws, tightening gradually to keep everything aligned.
Taking your time with these steps guarantees a sturdy, well-aligned cabinet door that looks great in your kitchen. Proper technique reduces mistakes and makes your woodworking safer and more polished.
Sand and Smooth the Surface for a Professional Look
To achieve a smooth, professional finish on your cabinet doors, start by sanding the surface thoroughly. Proper sanding ensures the surface is even, removing any rough spots or imperfections that could distract from your kitchen design.
Focus on the edges and corners, especially if your cabinet styles have intricate details. Use medium-grit sandpaper to smooth the surface, then switch to fine-grit to refine it further.
This step helps the paint or stain stick better and gives a cleaner look. Always sand in the direction of the wood grain to avoid scratches.
After sanding, wipe the surface with a damp cloth to remove dust and debris. A well-sanded surface not only looks better but also lasts longer.
Taking your time here will give you a sleek, professional look that complements your overall kitchen design.
Install Hinges and Handles for Functionality
Installing hinges and handles that are built to last really helps keep your cabinets working smoothly over time. It’s a good idea to pay attention to proper alignment so opening and closing them feels effortless. When you get these hardware pieces installed correctly, they not only make your cabinets look better but also improve how they function day to day.
Selecting Durable Hardware
Selecting durable hardware is key to making sure your kitchen cabinet doors work smoothly and last through daily use. When choosing your hardware, focus on assessing durability to ensure it stands the test of time.
Pick hinges and handles made from high-quality materials like stainless steel or solid brass. These resist corrosion and wear, helping your cabinets stay looking good longer.
Think about the manufacturer’s warranty—it gives you insight into how durable the hardware is. Also, test how much weight it can handle and how well it resists frequent use.
Finally, look closely at the finish for scratches or peeling. These signs can indicate the hardware’s overall quality and how long it will last.
Proper Alignment Techniques
Proper alignment of hinges and handles guarantees your kitchen cabinet doors function smoothly and look polished. Start with cabinet hinge adjustments to confirm each door hangs evenly and opens easily.
Use door alignment tools to fine-tune the positioning, preventing gaps or misalignments. When installing hinges, double-check their placement to avoid crooked doors.
Adjustments should be made gradually, testing the door’s movement after each tweak. For handles, make sure they’re level and securely fastened, providing both aesthetic appeal and functionality.
Precise hinge adjustments and proper handle placement improve your cabinet doors operate smoothly and look professional. Taking the time to align hinges and handles correctly saves you from future issues and boosts the overall appearance of your kitchen.
Finish With Paint or Stain to Protect and Style Your Doors
Want to give your cabinet doors a fresh new look? Picking the right finish can really change their style and help them last longer. Whether you go for paint or stain, taking your time to apply it carefully will make a big difference — a smooth, even coat looks much better and lasts longer.
And don’t forget, once you’ve finished, adding a protective layer is key. It keeps your doors looking beautiful and helps them stay in great shape for years to come.
Choosing the Right Finish
When it comes to finishing your kitchen cabinet doors, choosing between paint and stain is a key step that affects both how they look and how durable they are. Your decision depends on the finish options you like and whether you want to highlight or hide surface textures.
Paint gives a smooth, opaque surface that can make bold color statements and hide imperfections easily. Stain, on the other hand, enhances the natural wood grain, offering a warm, authentic look. Think about these factors:
- Desired aesthetic—are you after vibrant color or a natural appearance?
- Surface textures—do you prefer smooth or textured finishes?
- Maintenance needs—paint is usually easier to clean, while stain tends to show wear less clearly.
Picking the right finish should match your style and practical needs, shaping the overall vibe of your kitchen.
Applying Paint or Stain
Are you ready to bring your cabinet doors to life with paint or stain? Selecting the right finish is key to getting the look you want.
If you want vibrant colors, painting is your best option. It offers a wide range of hues and lets you go bold or keep it subtle.
For a more natural, warm look, stain highlights the wood’s grain and adds depth. When applying paint, use smooth techniques like brushing or spraying to avoid streaks.
If you’re staining, work with a cloth or brush and apply evenly to showcase the wood’s character. Whichever you pick, proper application is essential for a professional finish.
Take your time, follow the grain, and use thin coats to get the best results.
Protecting Your Doors
Ever wondered how to keep your beautifully finished cabinet doors protected over time? Applying a quality finish like paint or stain is just the first step. To keep your doors looking their best, try these simple tips:
- Seal the surface: Use a clear topcoat or polyurethane to guard against moisture and scratches. Focus especially around door hinges and hardware where wear is common.
- Regular cleaning: Wipe your doors gently with a damp cloth to remove dust and grime. Avoid harsh chemicals that can damage the finish.
- Check hardware: Periodically tighten door hinges and cabinet hardware. This helps prevent sagging or damage that could hurt the finish and overall appearance.
These easy steps will keep your cabinet doors durable, stylish, and well-protected for years to come.
Maintain and Troubleshoot Your DIY Kitchen Cabinet Doors
Regular maintenance and quick troubleshooting are key to keeping your DIY kitchen cabinet doors working smoothly. Start by cleaning your cabinets regularly to remove grease and dust, using a mild cleaner and a soft cloth.
Check all hardware such as hinges, handles, and pulls for looseness or damage. Tighten screws and replace any worn or broken parts right away to avoid bigger problems.
If your doors aren’t closing well, look for warping or misalignment. Adjust the hinges as needed. For squeaks or stiffness, spray silicone lubricant on the hinges.
Keep a maintenance schedule to catch issues early. This way, your cabinet doors stay functional and looking great.
| Issue | Solution | Preventive Tip |
|---|---|---|
| Loose hardware | Tighten screws or replace parts | Regularly check hardware |
| Squeaking hinges | Spray with silicone lubricant | Lubricate once a year |
| Misaligned doors | Adjust the hinges | Check alignment during cleaning |
| Sticking or warping | Sand or replace if needed | Keep moisture levels low |
Frequently Asked Questions
How Long Does It Typically Take to Make Custom Cabinet Doors?
It usually takes about 2 to 4 days to make custom cabinet doors, depending on how complex they are and the finishing techniques used. You’ll be measuring, cutting, assembling, and choosing your hardware during this time.
Finishing touches like staining or painting can add extra hours, especially if you need multiple coats or drying time. Planning ahead helps keep things on schedule, and picking the right hardware really boosts the overall look of your doors.
What Common Mistakes Should I Avoid During Installation?
You absolutely can’t afford to overlook hinge alignment or measurement accuracy during installation! A tiny mistake here could turn your beautiful new doors into a crooked disaster. Double-check hinge placement and measure twice—trust us, it’s worth the effort.
Avoid rushing through the process, and don’t forget to test swing and fit before you put in the final screws. Precision is your best friend to guarantee perfect, professional-looking cabinet doors.
Can I Customize Cabinet Door Designs Beyond Basic Styles?
Yes, you can customize cabinet door designs beyond basic styles by exploring different options and materials.
You might choose materials like wood, glass, or metal to match your aesthetic. Incorporating unique details such as decorative moldings or custom finishes can make your cabinets stand out.
This approach allows you to create a personalized look that fits your kitchen’s style, giving you full control over the final design.
Are There Eco-Friendly Materials Suitable for DIY Cabinet Doors?
Yes, eco-friendly materials like recycled wood and bamboo panels are great options for DIY cabinet doors. Recycled wood helps reduce waste and gives a rustic, charming look.
Bamboo panels are sustainable, durable, and stylish. They’re easy to incorporate into your project and help lower your environmental impact.
Using recycled or bamboo materials not only makes your cabinets eco-conscious but also adds a natural, unique touch to your kitchen that lasts.
How Do I Repair Damaged or Scratched Cabinet Doors?
Imagine restoring your cabinets to their original beauty, like revealing a hidden treasure. To repair damaged or scratched cabinet doors, start with cabinet refinishing to smooth out imperfections.
Use a touch-up marker or a wood filler for scratches, then sand lightly. Finish with a matching stain or paint, blending seamlessly.
This process restores your cabinets’ charm, making them look fresh, polished, and as good as new. It’s a perfect DIY rescue to bring back their original look.
Conclusion
Building your own kitchen cabinet doors isn’t just a cost-effective choice; it can also be surprisingly satisfying. Some say DIY projects boost your creativity and confidence, and recent studies suggest that engaging in hands-on tasks can even improve mental well-being.
So, as you craft your doors, remember you’re not only customizing your space but also giving yourself a rewarding challenge. With patience and precision, you’ll turn simple materials into a beautiful, functional upgrade for your kitchen.
Making your own kitchen cabinet doors is an achievable project that pays off in style and satisfaction. Plus, it’s a great way to add a personal touch to your home.