10 Easy Steps to Change Kitchen Cabinet Color
Thinking about updating your kitchen but feeling overwhelmed by the idea of changing cabinet colors? You’re not alone—many people struggle with knowing where to start or how to get that professional look.
Fortunately, changing your kitchen cabinet color with the right steps can be easier than you think.
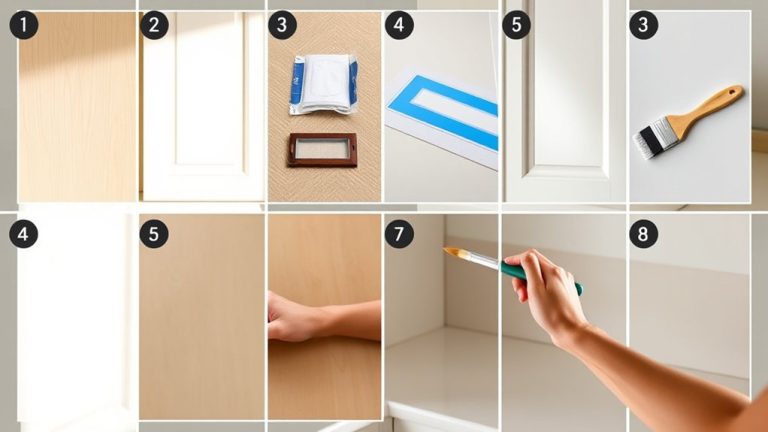
To change your kitchen cabinet color easily, start by choosing a color and finish that match your style and space. Gather tools like brushes, tape, and primer, then remove doors and hardware carefully.
Clean and sand the surfaces for a smooth base, and apply primer suited for your materials.
Once dry, paint in thin layers for an even look. After everything dries, reassemble the cabinets and add final touches.
Keep exploring each step for a professional result that transforms your kitchen effortlessly.
Key Takeaways
- Choose a suitable color and finish that matches your kitchen decor and natural lighting.
- Remove hardware, doors, and drawers carefully, organizing hardware for reinstallation.
- Clean and lightly sand cabinets to create a smooth surface for paint adhesion.
- Apply a primer suited to your cabinet surface and let it dry completely.
- Use high-quality brushes or rollers to apply thin, even coats of paint or stain, letting each coat dry thoroughly.
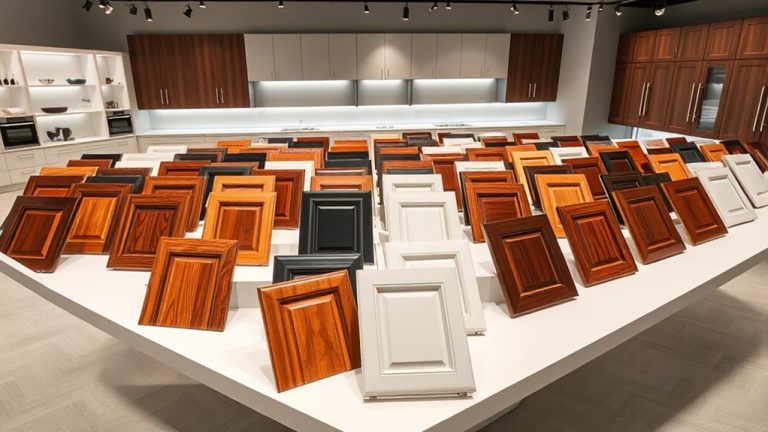
How to Choose the Best Color and Finish for Kitchen Cabinets
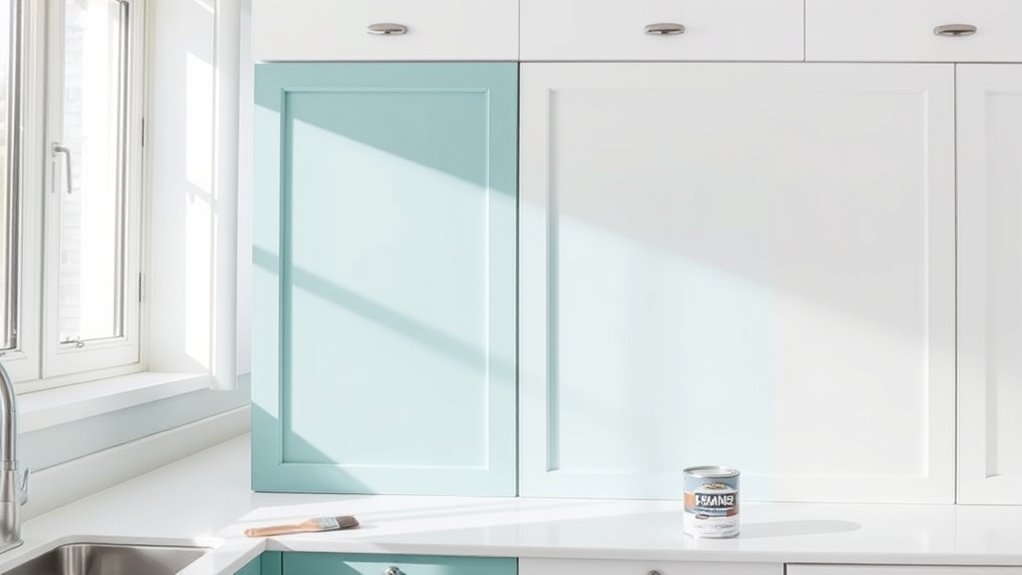
Choosing the right color and finish for your kitchen cabinets is key to creating the mood and style you want in your space. Color psychology is important—you might go for calming blues or lively reds depending on the vibe you’re after.
Neutral tones like whites, grays, or beiges are versatile and timeless choices. When picking a finish, think about durability—high-quality finishes resist scratches, chips, and everyday wear, helping your cabinets stay looking fresh longer.
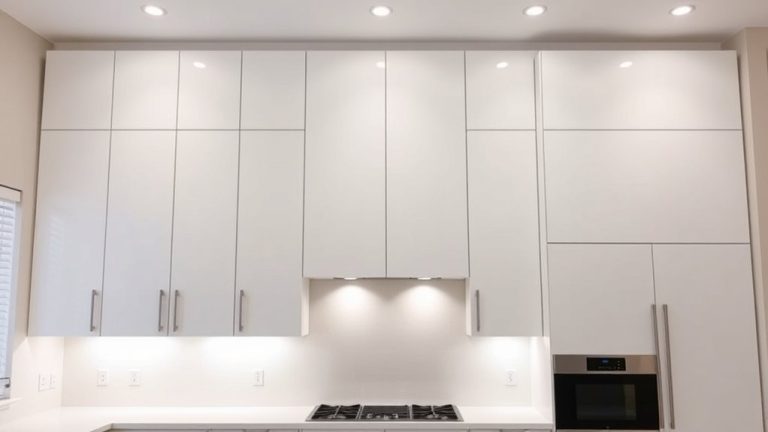
Matte finishes hide fingerprints and smudges, making them great for busy kitchens. Glossy finishes give a sleek, modern look that can really make your cabinets stand out.
Consider how much natural light your kitchen gets. Light colors can brighten the space, while darker shades add coziness. Your choice should reflect your personality and match your overall decor.
Take your time exploring options. Visualize different colors and finishes, and think about what will work best both aesthetically and practically for everyday use.
Gather the Right Tools and Supplies for Painting Cabinets
Before you dive into painting your cabinets, make sure you’ve got all the right supplies on hand—things like brushes, rollers, painter’s tape, and primer. Having everything ready to go makes the whole process much smoother and more enjoyable.
Plus, taking a little time to prepare your tools—cleaning brushes and taping off areas—really pays off in getting that nice, even finish. Gathering everything beforehand helps keep your project running smoothly and keeps stress at bay.
Essential Painting Supplies
To achieve a smooth, professional-looking finish on your cabinets, gathering the right painting supplies is essential. You’ll need quality brushes and rollers suited for cabinet styles, ensuring even coverage and minimal brush marks.
Painter’s tape and drop cloths protect surrounding surfaces, while a good primer prepares your cabinets for paint. Consider color psychology when choosing your new hue to create the desired mood in your kitchen.
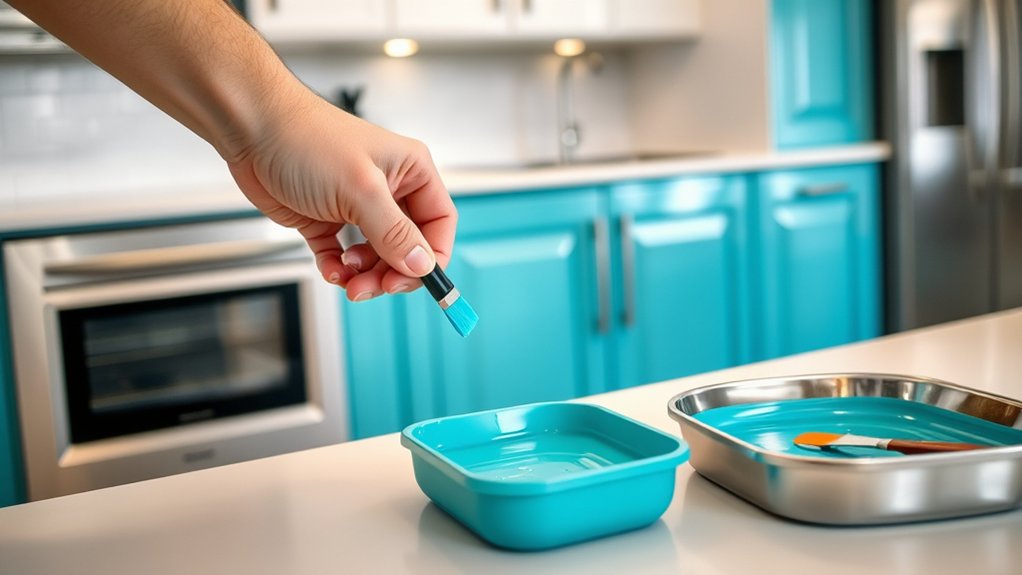
Sandpaper or a sanding block smooths out surfaces for a flawless finish. A paint sprayer can speed up the process if you prefer a sleek, even coat. Don’t forget to have a paint tray and appropriate paint for cabinets.
With these supplies, you’re set to transform your kitchen efficiently and beautifully.
Tool Preparation Tips
Ensuring you have the right tools and supplies is vital for a smooth cabinet painting process. Start by gathering quality brushes, rollers, and painter’s tape to achieve clean lines.
A sander or sanding block is essential to prep surfaces, ensuring proper adhesion. Consider your finish options—whether matte, semi-gloss, or gloss—when selecting paints and topcoats, and choose brushes that suit your preferred finish.
For color coordination, have sample paints ready to test on a small area before committing. Keep a drop cloth or plastic sheeting nearby to protect countertops and floors.
Using the correct tools helps you achieve a professional look, prevents uneven finishes, and makes the entire project more efficient. Proper preparation sets the stage for an outstanding transformation.
How to Prepare Your Kitchen Cabinets for Painting or Refinishing
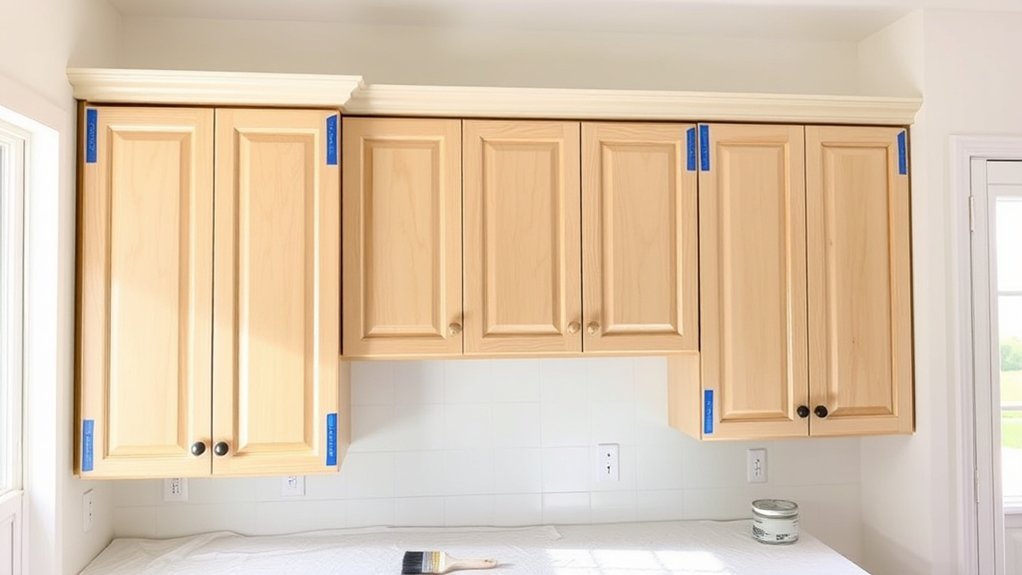
Before you dive into painting, it’s really important to give your cabinets a good cleaning. You want to get rid of any grease, dirt, or grime that might be on the surface—you know, the stuff that can mess up your paint job. Once they’re nice and clean, take the time to carefully remove all the hardware like handles and knobs. This makes the painting process much easier and helps ensure everything looks neat and even once you’re done. Doing a thorough prep like this will make your cabinets look professional and help the paint last longer.
Clean Thoroughly Beforehand
A thorough cleaning is essential for a smooth, long-lasting cabinet finish. Start by removing surface contaminants like grease, dirt, and grime using effective cleaning methods.
Use a gentle degreaser or a mix of warm water and mild dish soap. Scrub all surfaces with a sponge or soft cloth, paying close attention to corners and crevices.
Rinse well to remove any residue that could interfere with paint adhesion. Make sure the cabinets are completely dry before moving on.
Cleaning the surface properly helps the paint bond better and gives a professional-looking finish. Skipping this step can cause uneven coverage or peeling later.
A clean surface is the foundation for a flawless and durable cabinet transformation.
Remove Hardware Carefully
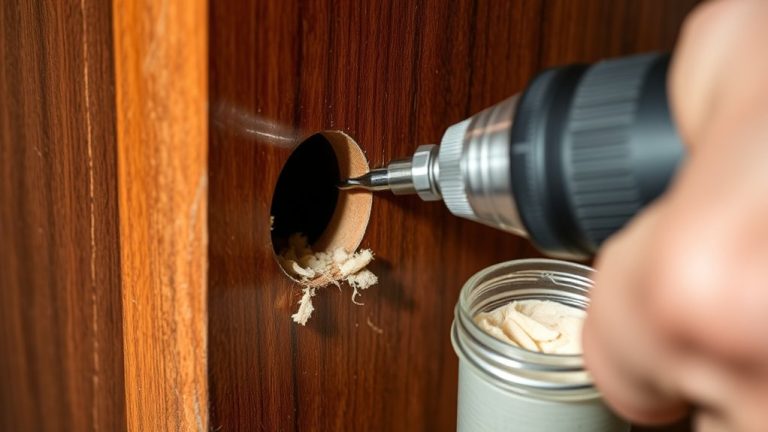
Removing hardware is a key step in preparing your cabinets for painting or refinishing. Carefully detach knobs, handles, and hinges, making sure you don’t damage the cabinet surface or lose small parts.
Proper hardware removal helps keep your cabinets safe and prevents scratches during painting. Use the right tools to avoid stripping screws or causing any damage.
Keep all hardware organized in a small container so you don’t lose anything. Before removing, double-check that all screws are loosened completely.
Handle the hardware gently to avoid scratches or dents. Remember, taking your time during hardware removal makes the whole process smoother and safer.
Ensuring cabinet safety and a clean surface will give you the best results when refinishing your cabinets. Be attentive and patient for a flawless finish.
Remove Cabinet Doors and Hardware Safely and Efficiently
To start removing cabinet doors and hardware efficiently, gather your tools like a screwdriver, a drill, and a small container for the hardware.
Before you begin, do some cleaning to clear the area and prevent dust from settling on surfaces.
Carefully remove the hardware by unscrewing hinges and handles, then place everything in your container for easy access later.
When removing the doors, support each one with one hand while unscrewing the hinges to prevent any damage.
Be gentle but firm to avoid stripping screws or damaging the wood.
Keep track of all hardware pieces so reinstallation goes smoothly later on.
Proper hardware removal makes painting or refinishing easier and helps preserve your cabinet parts.
Always double-check that all screws are accounted for before moving on to the next step.
Taking your time during hardware removal ensures a smoother process and keeps your workspace clean for the upcoming cabinet transformation.
Clean and Sand Surfaces for a Smooth Finish
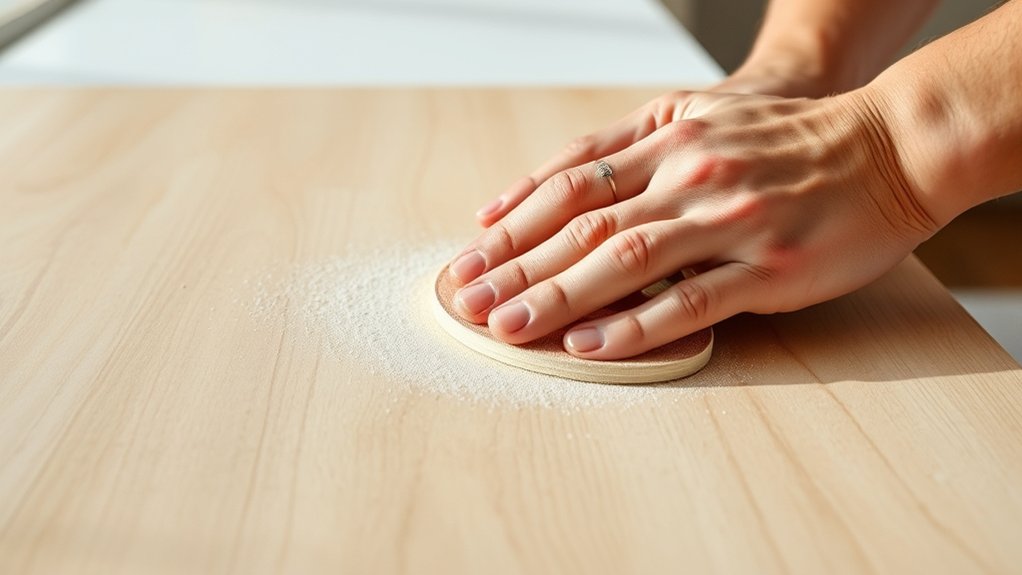
After you’ve taken down the cabinet doors and hardware, the next step is to prepare the surfaces for painting or refinishing. Start with a thorough cleaning using a mild cleaner and a sponge or cloth to remove grease, dust, and grime that can interfere with adhesion. Make sure the surface is completely dry before moving on.
Once clean, proceed with surface sanding to create a smooth, even base. Use fine-grit sandpaper and gently sand all surfaces, paying attention to corners and edges. This helps remove old paint or finish and roughens the surface for better paint adherence.
Remove old paint or gloss with light sanding, focusing on flat surfaces and edges. Keep a tack cloth handy to pick up dust after sanding and prevent particles from settling on the surface. Work in a well-ventilated area to stay comfortable.
Proper cleaning and surface sanding are essential for a professional-looking finish. They ensure your new paint or stain will adhere well, last longer, and look flawless.
Apply Primer for Better Adhesion and Durability
Applying primer is really important if you want your paint to stick well and last a long time. Think of it as a helpful first step that sets the stage for a smooth finish.
You’ll want to pick the right primer, depending on what your cabinets are made of and the type of paint you’re planning to use. Using the correct primer and preparing the surface properly can make a big difference in how your project turns out. It helps create a smooth, durable finish that looks great and holds up over time.
Surface Preparation Importance
Since proper surface preparation is crucial for a smooth, long-lasting finish, applying a primer is an essential step. It helps improve surface durability and guarantees the paint adheres well by promoting material compatibility. Skipping this step can lead to peeling, chipping, or uneven color, making your effort less effective.
Before applying primer, clean the cabinets thoroughly, remove grease, and sand the surface to create a better bond. Using the right primer for your cabinet material guarantees better adhesion and a more durable finish.
Remember, a well-prepared surface prevents future issues and saves you time and money in the long run. Proper surface prep sets the foundation for a professional-looking, long-lasting transformation of your kitchen cabinets.
- Clean and sand surfaces before priming
- Remove grease, dirt, and old paint
- Select a primer compatible with your material
- Confirm the surface is dry before applying
Choosing the Right Primer
Choosing the right primer is key to making sure your paint sticks well and lasts a long time. It creates a smooth base, helps with adhesion, and prevents peeling or chipping.
When picking a primer, think about the material of your cabinets. Oil-based primers are great for stained or glossy surfaces, while latex primers work well on most wood or MDF.
Color psychology can also influence your choice. If you want a neutral background to make your new cabinet color pop, go for clear or white primer. If you’re changing from a dark to a light color, a tinted primer can reduce the number of paint coats needed.
Using the right primer ensures your finish is durable, consistent, and gives you the look you want for your kitchen cabinets.
How Long Should You Wait Before Painting After Priming?
The amount of time you should wait before painting after priming depends on the type of primer used and the environmental conditions. Typically, waiting 2-4 hours is enough for water-based primers, while oil-based primers may need 24 hours.
Proper drying ensures your paint sticks well and prevents peeling or uneven coverage. So, it’s worth waiting the right amount of time.
Keep in mind that humidity can extend drying times, and cooler temperatures tend to slow the process. The thickness of the primer and how you applied it also matter.
Finally, always check the specific instructions on your primer brand. Following those will give you the best results and a smooth finish.
Step-by-Step: Painting or Staining Your Cabinets for a Professional Look
To achieve a professional-looking finish on your cabinets, follow a clear, step-by-step process for painting or staining. Start by choosing a color that matches current cabinet trends and complements your kitchen’s style. Use color matching techniques to make sure your chosen shade works well with countertops, walls, and hardware.
Choose trendy, complementary colors and use matching techniques for a cohesive kitchen look.
Next, prepare your workspace by cleaning and lightly sanding the cabinets for smoothness. Apply a high-quality primer if you’re painting, or a stain conditioner if you’re staining. This helps promote even color absorption.
Use a brush or roller for larger surfaces and a detail brush for corners and intricate details. Work in thin, even coats to prevent drips and achieve a sleek finish. Remember to keep your technique consistent throughout for a uniform look.
Proper application is key to a professional result. When done right, your cabinets will have a fresh, updated appearance that really enhances your entire kitchen.
Allow Adequate Drying Time and Apply Additional Coats as Needed
Once you’ve finished applying your paint or stain, it’s important to let your cabinets dry completely before handling or adding more coats. Giving it enough time helps the color blend smoothly and makes the finish last longer.
Rushing this step can cause uneven color or smudges, which might ruin the look. If the surface still feels tacky or cold, just give it more time to dry. Applying coats too soon can lead to drips or peeling, reducing the overall quality.
You can speed up drying by using a fan or opening windows, but avoid rushing too much to keep the quality intact. Always check the manufacturer’s recommended drying time for your specific paint or stain.
Lightly sanding between coats can help with smoother color blending and better adhesion. And remember, don’t touch or handle the cabinets until they’re fully dry to prevent smudges and dents.
Reassemble Your Cabinets and Add Final Touches
After making sure your cabinets are completely dry, carefully reassemble any drawers and doors you took off during painting. Take your time to line up hinges and handles properly for smooth reassembly.
Reassemble drawers and doors carefully, aligning hinges and handles for a smooth, polished finish.
Make sure all hardware is tightly secured to avoid loose parts later. Once everything is back in place, focus on the finishing touches. Wipe down surfaces to remove fingerprints or dust, and check for any spots that might need a quick touch-up of paint.
Replace any hardware you removed earlier, making sure everything is tight and aligned for a polished look. This step really transforms your cabinets from a project into a finished upgrade.
Pay attention to details during reassembly and final touches to ensure your new color looks seamless and professional. Step back and admire your work, knowing your kitchen now has a fresh, vibrant look that’s both functional and stylish.
Frequently Asked Questions
Can I Change Cabinet Colors Without Removing the Doors?
Yes, you can change cabinet colors without removing the doors by using paint or stain. You don’t need to replace the doors; just apply color matching techniques like sanding, priming, and painting directly on the doors while they’re still attached.
This approach saves time and effort, giving your cabinets a fresh new look. Just make sure to tape off hardware and use quality materials for a smooth, professional finish.
What Are Eco-Friendly Paint Options for Cabinets?
You can choose eco-friendly paint options for your cabinets by selecting finishes made with eco-friendly ingredients and sustainable pigments. Look for paints labeled low or zero VOC (volatile organic compounds), which help reduce harmful emissions.
These options are safer for the environment and improve your home’s air quality. By choosing eco-friendly finishes, you get a stylish, sustainable transformation.
It also helps minimize your ecological footprint while giving your cabinets a fresh new look.
How Do I Prevent Paint From Dripping or Streaking?
Imagine your cabinets as a canvas waiting for perfection. To prevent paint drips or streaks, use smooth, even brush techniques and apply thin coats instead of thick layers.
Keep a steady hand and don’t rush the process. Properly drying each coat before applying the next helps avoid streaks and uneven finishes.
Patience and careful brushing turn a potential mess into a masterpiece, leaving your cabinets flawless.
Is It Necessary to Use a Sealant After Painting?
Yes, using a sealant after painting is necessary. It helps protect your cabinets from moisture, stains, and scratches, keeping them looking good longer.
Applying a sealant also boosts the paint’s durability. It prevents chipping or peeling over time, so your cabinets stay fresh and beautiful.
Basically, the sealant creates a strong barrier that preserves your paint job. For the best results and lasting beauty, always seal your cabinets after painting.
How Often Should I Repaint or Refinish Kitchen Cabinets?
Think of your cabinets like a living canvas. How often you repaint depends on wear and tear.
Generally, you should refinish every 5 to 7 years, especially if hardware shows signs of corrosion or lighting highlights scratches.
Keep an eye on the paint’s condition. If you notice chips or fading, it’s time for a fresh coat. Regular maintenance helps keep your space looking vibrant and inviting.
Conclusion
By following these simple steps, you can transform your kitchen into a fresh, inviting space.
Imagine Sarah, who hesitated to repaint her outdated cabinets. She took the plunge and now loves her bright, modern kitchen.
With patience and care, you’ll enjoy a beautiful, personalized result that boosts your home’s vibe and value.
Just take it step by step, and soon, you’ll be savoring your new kitchen masterpiece with pride.
Changing your kitchen cabinet color can really make a difference.