10 Steps to Perfectly Paint Kitchen Cabinets
Are you dreaming of a fresh, updated look for your kitchen but feeling overwhelmed by the idea of painting your cabinets? You’re not alone—many people struggle with achieving that flawless finish they envision.
Luckily, with the right steps, you can transform your space and enjoy professional-looking results.
To perfectly paint your kitchen cabinets, start by removing all hardware and thoroughly cleaning the surfaces with a degreaser.
Lightly sand the cabinets to ensure better paint adhesion, then apply a primer and let it dry completely.
Use high-quality paint with your chosen finish, and seal with a protective coating like polyurethane.
Reassemble and touch up for a flawless look.
Keep going to find the detailed steps that will make your project a success.
Key Takeaways
- Thoroughly clean, sand, and prime cabinets to create a smooth surface that paint will stick to well.
- Remove all hardware and protect surrounding areas with painter’s tape before you start painting.
- Apply multiple thin coats of high-quality paint to get even coverage and ensure your cabinets are durable.
- Seal the cabinets with a clear polyurethane or polycrylic for lasting protection.
- Let everything dry and cure fully before reattaching hardware and using your cabinets again.
How to Prepare Your Kitchen Cabinets for Painting

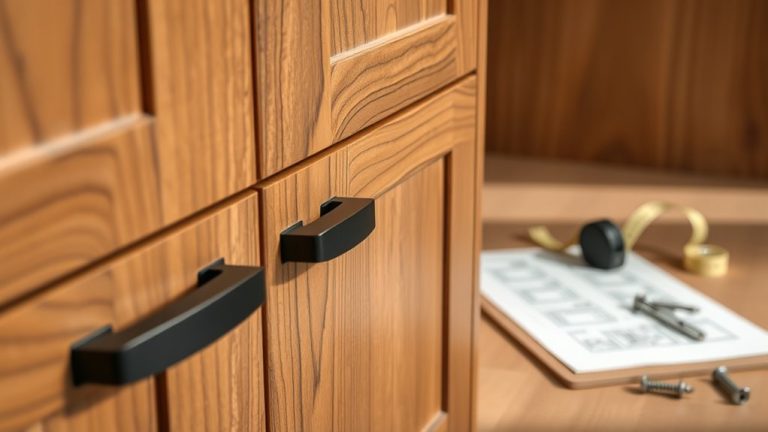
Before you start painting your kitchen cabinets, it’s really important to prepare their surfaces properly. First, remove all cabinet hardware like knobs and pulls so paint doesn’t get on them and to make the job easier.
Remove hardware first for a smoother, cleaner cabinet painting process.
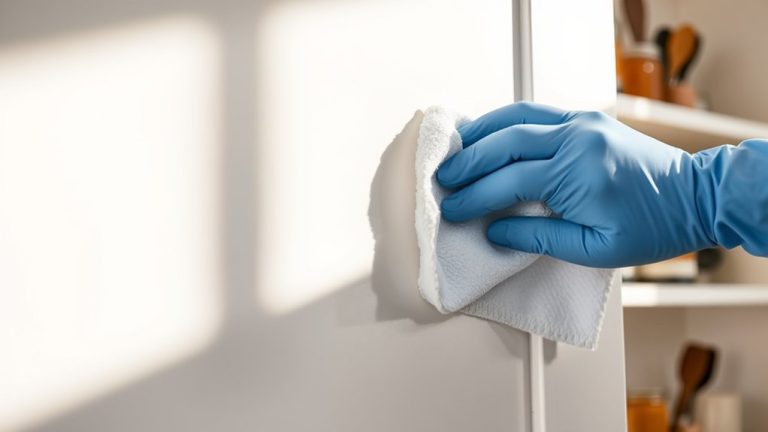
Next, give all surfaces a good clean with a degreaser or mild soap to remove grease, dirt, and grime. This step helps the paint stick smoothly and last longer.
After cleaning, lightly sand the cabinets with fine-grit sandpaper to create a rough surface for better paint adhesion. Wipe away any dust with a tack cloth.
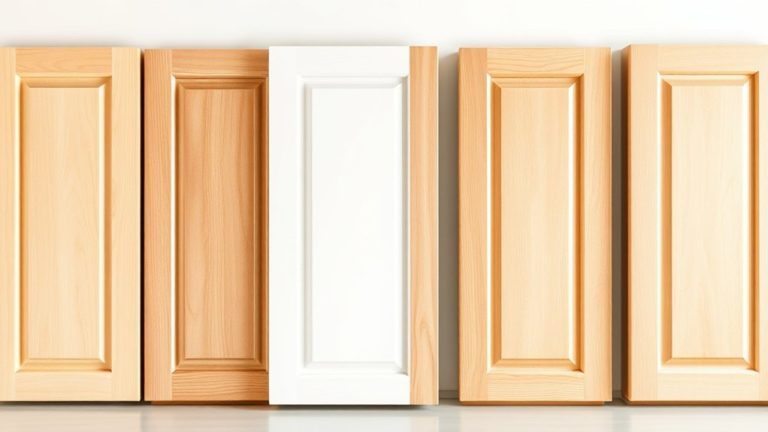
Now, think about your paint color choices. Pick shades that match your kitchen’s style and lighting to get the best look. Mask off surrounding areas with painter’s tape to protect countertops and walls.
If your cabinets already have a finish, apply a primer suited for your paint type. Proper preparation, like choosing the right color and removing hardware, sets the stage for a professional-looking finish.
Choosing the Best Paint and Tools for a Professional Finish
Selecting the right paint and tools is key to getting a smooth, professional-looking finish on your cabinets. When choosing paint, think about the color options and the finish you want.
For a durable, easy-to-clean surface, go for semi-gloss or satin finishes. They resist moisture and fingerprints. Flat or matte finishes are less reflective but can be harder to clean.
As for paint types, water-based (latex) paints are popular because they dry quickly and have low odor. Oil-based paints give a smoother finish but take longer to dry.
When it comes to tools, invest in high-quality brushes and foam rollers made for cabinetry. A sprayer can give a more even coat and faster results but needs more skill and prep.
Using the right tools helps prevent drips and brush marks, making your cabinets look flawless. Picking the right combination of paint and tools sets the stage for a professional, long-lasting finish.
How to Remove Doors and Hardware Properly

Removing your cabinet doors and hardware carefully is key to a smooth painting process and avoiding damage. Start by gathering the right tools, like a screwdriver or drill, to remove the doors efficiently.
Carefully unscrew the hardware, such as handles, knobs, or hinges, and set them aside somewhere safe. Label each piece if needed to make reassembly easier later.
When removing the doors, support them with one hand while unscrewing the hinges with the other to prevent accidental drops. Keep track of all hardware, especially if you plan to reuse it.
Inspect the hardware for any damage or rust and decide whether to clean or replace it. Proper removal helps prevent scratches and dents during painting and makes the whole process much easier.
Take your time and remove all pieces gently to leave your cabinets ready for the next steps in your painting project.
Cleaning and Sanding Cabinets for Better Paint Adhesion
Before you start painting, it’s really important to give your cabinets a good clean. You want to remove any grease, dirt, or grime that might be on the surface because those can stop the paint from sticking properly. Once they’re clean, the next step is sanding. Use the right kind of sandpaper to smooth out the surfaces—this helps the paint adhere better and gives you a nicer, more professional-looking finish. Picking the correct grit is key here; it makes a big difference in how well the paint will stick and how smooth everything turns out.
Removing Grease and Dirt
To guarantee your paint adheres smoothly and lasts long, it’s essential to remove all grease and dirt from the cabinet surfaces first. Use cleaning tools like scrub brushes or sponges to wipe down the cabinets thoroughly.
Apply degreasing solutions specifically designed for kitchen surfaces to break down stubborn grease and grime. Focus on areas prone to buildup, such as around handles and edges.
Rinse with clean water afterward to remove any residue from the degreasing solutions. Make certain the surface is completely dry before proceeding.
Removing grease and dirt ensures the paint bonds properly and prevents peeling or chipping later. Skipping this step can compromise the finish, so take your time to clean meticulously for professional-looking results.
Proper Sanding Techniques
Once your cabinets are free of grease and dirt, the next step is to prepare the surface through proper sanding. Sanding creates a smooth, even surface that helps the paint stick better.
Use light, consistent brush strokes to avoid gouging or uneven areas. Focus on rough spots or existing finish layers, but don’t oversand, as that can damage the wood.
Keep the surface clean from dust and debris afterward because particles can interfere with paint application. Proper sanding also helps achieve the right paint consistency, ensuring it flows smoothly and evenly.
Choosing the Right Sandpaper
Choosing the right sandpaper is essential for guaranteeing your cabinets have a smooth, durable finish. There are different types, like aluminum oxide for durability and garnet for fine finishes.
Grit selection is key. Start with a medium grit (around 120-150) to remove old paint and smooth rough surfaces. For a finer finish, switch to a higher grit (220 or above) to prepare the surface for painting.
Lower grits (80-100) are useful for heavy stripping but can be too abrasive for final prep. Always choose sandpaper suited for your cabinet material, and use a consistent grit pattern to avoid gouges or scratches.
Proper grit selection ensures better paint adhesion, resulting in a professional-looking, long-lasting finish on your cabinets.
Applying Primer for a Smooth and Even Base
Applying primer is a crucial step that sets the foundation for a smooth and long-lasting finish. It helps ensure the paint sticks well and improves the final look. When choosing your primer, think about your cabinet styles and colors to create a cohesive look.
Applying primer creates a smooth, durable finish and ensures perfect paint adhesion for beautiful cabinets.
To get the best results, start by cleaning the surfaces thoroughly to remove grease and dust. Use a high-quality primer that’s suited for your cabinet material. Apply it evenly with a brush or roller, and watch out for drips.
Let the primer dry properly before lightly sanding it to create an ultra-smooth surface. Proper application helps minimize imperfections and gives you an even base for your paint color. Keep in mind that lighter shades might need more coats, especially over dark hues.
Taking your time with priming makes the entire painting process easier and helps you achieve professional-looking cabinets in the end.
Painting Cabinets for a Flawless Look

Painting cabinets to look perfect isn’t just about slapping on some paint. First, you want to make sure the surface is properly prepared—that means cleaning, sanding, and maybe even priming. Skipping these steps can cause the paint to peel or chip later on, which nobody wants.
And don’t forget about choosing the right paint! Using the right type and finish can make a huge difference in how your cabinets turn out and how durable they are over time. When you get these steps just right, you’ll end up with a professional-looking result that really boosts your space.
Proper Surface Preparation
Before you start painting, it’s crucial to properly prepare the surface to get a smooth, flawless finish. Remove cabinet hardware and set it aside so you don’t accidentally get paint on it.
Next, check the surface textures—sanding smooths out rough areas, but textured surfaces might need a different approach.
To get the best results, follow these steps:
- Clean the surfaces thoroughly with a degreaser to remove grease and dirt.
- Sand all surfaces, especially around edges and corners.
- Fill any holes or cracks with a good quality filler, then sand until smooth.
- Wipe down everything with a damp cloth to remove dust and residue.
Proper surface prep helps paint stick better and prevents peeling, making your cabinets look professional and last longer.
Choosing the Right Paint
Have you chosen the right paint to achieve a flawless finish on your cabinets? Picking the right paint means thinking about current color trends and what kind of finish suits your style and cabinet material.
Matte finishes give a modern, muted look, while semi-gloss or high-gloss finishes are more durable and shiny. Consider how much light your kitchen gets—lighter colors can brighten the space, darker shades add sophistication.
Also, pay attention to paint quality. High-quality paints usually give smoother coverage and last longer. By choosing a paint that matches current trends and the right finish, your cabinets will look stylish and flawless for years to come.
Sealing and Protecting Your Painted Cabinets for Longevity
Sealing and protecting your painted cabinets is key to making them last and keeping them looking fresh. A good protective layer helps prevent chipping, scratches, and fading, especially in high-use areas. When sealing, keep these steps in mind:
Sealing painted cabinets preserves their look and durability, preventing chips, scratches, and fading over time.
- Pick a clear, high-quality polyurethane or polycrylic finish for better durability.
- Don’t apply the sealer directly over hardware—remove or cover it first.
- Use light, even coats to avoid drips and uneven texture.
- Think about your paint color—darker shades might need more frequent sealing to stay vibrant.
Reassemble Cabinets and Touch Up Details
Wondering how to guarantee your cabinets look flawless after painting? The key is careful cabinet reassembly. First, make sure all paint is fully dry and cured before putting everything back together.
As you reassemble, handle each piece gently to avoid scratches or smudges on your freshly painted surface. Once the cabinets are reassembled, focus on touch-up details. Use a small brush to carefully fix any minor imperfections, drips, or missed spots.
Check for inconsistencies in color or finish and blend them seamlessly. Pay attention to hardware, making sure all knobs and handles are securely attached and aligned. If you notice any areas that need extra coverage, apply a thin coat of paint or sealant.
This step helps maintain a professional, polished look. By taking your time with cabinet reassembly and touch-up details, you’ll achieve a clean, flawless finish that elevates your kitchen’s overall appearance.
Common Mistakes to Avoid When Painting Kitchen Cabinets
One mistake people often make is skipping the surface prep. If you don’t clean and sand your cabinets properly, the paint might peel or chip sooner than you’d like. It’s worth taking the time to get the surface just right.
Another thing to watch out for is rushing the drying process. If you try to move forward too quickly, you could end up with streaks, smudges, or uneven coverage that really mess up the look. So, be patient and make sure everything is completely dry before you move on. Taking your time helps you get that smooth, professional finish.
Skipping Surface Preparation
Skipping surface preparation is a common mistake that can ruin your painting project from the start. Without proper prep, issues like peeling or bubbling may happen, and paint compatibility problems can come up.
To avoid this, make sure you:
- Clean surfaces thoroughly to remove grease, dirt, and grime
- Sand the cabinets to create a smooth, even surface
- Repair any dents or scratches before painting
- Prime the surface to promote paint adhesion and durability
Neglecting these steps can lead to uneven coverage, peeling, or early wear. Proper surface prep ensures your paint sticks well and looks flawless. Skipping this step might save time at first but will cost you more in touch-ups later.
A well-prepped surface is the foundation of a professional-looking finish.
Rushing the Drying Process
Rushing the drying process is a common mistake that can hurt the quality of your cabinet paint job. If you try to speed up drying, you risk uneven paint and visible imperfections.
It might be tempting to get things done quickly, but proper drying helps the paint cure correctly and bond well. Ignoring the recommended drying times can cause smudges, streaks, or peeling later on.
Give each coat enough time to dry before applying the next. Patience here really pays off, leading to a smooth, professional-looking finish with even color and texture.
Following manufacturer instructions to control drying speed helps you get the best results for your kitchen cabinets.
Tips for Maintaining and Caring for Your Painted Cabinets
Proper maintenance is essential to keep your painted cabinets looking fresh and vibrant over time. Regular care helps preserve the paint color and keeps the hardware functioning smoothly. To keep them looking their best, follow these tips:
- Clean your cabinets weekly with a soft cloth and mild soap, avoiding harsh chemicals that can damage the paint.
- Be careful with moisture—wiping spills promptly helps prevent paint from chipping or peeling.
- Tighten or replace any loose or damaged cabinet hardware to avoid further wear and tear.
- Avoid using abrasive scrubbers that can scratch the paint surface or remove the finish.
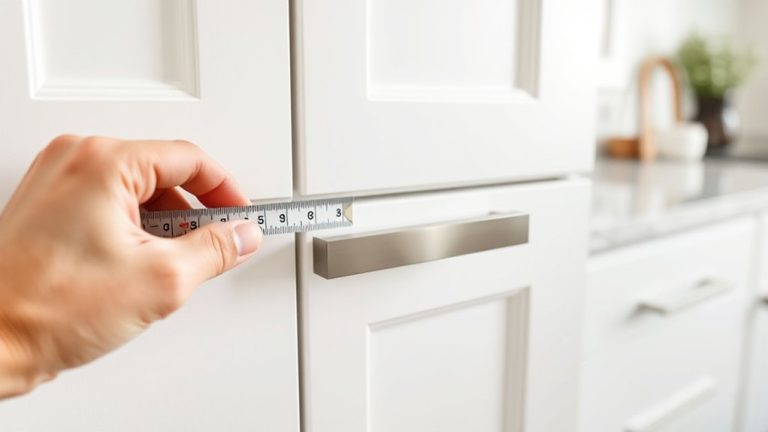
When updating your cabinet hardware, choose styles that complement your paint color for a cohesive look. Proper maintenance will help your painted cabinets stay beautiful and last for years to come.
Frequently Asked Questions
How Long Does It Typically Take to Paint Kitchen Cabinets?
It usually takes about 3 to 5 days to paint kitchen cabinets, so they have enough time to dry and cure properly.
Make sure to set aside time for prep work, matching the color, and applying multiple coats to ensure durability.
Rushing the process can impact how long the paint lasts and how consistent the color looks.
Taking your time will help your cabinets look professional and last longer.
Keep in mind that drying times can change depending on the type of paint and the environmental conditions.
Planning ahead will help you get the best results for your project.
Can I Paint Cabinets Without Removing the Doors?
You can paint cabinets without removing the doors, but it’s a bit trickier. First, clean the cabinet surfaces thoroughly to get rid of grease and dust so the paint sticks well.
Use painter’s tape to protect areas you don’t want to paint, and prep the surfaces with sanding or a primer if needed. While it’s easier to leave the doors on, taking them off can give you a cleaner, more professional look.
With proper prep and careful masking, you can still get great results without removing the doors. Just take your time and be patient for the best finish.
What Are the Best Ventilation Practices During Painting?
During painting, prioritize ventilation safety by opening windows and using exhaust fans to improve air circulation. Keep the area well-ventilated to prevent fumes from building up, which can be harmful.
Wear a mask if necessary, and avoid painting in spaces with poor airflow. Regularly check that fresh air is coming in and that exhaust fans are working properly.
Good air circulation keeps you safe and helps the paint dry evenly.
How Do I Fix Streaks or Uneven Paint?
To fix streaks or uneven paint, start by checking your brush techniques. Use smooth, even strokes and avoid pressing too hard.
Make sure your paint has the right consistency—neither too thick nor too runny. Once the paint is dry, lightly sand the affected areas.
Then, apply a thin, even coat of paint and blend it into the surrounding areas. Patience and proper technique will help you get a smooth, professional finish.
Is It Necessary to Use a Paint Sprayer or Can Brushes Suffice?
You can definitely use brushes instead of a paint sprayer, but it depends on your desired finish. The secret is in careful paint preparation and color matching to get a smooth, even coat.
A brush gives you control and precision, which is great for detailed areas. On the other hand, a sprayer can give a flawless, professional look quickly.
Think about your skill level and the size of the project. Sometimes, the right tools really make all the difference in achieving perfect cabinets.
Conclusion
With patience and the right techniques, you’ll transform your kitchen cabinets from dull to dazzling, like a phoenix rising from the ashes. Think of each brushstroke as a step toward a masterpiece that reflects your style and effort.
Keep your tools sharp and your vision clear. Your cabinets will stand as shining signals of your DIY skills. Remember, a little care goes a long way—your kitchen’s new look will be the crown jewel of your home for years to come.
And when you take your time and follow these steps, your kitchen cabinets will look professionally painted, all thanks to your hard work.