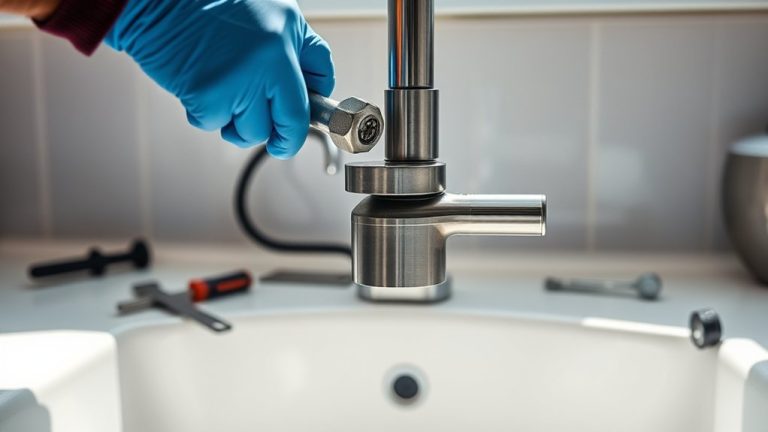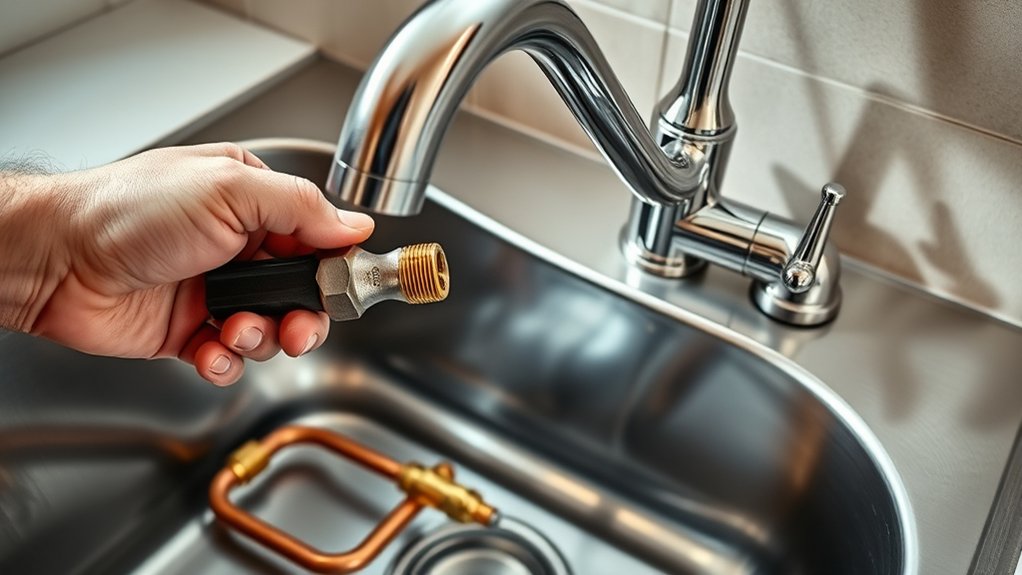
How to Plumb a Kitchen Sink Like a Pro
Many homeowners find plumbing a kitchen sink intimidating, especially when it comes to ensuring everything is leak-proof and properly installed. You’re not alone—plumbing can seem complex, but with the right tools and a bit of patience, you can do it like a pro.
To plumb a kitchen sink like a pro, start by gathering the right tools and materials, including fittings, pipes, and clamps specific to your sink type. Turn off the water supply and remove the old sink, then verify your new sink’s components match properly.
Assemble the drain, trap, and supply lines securely, tightening fittings gradually to prevent leaks. Test everything thoroughly, and if issues arise, tighten or adjust fittings as needed.
Keep going, and you’ll reveal even more expert tips for flawless installation.
Key Takeaways
- Gather all the tools, materials, and matching fittings you’ll need before you start. This helps make the installation smooth and efficient.
- Turn off the main water supply, remove the old sink, and prepare your workspace so everything is ready to go.
- Assemble the drain and trap with plumber’s putty, making sure everything lines up correctly and connections are tight to avoid leaks.
- Connect the water supply lines, tightening fittings by hand first, then use a wrench. Be careful not to over-tighten.
- Test your setup for leaks, tighten fittings if needed, and perform routine maintenance to keep everything working smoothly for a long time.
Gather Your Tools and Materials for Kitchen Sink Plumbing
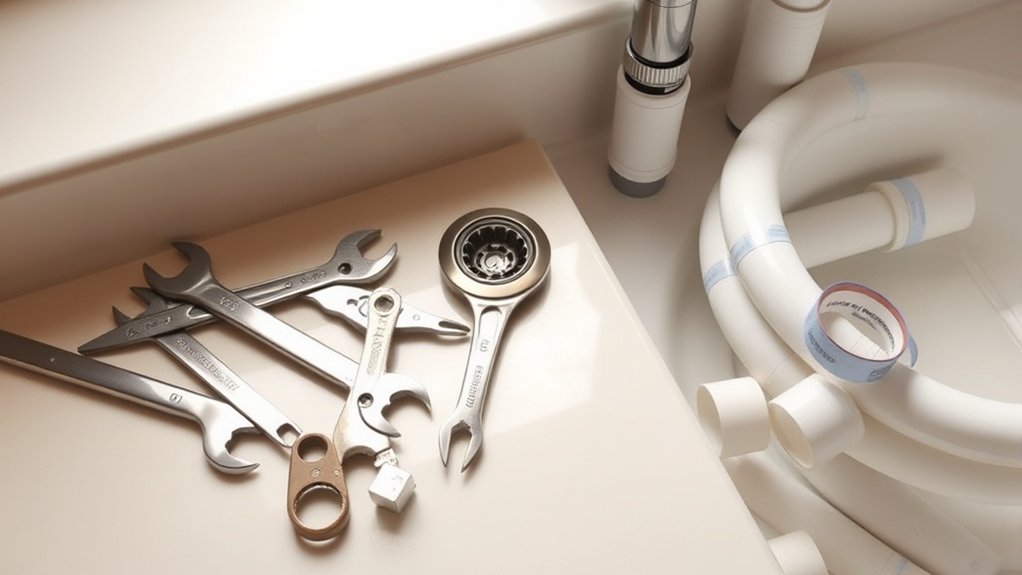
Before you start plumbing your kitchen sink, gather all the tools and materials you’ll need. Organize your tools so everything is within easy reach—that way, you work efficiently and avoid missing anything.
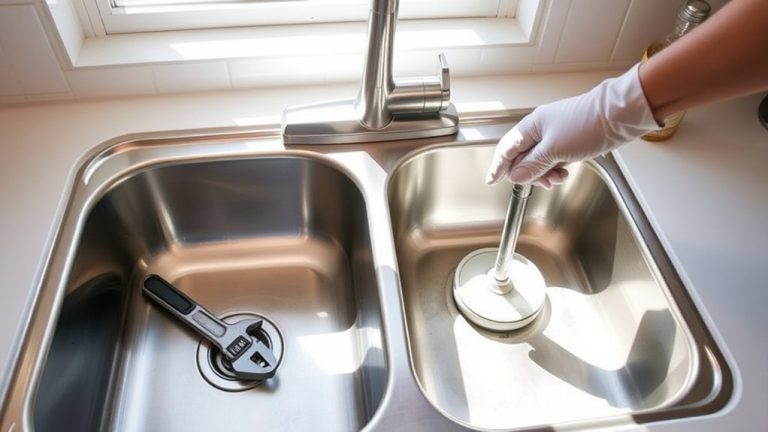
Essential tools include an adjustable wrench, pliers, a pipe cutter, a bucket, and plumber’s tape. For materials, choose the right pipes, fittings, and washers for your sink’s size and type.
Copper or PVC pipes are common options, so pick based on your plumbing setup and local code requirements. Make sure all fittings match your sink’s drain size and water supply lines.
Double-check your list so you don’t have to make extra trips to the hardware store. Proper organization and careful material selection help ensure a smooth plumbing process and a perfectly functioning sink once installed.
Remove the Old Sink and Prepare the Space
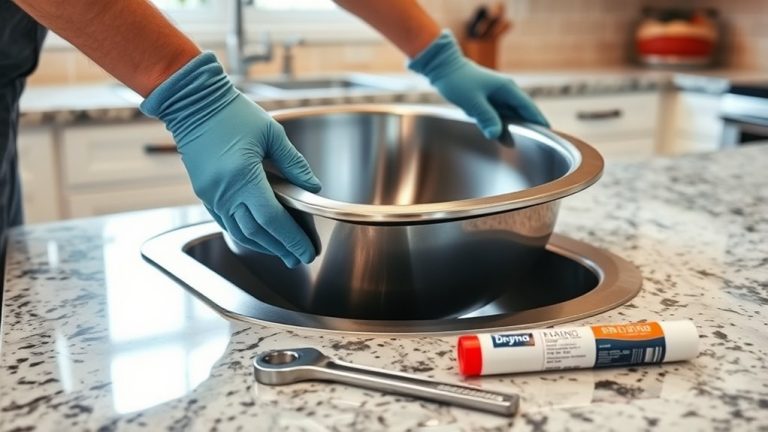
Before you start removing that old sink, make sure to turn off the water supply first. It’s a quick step that can save you from a mess later on. Then, go ahead and clear everything off the countertop so you have plenty of space to work with. Once the area is empty and the water’s shut off, you’re all set to begin taking out the old sink.
Turn Off Water Supply
To safely remove your old sink, start by turning off the main water supply to prevent leaks or water damage. This step is essential for a smooth plumbing process. Once the water is off, you can focus on disconnecting the pipes, which may be made of various materials like copper or PVC.
Remember, choosing pipe materials with water conservation in mind can help reduce water waste over time. Before removing the sink, double-check that no water is flowing by opening a faucet.
To prepare the space, consider these tips:
- Gather necessary tools and replacement parts
- Drain remaining water from pipes
- Label water lines for easier reassembly
- Clear the area for easy access
Taking these steps ensures a clean, efficient removal and replacement process.
Clear the Countertop
Have you already turned off the water and disconnected the pipes? Now, it’s time to clear the countertop. Remove all items, including soap, sponges, and small appliances, to create a clutter-free space.
This helps keep your countertop organized and makes it easier to work efficiently. As you clear the area, take a moment to clean the surface, removing dust, grease, or debris that may have built up.
Keeping a clean workspace is essential for smooth plumbing work and helps establish good cleaning routines. Once the countertop is clear and clean, you’ll have a better view of the old sink and the surrounding area.
This makes it easier to remove the old unit safely and prepare for the new installation.
Understand Your Sink’s Components Before Installation
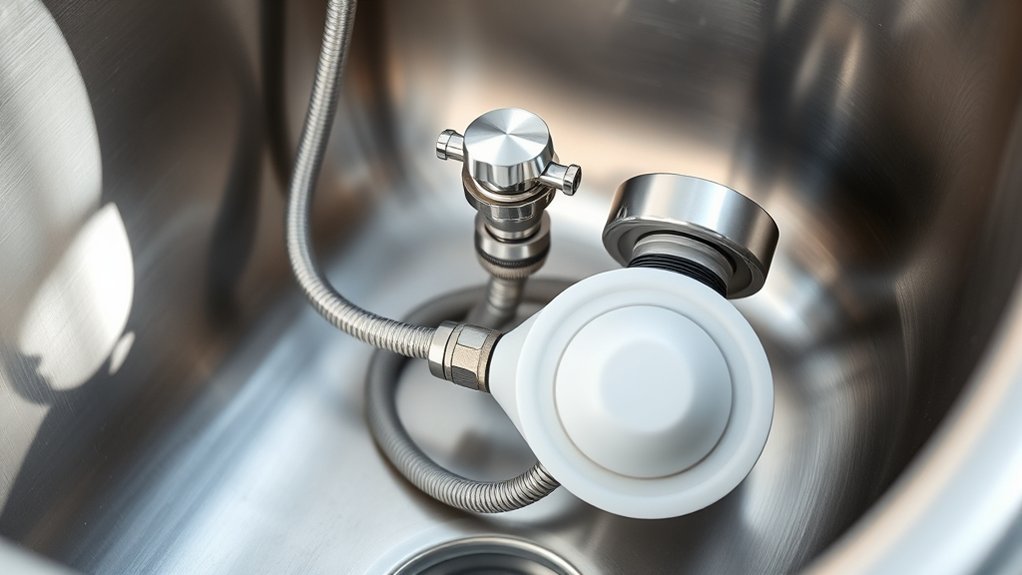
Understanding your sink’s components is key to a smooth installation. Knowing how each part fits together helps prevent mistakes and makes sure everything works properly. Start by identifying important parts like the basin, mounting hardware, and drain assembly.
Knowing your sink’s parts ensures proper installation and easy troubleshooting.
Pay close attention to material compatibility to avoid issues like corrosion or leaks, especially when choosing fittings and pipes. Recognizing the different components makes troubleshooting much easier later on.
Keep this in mind:
- Sink material (stainless steel, porcelain, composite) affects compatibility with mounting hardware.
- Fittings and connectors should match the sink’s drain size.
- Mounting hardware varies depending on the sink type and material.
- Water supply lines need to work with your faucet and existing plumbing.
Install the Drain Assembly and Trap Step-by-Step
Now, it’s time to put together the drain components. Just take your time and make sure each piece fits snugly and correctly. You want everything to line up well so there are no issues later on.
Once that’s all set, go ahead and connect the trap securely. This is really important because a tight connection helps prevent leaks and keeps everything draining smoothly.
Finally, turn on the water and let it run for a bit. Keep an eye out for any drips or loose parts — this way, you can catch and fix any problems early on.
Assemble Drain Components Correctly
To guarantee your sink drains properly and prevent leaks, you need to assemble the drain components correctly. First, make sure the drain flange is securely seated in the sink’s drain hole.
Next, attach the slip nut and washer underneath to create a tight seal. When installing the trap, align it properly to keep water flowing smoothly and make future troubleshooting easier.
Remember to tighten fittings snugly but avoid overtightening, which can cause leaks. Check that all connections are hand-tight, then give them a quarter turn with a wrench for a secure fit.
Use plumber’s putty or silicone around the flange to prevent leaks. Confirm the trap is aligned correctly to avoid water backup.
Finally, test your assembly by running water to ensure it flows freely and doesn’t leak.
Connect Trap Securely
Once you’ve assembled the drain components correctly, the next step is to connect the trap securely. Proper trap installation is key to preventing leaks and making sure your sink drains smoothly.
Align the trap’s outlet with the tailpiece and tighten the slip nuts by hand. Then, snug them with a wrench—just don’t overtighten, as that can cause leaks.
Check that the trap is level and properly seated to avoid water pooling or leaks later. Use the table below as a quick reference:
| Step | Tip |
|---|---|
| 1 | Hand-tighten slip nuts first |
| 2 | Use a wrench for a snug fit |
| 3 | Keep the trap level during install |
| 4 | Avoid overtightening |
| 5 | Double-check for leaks after setup |
This helps ensure a secure connection and prevents future leaks.
Test for Leaks
After installing the drain assembly and trap, it’s important to check for leaks before finishing up. This helps ensure your pipe work is tight and prevents water damage later on.
To do this, run water into the sink and watch all the connections carefully. Look for drips or wet spots around joints and fittings. Use a dry cloth to wipe the connections and spot any slow leaks.
If you see leaks, tighten the fittings gradually until they’re secure. For persistent leaks, disassemble and reassemble the connections, making sure washers are correctly placed.
Connect Water Supply Lines for a Leak-Free Fit
Ensuring a leak-free connection when attaching water supply lines is essential for a properly functioning kitchen sink. Start by turning off the water supply and choosing supply lines that fit your pipe materials, like braided stainless steel or flexible copper.
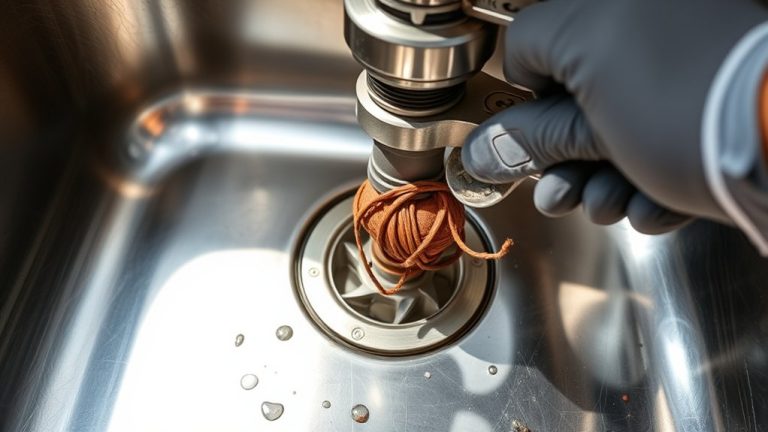
When connecting, make sure the fittings are clean and free of debris to prevent leaks. Hand-tighten the nuts onto the shutoff valves and faucet connections, then use a wrench to tighten just enough to stop leaks. Over-tightening can damage fittings.
Check the water pressure before fully tightening. Too high pressure can cause leaks or damage. Use adjustable wrenches for a secure fit without stripping threads.
Make sure the supply lines aren’t kinked or twisted, as this can restrict water flow. After connecting everything, turn the water supply back on and check for leaks at each connection.
Tighten further if needed, but avoid overtightening to keep the fittings intact. Properly connected supply lines will ensure a reliable, leak-free water flow to your sink.
Seal and Tighten Plumbing Connections Properly
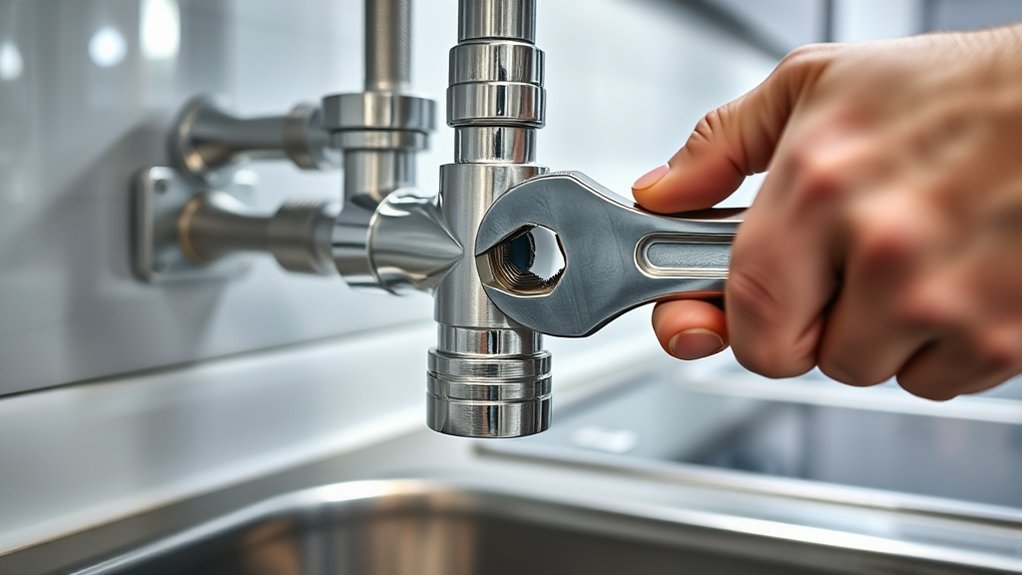
Properly sealing and tightening your plumbing connections is key to preventing leaks and making sure everything stays secure. When done right, it keeps water where it’s supposed to be and helps you avoid costly repairs.
Use the right-sized wrench so you don’t over-tighten and damage the fittings. Before tightening, check that rubber washers or gaskets are properly seated to ensure a good seal.
Tighten connections gradually, applying even pressure to secure them properly. Be careful not to overtighten, as this can deform fittings and break the seal.
Test Your Kitchen Sink Plumbing for Leaks and Functionality
Once you’ve secured your connections, it’s important to test your kitchen sink plumbing to catch any leaks early. Turn on the water supply and run both the faucet and the drain to check for leaks around the faucet and under the sink.
Look for drips or moisture that could mean loose fittings or faulty seals. Use a paper towel or cloth to spot slow leaks that might not be immediately visible.
Check the drain to make sure water flows properly and listen for any unusual sounds. Doing a quick drain cleaning beforehand helps prevent future clogs and keeps things flowing smoothly.
If you notice leaks or slow drainage, tighten fittings or reapply plumber’s tape as needed. Testing now prevents water damage and future repairs.
A thorough check ensures your sink works well and stays leak-free, saving you time and hassle later on.
Troubleshoot Common Plumbing Issues During Installation
Even after testing for leaks and proper drainage, you might face common plumbing issues during installation. One frequent problem is a clog, which can block water flow and cause drainage issues. Check for debris or misaligned pipes that might be trapping debris.
Pipe corrosion can also cause leaks or pipe failure over time. Inspect pipes for rust or mineral buildup, and replace any corroded sections.
Here are some troubleshooting tips:
- Clear visible debris from the drain or pipe connections.
- Tighten fittings if you notice leaks, but avoid overtightening.
- Replace corroded pipes or fittings to prevent future leaks.
- Double-check the alignment of pipes to ensure smooth drainage.
Addressing these issues promptly keeps your kitchen sink working properly and helps prevent bigger problems later on.
Safety Tips to Follow While Plumbing Your Sink
Before you dive into your sink plumbing project, it’s a good idea to gear up with some protective stuff like gloves and goggles. You never know when a splash or spark might happen, so staying safe is key.
Also, don’t forget to turn off the water supply first. This way, you won’t have to deal with unexpected leaks or flooding while working. And make sure you’re using the right tools — it’s better for your safety and helps prevent any damage to your pipes or fixtures.
Wear Protective Gear
Have you thought about how important protective gear is before starting any plumbing project? Wearing the right gear is key to staying safe on the job.
It shields you from sharp tools, chemical splashes, and debris that can cause injuries. Always wear gloves to protect your hands from cuts and chemicals, and safety goggles to guard your eyes against splashes.
A dust mask can prevent inhaling dust or fumes, especially when working in tight spaces or with chemicals. Plus, sturdy footwear with non-slip soles helps prevent falls.
Remember, proper protective gear reduces risks and keeps you safe throughout your project. It lets you work confidently and efficiently.
Prioritize your safety—don’t skip these essential protective measures.
Turn Off Water Supply
Once you’re dressed in your protective gear, the next step is to turn off the water supply to avoid any accidental flooding or leaks while working on your sink.
Start by finding the shutoff valves under the sink; these control water flow to the faucet and drain pipes.
Turn the valves clockwise to shut off the water completely. If your home has a main water shutoff, use that instead. Be mindful of the pipe material—metal or plastic—as it affects how easily you can turn the valves without damaging them.
Turning off the water pressure helps you work safely and prevents sudden sprays or leaks. Double-check that no water is flowing before you proceed to ensure a smooth, safe plumbing process.
Use Proper Tools
Using the right tools is crucial for a safe and efficient plumbing project. Proper tools ensure you follow plumbing codes and keep your kitchen design looking great.
Before you start, gather a wrench, pipe cutter, pliers, and thread tape. These tools help you tighten fittings securely and prevent leaks.
Always check your tools for damage before using them. Using substandard or improper tools can cause accidents or damage your plumbing system.
Remember, following plumbing codes is important for safety and compliance. Proper tools make the job safer, faster, and more precise.
Having the right equipment on hand means you can handle unexpected issues confidently during installation or repairs.
Maintain Your Kitchen Sink Plumbing for Long-Lasting Performance
Regularly maintaining your kitchen sink plumbing is key to keeping it in good shape and avoiding costly repairs later on.
Start with simple cleaning tips, like removing debris and buildup from the drain and pipes using a mixture of baking soda and vinegar. This helps prevent clogs and keeps your drains flowing smoothly.
Use baking soda and vinegar to clear debris and prevent clogs for smooth-flowing drains.
Check for leaks around the fittings and tighten connections if needed. If you notice persistent leaks or corrosion, consider replacing worn-out washers, gaskets, or entire sections of piping.
Regular inspections can catch problems early, saving you money and hassle down the line. Avoid using harsh chemical drain cleaners, which can damage pipes over time.
Instead, stick to natural cleaning methods and make repairs promptly. Proper maintenance extends the life of your plumbing, ensuring your sink functions efficiently and stays leak-free for years to come.
Frequently Asked Questions
How Do I Prevent Future Leaks in My Kitchen Sink Plumbing?
To prevent future leaks, regularly check your plumbing for signs of wear or damage. Tighten any connections that feel loose, and replace worn-out washers or seals as needed.
Using pipe insulation can help protect against temperature changes and reduce stress on joints. Keeping drains clear is also important to prevent clogs that can lead to backups.
Can I Install a New Sink Without Professional Plumbing Experience?
Yes, you can do DIY plumbing and install a new sink yourself, but it helps to have some basic plumbing skills and patience. Just follow the sink installation instructions carefully, measure everything correctly, and use the right tools.
Make sure to turn off the water supply before you start. If you’re comfortable with small plumbing tasks, you’ll probably be able to handle the job yourself. But if it’s a more complicated setup or you’re unsure, it’s always a good idea to call in a professional.
What’s the Best Way to Avoid Damaging Pipes During Installation?
To avoid damaging pipes during installation, always use pipe insulation to protect against accidental impacts or temperature changes. Be gentle when connecting pipes, and double-check fittings for a secure fit.
Make sure you have proper drain ventilation to prevent pressure buildup, which can put stress on the pipes. Carefully follow the manufacturer’s instructions, and turn off the water supply before you start.
These steps will help safeguard your plumbing and make sure the installation goes smoothly without any damage.
How Do I Choose the Right Piping Materials for My Kitchen Sink?
Like choosing a trusty steed, selecting the right piping material types is key. You should consider plumbing material compatibility with your sink and existing plumbing.
Copper is durable and reliable, while PVC offers affordability and ease of installation. PEX is flexible and resistant to freezing.
Think about your home’s needs, water quality, and local codes to pick the best option. Your choice guarantees smooth, leak-free plumbing for years to come.
How Often Should I Inspect My Sink’s Plumbing for Maintenance?
You should inspect your sink’s plumbing at least once every six months. Regular check-ups help catch common problems like leaks, clogs, or corrosion early.
You can also use simple cleaning tips, like flushing with baking soda and vinegar, to prevent buildup and keep things flowing smoothly. During inspections, look for loose fittings and signs of damage.
Staying proactive keeps your plumbing in good shape, helping you avoid costly repairs and ensuring everything works well for years to come.
Conclusion
With the right tools and a steady hand, you can plumb your kitchen sink like a pro. Don’t let worries about leaks or tricky fittings hold you back. Think of it as giving your kitchen a fresh start.
Imagine the satisfaction of turning on your tap, knowing you did it yourself and everything’s working perfectly. With patience and attention, you’ll enjoy a leak-free sink that’s built to last.
By doing it yourself, you’ll save time and money down the line. Mastering how to plumb a kitchen sink like a pro means you’ll have confidence in your plumbing skills whenever needed.