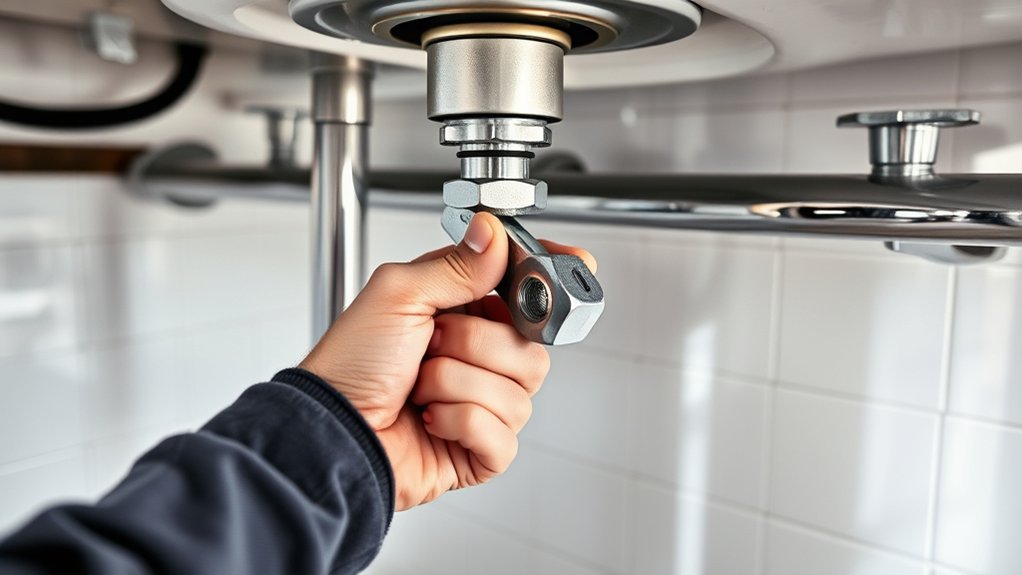
5 Simple Steps to Tighten Kitchen Faucet Nut Under Sink
Many homeowners find themselves frustrated with a wobbly or leaking kitchen faucet, especially when it’s time to tighten that stubborn nut under the sink. You’re not alone—this is a common issue, and it’s something you can fix with a few simple steps.
To tighten your kitchen faucet nut, start by clearing out the area beneath your sink and removing any decorative covers.
Use an adjustable wrench to turn the mounting nut clockwise until it’s snug, but avoid over-tightening to prevent damage.
Check for stability by gently rocking the faucet. If you notice wobbling or leaks, these steps should fix the issue.
Keep in mind, additional tips can help you maintain a secure, leak-free faucet over time.
Key Takeaways
- Turn off the water supply valves under the sink so there are no leaks while tightening.
- Clear out the space beneath the sink and remove any decorative covers hiding the mounting nut.
- Grab an adjustable or basin wrench and turn the nut clockwise to tighten it securely.
- Protect the faucet finish with a cloth to prevent scratches during the process.
- Once done, check that everything is stable and there are no leaks before restoring the area and turning the water back on.
How to Recognize a Loose or Wobbly Kitchen Faucet
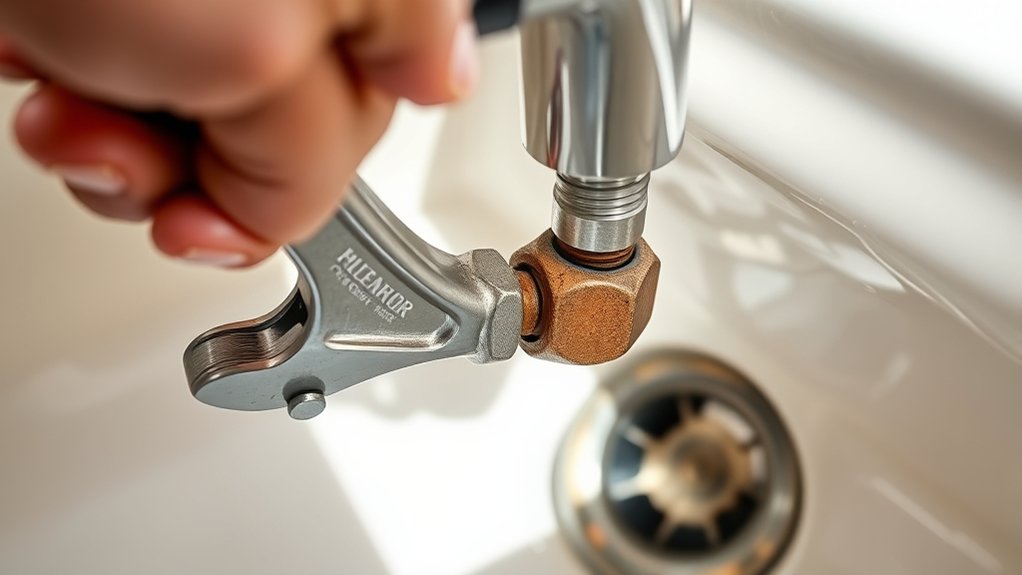
A loose or wobbly kitchen faucet is easy to spot because it doesn’t stay firmly in place when you use it. You might notice it shifting or rattling during daily tasks, which signals a connection issue. The faucet design can play a role here—some models are more prone to loosening over time, especially if they have fewer mounting points or simpler structures.
Besides movement, you may see inconsistent water pressure, as a loose faucet can disrupt water flow or cause splashing. If you notice a decrease or fluctuation in water pressure, it could be linked to a loose connection or worn-out parts.
Also, listen for squeaking or creaking sounds when you turn the faucet on or off. Recognizing these signs early helps prevent leaks and further damage. Regularly checking your faucet’s stability and water pressure lets you catch problems before they get worse.
Tools Needed to Tighten Your Faucet Nut Safely
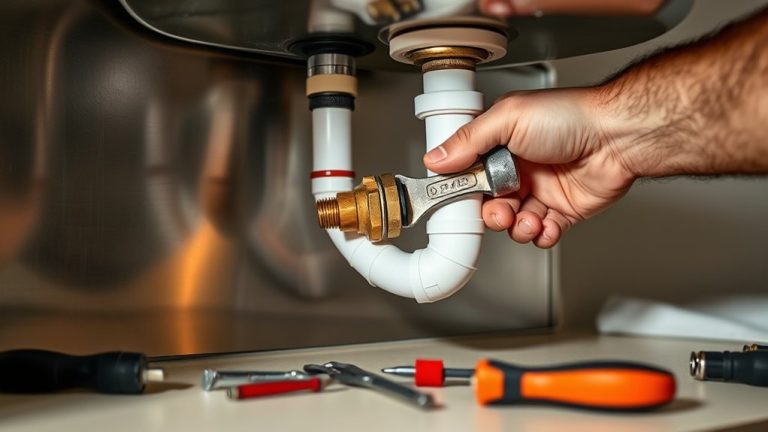
Before you start tightening the faucet nut, gather the essential tools to do the job safely and effectively. You’ll need a basin wrench or adjustable wrench to grip and turn the nut securely. A pair of slip-joint pliers can help if access is tight. Keep a cloth or rag nearby to protect the finish and prevent scratches during tightening.
A small screwdriver might be useful if you need to remove any covers or fittings. Having a bucket or towel underneath can catch any drips or water that escape during the process. When working, consider cleaning the faucet to remove mineral buildup that might affect water pressure.
Ensuring the nut is tight enough will help restore proper water pressure and prevent leaks. Using the right tools protects your sink’s finish and makes tightening safer and more efficient. Always work carefully to avoid damaging the faucet or plumbing connections.
How to Access the Faucet Nut Under the Sink
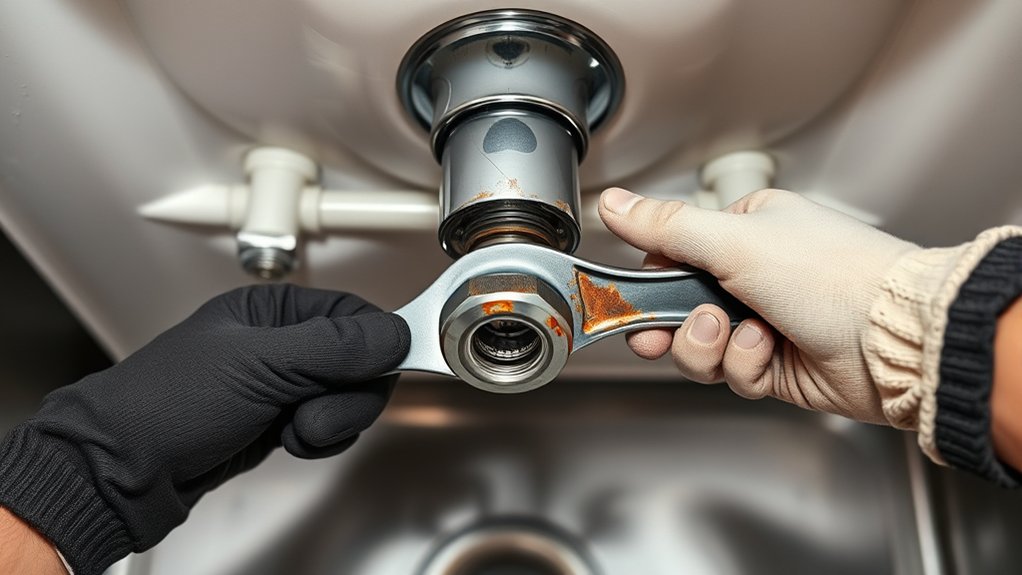
To access the faucet nut under the sink, start by clearing out the area beneath the faucet to give yourself enough workspace. Remove any items stored under the sink, including cleaning supplies and plumbing accessories. If decorative faucet covers are present, gently take them off to reveal the mounting hardware. Check if under-sink insulation is blocking your view; carefully move or temporarily remove it to access the nut.
Ensure the area is dry to prevent slipping. Use a flashlight if visibility is limited. Keep small tools within reach. Be cautious with delicate plumbing connections. Reinstall insulation and faucet covers after tightening.
Removing these obstructions allows you to reach the mounting nut comfortably. Remember, working in a clear space minimizes frustration and helps you locate the nut quickly. Once accessible, you’ll be ready to tighten the faucet nut securely, ensuring no leaks or wobbling.
Step-by-Step: Tightening the Faucet Mounting Nut
Once you’ve gained clear access to the faucet mounting nut, grab an adjustable wrench or basin wrench that fits the nut size. Turn the wrench clockwise to tighten the nut securely against the sink or countertop.
Be mindful of the faucet material—brass, stainless steel, or plastic—as different materials may require gentle handling to avoid damage. If your faucet is made of brass or stainless steel, tighten firmly but avoid over-tightening, which could crack or deform the material.
Keep an eye on water pressure as you tighten. If it’s too high, overtightening can cause leaks or stress on the connections. As you tighten, periodically check the stability of the faucet by gently rocking it.
Once the nut feels snug and the faucet is firmly in place, stop tightening to prevent over-tightening issues. Properly securing the mounting nut ensures a stable, leak-free faucet.
Tips to Prevent Future Wobbling and Leaks
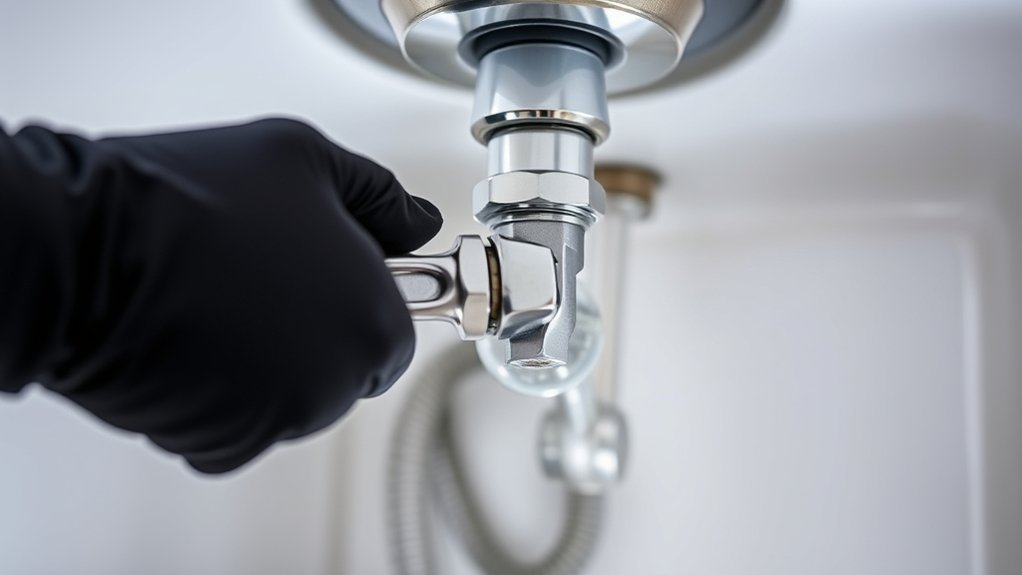
Wobbling and leaks often happen when the faucet isn’t properly secured or if the mounting components loosen over time. To prevent future issues, regularly check your faucet’s stability and tightness. Properly securing decorative fixtures guarantees they don’t wobble, which can affect water flow and cause leaks.
Here are some tips:
- Tighten mounting nuts periodically to avoid looseness.
- Check for corrosion or mineral buildup that can compromise stability.
- Use plumber’s thread sealant for better sealing and fewer leaks.
- Make sure the mounting hardware matches your faucet model.
- Inspect and replace worn washers or gaskets to keep a tight seal.
Following these simple steps helps keep your faucet stable, preserves water flow, and prevents leaks. This can save you from costly repairs later on. Regular maintenance is key to keeping your kitchen faucet secure and working properly.
Frequently Asked Questions
How Often Should I Check My Faucet for Looseness?
You should check your faucet for looseness every few months as part of regular maintenance. Regular inspections help prevent leaks and keep everything secure.
If you notice wobbling or dripping, tighten the nuts right away to avoid water damage and costly repairs. Staying on top of these checks can save you time and money in the long run.
Consistent checkups are key to preventing leaks. Stay proactive, and your faucet will stay in good shape longer.
Can I Tighten the Nut Without Shutting off the Water Supply?
Imagine a tiny leak sneaking through a crack. Tightening the nut without shutting off the water supply can be risky.
For leak prevention, it’s best to turn off the water first. Trying to tighten the nut without the proper tool compatibility might cause damage or incomplete sealing.
While it’s possible, it’s safer and more effective to shut off the water. This ensures a secure fix and helps avoid future leaks.
What Signs Indicate a Faucet Nut Needs Tightening?
You’ll notice a faucet leak or constant dripping, which are clear signs the faucet nut needs tightening.
If you see water pooling beneath the sink or hear a hissing sound when using the tap, it might mean the nut is loosening.
When the nut isn’t tight enough, it can cause water wastage and damage over time.
Addressing these signs quickly helps prevent bigger issues and saves water.
Is It Safe to Use Household Tools for Tightening the Nut?
Yes, it’s generally safe to use household tools for DIY plumbing when tightening the faucet nut, but you should take safety precautions.
Use an adjustable wrench or pliers carefully to avoid damaging parts. Make sure the area is dry to prevent slips, and don’t overtighten, which could cause cracks or leaks.
Always wear gloves and eye protection for safety, and turn off the water supply before starting.
How Do I Prevent Damage to the Faucet During Tightening?
To prevent damage to the faucet during tightening, start by knowing your faucet material, like brass or plastic, since this affects how much tightening it can handle. Use a wrench carefully, applying gentle pressure and paying attention to the recommended tightening torque.
Don’t overtighten, as this can crack or strip fittings. Regularly check for leaks, and stop tightening once the nut is secure but not overly tight. This way, you protect your faucet from damage and ensure a good seal.
Conclusion
By tightening that faucet nut, you’re essentially giving your sink a firm handshake, ensuring stability and peace of mind. Think of it like tightening a loose screw in a well-oiled machine—suddenly, everything runs smoothly and quietly.
With just a few simple steps, you’ve turned a wobbly nuisance into a steady anchor. Keep it tight, stay vigilant, and your kitchen faucet will stand tall like a sentinel, ready to serve without a wobble.