How to Replace Your Kitchen Sink Without Replacing the Countertop
Replacing your kitchen sink without changing the countertop can feel daunting, especially if you’re worried about damaging your existing setup. Many people struggle with this task, but don’t worry—you’re not alone. With a little patience and the right steps, you can do it yourself and save money.
To replace your kitchen sink without changing the countertop, start by turning off the water supply and clearing your workspace. Disconnect the water lines carefully, then loosen and remove the old sink, making sure not to damage the surrounding area.
Clean the opening, then fit and seal the new sink securely before reconnecting the plumbing. Finally, check for leaks and tighten fittings if needed. If you want step-by-step guidance, you’ll find helpful tips as you go along.
Key Takeaways
- Measure and choose a new sink that fits the existing countertop cutout so it installs properly.
- Turn off the water supply, disconnect the plumbing, and carefully remove the old sink to avoid damaging the countertop.
- Clean the opening thoroughly and apply sealant before placing the new sink to prevent leaks.
- Connect the drain and water lines securely, but don’t over-tighten, as that can cause damage or leaks.
- Test for leaks and proper drainage, then tighten fittings and sealant as needed to ensure a secure, leak-free install.
Why Replacing Just the Sink Is a Smart Choice
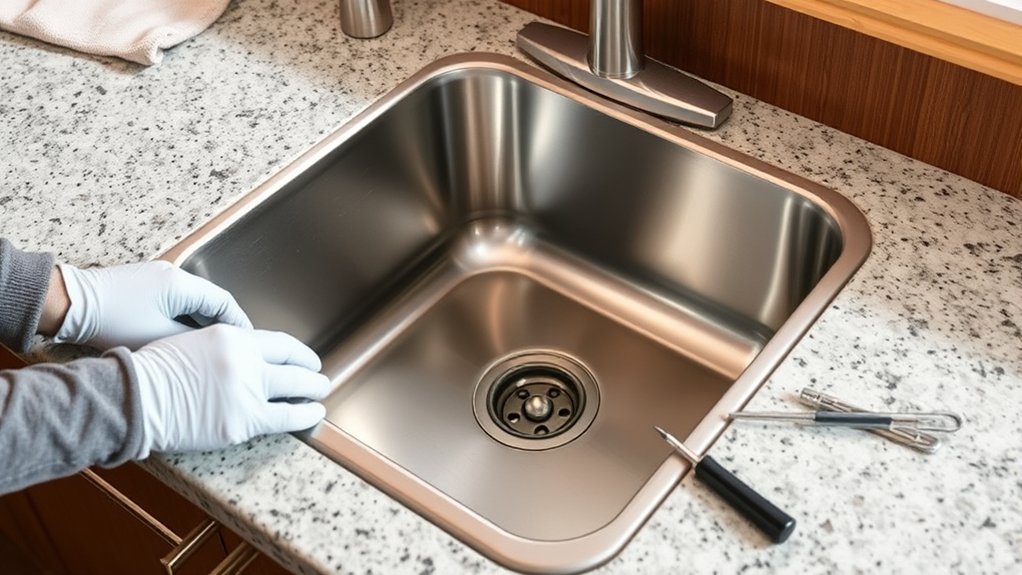
Replacing just the sink can be a cost-effective and efficient way to update your kitchen. It lets you refresh the look without the expense and effort of replacing your entire countertop.
Replacing only the sink is a budget-friendly way to update your kitchen’s look and functionality.
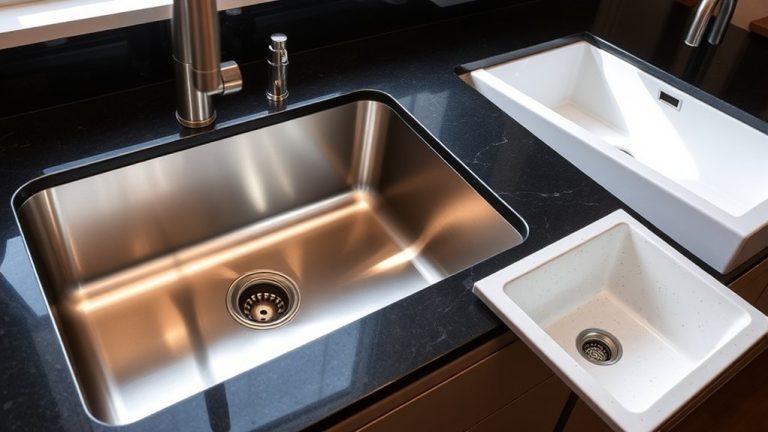
When considering this upgrade, focus on design to ensure your new sink matches your space. Think about the style, size, and shape that fit your kitchen’s aesthetic and your daily needs.
Material selection is just as important. Choose durable options like stainless steel, composite granite, or porcelain based on your preferences for maintenance, appearance, and longevity.
Upgrading only the sink can also improve functionality. You might consider installing a deeper basin or adding features like a built-in drainboard.
Gather Your Tools and Materials First
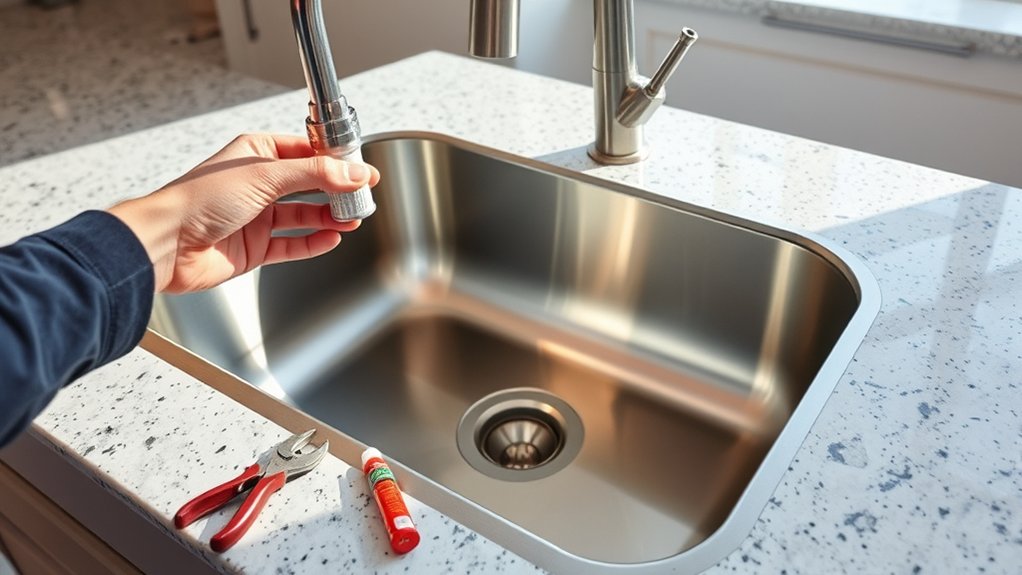
Before you jump into the project, it’s a good idea to gather all your essential tools first. Things like a wrench, screwdriver, and plumber’s tape should be within reach so you’re not scrambling around when you need them. It just makes the whole process way smoother.
Plus, don’t forget to gather all the materials you’ll need, like a new sink, plumber’s putty, and any mounting hardware. Having everything ready beforehand helps you stay organized and keeps things moving along without unnecessary delays. It’s just a small step that makes a big difference!
Essential Tools Needed
To guarantee a smooth and efficient sink replacement, gather all the necessary tools and materials beforehand. You’ll need basic hand tools like an adjustable wrench, channel locks, and a screwdriver to disconnect plumbing and remove the old sink.
A utility knife can help cut sealant or caulk. A bucket is useful for catching water from pipes, while a sponge or rags are great for cleaning up spills.
Don’t forget to have plumber’s putty or silicone sealant on hand for a tight, leak-proof seal. It’s also important to consider your kitchen design and verify your new sink’s dimensions and appliance compatibility match existing fixtures.
Having these tools ready allows you to work efficiently, avoiding delays or damage, and ensures your new sink fits seamlessly into your kitchen setup.
Necessary Materials Prepared
Gathering all the necessary materials before starting your sink replacement keeps the project running smoothly. You’ll want eco-friendly materials, like biodegradable sealants or sustainable piping, to make your upgrade greener.
Make sure you have the right tools, such as wrenches, screwdrivers, and a utility knife, to complete the job efficiently. Consider modern design options for your new sink, like sleek stainless steel or stylish composite materials, and have these on hand.
Double-check that your new sink fits your existing countertop cutout and that you have enough sealing tape or waterproof sealant to prevent leaks. Having everything ready minimizes delays and surprises, making the replacement process straightforward and clean.
Preparing these materials beforehand helps you focus on the installation with confidence.
Turn Off the Water Supply and Clear Your Workspace
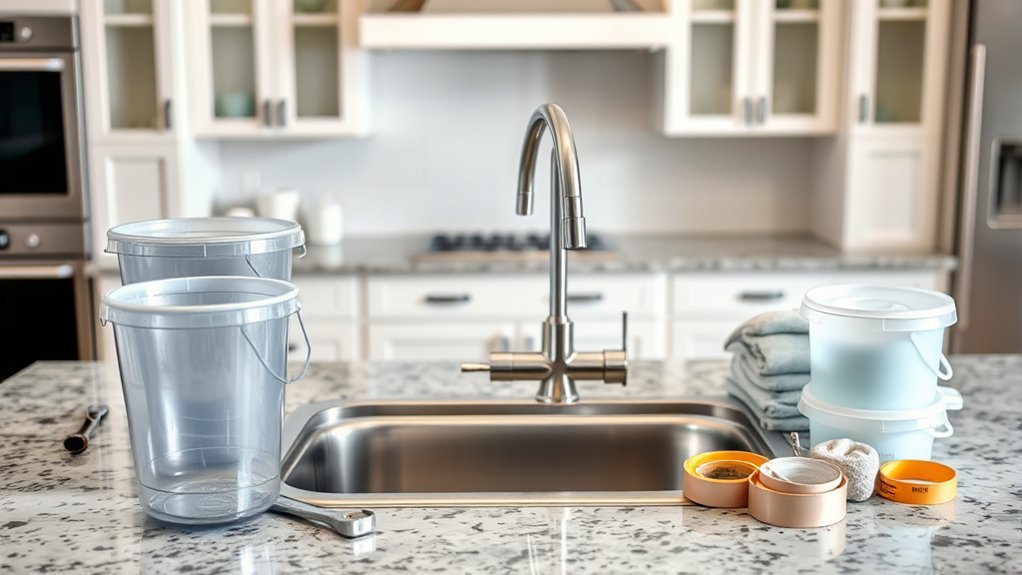
Before you get started, make sure to turn off the main water supply. This way, you’ll avoid any unwanted leaks while working. It’s also a good idea to clear the area around your sink—move any items out of the way so you have plenty of space to work.
To keep everything clean and protected, lay down a cloth or tarp over nearby surfaces. This makes the whole process safer and more organized, so you can focus on the job at hand without any extra hassle.
Shut Off Main Water
Have you found the main water shut-off valve? Turning off the water supply is key for plumbing safety and saving water. Before you start replacing your sink, shut off the main valve to prevent leaks and water damage.
Make sure your workspace is clear and dry to reduce accidents. Confirm the valve is fully closed so there’s no unexpected water flow.
Take a moment to check for any signs of pipe corrosion or leaks. It’s also a good idea to keep a bucket or towels nearby just in case there’s residual water.
Clear and Protect Area
To begin, turn off the water supply and make sure your workspace is clear and dry. Remove any items around the sink area and cover nearby surfaces with protective coverings to prevent damage.
Organize your tools and parts so everything is easy to find and reduces clutter. This helps create a safe, efficient work environment.
Use the table below to help plan your workspace organization:
| Task | Details |
|---|---|
| Turn off water | Shut off valves and drain remaining water |
| Clear area | Remove dishes, soap, and trash |
| Cover surfaces | Use protective coverings like plastic or cloth |
Keeping things tidy and protected minimizes accidents and makes the replacement smoother.
Disconnect Water Lines and Remove the Old Sink Carefully
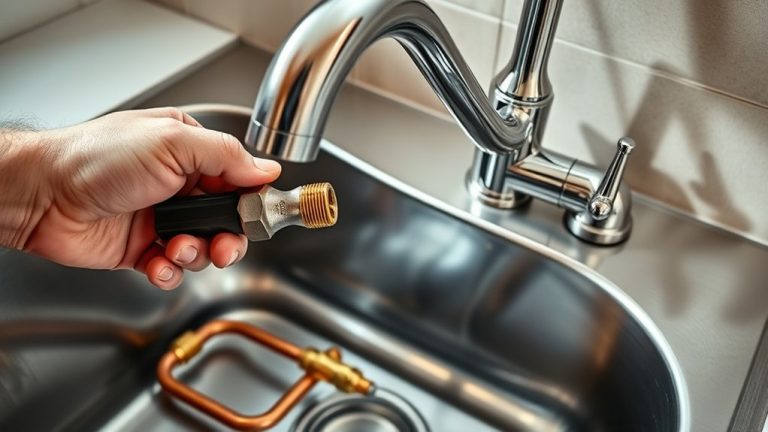
Start by turning off the water supply valves under the sink to prevent leaks. Next, carefully disconnect the water lines using a wrench, making sure you don’t damage the fittings. This step is essential for water line disconnection and avoiding water damage.
Turn off water valves and carefully disconnect water lines to prevent leaks and water damage.
Once the water lines are detached, check for any remaining connections or clips holding the sink in place. Use appropriate sink removal techniques—such as gently rocking the sink or loosening mounting clips—to free it without damaging the countertop.
Remember, patience is key, especially if the sink has been sealed tightly or glued in place over time. Be gentle to avoid cracking or chipping the countertop or sink edges.
Use the right tools to prevent stripping fittings or damaging hardware. Confirm all connections are disconnected before attempting to lift the sink.
Following these steps guarantees a smooth, damage-free removal process.
Clean and Inspect the Sink Opening Before Installing
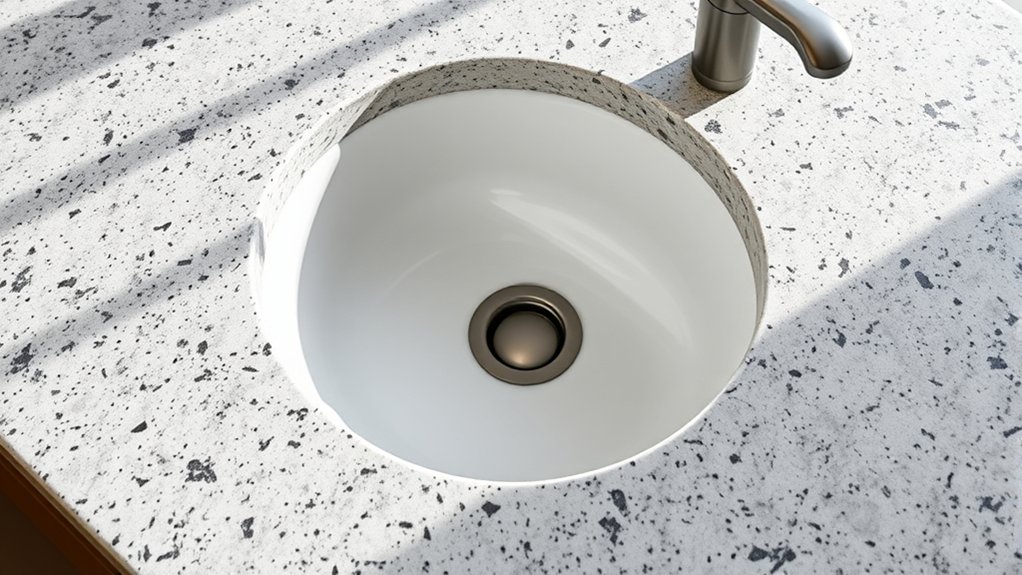
Before installing the new sink, it’s important to thoroughly clean and inspect the sink opening. Follow a solid cleaning routine to remove dust, debris, and old sealant, ensuring a clean surface for a proper fit. Use a soft cloth and mild cleaner for best results.
Next, inspect the opening with your checklist: look for any damage, cracks, or uneven edges that might cause leaks or installation problems. Check that the area around the opening is smooth and free of debris that could prevent a tight seal.
| Cleaning Routine | Inspection Checklist |
|---|---|
| Remove dust and debris | Check for cracks or damage |
| Use mild cleaner | Ensure edges are smooth and even |
| Wipe dry thoroughly | Confirm no old sealant remains |
This step guarantees your new sink will sit correctly, sealing well and functioning properly.
Apply Sealant and Fit Your New Sink
Wondering how to make sure your sink doesn’t leak? Start by applying a proper sealant to create a watertight fit. Put a continuous bead of sealant around the edge of the sink opening, covering all contact points where the sink meets the countertop.
When fitting your new sink, press it firmly into place. Make sure it sits level and lines up correctly with your cutout.
To get the best results, keep these tips in mind: Use a high-quality sealant designed for kitchen sinks to prevent leaks. Avoid using too much sealant, as it can squeeze out and cause messes or improper sealing.
Double-check the sink’s position before you finalize the fit. This prevents misalignment and ensures a good seal.
Proper sink fitting combined with effective sealant application will give you a durable, leak-free installation. It saves you time and helps avoid water damage down the line.
Connect Plumbing Components and Tighten Fittings
Once the sink is securely in place with a proper sealant, you can move on to connecting the plumbing components. Start by attaching the drain pipes, making sure to use the right fitting techniques to prevent leaks. Tighten fittings snugly but avoid over-tightening, which can damage threads. Use slip nuts and washers properly to secure connections.
Here’s a quick overview of common plumbing connections:
| Connection Type | Fitting Technique |
|---|---|
| Drain Assembly | Hand-tight plus a quarter turn |
| Water Supply Lines | Finger-tight, then tighten with pliers |
| P-Trap | Use slip nuts and washers, tighten securely |
| Faucet Connections | Apply plumber’s tape, tighten fittings |
Check each connection for tightness and proper alignment. Accurate fitting techniques and secure plumbing connections help ensure your sink stays leak-free and functions correctly.
Check for Leaks and Test Your New Sink
After you’ve finished connecting all the plumbing components, turn on the water supply and run both hot and cold water through the sink. This helps you check for leaks and make sure everything is working right. Keep an eye underneath the sink for any drips, moisture, or dampness around fittings and connections.
Use a paper towel or cloth to wipe down the area and spot slow leaks early. Testing also includes filling the sink with water to check the drain for leaks around the drain assembly. Remember, even small drips can cause water damage over time.
Tighten fittings if you notice any leaks, but avoid overtightening, which can damage parts. Make sure the water flows smoothly without wobbling or unusual sounds. Keep watching the area for a few minutes after testing to catch any delayed leaks or drips.
Proper leak detection now will prevent future issues and help your sink last longer.
Troubleshoot Common Sink Installation Issues
Even with careful installation, you might run into some common issues that can affect how your sink works. Drainage problems are pretty common and are usually caused by improper sealing or misaligned pipes. Make sure the drain assembly is tightly fitted and that the gasket creates a watertight seal.
If water pools or drains slowly, try clearing any clogs or debris in the pipes. Counter compatibility can also be tricky. Check that your sink fits snugly into the existing cutout without gaps. If it’s too big or small, it could cause leaks or make the sink unstable.
Ensure the mounting clips are secure and that the sink rim sits evenly against the countertop. Misalignment can lead to water seepage or uneven surfaces. Troubleshooting these problems early helps keep your kitchen sink functional and leak-free.
Maintain Your Sink for Long-Term Leak-Free Performance
Maintaining your sink regularly helps prevent leaks and keeps it functioning smoothly over time. Consistent upkeep means you catch small issues before they turn into costly repairs.
Regular sink maintenance prevents leaks and costly repairs by catching issues early.
Follow these maintenance tips to promote leak prevention and extend your sink’s lifespan:
- Check for drips or water stains around the faucet and pipes, and fix minor leaks right away.
- Clean the drain and sealant edges to prevent buildup that can cause blockages or leaks.
- Tighten loose fittings and replace worn washers to keep everything watertight.
Frequently Asked Questions
Can I Replace My Sink Without Professional Plumbing Skills?
Yes, you can replace your sink without professional plumbing skills if you’re comfortable with DIY projects. Just make sure you understand sink compatibility so the new one fits your countertop and plumbing connections.
Start by turning off the water supply, disconnecting the pipes, and carefully removing the old sink. Follow clear instructions, use the right tools, and double-check all fittings.
With patience and attention to detail, you can successfully upgrade your kitchen sink yourself.
What Are the Best Types of Sinks for DIY Installation?
Choosing the best sink for DIY installation is like picking a reliable partner. You want something durable and simple to install.
Stainless steel sinks are a great choice. They’re sturdy, affordable, and easy to install with basic tools.
Consider materials like fireclay or composite granite if you want something more aesthetic. They can really enhance your kitchen’s look.
Follow installation tips carefully. Measure everything precisely, seal properly, and make sure the mounting is secure.
These options make DIY projects easier and help your sink fit perfectly in your kitchen.
How Long Does a Typical Sink Replacement Take?
A typical sink replacement usually takes about 2 to 4 hours, depending on your experience. You’ll start by removing the old sink and disconnecting the drain assembly and faucet.
Then, install the new sink, making sure to seal it properly, and connect the drain assembly. Finish up by installing the faucet and testing everything for leaks.
Rushing through the faucet installation or drain connections can cause delays, so take your time. This helps ensure a leak-free and successful replacement.
Are Special Tools Needed for Different Sink Materials?
You don’t need special tools for different sink materials, but you’ll want the right ones for sink removal and protecting your countertop.
For metal sinks, a putty knife and adjustable wrench work well. For composite or acrylic sinks, use a utility knife carefully to cut sealant without damaging the countertop.
Always protect your countertop with painter’s tape during removal, regardless of sink material. This approach guarantees a smooth replacement process.
What Safety Precautions Should I Follow During Installation?
You should wear safety gear like gloves and goggles to protect yourself from sharp edges and debris. Make sure to turn off the power when working near outlets or appliances to stay safe with electricity.
Keep your workspace clean to avoid slips or accidents. Use proper tools and handle plumbing connections carefully to prevent issues.
Double-check all connections before turning on water or electricity, and work slowly to prevent mishaps. Staying vigilant helps keep your installation safe and efficient.
Conclusion
Replacing your kitchen sink without changing the countertop is a smart move that saves time and money. With the right tools and careful steps, you can give your kitchen a fresh, functional look.
Remember, a well-installed sink isn’t just about looks. It’s about peace of mind, preventing leaks, and keeping your kitchen running smoothly. Think of your sink as the heartbeat of your kitchen—keep it healthy, and your entire space will thrive.
By choosing to replace your sink without a full countertop upgrade, you’re making a practical choice that can transform your kitchen efficiently.