Quick Guide to Fix Low Water Pressure in Your Kitchen Sink
Are you tired of struggling with low water pressure in your kitchen sink? You’re not alone—many people find it frustrating when their faucet just doesn’t flow like it used to. Luckily, fixing this common issue is often simpler than you might think.
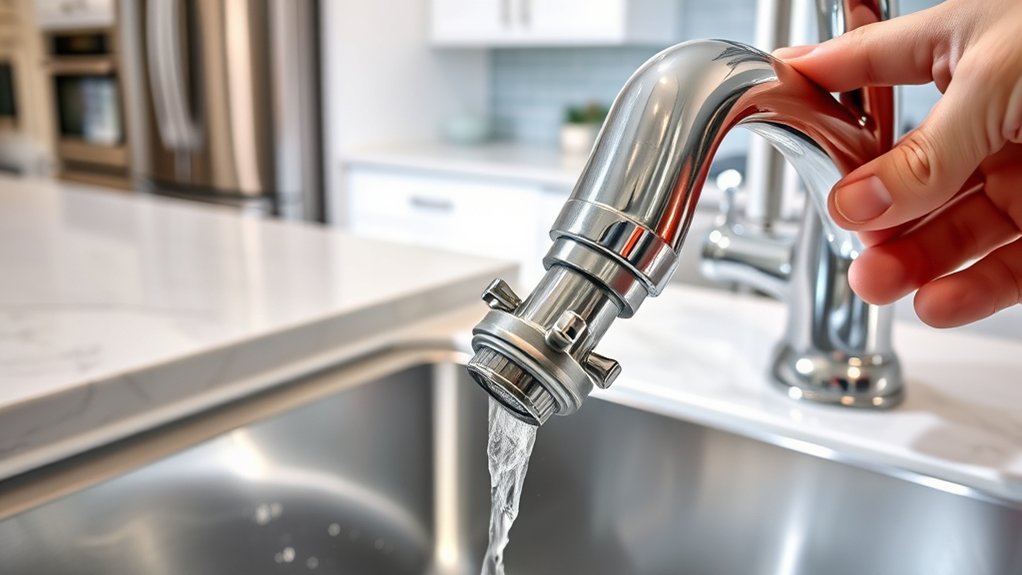
To fix low water pressure in your kitchen sink, start by checking if the faucet’s aerator is clogged with mineral deposits and clean it thoroughly.
Inspect under the sink for leaks or obstructions, and make sure all shut-off valves are fully open.
If pressure remains low, examine the pipes for buildup or damage, and replace faulty valves or cartridges.
For persistent issues, professional help may be needed, but you can find more helpful tips below.
Key Takeaways
- Check and clean the faucet aerator to remove mineral deposits and debris that might be blocking the water flow.
- Make sure the shut-off valves under the sink and the main supply are fully open and working properly.
- Inspect and clear any pipe blockages or leaks that could be reducing the water pressure.
- Test multiple fixtures to see if the low pressure is only happening in one spot or throughout the whole system.
- Regularly maintain and clean faucet parts and pipes to prevent buildup and keep the water flowing smoothly.
Identify Common Causes of Low Water Pressure in Your Kitchen Sink
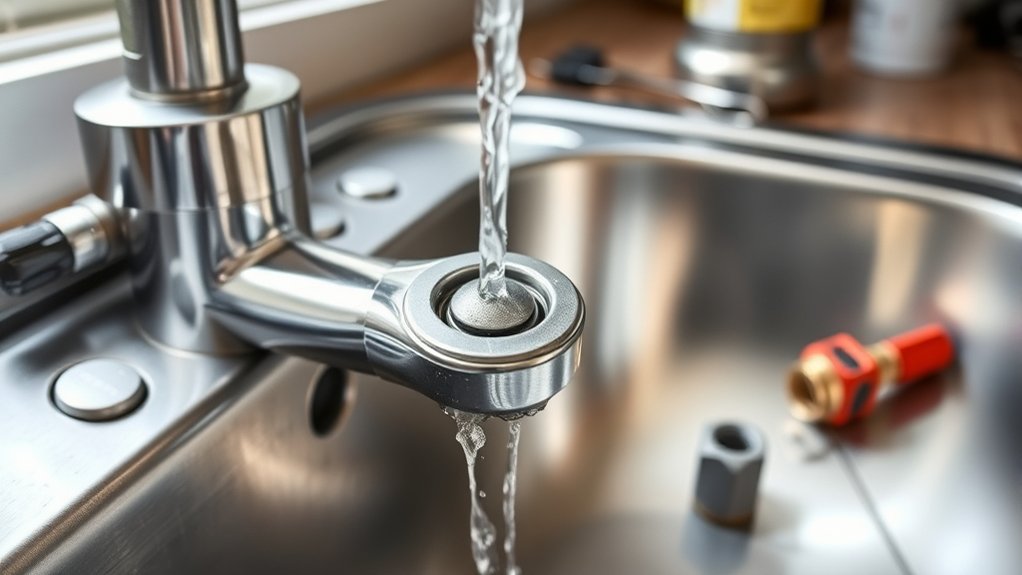
Low water pressure in your kitchen sink can come from several common issues. One cause might be a clogged aerator, which restricts water flow and can happen because of mineral buildup or debris.
Check for sediment buildup, especially if you notice inconsistent water temperature or flow. Water conservation efforts, like using low-flow fixtures, can also reduce pressure over time if you don’t clean the aerator regularly.
Sediment buildup and infrequent cleaning of the aerator can reduce water pressure and affect flow.
Another factor is a partially closed shut-off valve. Make sure it’s fully open to get the best water flow. A sudden drop in pressure might also be caused by a plumbing leak or pipe blockage, which can affect both water volume and temperature.
Finally, low water pressure can impact your water temperature, making hot water feel less hot or cold water less cold. Identifying these common causes helps you find the right fix to restore proper flow at your sink.
Test Water Pressure at Multiple Faucets to Find the Source
To pinpoint whether the water pressure issue is isolated to your kitchen sink or affects other fixtures, start by testing water pressure at multiple faucets throughout your home.
This simple step is key to effective water pressure diagnostics. Turn on each faucet fully and note the flow rate.
If you notice low pressure at several fixtures, the problem probably comes from your main water supply or a building-wide issue.
But if only your kitchen sink has low pressure, it might be caused by something local, like a clogged aerator or pipe blockage.
Be sure to test both hot and cold water at each fixture, since differences can reveal specific problems.
Recording your observations helps you spot patterns quickly, making it easier to figure out if the issue is isolated or systemic.
Using clear faucet testing techniques saves time and guides you toward the right fix.
Check and Clean the Faucet Aerator for Clogs
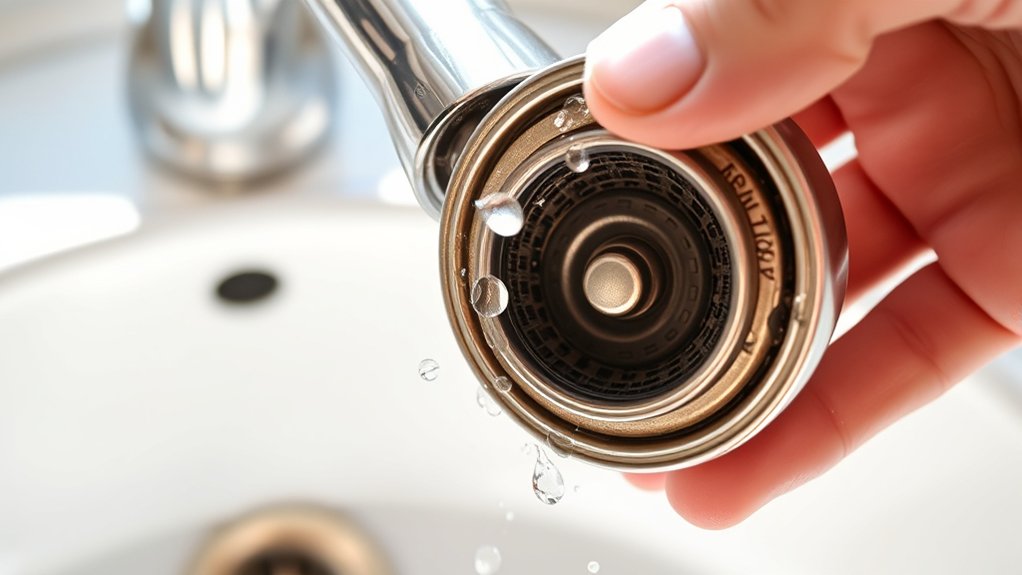
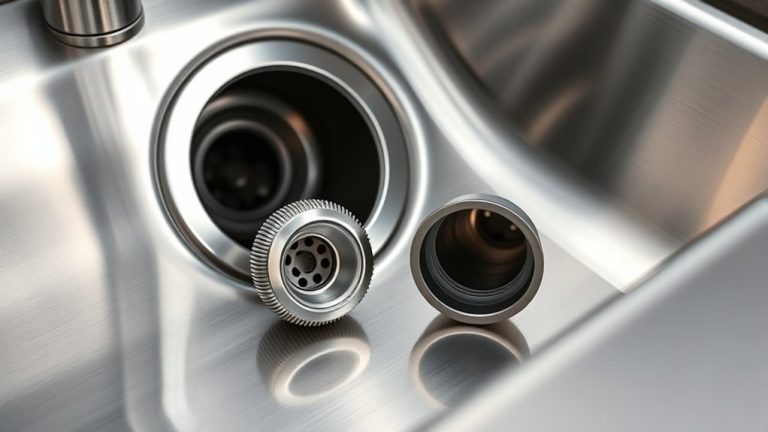
Since faucet aerators can easily become clogged with mineral deposits and debris, it’s important to check and clean them regularly. Start by unscrewing the aerator from the faucet spout, which may require a gentle twist by hand or using pliers with a cloth to prevent scratching.
Once removed, perform a thorough aerator inspection, looking for buildup or blockages. Soak the aerator parts in vinegar to dissolve mineral deposits, or scrub gently with an old toothbrush. Rinse thoroughly before reassembling.
Clearing out clogs improves water flow and helps fix low water pressure. Regular inspection and cleaning prevent future buildup and ensure your faucet performs at its best.
Inspect Under-Sink Pipes for Blockages or Leaks
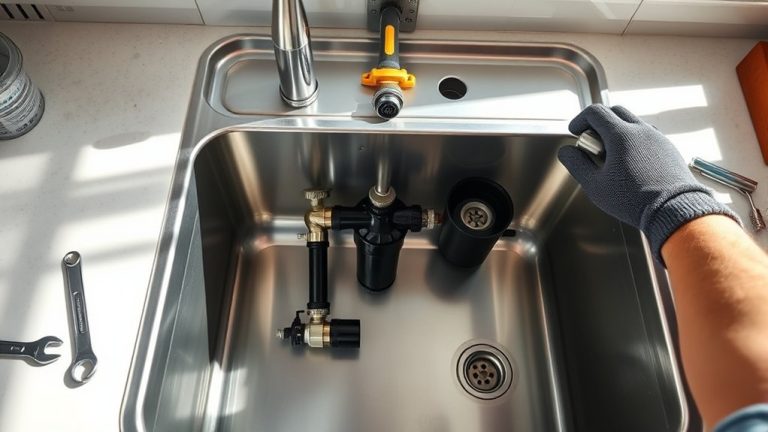
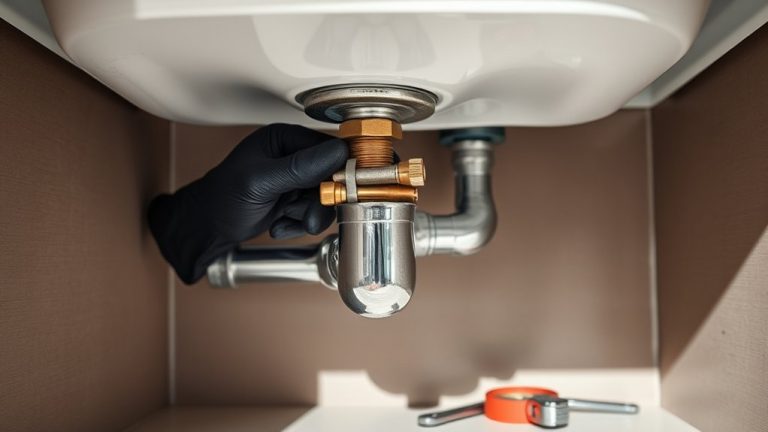
You’ll want to take a peek under your sink to see if there are any blockages that could be slowing down the water flow. Sometimes, gunk or debris can clog the pipes and cause problems, so it’s good to check for any buildup.
While you’re down there, keep an eye out for leaks. Look for water spots, moisture, or dampness around the pipes—that’s usually a sign something’s not quite right. If you do find leaks or blockages, fixing them can often get your water pressure back to normal pretty quickly.
Check for Blockages
Ever wonder if a blockage is causing your kitchen sink’s low water pressure? Check under the sink for any signs of pipe obstruction.
Remove the pipes and inspect them closely for debris, mineral buildup, or grime that could be restricting water flow. A blocked pipe can significantly reduce water pressure by blocking the smooth flow through the system.
Use a flashlight to look inside the pipes for any obstructions. If you notice buildup, clean the pipes thoroughly or replace damaged sections.
Sometimes, a simple flush with water or vinegar can clear minor blockages. Ensuring the pipes are clear of obstructions restores proper water flow and improves your sink’s water pressure.
Inspect for Leaks
After checking for blockages, the next step is to inspect your under-sink pipes for leaks or damage. Leak detection is important because small drips can reduce water pressure over time.
Carefully examine all pipes, fittings, and joints for signs of moisture, corrosion, or water stains. During the inspection, look for cracks, loose connections, or corrosion that could cause leaks.
Make sure to turn off the water supply before handling the pipes to prevent further water damage. Use a flashlight to get a clear view of hidden areas.
If you find any leaks or damage, tighten fittings or replace damaged sections. Addressing leaks promptly keeps your plumbing system working efficiently and helps restore proper water pressure to your kitchen sink.
Look for Closed or Partially Shut-Off Valves
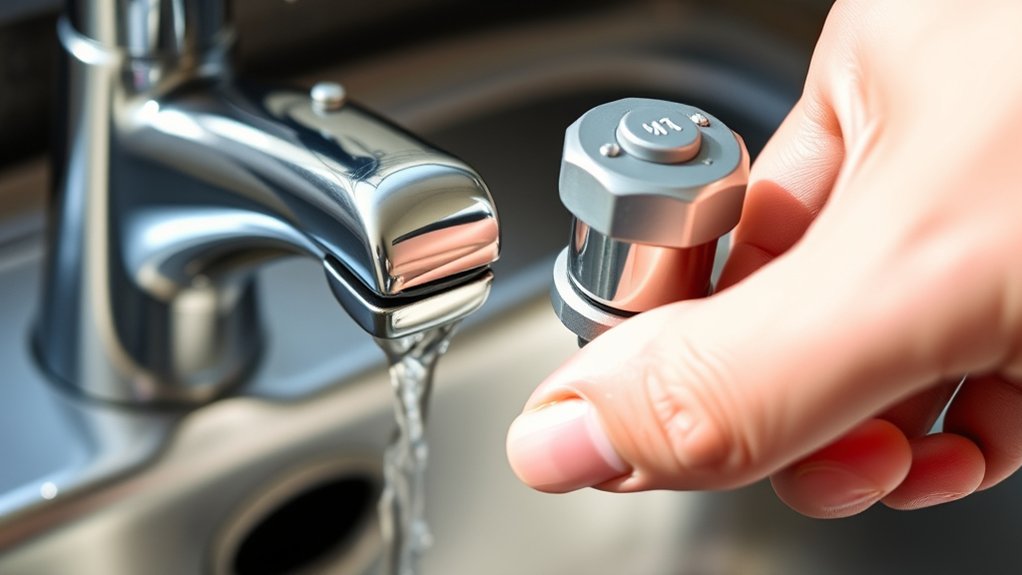
Sometimes, low water pressure in your kitchen sink is just because the valves are closed or only partly shut. Check the water supply valves under the sink to see if they’re fully open.
Check if the sink valves are fully open to improve water pressure.
If you notice they’re partially closed, adjusting them can fix the flow. To do this, locate the shut-off valves on the water lines beneath the sink.
Turn the valves clockwise to close or counterclockwise to open. Make sure they’re fully open when you finish.
Then, test the water flow. If needed, repeat the shut-off and open process until the pressure improves.
Examine Your Main Water Supply and Pressure Regulator
If your kitchen sink still has low water pressure after checking the local shut-off valves, it’s time to examine your main water supply and pressure regulator.
Start by locating your main water shut-off valve, usually near your water meter or where the main line enters your home. Confirm it’s fully open; a partially closed valve can restrict flow.
Next, check the pressure regulator, a device typically installed where the main water line connects to your home’s plumbing. If the pressure regulator looks old, corroded, or is set too low, it could be causing reduced water pressure.
Adjusting the pressure regulator might improve flow, but if it’s faulty or damaged, you may need to replace it. Remember, a malfunctioning pressure regulator can lead to inconsistent water pressure throughout your home.
Replace or Repair Faulty Faucet Cartridges and Valves
Faulty faucet cartridges or valves can significantly reduce water flow, leading to low pressure at your kitchen sink. To fix this, you might need to replace the faucet or adjust the valve. Here’s what to do:
- Turn off the water supply and remove the faucet handle.
- Check the cartridge or valve for mineral buildup or damage.
- If it’s worn out or corroded, replace the cartridge.
- Make sure the valve is fully open and functioning properly by adjusting it.
If replacing the cartridge doesn’t improve the flow, look for debris or mineral deposits inside the valve. Clean or replace the valve as needed.
Proper faucet replacement ensures smooth operation, and adjusting the valve can restore optimal water pressure. Always test the water pressure after making any changes to confirm the fix.
Regular maintenance of cartridges and valves can prevent future low-pressure issues and keep your sink working smoothly.
Clear Sediment Buildup in Pipes and Fixtures
Sediment buildup can really clog up your pipes and fixtures, making the water flow slower and lowering the pressure. It’s a common issue, but luckily, it’s usually fixable. The first step is figuring out where the sediment is gathering so you can target the problem area.
Once you’ve pinpointed the buildup, you’ll want to carefully remove any blockages. Be sure to do this safely to avoid causing any damage. Regular maintenance is also a good idea—cleaning your pipes now and then can help prevent future buildup and keep the water pressure steady.
Identifying Sediment Accumulation
Have you noticed a sudden drop in water flow or a gritty feel when using your kitchen sink? That’s a sign of sediment accumulation. Different sediment types, like mineral deposits, rust, or dirt, can build up over time and affect your water pressure.
To spot sediment issues, look for these signs:
- Reduced water flow despite normal valve settings
- Discolored water, often cloudy or brownish
- Gritty or sandy residue when draining the sink
- Unusual noises from pipes during use
These signs suggest sediment buildup in pipes or fixtures. Recognizing these early can help prevent further damage and make cleaning or repairs easier. Keep an eye out for these clues to maintain good water pressure.
Removing Blockages Safely
Wondering how to clear blockages caused by sediment buildup? Start by cleaning your filters regularly, since sediment often collects there and can restrict water flow. Remove the aerator or filter from your faucet and soak it in vinegar to dissolve mineral deposits.
Using natural remedies like vinegar and baking soda can also help break down sediment inside pipes. Pour a mixture of baking soda followed by vinegar into the drain, let it fizz for 15-30 minutes, then flush with hot water.
This eco-friendly approach safely clears minor blockages without harsh chemicals. Always wear gloves and handle fixtures carefully. Regular maintenance combined with natural remedies keeps sediment buildup at bay and restores ideal water pressure in your kitchen sink.
Preventing Future Buildup
Regularly maintaining your plumbing system is key to preventing future sediment buildup. This helps keep water pressure steady and extends the lifespan of fixtures.
To do this effectively:
- Install a water filtration system to trap sediment before it enters pipes.
- Use aerators on faucets to reduce mineral deposits and improve flow.
- Practice water conservation to minimize pressure fluctuations that can loosen sediment.
- Flush your pipes annually to clear out any accumulated debris.
Know When to Call a Plumber for Persistent Pressure Issues
Persistent low water pressure that doesn’t improve after trying basic fixes is a clear sign it’s time to call a plumber. Ignoring ongoing issues can turn minor problems into plumbing emergencies.
If you’ve replaced the aerator, checked for leaks, and cleaned the supply lines without success, it’s time to get a professional inspection. Don’t fall for water pressure myths that suggest DIY fixes will always work.
Some problems need specialized tools and expertise. When pressure issues stick around, it could mean deeper issues like pipe blockages, faulty valves, or hidden leaks that only a trained plumber can diagnose and fix properly.
Trying to overlook or delay calling a plumber can lead to more costly damage down the line. Recognize the signs of persistent pressure problems and trust your instincts.
If simple fixes don’t do the trick, calling a plumber ensures the problem gets resolved safely and efficiently.
Tips to Maintain Good Water Pressure in Your Kitchen Sink
Maintaining good water pressure in your kitchen sink is key for getting chores done efficiently. A few simple habits can help prevent pressure drops.
Regularly check your water pressure with a gauge to catch issues early. Proper pipe insulation can keep pressure steady and reduce noise from temperature changes.
Keep your aerator clean because mineral buildup can restrict water flow and lower pressure. Also, watch out for leaks or damage in your pipes—they can cause pressure drops and waste water.
Here are four easy tips:
- Use water pressure gauges periodically to monitor flow levels.
- Insulate exposed pipes to maintain consistent pressure and prevent freezing.
- Clean or replace clogged aerators to ensure smooth water flow.
- Inspect for leaks and repair any damage promptly to avoid pressure loss.
Frequently Asked Questions
Can Mineral Deposits Cause Low Water Pressure in My Kitchen Sink?
Yes, mineral deposits can cause low water pressure in your kitchen sink. Over time, buildup of minerals like calcium and limescale can clog aerators and pipes, reducing water flow.
Pipe corrosion from mineral-rich water can also make pipes narrower, which drops the pressure even more. To fix this, try cleaning or replacing the aerator and consider flushing the pipes to remove mineral buildup.
This can help prevent further corrosion and restore your water pressure to normal.
How Often Should I Clean My Faucet Aerator?
You should clean your faucet aerator every three to six months. Think of it as an essential mission to keep your sink’s water flow unstoppable!
Regular faucet maintenance, including aerator cleaning, helps prevent mineral build-up and ensures water flows smoothly. If you notice reduced pressure or uneven spray, it’s time to take care of it sooner.
Don’t let clogged aerators sabotage your kitchen experience. Stay on top of cleaning for consistently powerful water pressure.
Are There DIY Methods to Increase Water Pressure?
Yes, you can try DIY methods to increase water pressure. Start with a plumbing inspection to spot any blockages or leaks.
Check your pressure regulators; if they’re faulty, replacing them can boost pressure. You can also clean or replace your faucet aerator, as debris often causes low flow.
Making these simple adjustments can improve your water pressure without professional help, saving you time and money.
Will Replacing Pipes Improve Water Flow?
Imagine water rushing freely through a clear, smooth pipe—that’s what replacing old pipes can do for your water flow. Old, corroded pipes made of materials like galvanized steel or outdated PVC can hinder water pressure.
Upgrading to modern pipe materials like PEX or copper helps reduce blockages and corrosion, which can significantly improve water flow. So, yes, replacing pipes often boosts your kitchen sink’s water pressure, giving you a steady, strong flow.
How Does Water Pressure Affect My Sink’s Lifespan?
Low water pressure can negatively impact your sink’s lifespan by causing inconsistent water flow, which strains components over time. Poor water flow may lead to mineral buildup or corrosion, reducing pipe durability.
When water pressure fluctuates, it speeds up wear on seals and fittings, increasing the chances of leaks or damage. Keeping your water pressure at the right level helps protect your sink’s condition.
This ensures better pipe durability and steady water flow, ultimately helping your sink last longer.
Conclusion
By following these simple steps, you can restore your kitchen sink’s water pressure and prevent minor issues from turning into plumbing nightmares.
Regular maintenance and prompt troubleshooting can save you from the chaos of a completely blocked pipe or a flooded kitchen.
Think of your sink as the heartbeat of your kitchen. Keep it strong and steady to avoid a plumbing catastrophe that could rival a hurricane.
Stay vigilant and enjoy smooth, powerful water flow every time, especially by fixing low water pressure in your kitchen sink promptly.