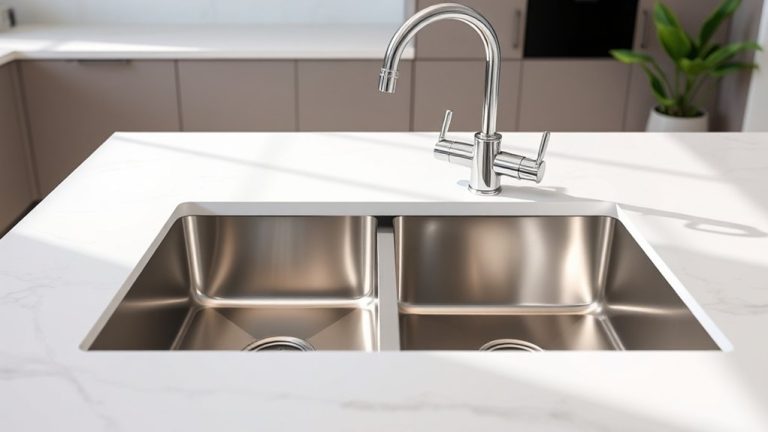
5 Simple Steps to Install a Kitchen Sink Sprayer
Dealing with a stubborn or leaking kitchen sink sprayer can be such a hassle, right? You’re not alone—many people struggle with installing or replacing theirs, and it can feel overwhelming.
Luckily, with a little guidance, this is a simple fix you can handle yourself.
To install a kitchen sink sprayer, start by gathering your tools and parts. Then turn off the water supply and remove the old sprayer.
Next, attach the new sprayer and connect the water lines securely, making sure not to over-tighten.
Turn the water back on to test for leaks and proper flow.
If you encounter any issues, tighten fittings or replace damaged parts.
Keep going to find detailed tips to guarantee a perfect installation.
Key Takeaways
- Turn off the water supply and disconnect the old sprayer from the hose and faucet.
- Remove any debris or mineral buildup from the existing connections and prepare the sink area.
- Install the new sprayer’s mounting hardware and connect the water supply lines securely.
- Turn on the water and test the sprayer for leaks, adjusting fittings as needed.
- Make sure everything works properly, check for leaks, and tighten fittings without over-tightening.
Tools and Parts Needed for Kitchen Sink Sprayer Installation
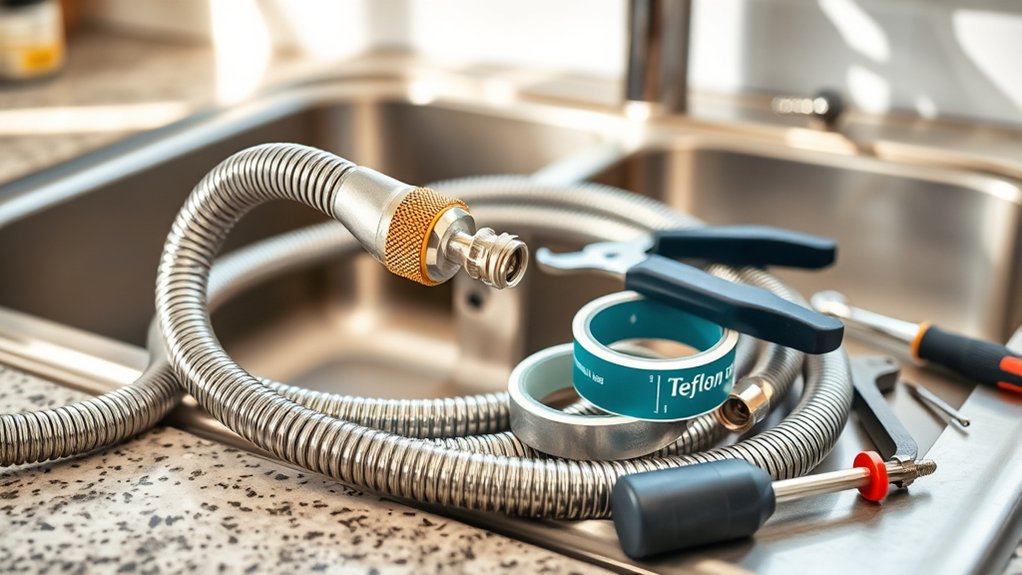
Before you start installing your kitchen sink sprayer, make sure you’ve gathered all the necessary tools and parts. You’ll need an adjustable wrench, a plumber’s tape, a screwdriver, and a bucket to catch any water drips.
Ensure you have the new sprayer, hoses, and mounting hardware that come with the package. Having everything ready helps make the installation smoother and prevents delays.
You might also want a small brush for sprayer maintenance later on, keeping your sprayer in top shape. To adjust water pressure, check if your new sprayer has a flow restrictor or adjustable settings.
Having the right tools and parts makes it easier to connect hoses securely and avoid leaks. Confirming you have everything on hand lets you focus on the installation and fine-tune the water pressure.
With these tools and parts ready, you’ll be set to confidently install your kitchen sink sprayer.
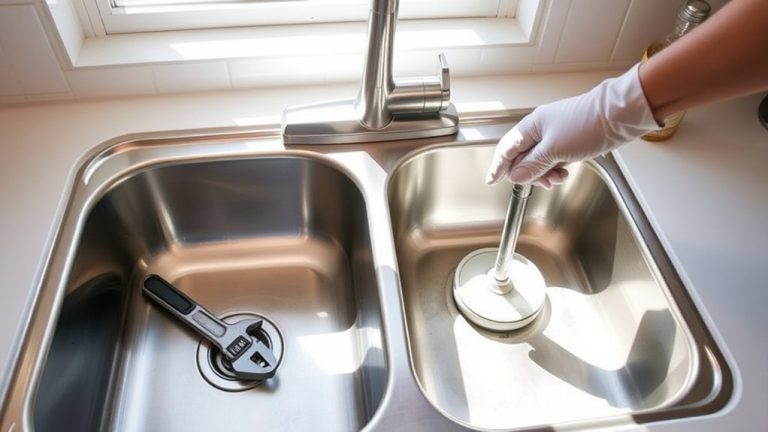
Remove Old Sprayer and Prepare Your Sink
Start by turning off the water supply to your sink to prevent leaks or water damage. Next, disconnect the old sprayer from the hose and faucet. Use pliers if needed, but be careful not to damage the fittings.
Once removed, check the hose and connection points for debris or mineral buildup, which can affect water pressure and spray patterns. Clean or replace any worn washers or seals to ensure a tight fit for your new sprayer.
Check the hose and connections for debris or buildup; replace worn washers for a secure, effective fit.
If your sink has multiple holes, make sure the old sprayer’s mounting hardware is removed and the area is clear. This will help with a smooth installation of the new sprayer.
Finally, check that the spray head and hose are free of cracks or leaks. Proper preparation now will give you ideal water pressure and flexible spray patterns once you install the new sprayer.
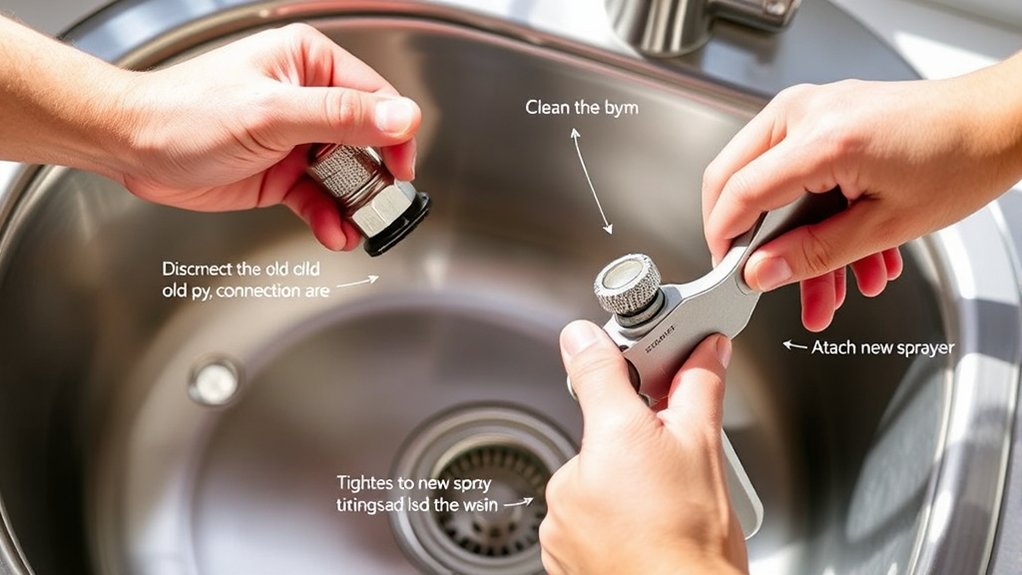
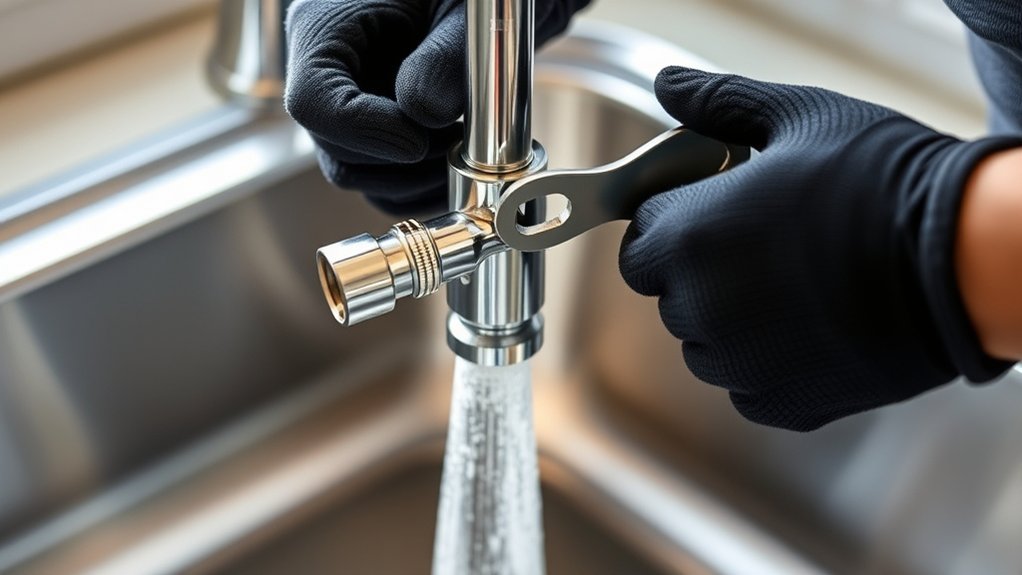
Install the New Sprayer and Connect Water Lines

Once you’ve prepared the sink area, position the new sprayer so that its mounting hardware lines up with the existing hole or mounting point. Tighten the mounting nut securely to ensure the sprayer is stable.
Next, connect the water supply lines to the sprayer’s inlet and the faucet’s outlet. Tighten the fittings by hand and then use a wrench, but be careful not to over-tighten. As you do this, check that the water pressure adjustment valve on the sprayer is set to your preferred level.
Proper water pressure is key for effective operation, so make adjustments if needed. Remember, regular sprayer maintenance helps prevent clogs and leaks, keeping everything working smoothly.
Once all the connections are secure and the water pressure is set, you’re ready to test for leaks and make sure the sprayer functions properly. Proper installation now guarantees your sprayer will perform reliably and last longer.
Test for Leaks and Make Sure Your Sprayer Works
After finishing the installation, turn on the water supply and activate the sprayer to check for leaks. Keep a close eye on the connections; tight fittings help prevent leaks and reduce future maintenance issues. Run both hot and cold water to make sure the flow is proper.
If you see drips or water escaping, gently tighten the fittings until they’re secure. Visualize this process with the following imagery:
| Water Flow | Pressure Build-up |
|---|---|
| Water sprays from the nozzle | Connection tightens |
| No leaks present | Water flows smoothly |
| Leak signs | Tightening steps |
| Dripping fittings | Use a wrench carefully |
| Water around connections | Avoid overtightening |
This test confirms your leak prevention efforts and makes sure your sprayer works efficiently. Regular testing helps keep your sprayer performing at its best and can extend its lifespan. Checking for leaks now saves you time and effort later.
Fix Common Installation Problems and Ensure a Tight Fit
Even with careful installation, you might run into common issues like loose fittings or misaligned parts that can cause leaks or reduce the sprayer’s effectiveness. To fix these problems and ensure a tight fit, focus on proper maintenance and check for compatibility.
Start by tightening all fittings securely with a wrench, but be careful not to over-tighten, as that can damage the threads. Next, inspect the hose and connection points for cracks or wear, and replace any damaged parts to prevent leaks.
Finally, make sure your sprayer is compatible with your sink’s faucet and threading. Mismatched parts can lead to poor fits, so double-check before finalizing the installation.
Frequently Asked Questions
How Do I Choose the Right Sprayer Model for My Sink?
To choose the right sprayer model for your sink, think about the different types, like handheld or pull-down, and how they match your needs.
Check compatibility too, like the size and shape of your sink’s existing holes and the faucet connections.
Measure your current setup carefully, and pick a sprayer that matches your faucet’s threading and mounting style.
This way, you’ll ensure a smooth fit and easy installation.
Can I Install a Kitchen Sink Sprayer Without Professional Help?
Yes, you can install a kitchen sink sprayer without professional help if you have some DIY plumbing skills.
Gather your tools like an adjustable wrench, plumber’s tape, and a bucket to catch water.
Follow the instructions carefully, turn off the water supply, and disconnect the existing hose.
With patience, you can successfully install your sprayer by yourself, saving money and gaining a sense of accomplishment.
What Safety Precautions Should I Take During Installation?
Think of safety precautions as your shield during installation. Always wear gloves and eye protection to prevent injuries from tools and safety hazards.
Turn off the water supply and unplug any electrical connections to avoid shocks or water damage. Keep your workspace dry and organized to prevent accidents.
Remember, electrical precautions are essential. Never work near outlets or wires when water is present.
Stay alert and cautious to install your sprayer safely.
How Do I Maintain or Clean My Sprayer to Prevent Clogs?
To maintain your sprayer and prevent clogs, regularly clean it with simple tips like soaking the spray head in vinegar to dissolve mineral buildup.
Remove the aerator and clear away any debris or gunk that might be stuck. A small brush or toothpick can help with stubborn clogs.
Doing these quick cleaning steps regularly can keep your sprayer working smoothly. Make it a habit to inspect and clean your sprayer once a month for the best results.
Is It Necessary to Shut off the Water Supply Before Installation?
Absolutely, you should shut off the water supply before installing a kitchen sink sprayer—it’s as essential as a captain steering a ship! Turning off the water prevents water flow and pressure from causing chaos, like a flood in your kitchen.
It also makes it easier to connect the sprayer without leaks. Don’t forget to regulate pressure afterward, ensuring your sprayer works smoothly without sudden bursts or drips.
Conclusion
Now that you’ve followed these steps, installing your kitchen sink sprayer is a breeze. With patience and attention to detail, you’ll turn your sink into a more functional space quickly.
Think of it like tuning a guitar—you just need the right tools and a steady hand. Before you know it, you’ll have a sprayer that works perfectly.
Enjoy the convenience of a well-installed kitchen sink sprayer, making your chores simpler and more efficient. No leaks, no fuss—just a job well done.