What Cooking Techniques Can You Use With a Dutch Oven on the Stove Top?
Are you tired of using multiple pots and pans for different dishes? Many people struggle with finding versatile cookware that can do it all. If you own a Dutch oven, you’re in luck because it’s one of the most multifunctional tools in your kitchen.
You can use your Dutch oven on the stove top for a variety of cooking techniques like searing meats, browning vegetables, simmering stews, and making one-pot pasta or grain dishes. It’s perfect for reducing sauces, frying foods for crispy textures, and slow cooking or braising for tender results.
Proper preheating and heat control are key. If you want to discover more ways to maximize your Dutch oven’s potential, keep going to find extra tips and tricks.
Key Takeaways
- Searing meats at high heat to develop flavor and a crust, making sure to preheat the Dutch oven properly and dry the surface beforehand.
- Simmering soups, stews, and sauces, either with the lid slightly ajar or tightly covered, to ensure even heating and moisture retention.
- Building one-pot dishes by adding ingredients directly into the Dutch oven, then cooking with controlled simmering for flavors to meld.
- Reducing sauces by simmering in a wide, shallow Dutch oven to help evaporate excess liquid and concentrate the flavors.
- Frying foods at high temperatures using oils with high smoke points, and keeping the heat steady to get that perfect crispy texture.
Exploring the Many Uses of a Dutch Oven on the Stove
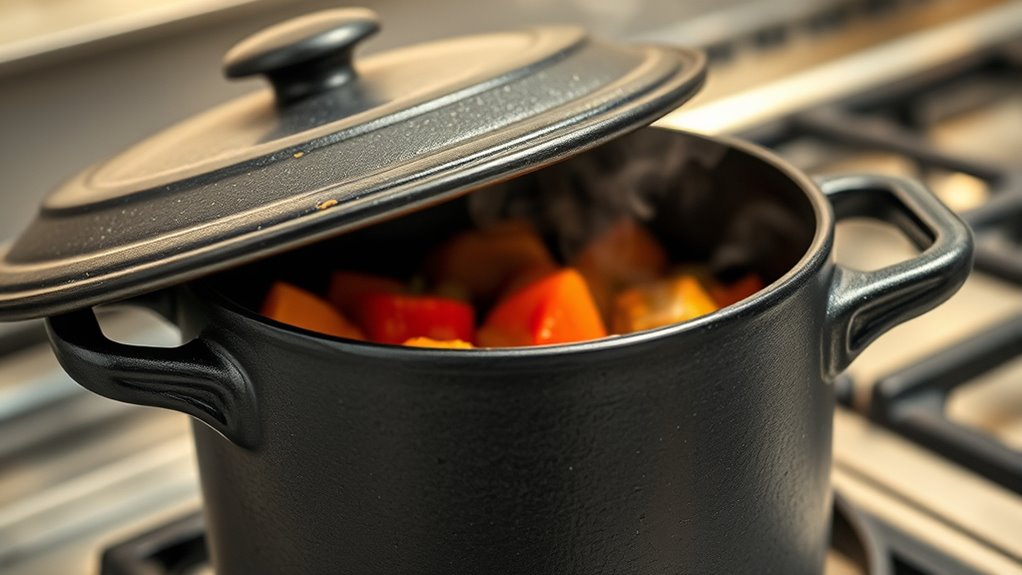
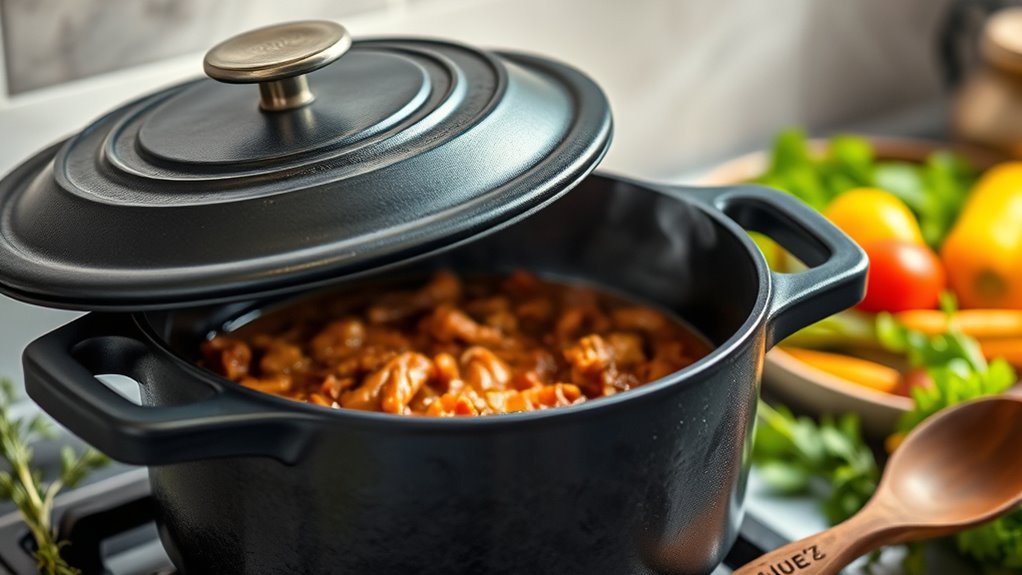
Have you ever considered how versatile a Dutch oven can be on the stove? It’s not just for stews or roasts; this cookware can handle many cooking techniques, making it a must-have in the kitchen.
With the right accessories, you can do even more. For example, adding a wire rack turns it into a steaming or roasting vessel, while a lid thermometer helps you keep an eye on the temperature for precise cooking.
Enhance your Dutch oven with accessories like a wire rack and lid thermometer for versatile, precise cooking.
Historically, Dutch ovens were essential for slow braising and baking bread directly over an open fire. Many of these methods are still relevant today. Using your Dutch oven on the stove makes it easy to recreate those traditional techniques.
Its even heat distribution makes it perfect for simmering, sautéing, and more. By exploring these different uses, you’ll unlock the full potential of your Dutch oven, blending its rich culinary history with everyday convenience.
How to Sear and Brown Meats Perfectly in a Dutch Oven
Before you dive in, make sure your Dutch oven is nice and hot. Preheating it thoroughly helps everything cook evenly and gives you that perfect sear. When the pan is ready, crank up the heat to high — this helps develop a beautiful, flavorful crust on the meat’s surface.
Once you add the meat, try to resist the urge to touch or move it around right away. Let it sit there undisturbed until a nice sear forms. Patience is key for that perfect brown crust!
Properly Preheat Your Dutch Oven
Ever wondered how to get that perfect sear and a rich brown crust on meats in your Dutch oven? Properly preheating your cookware is essential.
Make sure your Dutch oven is made of suitable materials like cast iron or enameled cast iron, which spread heat evenly. Always keep safety in mind: avoid sudden temperature changes that could cause cracking or warping.
Place the Dutch oven on the stove over medium heat and let it heat gradually for about 5 to 10 minutes. You’ll know it’s ready when a few drops of water sizzle and evaporate quickly.
Preheating helps develop a natural non-stick surface and ensures even browning. This gives you the best sear. Take your time—proper preheating sets the stage for perfect meat browning every time.
Use High Heat Techniques
To achieve a perfect sear and a rich, caramelized crust on meats in your Dutch oven, you need to use high heat techniques carefully. Start by preheating the Dutch oven thoroughly to ensure even heat distribution.
Make sure the surface is dry to prevent steaming. Use enough oil to promote browning without smoking. When searing, avoid constantly replacing the lid, as it can trap moisture and hinder browning.
After cooking, clean your Dutch oven properly to maintain its non-stick surface and keep it in good shape for future use. Remember, a clean Dutch oven is key for high-heat cooking.
If the lid gets damaged or warped, replace it to ensure proper heat retention. These tips will help you sear meats perfectly and keep your Dutch oven in top condition.
Cooking Stews and Soups for Comfort and Flavor
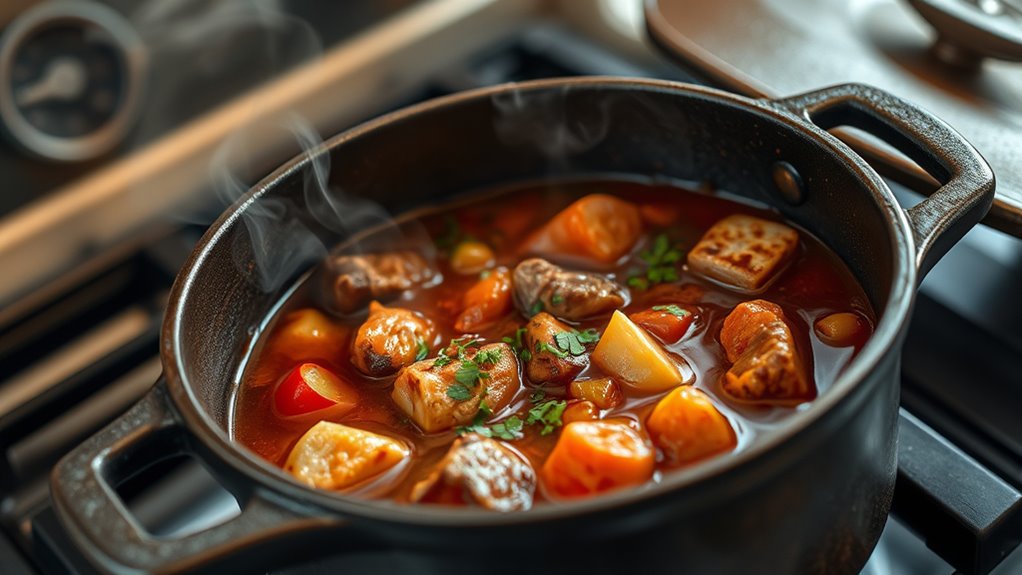
Cooking stews and soups in a Dutch oven is all about building those flavor layers—that’s what makes your dishes truly rich and comforting. It’s like creating a little symphony of tastes, where each ingredient adds its own note. To get that perfect balance, you want to make sure everything simmers evenly, so no part is undercooked or overdone.
Getting the technique right is key to developing that deep, satisfying flavor we all crave. And don’t forget about texture and richness! They’re what make your meal hearty and satisfying from the very first spoonful to the last. With a little patience and attention, your Dutch oven will turn simple ingredients into something truly special.
Building Flavor Layers
Building rich, layered flavors in your Dutch oven starts with careful ingredient selection and strategic cooking steps. To improve your stew or soup, focus on flavor layering by adding ingredients at different stages and using seasoning techniques that deepen taste. Proper seasoning not only boosts flavor but builds complexity over time.
Consider these tips:
- Sear meats thoroughly to develop a savory base.
- Use aromatics like onions, garlic, and herbs early for depth.
- Deglaze the pot to lift caramelized bits and add richness.
- Add spices gradually, tasting as you go.
- Incorporate acidic elements like vinegar or tomato to balance flavors.
Mastering these techniques ensures each spoonful offers a harmonious, comforting experience with well-defined layers of flavor.
Achieving Even Simmering
Have you ever wondered why some stews and soups turn out uneven or watery? Achieving even simmering is key. Start by managing your lid: keep it slightly ajar for gentle moisture escape, or tightly covered for a steady, gentle simmer. This helps prevent over-evaporation or uneven heat distribution.
Consistently stir your dish to evenly distribute heat and ingredients. Incorporate seasoning techniques at different stages—adding some early for depth, and adjusting toward the end for balance.
Maintaining a low, steady temperature ensures your stew simmers gently without scorching or boiling too aggressively. With these tips, your Dutch oven will deliver consistently rich, perfectly simmered soups and stews, full of flavor and without watery patches.
Enhancing Texture and Richness
To improve the texture and richness of your stews and soups, focus on adding ingredients and techniques that boost flavor and mouthfeel. Proper seasoning can really elevate every bite, and slow simmering helps break down ingredients for a velvety consistency.
For extra depth, try blending some of the soup or stew to make it thicker and creamier. Adding aromatics like garlic and onions early on also helps develop richer flavors.
When storing leftovers, use airtight containers to keep everything fresh and flavorful. Using fresh herbs and spices can really make a difference in taste.
A splash of wine or vinegar can add brightness and complexity. Simmering uncovered allows the broth to thicken naturally. For extra richness, consider stirring in a touch of butter or cream.
Preparing One-Pot Pasta and Grain Dishes in Your Dutch Oven
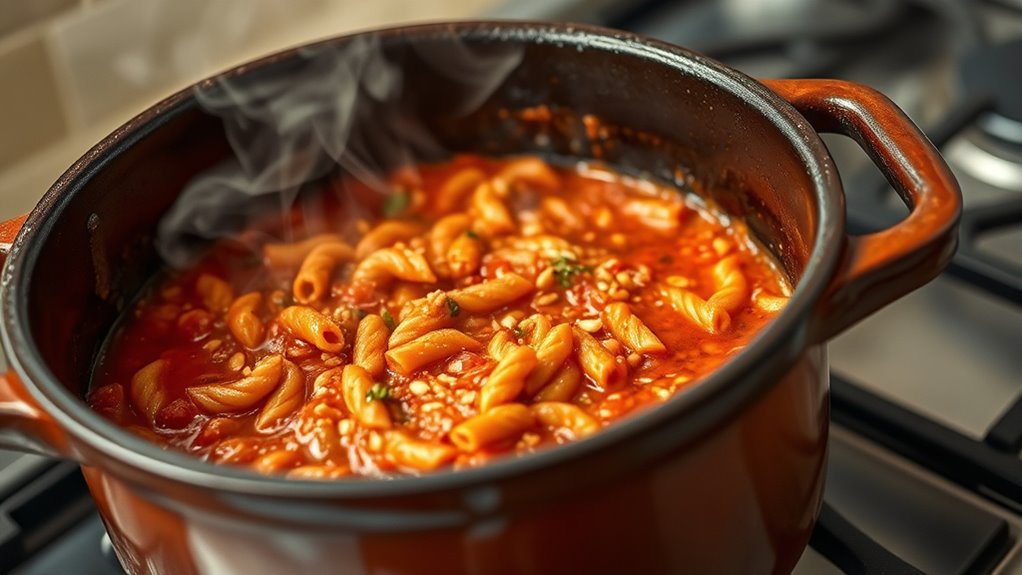
Ever wondered how to effortlessly make flavorful one-pot pasta or grain dishes in your Dutch oven? Start by making sure your Dutch oven’s seasoned surface is well-maintained. This helps prevent sticking and boosts flavor.
Add your ingredients—pasta or grains, broth, vegetables, and seasonings—directly into the pot. Because the lid locks snugly, moisture stays trapped, making it perfect for one-pot cooking.
Bring the mixture to a boil over medium-high heat, then reduce to a simmer. Stir occasionally to prevent sticking and ensure even cooking.
The seasoned surface helps release the pasta or grains easily when done, while the lid keeps the moisture in. Once the pasta or grains are tender and the liquid absorbed, just remove from heat.
This method results in flavorful, perfectly cooked dishes with minimal cleanup, making your Dutch oven an essential tool for quick, hearty meals.
How to Simmer and Reduce Sauces for Rich Flavors
Simmering and reducing sauces is a key step in building deep, concentrated flavors in your dishes. When you simmer, you gently cook the sauce at low heat, allowing excess water to evaporate and intensify the flavor.
Simmer and reduce sauces gently to deepen flavor and achieve rich, concentrated results.
Sauce reduction is essential for achieving a richer, more balanced taste. To do this effectively in your Dutch oven, keep the heat low and stir occasionally to prevent sticking or burning.
Here are some tips to master sauce reduction: Maintain a gentle simmer, not a rapid boil, to avoid over-reduction. Use a wide, shallow Dutch oven to maximize surface area.
Keep an eye on the sauce’s consistency, as it thickens quickly toward the end. Add a splash of acid or seasoning to boost flavor concentration.
Remove the Dutch oven from heat once the sauce reaches your desired thickness. These techniques help you create sauces with depth and fullness, elevating your dishes with rich, intensified flavors.
Baking Bread and Flatbreads in a Dutch Oven
Have you ever wondered how to get that perfect crust and tender crumb when baking bread at home? Using your Dutch oven on the stove top is a fantastic way to do it.
Start by preparing your dough and letting it rise properly. When you’re ready, shape your bread or flatbread and place it inside a preheated Dutch oven.
To trap steam and create that bakery-quality crust, cover the Dutch oven with its lid. Using the right accessories, like a silicone oven mitt or a heat-safe trivet, helps handle the hot cookware safely.
After baking, store the Dutch oven in a dry, protected area to keep it in top shape. This method ensures even heat distribution, giving you beautifully baked bread with a crisp crust and soft interior.
With just a few simple tools and techniques, you can master baking bread and flatbreads right on your stove top.
Slow Cooking and Braising for Tender, Juicy Results
If you want your Dutch oven dishes to come out tender and juicy, the key is to cook low and slow. Taking your time allows all those flavors to really meld and develop fully, making your meal way more delicious.
And don’t forget about moisture! Adding some broth or covering your dish tightly helps keep everything nice and juicy, so nothing dries out during the long cook. Once you get the hang of these simple techniques, braising and slow cooking become easy and super rewarding.
Low and Slow Heat
Cooking with a Dutch oven often involves low and slow heat to bring out deep, rich flavors and get tender textures. When you simmer or braise on the stovetop, ingredients break down gently, boosting taste and juiciness.
To do this well, consider using accessories like heat diffusers for even heat distribution. This technique works great for outdoor cooking, where keeping a steady temperature is important.
Here are some tips to maximize low and slow heat:
- Use a diffuser to prevent hotspots
- Keep the heat at a gentle simmer
- Cover tightly to trap moisture
- Stir occasionally for even cooking
- Adjust the burner to maintain a consistent temperature
Following these steps helps your dishes stay moist, flavorful, and perfectly tender.
Moisture Retention Techniques
Maintaining moisture during slow cooking and braising is key to getting tender, juicy results in your Dutch oven dishes. To boost flavor and lock in moisture, keep the lid on tight and use low, even heat.
This traps steam, which prevents moisture from escaping and keeps your ingredients tender. It’s all about creating that perfect environment for slow, flavorful cooking.
| Technique | Effect |
|---|---|
| Slow Cooking | Gentle heat, locks in moisture, boosts flavor infusion |
| Braising | Liquid surrounds food, tenderizes, enhances taste |
| Covering with lid | Prevents evaporation, keeps moisture steady |
Using these methods helps you make dishes that are perfectly cooked and bursting with flavor. They ensure every bite stays juicy and tender.
Frying and Achieving Crispy Textures in Your Dutch Oven
Achieving crispy textures in your Dutch oven starts with choosing the right oil and keeping the temperature just right. Oils with high smoke points like vegetable or canola oil are best to prevent burning and ensure even frying.
Keep the temperature between 350°F and 375°F for that perfect crunch. Proper seasoning helps build a non-stick surface, making it easier to fry foods evenly without sticking.
After frying, cleaning your Dutch oven well is key to removing residual oil and avoiding buildup. This keeps the seasoning intact and your oven performing its best.
Use a thermometer to track oil temperature accurately, and preheat the Dutch oven thoroughly before frying. Avoid overcrowding the pot to keep the heat steady and foods crispy.
Pat foods dry before frying to reduce splatter and improve crispness. Regularly clean and reseason your Dutch oven to ensure it stays in great shape and continues to give you excellent frying results.
Caring for and Maintaining Your Dutch Oven on the Stove
Ever wonder how to keep your Dutch oven in top shape while using it on the stove? Proper care involves a few simple steps. After each use, let it cool slightly, then wash it with warm water and a soft brush—avoid soap, which can strip seasoning.
Keep your Dutch oven in top shape with gentle washing and proper drying after each use.
Dry it thoroughly to prevent rust, especially if it’s cast iron. To maintain its non-stick surface, occasionally apply a light coat of vegetable oil and heat it briefly. Store your Dutch oven in a dry, well-ventilated space, using storage solutions like a cloth or paper towel inside to absorb moisture.
Incorporate Dutch oven accessories, such as lids with tight seals or silicone trivets, to protect the surface and make handling easier. Regular maintenance keeps your Dutch oven performing well, prolongs its lifespan, and guarantees your cooking remains delicious.
With these tips, your Dutch oven will stay in excellent condition for years to come.
Troubleshooting Common Dutch Oven Cooking Issues
Have you ever opened your Dutch oven to find your dish isn’t turning out quite right? Common issues often come from improper seasoning techniques or lid problems.
Start by making sure your Dutch oven is well-seasoned. A good seasoning helps with heat distribution and keeps food from sticking. If your food burns or sticks, try re-seasoning or extending the seasoning process.
When lid issues come up, pick one that fits snugly. A tight lid traps moisture, making your braises and stews come out better.
Here are some quick tips to troubleshoot:
- Re-season your Dutch oven to boost non-stick performance
- Use a tight-fitting lid to keep moisture in
- Adjust heat levels to prevent burning or uneven cooking
- Avoid cooking acidic foods in unseasoned or damaged pans
- Regularly check and replace lids that don’t seal properly
Frequently Asked Questions
Can I Use My Dutch Oven for Caramelizing Vegetables on the Stove?
Yes, you can use your Dutch oven for caramelizing vegetables on the stove. Just make sure it’s well-seasoned to prevent sticking and help distribute heat evenly.
Check that the lid works on the stovetop if you plan to simmer or keep moisture in. Stir the vegetables often to avoid burning and keep an eye on the heat to prevent overheating.
With proper seasoning and a compatible lid, your Dutch oven is great for caramelizing vegetables.
What Are the Best Stovetop Techniques for Making Risotto in a Dutch Oven?
To make risotto in a Dutch oven on the stovetop, start by sautéing your aromatics until they’re fragrant. Then, add the rice and toast it lightly, stirring often.
Next, pour in warm broth gradually, stirring constantly. This helps develop that creamy, luscious texture we’re aiming for.
Keep the heat steady and keep stirring to prevent sticking. The constant attention ensures your risotto turns out rich, creamy, and perfectly cooked.
With these techniques, you’ll get a delightful risotto every time.
How Do I Prevent Sticking When Sautéing in a Dutch Oven?
Think of your Dutch oven as a dance partner—smooth and steady. To prevent sticking, season it well before cooking, creating a natural non-stick surface.
Use enough oil and keep the heat moderate. Too hot, and food sticks like glue.
After cooking, follow proper cleaning methods—avoid abrasive scrubbers—to preserve your seasoning tips.
With patience, your Dutch oven will glide through sautéing, turning every dish into a graceful performance.
Is It Safe to Use a Dutch Oven on an Induction Cooktop?
Yes, it’s safe to use a Dutch oven, especially cast iron, on an induction cooktop. Just make sure your Dutch oven has a magnetic base for proper heat transfer.
Regular cast iron maintenance keeps it in good shape and prevents rust, which is especially important with induction heating. Always lift, rather than slide, your Dutch oven to avoid scratching the surface.
Finally, verify your cookware’s compatibility for safe and efficient cooking.
Can I Use My Dutch Oven for Making Stovetop Desserts?
Did you know Dutch ovens excel at versatile cooking? Yes, you can make stovetop desserts like caramelized fruit or bread pudding in your Dutch oven. Its excellent heat retention makes it perfect for stovetop braising and Dutch oven roasting.
You’ll love how evenly it cooks, creating rich, delicious desserts. Just adjust heat settings to prevent burning, and you’re set for a sweet, satisfying treat straight from your Dutch oven.
Conclusion
Think of your Dutch oven as a trusty steed, ready to carry you through a culinary adventure. With its versatility on the stove, you can tame hearty stews, summon crispy fried delights, or craft perfect one-pot meals.
Adopt each technique like a rider mastering different reins—searing, simmering, frying—and watch your cooking journey become a rewarding quest. Your Dutch oven is your steadfast companion, transforming simple ingredients into delicious stories on your stove.
When using your Dutch oven on the stovetop, you can sear meats to lock in flavor, simmer soups and stews to develop deep richness, or fry foods to crispy perfection. These techniques highlight the versatility of your Dutch oven, making it an essential tool for many recipes.
Mastering these stove-top techniques with your Dutch oven will elevate your cooking game. From browning to boiling, your Dutch oven on the stove brings out the best in every ingredient, turning everyday meals into something special.