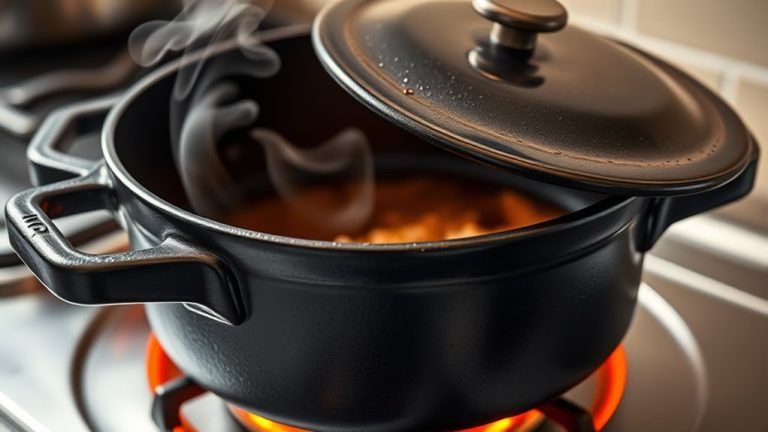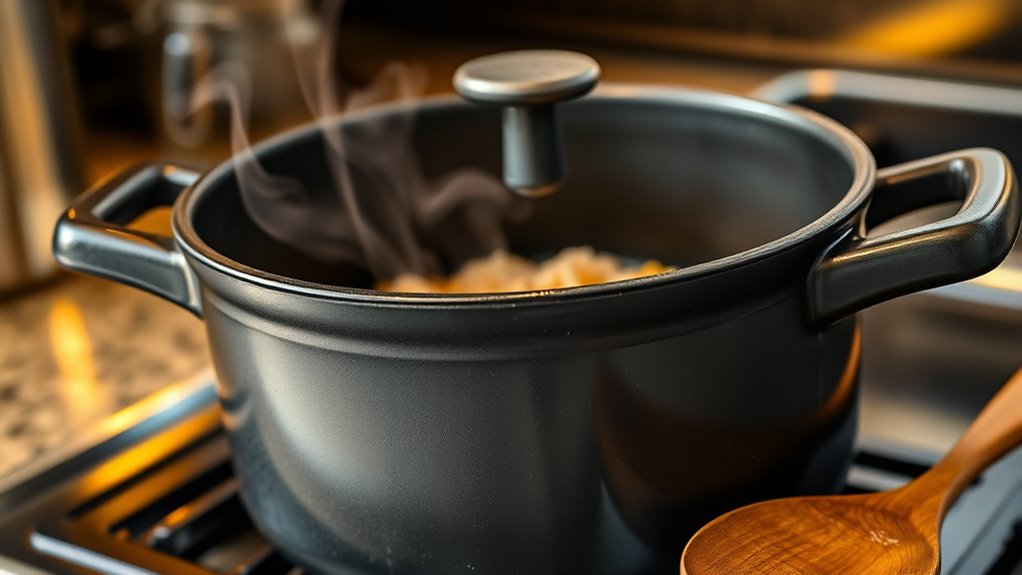
What Techniques Should You Use With a Dutch Oven on the Stove?
Many home cooks find themselves frustrated when their dishes don’t turn out quite right with a Dutch oven on the stove. You’re not alone—getting the perfect results can be tricky without the right techniques. But with a little know-how, you can master your Dutch oven skills and elevate your cooking game.
To use your Dutch oven effectively on the stove, manage heat carefully by starting with low or medium temperatures and adjusting as needed. Seal the lid tightly for flavor and moisture retention, and preheat it thoroughly. Use gentle stirring and avoid sharp utensils to protect the surface.
For browning and caramelization, add a small amount of high-smoke-point oil, and vent the lid to prevent burning. Keep these techniques in mind to cook efficiently—more tips await to help you master your Dutch oven skills.
Key Takeaways
- Use low to medium heat settings and consider a diffuser for even cooking and hotspot prevention.
- Preheat the Dutch oven thoroughly before adding ingredients to ensure proper searing and baking.
- Choose utensils that are gentle on the surface, such as wooden or silicone, to preserve seasoning and prevent scratches.
- Stir gently and often to promote even cooking and prevent sticking or burning.
- Vent the lid slightly during baking to release excess steam and develop a proper crust.
How to Prepare Your Dutch Oven for Stove Cooking
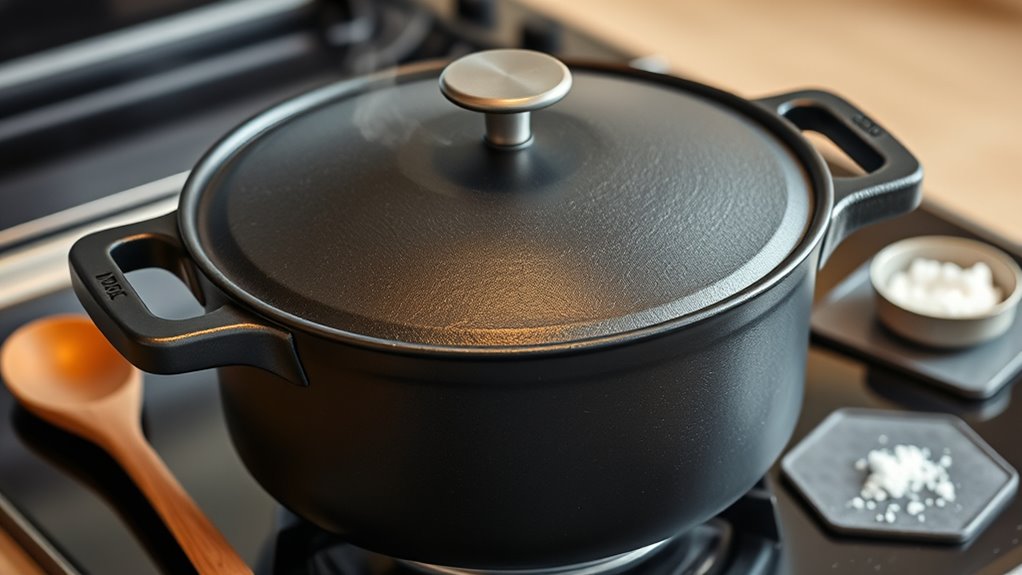
Before you start cooking with your Dutch oven on the stove, it’s important to prepare it properly. First, check that your Dutch oven accessories, like the lid and handles, are secure and clean.
To guarantee it performs well, use effective seasoning techniques—apply a thin layer of oil to the interior surface and heat it gradually. This creates a natural non-stick coating and prevents rust.
Apply a thin oil layer and heat gradually to create a natural non-stick coating and prevent rust.
If your Dutch oven is new, consider seasoning it several times before first use to build up a protective layer. Always wash it gently with warm water and avoid harsh soaps, which can strip the seasoning.
After cleaning, dry it thoroughly and reapply a light coat of oil before storing. Proper preparation helps your Dutch oven last longer, maintains its non-stick properties, and improves heat distribution during stove cooking.
Taking these steps ensures you get the best results every time you cook.
Manage Heat Properly When Using a Dutch Oven
Controlling the heat is key when cooking with a Dutch oven on the stove. You want to avoid high heat that can scorch your food or damage the seasoning on your Dutch oven.
Use your stove’s low or medium settings and adjust as needed. For more precise heat control, consider using heat diffusers that distribute heat evenly and prevent hotspots.
This helps keep the temperature steady during cooking. Keep a close eye on your Dutch oven and make small adjustments to maintain consistent heat.
Proper seasoning also helps. A well-seasoned Dutch oven retains heat better and creates a natural non-stick surface, making it easier to manage heat.
Remember, patience is important. Start with low heat and gradually increase if necessary.
With these tips, you’ll prevent sticking, burning, or warping, and your Dutch oven will perform great on the stove.
How to Seal Your Dutch Oven for Better Flavor and Moisture
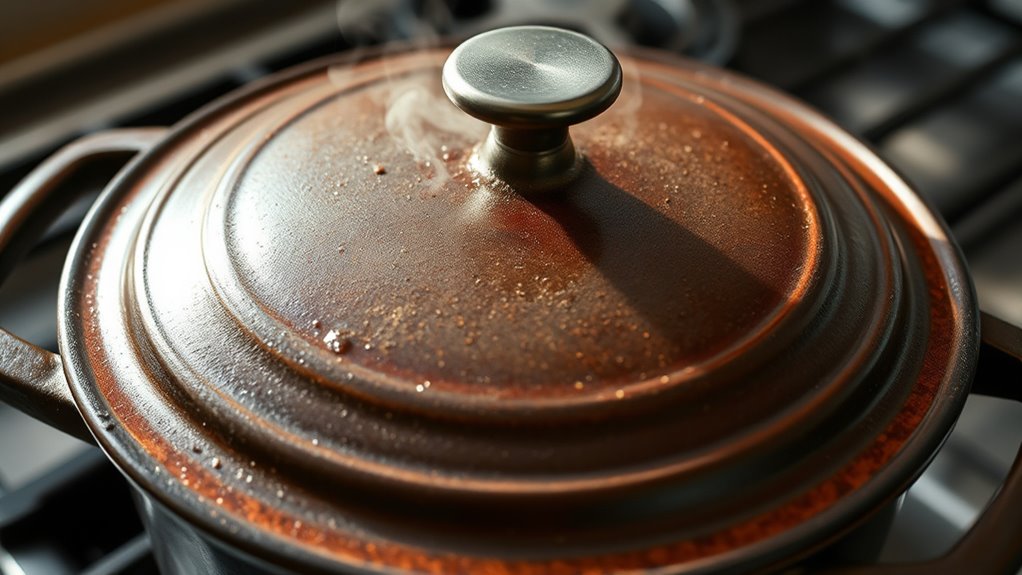
Sealing your Dutch oven properly is key for locking in flavors and moisture, especially when slow cooking or braising. Start with good seasoning techniques; a well-seasoned surface creates a natural barrier that helps retain moisture.
Properly sealing your Dutch oven locks in flavors and moisture for tender, flavorful dishes.
When choosing a lid, go for one that fits tightly against the rim. This prevents steam from escaping and keeps your food moist. If your lid feels loose, you can add a layer of aluminum foil around the edges or use a heat-resistant silicone gasket to improve the seal.
Consistent seasoning builds a non-stick, moisture-retaining surface over time. This naturally helps lock in flavors and keeps your dishes tender and flavorful. Preheating the lid slightly before cooking can also help strengthen the seal.
Proper lid selection and regular maintenance are essential for maintaining ideal moisture levels. This ensures your Dutch oven produces tender, flavorful dishes every time. Remember, a well-sealed Dutch oven is your best tool for developing rich flavors and moist textures in your recipes.
Searing and Browning Techniques to Build Rich Flavors
Searing and browning are essential steps that bring out deep, complex flavors in your dishes. When you sear meat or vegetables in your Dutch oven, you start the process of flavor amplification through caramelization.
This creates a rich, savory crust that adds depth to your dish. To get there, make sure your Dutch oven is preheated over medium-high heat and add a small amount of oil with a high smoke point.
Pat your ingredients dry to help them brown evenly, then place them in the hot pan without overcrowding. Let them sit undisturbed until they develop a golden-brown crust before turning or stirring.
This technique not only boosts the flavor but also locks in juices, resulting in tender, flavorful results. Remember, patience is key—rushing can prevent proper caramelization.
Mastering searing and browning in your Dutch oven helps build layers of flavor that really elevate your entire dish.
How to Stew and Simmer for Tender Results
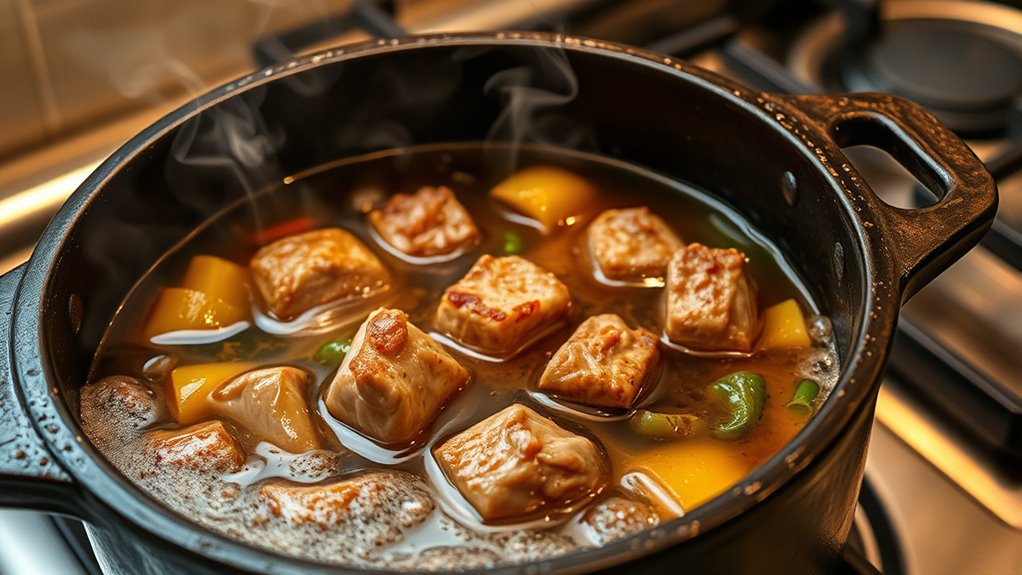
To get tender, flavorful results, it’s important to get the hang of stewing and simmering in your Dutch oven. Start by layering ingredients carefully, placing tougher cuts of meat and hearty vegetables at the bottom where the heat is more direct. This setup helps everything cook evenly and boosts flavor.
When simmering, keep the heat low. A gentle, steady simmer allows flavors to meld without making ingredients tough. Cover the Dutch oven to trap moisture, which helps tenderize tougher cuts and enhances flavor. Stir occasionally to prevent sticking and to make sure everything is evenly coated.
Patience is key here. Long, slow cooking breaks down connective tissues and develops rich, tender results. Adjust the heat as needed to keep a gentle simmer—rapid boiling can toughen ingredients and ruin your dish. With these simple techniques, your stews and braises will turn out perfectly tender, flavorful, and satisfying every time.
Controlling Temperature for Baking Bread in a Dutch Oven
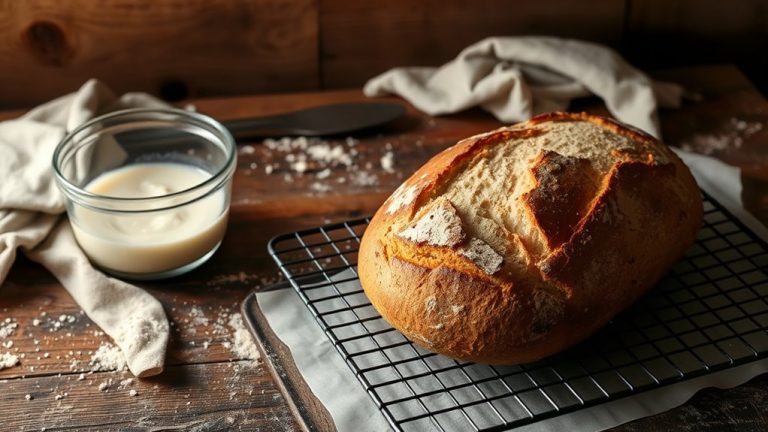
Controlling the temperature is essential for baking perfect bread in a Dutch oven because it affects crust development and overall texture. Start by keeping an eye on your stove’s heat levels and adjust as needed.
Dough hydration also plays a role. Higher hydration doughs tend to need slightly lower temperatures to prevent burning and to bake evenly. Different flour types impact heat sensitivity too.
Whole grain flours, for example, may need gentler heat to avoid scorching the crust. Use medium to low heat to keep the Dutch oven steady, and make sure to preheat it thoroughly before adding your dough.
If you notice the crust browning too quickly, lower the heat or briefly remove the lid to prevent burning. Conversely, if the bread isn’t browning enough, increase the heat slightly.
Adjusting for dough hydration and flour type helps you get a beautifully baked loaf with a crisp crust and tender crumb.
Use Moisture and Venting to Prevent Burning and Sticking
Using moisture and proper venting is key to preventing your bread from burning or sticking to the Dutch oven. Moisture control helps keep the baking environment even and stops the crust from becoming too dry or scorched.
To do this, add a small amount of water to the lid or place a wet cloth inside the Dutch oven before baking. This creates steam, which keeps the crust tender and prevents sticking.
Venting is just as important. You want to release excess steam at the right moments. Slightly opening the lid during baking allows steam to escape, reducing pressure and avoiding sogginess.
Be careful not to open the lid too often, as it can cause temperature fluctuations. Proper moisture management paired with effective venting ensures your bread bakes evenly without burning or sticking.
This gives you a perfect crust and a thoroughly cooked interior every time.
Safe and Easy Stirring Tips for Dutch Oven Cooking
When you’re stirring in your Dutch oven, it’s best to pick utensils that have sturdy, heat-safe handles. That way, you can stir safely without worrying about the handle getting too hot or slipping out of your hand.
Stir gently and often—that way, you help prevent sticking and make sure everything cooks evenly. And don’t forget to keep the heat steady. Too high, and you might end up burning your food; too low, and it might take longer to cook. Keeping the heat just right makes stirring easier and your meal turn out perfectly!
Use Proper Utensils
Choosing the right utensils is key for safe and effective Dutch oven cooking. Use wooden or silicone spatulas and spoons to prevent scratching the enameled surface.
Metal utensils can damage the coating and make cleaning more difficult. When stirring, choose tools that distribute heat evenly and won’t transfer heat themselves, reducing the risk of burns.
Proper utensils also help preserve your seasoning techniques, keeping the surface non-stick and durable. Avoid sharp or abrasive tools that can chip or scratch the interior.
Keep your utensils clean and dry to prevent rust or contamination. Using the right tools protects your cookware and makes stirring safer and more efficient during stove-top cooking.
Stir Gently, Often
Because Dutch ovens distribute heat evenly, it’s important to stir gently and often to prevent food from sticking or burning. Stirring softly helps keep ingredient layers intact, so each piece keeps its shape and texture.
This gentle movement also helps flavors meld together, allowing spices and seasonings to infuse smoothly into the dish. When you stir regularly, you prevent ingredients from settling at the bottom and creating hotspots, which can burn.
Use a wooden or silicone spoon to avoid scratching the enamel and to stay in control. Slow and steady stirring encourages even cooking and better flavor development. By staying attentive and stirring often, you’ll cook more efficiently and achieve a richer, more balanced dish.
Maintain Consistent Heat
Maintaining a steady, even heat is essential when cooking with a Dutch oven on the stove, as fluctuations can cause uneven cooking or burning. To achieve this, use quality Dutch oven accessories like heat diffusers if needed, especially on sensitive stovetops.
Keep a close eye on the temperature and adjust the burner accordingly to prevent hotspots. Proper seasoning techniques also help distribute heat more evenly and protect the cast iron surface, making your Dutch oven more responsive to heat changes.
Regularly check your seasoning to guarantee a smooth, non-stick surface, which improves heat retention. By controlling the heat consistently, you’ll avoid scorching your food and ensure perfect results every time.
This simple step is key to mastering Dutch oven stovetop cooking.
Troubleshooting Common Dutch Oven Cooking Problems
If your food keeps sticking or burning easily, don’t worry—sometimes it’s just a matter of adjusting the heat or using a bit more fat. Turning down the heat or adding a little oil or butter can really make a difference. It helps prevent food from sticking and burning, giving you a much better cooking experience.
Now, if you notice that your Dutch oven heats unevenly, that’s pretty common too. In that case, try rotating the pot a bit during cooking or use a heat diffuser. These tricks help distribute the heat more evenly, so your food cooks perfectly without hot spots. Fixing these little issues can make your cooking much smoother and give you better results every time.
Preventing Food Sticking
Food sticking is a common issue when using a Dutch oven, but you can prevent it with proper techniques. Start by applying effective seasoning techniques to create a natural non-stick surface; well-seasoned cast iron Dutch ovens are less likely to cause sticking.
Moreover, consider lid alternatives like parchment paper or silicone mats for specific recipes to prevent food from sticking to the lid’s surface. Always preheat your Dutch oven gradually and add enough oil or fat before cooking to create a barrier between food and the surface.
Avoid rushing the process, as sudden temperature changes can cause sticking. Regularly maintaining your Dutch oven’s seasoning will improve its non-stick properties, making your cooking smoother and cleanup easier.
Managing Uneven Heating
Uneven heating is a common challenge when using a Dutch oven on the stove, but you can fix it with some simple troubleshooting. To get better heat distribution, try seasoning techniques that create a non-stick surface and improve heat retention.
You can also use lid alternatives like a heat diffuser or a silicone lid to better regulate the temperature. Rotating the Dutch oven periodically helps ensure all areas heat evenly.
Using a burner that matches the size of your Dutch oven is important to prevent hot spots. Keep an eye on your heat settings and adjust as needed to avoid scorching or cold spots.
These easy steps will help make your stove-top cooking more consistent and improve your overall Dutch oven experience.
How to Clean and Maintain Your Dutch Oven for Longevity
To guarantee your Dutch oven lasts for years, proper cleaning and maintenance are essential. After each use, clean it with warm water and a gentle brush. Avoid soap unless necessary, as it can strip the seasoning.
Dry it thoroughly to prevent rust, especially if it’s cast iron. Regularly check your Dutch oven accessories, like lids and handles, for wear or damage. To maintain its non-stick surface, apply seasoning techniques periodically, especially if you notice food sticking.
Lightly coat the interior with oil and heat it to build up a protective layer. Proper storage is also key; store in a dry, well-ventilated space. If you see rust or stubborn residue, scrub gently with a steel wool pad, then re-season.
Keeping your Dutch oven clean and well-maintained ensures it remains a reliable tool. It will cook evenly and resist damage over time.
Frequently Asked Questions
Can I Cook Acidic Foods in My Dutch Oven on the Stove?
Yes, you can cook acidic foods in your Dutch oven on the stove, especially if it has an enameled coating. The enameled surface stops the acid from reacting with the cast iron, protecting both the finish and flavor.
Just remember to care for your cast iron properly by avoiding metal utensils and cleaning gently. This helps keep your Dutch oven in good shape.
With these tips, your Dutch oven will stay great, and your acidic dishes will turn out delicious.
What’s the Best Way to Prevent Sticking During Stove-Top Cooking?
To prevent sticking on the stovetop, start with proper seasoning techniques. Make sure your Dutch oven has a well-developed non-stick surface before cooking.
Heat the pot gradually and add enough oil, spreading it evenly. This helps create a barrier that reduces sticking.
After cooking, clean gently with warm water and a soft brush. Avoid harsh abrasives to protect your seasoning.
This approach keeps food from sticking and helps your Dutch oven last longer.
How Do I Safely Handle a Hot Dutch Oven on the Stove?
To safely handle a hot Dutch oven on the stove, wear oven mitts or heat-resistant gloves to protect your hands.
When removing the lid, lift it away from you to avoid steam burns, and handle it carefully so you don’t drop it.
After cooking, let the Dutch oven cool down before cleaning and avoid sudden temperature changes that could cause damage.
For cleaning, scrub gently with non-abrasive tools to keep the seasoning intact.
Should I Use Oil or Butter When Cooking With a Dutch Oven on the Stove?
You should use oil when cooking with a Dutch oven on the stove, as it helps build a seasoning layer and prevents sticking.
Butter can burn easily, so it’s better for finishing dishes.
To maintain your Dutch oven, apply seasoning techniques regularly and clean it with gentle methods. Avoid soap to preserve the seasoning.
Proper oil use and cleaning keep your Dutch oven in great shape for consistent, flavorful cooking.
How Long Can I Leave Food Simmering in My Dutch Oven?
You can leave food simmering in your Dutch oven for about 1 to 4 hours, depending on the dish. Just keep an eye on it to make sure it doesn’t overcook.
Use seasoning techniques to boost the flavors and manage the lid by adjusting it for proper simmering—partially covering or fully sealing as needed.
Keep the heat low to prevent burning or drying out, and stir occasionally to keep everything evenly cooked.
Always monitor your dish to ensure it doesn’t stick or burn, which helps you end up with a delicious, well-seasoned meal.
Conclusion
Think of your Dutch oven as a trusted ship steering the culinary seas. With proper preparation, steady heat, and mindful techniques, you’ll steer clear of storms like burning or sticking.
By sealing in flavors and mastering browning, you chart a course toward rich, tender treasures. Keep your Dutch oven well-maintained, and it’ll serve as your steadfast companion through countless flavorful voyages.
This way, you turn everyday ingredients into culinary adventures that leave lasting impressions. Your Dutch oven is ready for endless voyages on your stove.