Master Cabinet Care: Adjust Kitchen Cabinet Hinges
Are you tired of struggling with crooked or hard-to-open kitchen cabinet doors? You’re not alone—many people find it frustrating when their cabinets aren’t functioning smoothly.
Luckily, adjusting your kitchen cabinet hinges is easier than you might think.
To adjust your kitchen cabinet hinges, start by identifying if your doors are crooked, misaligned, or hard to open. Use a screwdriver, level, and measuring tape to make small adjustments to the hinges.
Tighten loose screws, lubricate squeaky hinges, or replace damaged ones as needed.
Proper maintenance prevents future issues and keeps your cabinets looking polished. Keep exploring for detailed tips to make certain your hinges stay perfectly aligned and functioning smoothly over time.
Key Takeaways
- Identify misaligned or squeaky hinges by looking for visual cues and checking how the door functions.
- Use the right screwdrivers and measuring tools for accurate hinge adjustments.
- Tighten or loosen hinge screws gradually to realign doors and make them move smoothly.
- Regularly lubricate hinges to prevent squeaks and keep operation quiet.
- Replace any damaged or rusted hinges quickly to keep your cabinets looking good and working well.
How to Identify When Your Kitchen Cabinet Hinges Need Adjustment
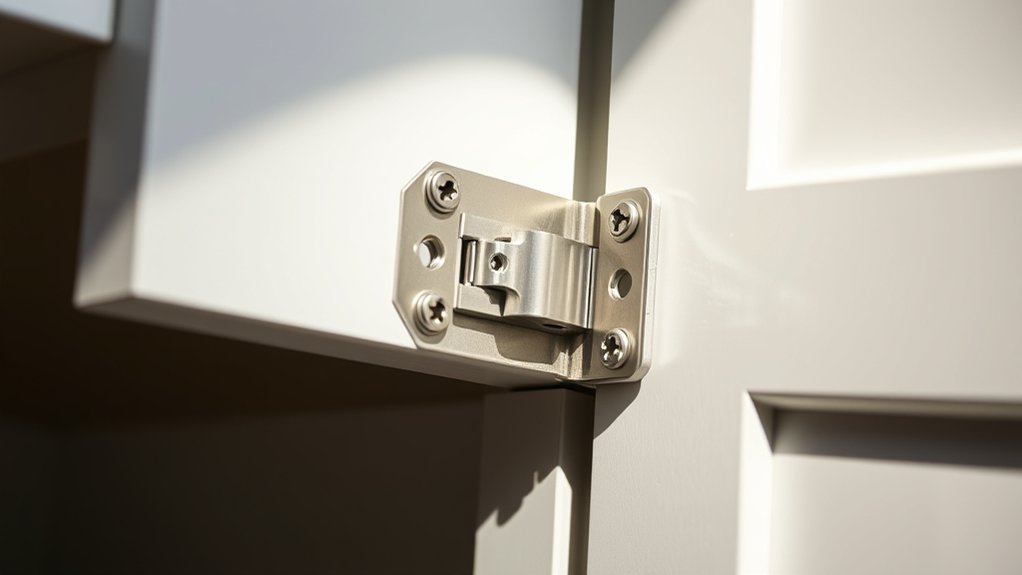
Sometimes, your kitchen cabinets can start to misalign or become hard to open and close properly. If you notice crooked doors or uneven gaps, it’s a sign your hinges may need adjustment.
Warped or damaged hinges can also affect the overall look of your cabinets, especially if decorative hardware like knobs or pulls no longer line up correctly. Check if the cabinet finishes near the hinges are chipped or scratched—that might indicate movement or worn-out parts.
Listen for squeaking sounds when opening or closing the doors, as this can point to loose hinges. If the doors don’t close smoothly or leave gaps, it’s time to take a closer look at the hinges.
Properly aligned hinges help keep your cabinets functioning well and looking good. Regularly checking for these signs can help you catch issues early and prevent further damage to the finishes.
This way, your kitchen stays both beautiful and functional with minimal hassle.
Tools and Materials You’ll Need to Adjust Cabinet Hinges
Before you start adjusting your cabinet hinges, gather the necessary tools and materials to make the process smooth. You’ll need a Phillips or flat-head screwdriver, depending on your hinge type, for precise adjustments.
Gather your screwdriver and tools to ensure smooth, precise cabinet hinge adjustments.
A measuring tape or level helps confirm your cabinets are aligned correctly. Keep some decorative hardware nearby if you plan to replace or upgrade knobs and handles, as it can influence hinge positioning.
If your cabinets are painted or have decorative hardware, be careful not to damage the finish. Gentle adjustments are best.
You might also want a soft cloth for cleaning the hinges before adjusting. If you’re planning a refresh, consider using cabinet paint to touch up scratches or worn areas after you’re done.
Having these tools and materials ready beforehand will make the process quicker and more effective, ensuring your cabinets look and function beautifully.
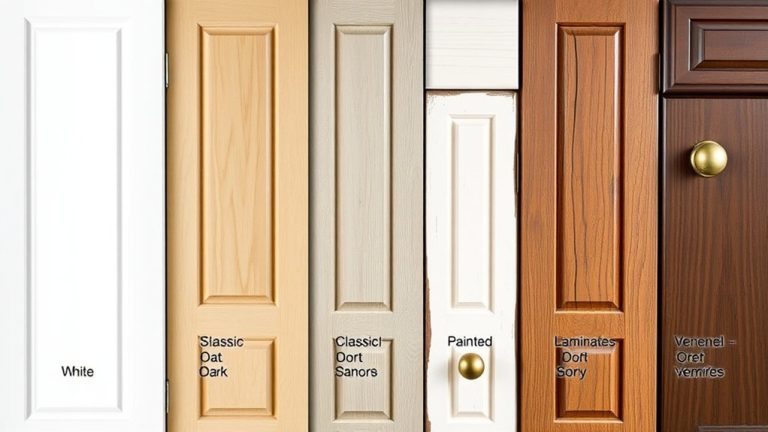
Types of Cabinet Hinges and When to Use Them
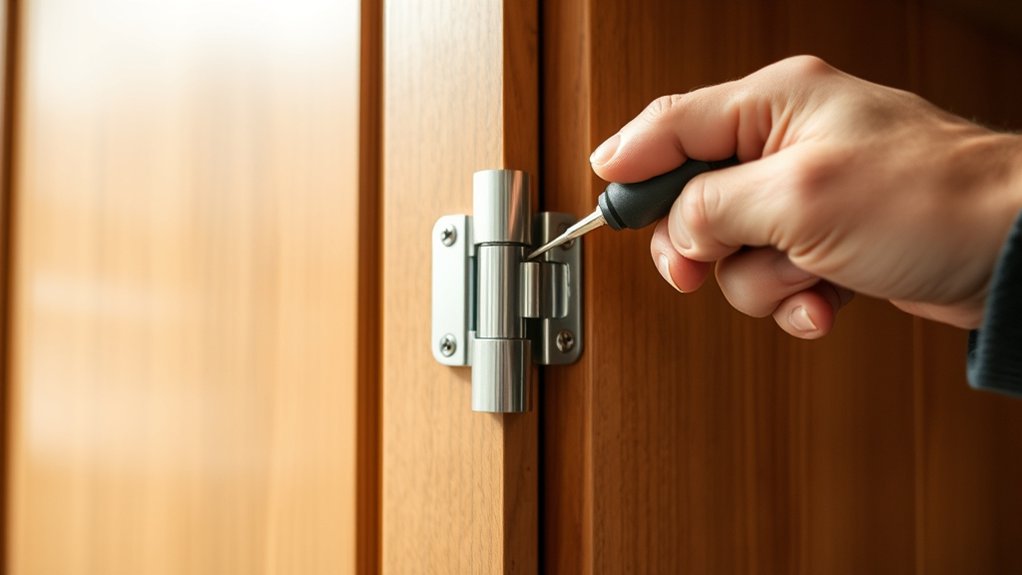
Understanding the different types of cabinet hinges is key to choosing the right ones for your project. Each type has its own benefits and functions to consider.
Whether you want a concealed hinge for a sleek look or a decorative style to add charm, your choice depends on your style and needs.
Here’s a quick overview:
| Hinge Type | Best Use | Material Options |
|---|---|---|
| Concealed Hinges | Modern, clean cabinets with soft-close features | Steel, aluminum, plastic |
| Decorative Hinges | Exposed, vintage, or ornate designs | Brass, bronze, painted finishes |
| Pivot Hinges | Unique angles or corner cabinets | Steel, zinc alloy |
| European Hinges | Adjustable and versatile, common in kitchens | Steel, zinc, plastic |
Choosing hinges that match your style and material options will help your cabinets look great and work smoothly.
How to Adjust Overlay Cabinet Hinges
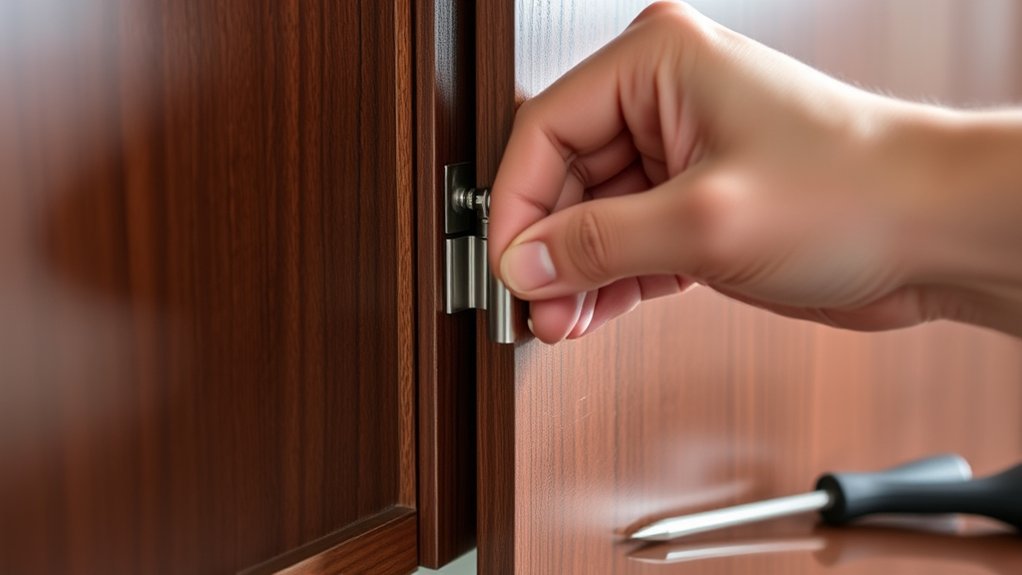
To guarantee your overlay cabinets close perfectly and look seamless, you need to know how to adjust their hinges. Start by opening the cabinet door and locating the adjustment screws, usually found on the hinge itself. Use a screwdriver to tweak these screws for proper alignment.
If the door isn’t flush, tighten or loosen the hinge’s side screws to shift it inward or outward. For height issues, adjust the top or bottom screws accordingly.
Consider adding decorative hardware to enhance the cabinet’s appearance once everything is aligned. Regular hinge lubrication keeps the moving parts smooth and prevents squeaking, making adjustments easier over time.
If you notice the door sagging or uneven gaps, make small, incremental adjustments rather than over-tightening. Keep checking the door’s position as you go to ensure a perfect fit.
With these steps, your overlay cabinets will close smoothly, look tidy, and stay in excellent shape.
How to Realign Inset Cabinet Doors
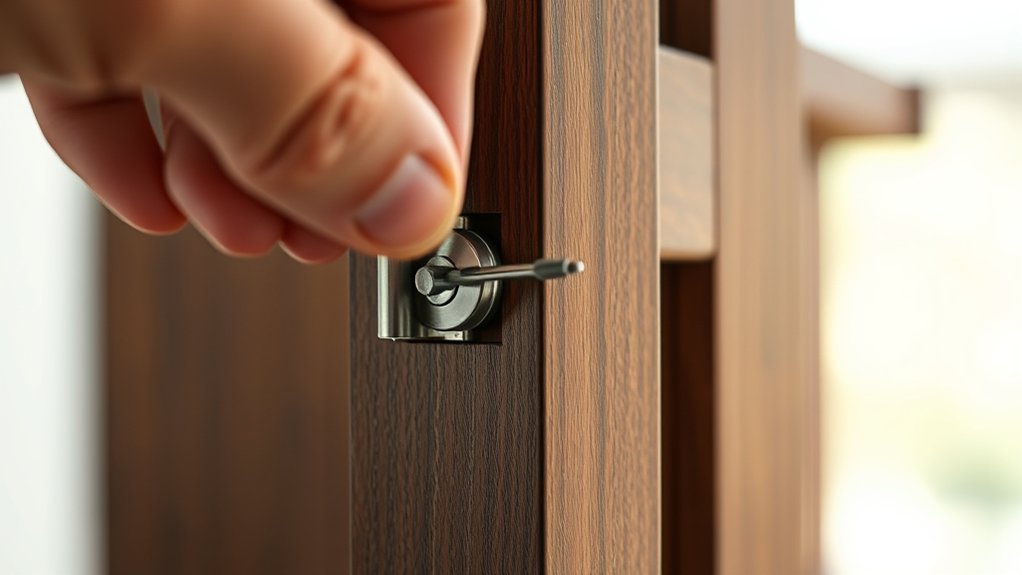
Sure! To realign inset cabinet doors, first take a good look at the hinges to see if they’re properly aligned. Sometimes, a little tweak here can make a big difference.
Next, gently adjust the screws on the hinges. This will help you shift the door into the right position. Just go slowly and make small adjustments — it’s all about finding that perfect fit.
Once you’ve done that, open and close the door a few times to see how it moves. Make sure it opens smoothly and sits evenly against the cabinet frame. If it’s not quite right, don’t hesitate to tweak the screws a little more until everything lines up just right.
Check Hinges Alignment
Have you noticed your inset cabinet doors aren’t sitting evenly or seem misaligned? First, check the hinges’ alignment by opening the door and inspecting how it hangs.
If the door appears crooked, try applying hinge lubrication to guarantee smooth movement. Stiff hinges can cause misalignment. If lubrication doesn’t help, consider removing the hinges. Carefully take them off to examine for damage or wear, then reattach or replace as needed.
When reattaching, make sure the hinges are aligned correctly with the cabinet frame and door. Proper hinge placement is key for even gaps and smooth operation. Avoid forcing hinges back into place; instead, take your time to adjust their position for perfect alignment.
This step will help your inset doors hang straight and function properly.
Adjust Screws Properly
Wondering how to fine-tune your inset cabinet doors for a perfect fit? Start by adjusting the screws on your hinges. Turn the screws gradually to realign the door, making sure it sits evenly.
If the hinges feel stiff, try applying hinge lubrication. This will help improve the movement and prevent sticking. Sometimes, screws won’t tighten properly, which means you might need to replace the hinges.
Use the table below to better understand screw adjustments:
| Adjustment Type | Effect |
|---|---|
| Tightening screws | Pulls the door inward for better alignment |
| Loosening screws | Allows slight movement to correct gaps |
| Replacing hinges | Needed if screws won’t tighten or hinge is damaged |
| Lubricating hinges | Keeps hinges smooth and prevents sticking |
Proper screw adjustment is key to a seamless fit and can prevent future hinge issues.
Test Door Fit
Are your inset cabinet doors not sitting flush or swinging unevenly? First, test the door fit by opening and closing the door carefully. Check for gaps or misalignment along the edges.
If the door doesn’t line up properly, loosen the hinge screws slightly and adjust the door’s position. Pay attention to how the decorative hardware sits; it should be level and secure.
Also, consider the cabinet paint color and whether it’s chipped or uneven, which can affect the door’s look after adjustments. Once the door is aligned, tighten the screws firmly to hold the position.
Recheck the fit, making sure the door swings smoothly and the decorative hardware is properly aligned. This process helps you get a professional finish and keeps your inset cabinet doors working perfectly.
Common Cabinet Hinge Problems and How to Fix Them
Cabinet hinges can sometimes run into problems, like screws coming loose, doors getting misaligned, or hinges feeling stiff and squeaky. These issues can make your cabinets harder to use and pretty annoying. The good news is, most of these problems are pretty easy to fix. You usually just need a few simple tools and some basic adjustments to get everything working smoothly again.
Loose Hinge Screws
Have you noticed your cabinet doors starting to sag or not close properly? Loose hinge screws are often the culprit. First, tighten the screws with a screwdriver. If they keep coming loose, you might need to replace them or reinforce the holes with wood filler.
While tightening, check if the hinges move smoothly. If not, hinge lubrication can help restore proper function. If tightening doesn’t hold or screws strip easily, consider hinge replacement for a secure fit.
Regularly maintaining your hinges by tightening screws and applying hinge lubrication prevents future issues. Properly secured hinges keep your cabinet doors aligned and working smoothly, saving you time and effort in the long run.
Misaligned Doors
Loose or improperly secured hinge screws can cause cabinet doors to become misaligned, leading to gaps, uneven openings, or difficulty closing. This not only affects the look of your kitchen but also makes it harder to use appliances.
To fix this, start by tightening the screws. If the holes are stripped, you might need to use a toothpick and wood glue or replace the screws altogether. Adjust the hinge position to level the door.
Here’s a quick guide:
| Problem | Solution | Result |
|---|---|---|
| Uneven gaps | Tighten screws and realign hinges | Smooth, balanced appearance |
| Doors not closing | Adjust hinge position or replace screws | Fully closing, seamless look |
| Misaligned edges | Slightly loosen, shift, then tighten | Even door edges, improved decor |
Proper adjustments restore function and style effortlessly.
Stiff or Squeaky Hinges
Stiff or squeaky hinges are common issues that can make opening and closing cabinet doors frustrating. Luckily, you can fix this easily with a few simple steps.
First, try hinge lubrication. Apply a few drops of oil or spray lubricant to the hinges to reduce friction and eliminate squeaks. If the hinges stay stiff despite lubrication, it might be time to replace them.
Check for any visible damage or rust, as these can prevent smooth movement. Adjust the hinges if they’re misaligned, which can also cause stiffness.
Regular maintenance like cleaning and lubricating can prevent future problems. Keep your hinges in good shape to make sure your cabinets open smoothly and quietly.
Tips for Maintaining and Preventing Future Hinge Issues
Regularly inspecting your cabinet hinges is key to preventing issues before they happen. Start by checking for loose screws and tightening them as needed.
Keep decorative hardware clean, since dust and grime can cause hinges to stick or squeak. Use a soft cloth and gentle cleaner during cleaning to protect the hardware’s finish.
Avoid harsh chemicals that might damage finishes or decorative hardware. Lubricate hinges periodically with a light oil or silicone spray to keep them operating smoothly.
When cleaning, be careful not to disturb the alignment or make adjustments that could cause issues later. Also, don’t overload cabinets, as this puts extra strain on the hinges and can cause premature wear.
Staying on top of routine maintenance not only helps your hinges last longer but also keeps your cabinets functioning properly. By following these simple tips, you’ll prevent future hinge problems and keep your cabinets looking great for years.
When to Consider Replacing Your Cabinet Hinges
Knowing when to replace your cabinet hinges is key to keeping everything working smoothly and avoiding more damage. If you see rust, cracks, or other damage, it’s probably time for new hinges.
Replacing worn hinges keeps cabinets functioning smoothly and prevents further damage.
Hinges that cause your doors to misalign or sag are another sign. If opening or closing feels difficult or awkward, replacing the hinges can make a big difference.
Damaged or loose hinges can also affect your decorative hardware, making your cabinets look less polished. If you hear squeaking or creaking sounds, that’s a clear sign they’re wearing out.
Bent or warped hinges are also a problem. Replacing them will help keep your cabinets aligned and functioning properly.
- Visible rust, cracks, or damage
- Persistent misalignment or sagging
- Difficulty opening or closing smoothly
- Damage to decorative hardware affecting cabinet finishing
Expert Tips for Perfectly Aligned Cabinet Doors
Achieving perfectly aligned cabinet doors can really boost the look and function of your kitchen. Luckily, it’s easier than you might think with some expert tips. Start by checking the hinges and making small adjustments to level each door.
Consistent alignment not only improves your cabinet design but also creates a sleek, professional appearance. Use a screwdriver to tighten or loosen screws on the hinges, shifting doors as needed.
To get uniform gaps, measure the space between doors and the frame, then adjust the hinges accordingly. When planning a kitchen remodel, precise cabinet alignment helps achieve a cohesive look.
Make sure to regularly check the alignment after adjustments to keep everything looking polished. Here’s a quick guide to help you out:
| Adjustment Tip | Tool Needed | Effect |
|---|---|---|
| Tighten hinges | Screwdriver | Secures door position |
| Loosen hinges | Screwdriver | Adjusts door tilt |
| Measure gaps | Ruler | Ensures uniform spacing |
| Test door swing | Hand | Confirms smooth operation |
Mastering these tips will make your cabinets look great and work perfectly.
Safety Tips for Adjusting and Maintaining Your Cabinet Hinges
When adjusting or maintaining your cabinet hinges, safety should always be your top priority. Always turn off your power supply if your cabinets are near appliances to avoid electrical hazards.
Before starting, inspect the cabinet material to verify it’s sturdy and won’t break easily. Use a screwdriver carefully to prevent slipping and damaging the hinges or cabinet surface.
Proper hinge lubrication is essential for smooth operation; apply a small amount of lubricant to prevent squeaks and ease adjustments.
Wear safety glasses to protect your eyes from debris or accidental slips. Handle tools with care to avoid injury or damage to cabinet surfaces.
Test hinges gently after adjustments to ensure stability and safety. Keep your workspace clean and organized to prevent accidents.
Staying cautious protects you and prolongs the life of your cabinet material, guaranteeing safe, efficient hinge adjustments.
Frequently Asked Questions
Can I Adjust Cabinet Hinges Without Removing the Doors?
Yes, you can adjust cabinet hinges without removing the doors. Start by lubricating the hinges to ensure they move smoothly.
Then, use the adjustment screws to tweak the door alignment. You can move the door horizontally or vertically as needed.
With just small turns, you can fix misalignment and get a better fit without taking the door off. Regular hinge lubrication also helps keep everything working properly and makes future adjustments easier.
How Often Should I Inspect My Cabinet Hinges?
You should inspect your cabinet hinges at least once every six months to ensure they stay aligned and work smoothly.
During your check, look for loose screws, signs that hinges need lubrication, or any wear and tear.
Regularly applying lubricant helps prevent squeaks and keeps everything functioning properly.
If you notice misalignment or hinges sticking, make adjustments right away to avoid more damage.
Keeping up with these simple steps will help your cabinets look good and last longer.
Are There Any DIY Risks When Adjusting Cabinet Hinges?
Did you know that improper hinge adjustments cause over 30% of cabinet misalignments? When you’re making adjustments, there’s a small chance you could damage the hinge or cabinet if you’re not careful.
To avoid this, make sure to lubricate the hinges before adjusting and recognize when it’s time to replace them. Be cautious with screws and tools, and don’t force parts, as that could lead to costly repairs or even injury.
What Signs Indicate My Hinges Need Replacement Soon?
If your hinges show signs like sagging doors, difficulty closing, or squeaking despite hinge lubrication, it’s time to replace them. You might also notice loose or wobbly doors, which means the hinges are worn out.
These signs suggest the hinges can’t support proper alignment anymore. Addressing these issues early helps prevent further damage and keeps your cabinets functioning smoothly.
This can save you from more extensive repairs down the line.
How Do I Choose the Right Hinge Type for My Cabinets?
To choose the right hinge type for your cabinets, think about their style and how you plan to use them. If your hinges squeak or stick, just applying hinge lubrication might fix the issue without needing to replace anything.
For hinges that are worn out or damaged, go for durable, high-quality options that match your cabinet’s look. Consider features like soft-close or full overlay hinges for added convenience.
Picking the right hinges ensures smooth operation and longer-lasting cabinets. It also helps avoid frequent replacements and keeps your cabinets looking great.
Conclusion
Think of your cabinet hinges as the hinges on a well-tuned door. When they’re aligned perfectly, everything swings smoothly and looks polished. Just like a master locksmith fine-tunes each latch and bolt, you can adjust your hinges to keep your cabinets functioning beautifully.
Regular maintenance is your key to a harmonious kitchen, preventing squeaks and misalignments. With a little care, your cabinets will open and close like a well-rehearsed symphony. Always ready to impress, especially when your kitchen hinges are in top shape.