Step-by-Step Guide to Install an Undermount Kitchen Sink
Installing an undermount kitchen sink might seem daunting, especially if you’re new to DIY projects. Many people struggle with knowing where to start or worry about leaks and uneven surfaces. But don’t worry—you’re not alone, and with the right guidance, this can be a straightforward task.
To install an undermount kitchen sink, start by preparing your workspace and selecting a sink that matches your needs. Remove the old sink, then carefully measure and cut the countertop opening. Attach support brackets and seal the sink securely with silicone before positioning it in place.
Connect plumbing, check for leaks, and guarantee everything is level. If you keep going, you’ll learn detailed steps to make the installation smooth and leak-free.
Key Takeaways
- Prepare the workspace, select the right sink, and gather all the tools and materials you’ll need before you begin.
- Carefully remove the old sink, then measure and mark the countertop for accurate cuts.
- Cut along the marked line, install support brackets, and set up a support frame.
- Apply sealant, position the sink, and secure it with clamps or brackets, making sure everything lines up properly.
- Connect the plumbing, check for leaks, and do a thorough inspection and cleanup.
Prepare Your Workspace for Undermount Sink Installation
Before starting the installation, clear the area around your countertop to give yourself plenty of space to work. Remove any items, including small appliances or utensils, that might get in your way.
Clear your workspace by removing items and appliances for a smooth sink installation.
Pay attention to your countertop materials, as this affects how you’ll attach the undermount sink. Some surfaces need special adhesives or reinforcement.
Gather all the necessary sink accessories like clips, mounting brackets, and sealants so you won’t have to search for parts halfway through.
Protect your countertop surface by laying down a drop cloth or painter’s tape, especially if it’s delicate stone or laminate.
Make sure your tools—drill, screwdriver, level, and caulk gun—are within easy reach.
Preparing your workspace helps make the installation more efficient and safe, preventing accidental damage along the way.
Choose the Right Undermount Kitchen Sink for Your Needs
Choosing the right undermount kitchen sink depends on your cooking habits, lifestyle, and the overall style of your kitchen. Your decision should consider material options and style considerations to guarantee both functionality and aesthetics.
If you do a lot of heavy-duty washing, you might prefer a durable material like stainless steel or composite granite. For a more elegant look, consider a fireclay or quartz sink that complements your countertops.
Think about these factors:
- Material options: stainless steel, fireclay, composite granite, or quartz
- Style considerations: modern, farmhouse, or traditional designs
- Functionality needs: size, depth, and number of bowls
Choosing the right sink is about balancing durability, appearance, and how it fits into your daily routines. Take time to evaluate your needs and match them with the best material options and style considerations for your kitchen.
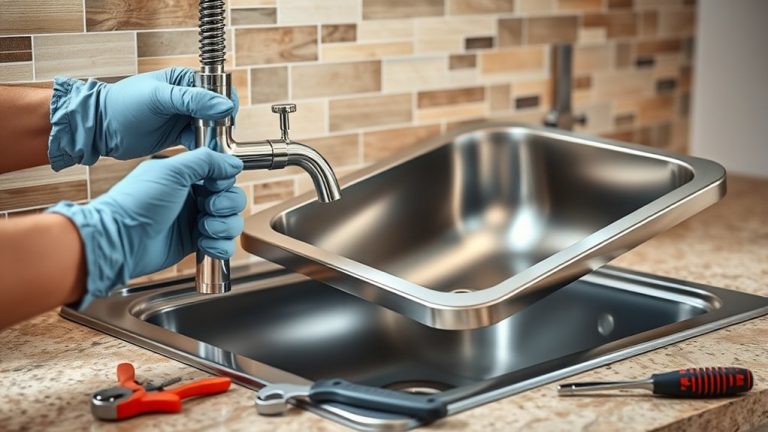
Remove the Old Sink and Clear the Countertop
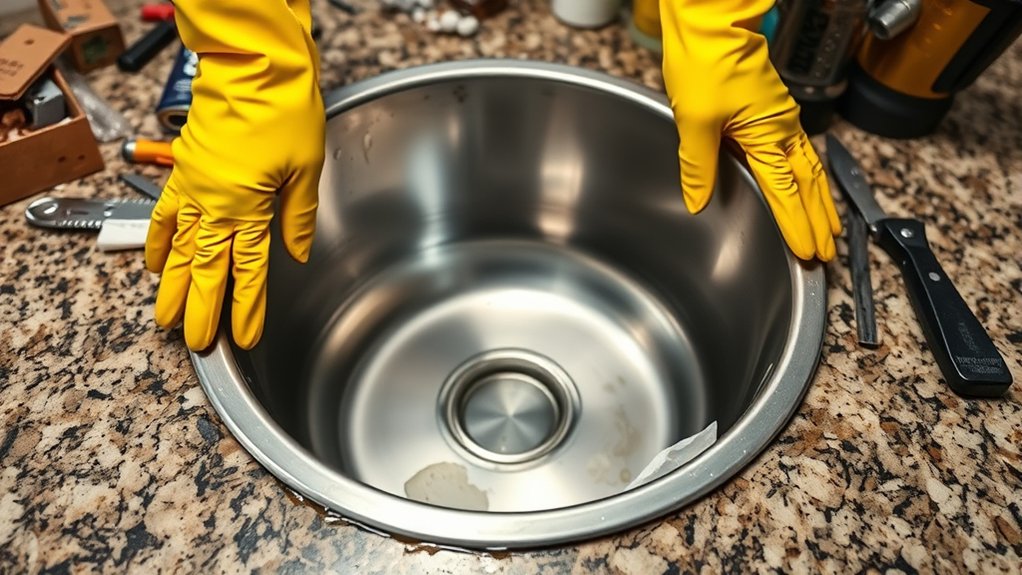
Once you’ve chosen the perfect undermount sink, the next step is to remove the old one and clear your countertop.
Start by turning off the water supply and disconnecting the faucet, drain, and any other accessories. Carefully loosen any clips or brackets holding the sink in place, being gentle to avoid damaging the surrounding material.
Use a putty knife to carefully break the seal between the old sink and your countertop, especially if it’s sealed with silicone. Once loose, lift out the old sink, watching out for debris or leftover caulk.
Clear the countertop of any remaining debris, tools, or sink accessories. Keeping the workspace clean makes installation easier and helps prevent damage to your countertop.
A tidy, debris-free surface makes it easier to fit your new undermount sink perfectly. Plus, it sets the stage for a smooth, hassle-free installation.
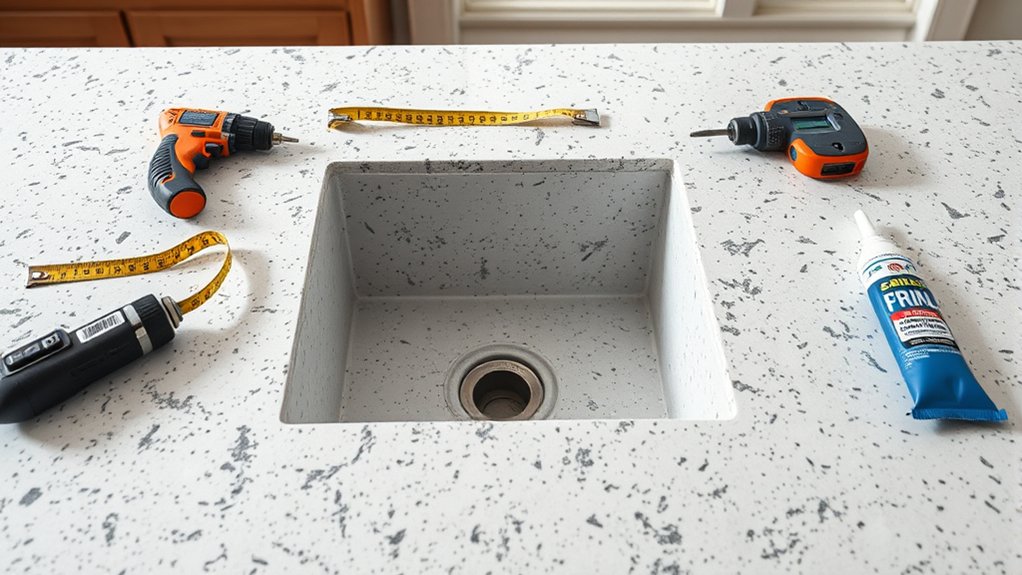
Measure and Cut the Countertop Opening
First, take your time to mark the cutting line carefully. Make sure it lines up perfectly with the size of your sink. It’s a good idea to use a tape measure and a square to get those measurements just right. Before you make any cuts, double-check everything—it’s better to catch any mistakes now than having to redo the cut later.
Mark the Cutting Line
Before you mark the cutting line, double-check your measurements to verify accuracy. Precise marking prevents costly mistakes and makes installation smoother.
When marking, consider how your sink’s style and color coordination fit your overall kitchen design inspiration. Use a pencil or painter’s tape to trace the outline, making sure the lines are clear and visible.
Pay attention to the sink’s specifications, including the edge radius and mounting brackets, to ensure a perfect fit. Taking your time with this step guarantees your countertop opening lines up perfectly with your undermount sink, enhancing both function and style.
Use Proper Measuring Tools
Using the proper measuring tools is essential to guarantee your countertop opening is accurate and clean. Accurate measurements depend on tools that are properly calibrated, ensuring your dimensions are precise.
Use a reliable tape measure or ruler for measuring, and double-check its calibration before starting. A square or a straight edge helps you draw straight, clean lines, keeping your measurements accurate.
When marking the cutout, be meticulous to avoid mistakes that could lead to a poor fit or damage. Always measure twice and trust your calibrated tools to give consistent readings.
Proper measuring tools reduce errors and make sure the cutout lines up perfectly with your sink. This makes the installation smoother and more professional-looking.
Double-Check Dimensions
Double-checking your dimensions is crucial to ensure the countertop opening fits your sink perfectly. Accurate measurements help prevent fit issues and make sure your sink accessories work smoothly.
Take your time to measure the sink’s rim, bowl, and any mounting hardware. Remember to consider the thickness of your countertop material. Use a pencil to mark the cutout precisely, and double-check all measurements before making any cuts.
Different countertop materials might require specific tools or methods for accurate cuts, so keep that in mind. Make sure the opening provides enough clearance for sink accessories like clips and seals.
Getting the measurements right will save you time and effort during installation and help you avoid costly mistakes.
- Confirm the sink’s dimensions against your measurements.
- Account for material thickness when marking the cutout.
- Ensure there’s enough space for sink accessories and mounting hardware.
Install the Mounting Brackets and Support Frame
To make sure your undermount sink is securely installed, start by attaching the mounting brackets to the underside of the countertop. These brackets give the necessary support to hold the sink in place once it’s mounted.
Position the brackets according to the sink’s template or manufacturer’s instructions. Make sure they line up with the sink’s rim and the support frame.
Next, attach the support frame underneath the countertop. This distributes the weight evenly and helps prevent movement. Secure the brackets tightly to the support frame, ensuring they’re flush against the surface below.
Double-check that the brackets are level and spaced evenly for balanced support. Use a drill and screws recommended by the manufacturer to fasten everything securely.
Properly installing the mounting brackets and support frame creates a solid foundation. This makes the next steps of securing and sealing the sink much easier and more reliable.
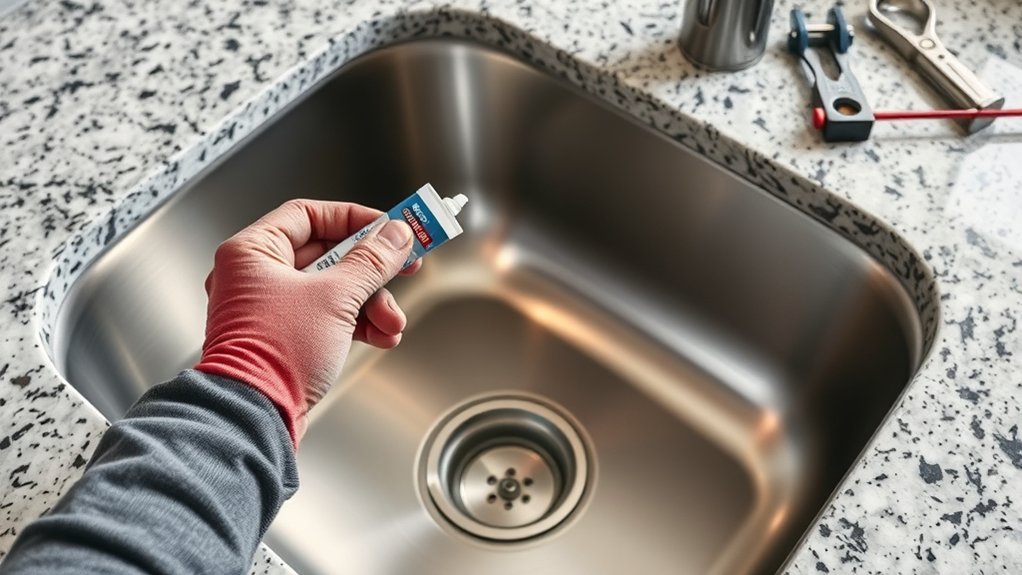
Secure the Sink Beneath the Countertop Properly
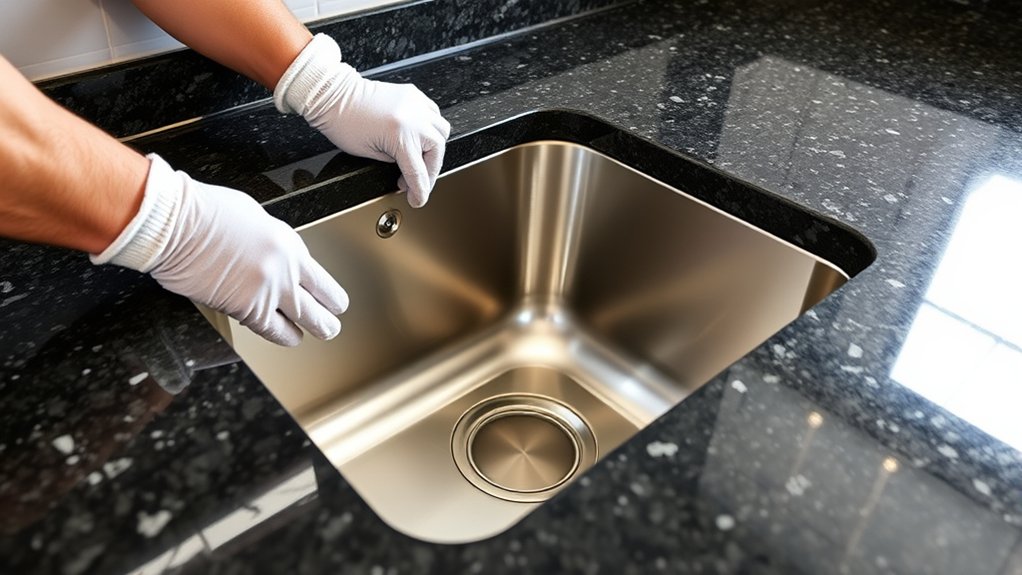
To make sure your sink stays secure and doesn’t leak, it’s important to apply the right sealant around the edges before you tighten everything down. Just take your time and spread it evenly so there are no gaps.
Next, check that the mounting hardware is tight and properly aligned. You want the sink to be held firmly in place without any wobbling. Once you’ve done that, give everything a quick double-check to be sure there are no gaps or movement. That way, you’ll avoid any issues down the line.
Proper Sealant Application
Have you applied the sealant correctly? Proper sealant application is essential to prevent leaks and guarantee a secure fit.
Use the right sealant, like a high-quality silicone or polyurethane, to ensure proper sealing. Follow the application techniques by applying a continuous bead around the sink’s edge, avoiding gaps or uneven spots.
Make sure the sealant is evenly distributed for a smooth, airtight seal. Before setting the sink, wipe away excess sealant with a damp cloth to keep the surface clean.
Use a steady hand to apply a consistent bead of sealant. Check the manufacturer’s instructions for drying time and curing.
Ensure the sealant remains intact and free of gaps.
Secure Mounting Hardware
After applying the sealant, the next step is to secure the sink firmly beneath the countertop using the appropriate mounting hardware. Make sure your hardware matches your sink and countertop materials to ensure a secure fit.
Follow proper mounting techniques by tightening clamps or brackets evenly, but avoid over-tightening, which could damage the sink or countertop.
Check that the hardware is aligned correctly before tightening all the way. Use a level to make sure the sink sits flush and even.
If needed, adjust the hardware to maintain a uniform seal and prevent movement. Properly securing the sink improves stability and helps prevent leaks and damage over time.
Take your time to install each component correctly for a professional, long-lasting result.
Seal the Sink and Check for a Watertight Fit
Before installing the sink fully, you should seal the edges to prevent leaks and ensure a secure fit. Proper sealant application guarantees a watertight seal, keeping water from seeping under the sink.
Apply a continuous bead of silicone sealant around the underside rim of the sink or countertop opening. Use a caulking gun for even application and smooth out the bead with your finger or a tool for better adhesion.
Once sealed, gently press the sink into position, making sure it’s centered and evenly aligned. Check the sealant for gaps or thin spots and add more if needed.
After the sink is in place, press firmly to ensure the sealant bonds well. Visually inspect the edges and run water around the perimeter to confirm there are no leaks.
A well-sealed sink guarantees long-lasting performance and helps prevent costly water damage.
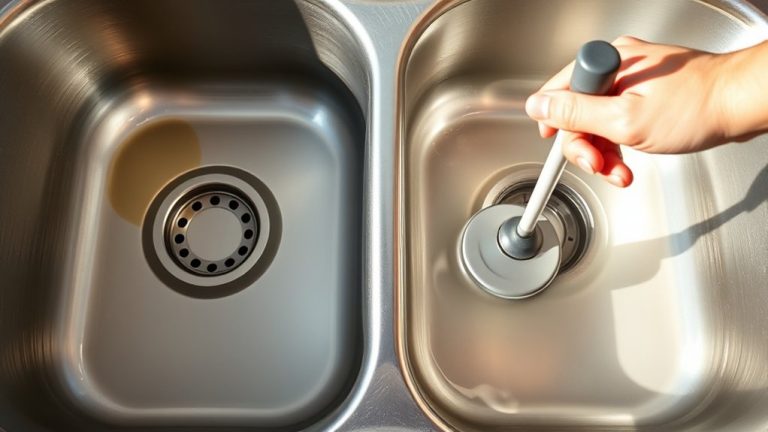
Connect Plumbing and Test for Leaks
Now, it’s time to connect the drain assembly and hook up the supply lines to the faucet. Just take your time to make sure everything lines up correctly. Once you’ve got all the connections in place, turn the water back on to check for any leaks around those fittings.
It’s important to double-check that everything is sealed tightly and working properly before you finish up the installation. That way, you can be confident there won’t be any surprises later on.
Connect Drain Assembly
Have you connected the drain assembly yet? This step ensures your sink drains properly and prevents leaks. When attaching the drain, you might consider using materials like PVC or flexible hoses for easier installation and durability.
Make sure the gasket and mounting clips are secure to keep everything looking good and to create a tight seal. Tighten all connections firmly but avoid over-tightening, which can crack fittings.
Check that the tailpiece lines up properly with the drain outlet. Once everything is in place, run water to test for leaks and adjust connections if needed.
Properly connecting the drain assembly guarantees efficient drainage and helps avoid future repairs. Once it’s secure, you can proceed to test the system thoroughly.
Attach Supply Lines
With the drain assembly securely in place, it’s time to connect the supply lines that bring hot and cold water to your sink. Depending on your undermount sink options, you’ll choose flexible or rigid supply lines that work with your sink materials.
Here’s a quick visualization of your options:
| Undermount Sink Options | Materials |
|---|---|
| Single-hole | Stainless steel, composite |
| Double-hole | Porcelain, granite |
| No-hole (deck-mounted) | Copper, brass |
| With integrated faucet | Cast iron, acrylic |
| Custom setups | Acrylic, quartz |
Attach the supply lines to your faucet, tighten the fittings, and turn on the water. This helps ensure your connections are secure before you move on to testing for leaks.
Check for Leaks
Before you finish your installation, it’s important to double-check all your plumbing connections for leaks. Proper leak detection helps your sink work properly and prevents water damage.
Turn on the water supply and run the faucet, watching closely for drips or pooling. Use a paper towel or cloth around joints to spot any slow leaks.
If you see leaks, try tightening the fittings carefully. Just be careful not to over-tighten, as that could cause damage.
Recheck after a few minutes of running water to make sure no leaks appear. Early detection saves you time and effort later.
Inspect the Installation and Clean Up
Once you’ve finished installing the sink, it’s important to inspect it carefully to make sure everything is secure and sealed properly. Check that the sink is firmly attached to the countertop without any wobbling.
Gently press around the edges to look for gaps or loose spots. Keep an eye out for any leaks or drips, especially around the sealant and mounting brackets.
Once you’re confident the fit is good, focus on cleaning up. Wipe down the entire sink and nearby areas with a damp cloth to remove dust and residue.
Pay extra attention to the seams and corners to make sure all the excess sealant and debris are gone. Proper inspection and cleaning will help your sink work well and keep your kitchen tidy.
When everything looks perfect, you can enjoy your new undermount sink with confidence.
Troubleshoot Common Undermount Sink Installation Issues
Undermount sink installations can sometimes present issues that prevent a perfect fit or proper function. Common problems include leaks, misalignment, and insufficient support. To troubleshoot, first check the undermount sink types you’ve chosen, as certain styles may require specific mounting hardware or adhesives. Material compatibility is also vital—make sure your sink’s material matches the countertop to avoid cracking or adhesion problems.
Verify that the sink’s weight is suitable for your countertop material. Adjust the brackets or clips to ensure the sink sits level and securely. Seal all edges properly using a compatible sealant to prevent leaks.
Addressing these issues promptly can save you time and avoid costly repairs later. By understanding the different undermount sink types and confirming material compatibility, you can resolve most installation problems efficiently. Proper troubleshooting guarantees your sink functions smoothly and looks great for years to come.
Frequently Asked Questions
What Tools Are Essential for Undermount Sink Installation?
You’ll need essential tools like a jigsaw, drill, screwdriver, and adjustable wrench for sink mounting. These help you cut, drill holes, and tighten fittings with ease.
A utility knife is handy for applying sealant and trimming edges. Silicone sealant is necessary to create a watertight fit and prevent leaks.
Don’t forget clamps to hold the sink securely during installation. They make it easier to keep everything in place as you work.
These tools simplify cutting, securing, and sealing your undermount sink, helping you achieve a professional, durable finish.
How Do I Prevent Countertop Damage During Installation?
To prevent countertop damage during installation, start by applying a generous sealant around the cutout edges to protect the surface. Reinforce the countertop with a supportive backing or reinforcement strips, especially if it’s fragile.
Carefully place the sink, making sure it sits properly without applying excessive force. Regularly check your work to avoid cracks or chipping, and clean excess sealant immediately to keep everything looking neat.
Can I Install an Undermount Sink Myself Without Professional Help?
Yes, you can install an undermount sink yourself if you’re comfortable with DIY plumbing and sink sealing.
Just make sure to carefully measure everything and follow the instructions, especially when securing the sink to prevent leaks.
Use the right tools and take your time during installation to avoid damaging your countertop.
Watching tutorials and gathering all the materials beforehand will help make your DIY project go smoothly without needing a pro.
What Are Common Signs of a Faulty Undermount Sink Installation?
Think of your sink as the heart of your kitchen’s plumbing system. If you see water pooling around it, that’s a warning sign that the mounting brackets or sealant might be failing.
Cracks or chips in the sink material can also point to installation problems. Keep an eye out for a loose or wobbly sink, which suggests it’s not properly mounted.
These signs tell you your undermount sink isn’t working as it should. Addressing them early can prevent bigger issues down the line.
How Long Does an Undermount Sink Installation Typically Take?
It typically takes about 2 to 4 hours to install an undermount sink, depending on your experience and the countertop material. During this time, you’ll want to focus on proper countertop sealing to ensure a watertight fit.
This step is crucial because it directly affects the sink’s durability. Rushing through it can lead to leaks or damage later on, so it’s best to take your time.
Proper sealing not only helps the sink last longer but also keeps your overall kitchen workspace in good shape. Remember, patience pays off for a professional-looking, long-lasting installation.
Conclusion
With patience and precision, you’ll transform your kitchen into a sleek haven, where the undermount sink seamlessly blends form and function. Think of this project as weaving a sturdy thread through fabric—every step reinforcing your space’s beauty and durability.
Now, with your new sink in place, you’re not just installing a fixture. You’re creating a foundation for countless culinary memories, making your kitchen as inviting as a warm hug on a cold day.
Installing an undermount kitchen sink might seem tricky, but it’s totally doable with the right tools and steps. Just take your time, follow each step carefully, and you’ll have a beautiful, functional new sink in no time.