Organize Under Your Kitchen Sink: A Step-by-Step Guide
Many people struggle with keeping their under-sink area organized and clutter-free. It’s a common headache that can make everyday chores more stressful.
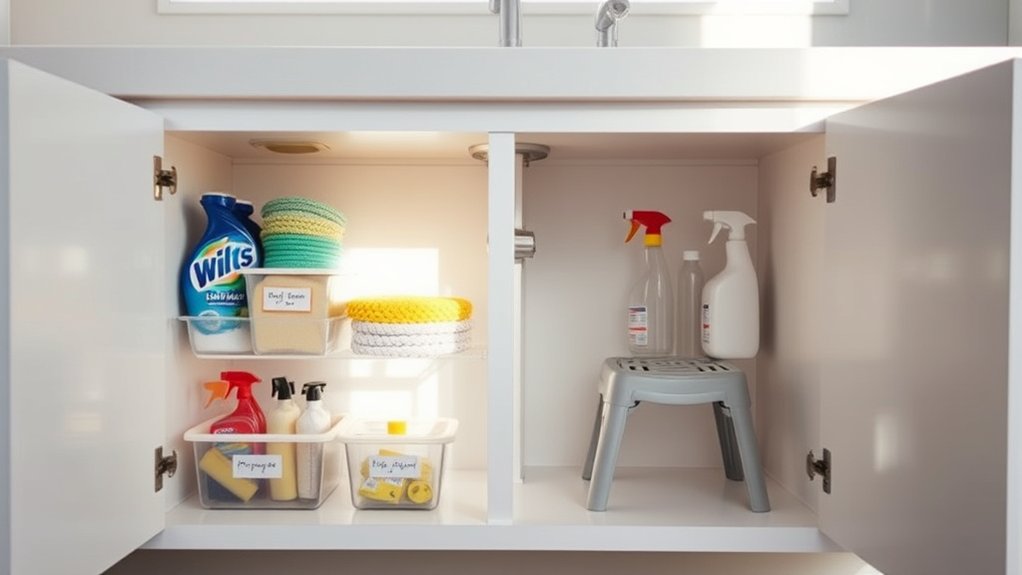
Start by clearing out everything under your sink, discarding expired or damaged items, and grouping similar supplies like cleaners, gadgets, and odds and ends. Use eco-friendly, clear containers with labels, and consider stackable or adjustable storage to maximize space.
Keep frequently used items in front and safety-proof hazardous materials.
Regularly check for leaks and spills, and schedule routine maintenance.
Keep your space tidy and organized. Continue exploring for more tips to make this process even easier.
Key Takeaways
- Take everything out, give the area a good clean, and toss any expired or damaged supplies for a fresh start.
- Sort your items into categories like cleaning supplies, gadgets, and odds, then group similar things together.
- Use clear, labeled containers that are eco-friendly, and stackable bins to save space and see everything easily.
- Keep hazardous items on the high shelves, out of reach, and secure them with safety locks or sealed containers.
- Make it a habit to check for leaks, spills, and clutter regularly, so your space stays organized and functional.
How to Clear Out Clutter Under Your Kitchen Sink
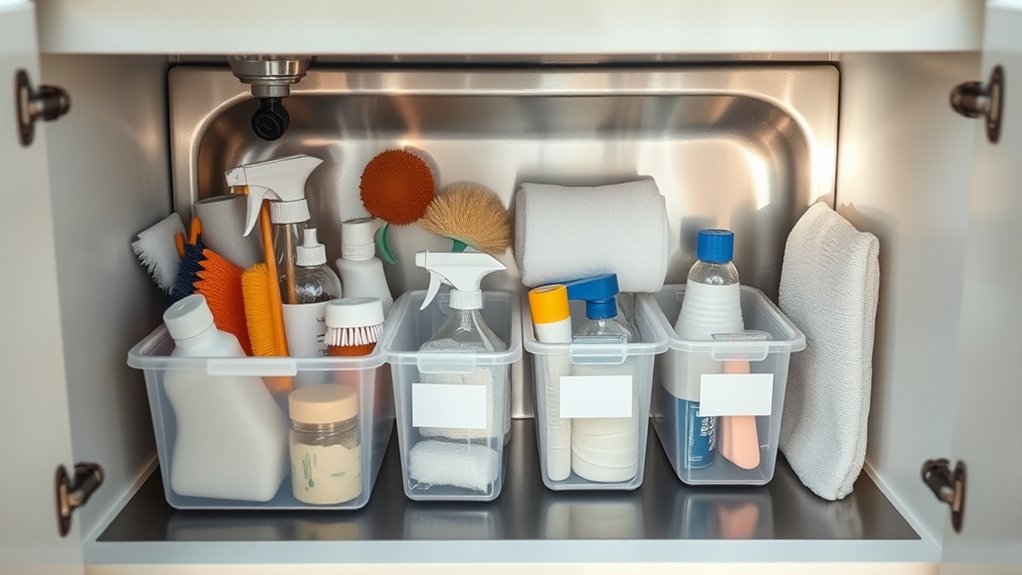
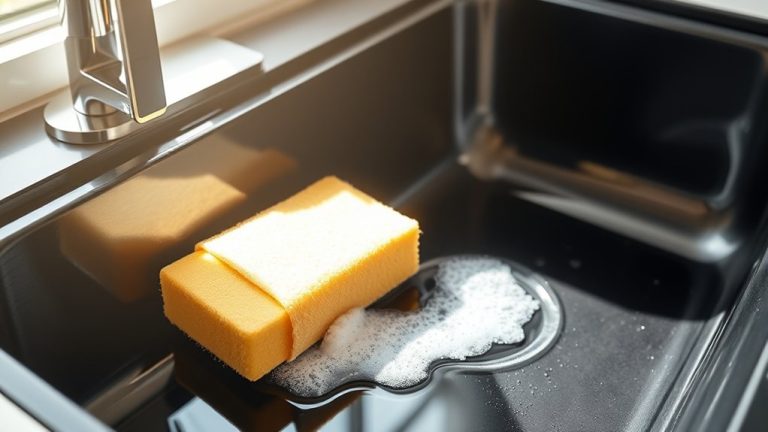
Before you can organize under your kitchen sink, you need to clear out the clutter. Remove everything, including cleaning supplies, spare sponges, and any miscellaneous items.
Clear out all items beneath your sink to start organizing with a fresh, clutter-free space.
As you do, evaluate what you truly need and what can go. Use decorative storage containers to keep essentials visible and tidy, making your space both functional and visually appealing.
Consider eco-friendly solutions, like reusable bottles for cleaning solutions or biodegradable scrubbers, to reduce waste. Toss expired products and anything damaged beyond use.
Group similar items together—cleaning sprays, brushes, and gloves—so you know exactly where everything belongs. This initial decluttering step creates a clean slate, making it easier to categorize and store items efficiently later.
Categorize Your Supplies : Cleaning, Gadgets, and Odds and Ends
With your clutter cleared out, it’s time to sort your supplies into clear categories. Group similar items together, like cleaning supplies, gadgets, and odds and ends. This makes your organization process easier and helps you see what you have at a glance.
For cleaning supplies, try using small bins or caddies to keep sprays, sponges, and brushes neatly contained. Gadgets, such as bottle openers or small tools, should have their own spot to avoid clutter. Odds and ends like expired coupons or miscellaneous items can be stored in small containers or drawer organizers.
Label your storage solutions if needed so you know exactly where everything belongs. Categorizing your supplies makes it easier to find what you need quickly and keeps your under-sink area tidy. This step is key to creating an efficient, accessible storage system that stays organized over time.
Choose the Best Storage Containers for Under the Sink
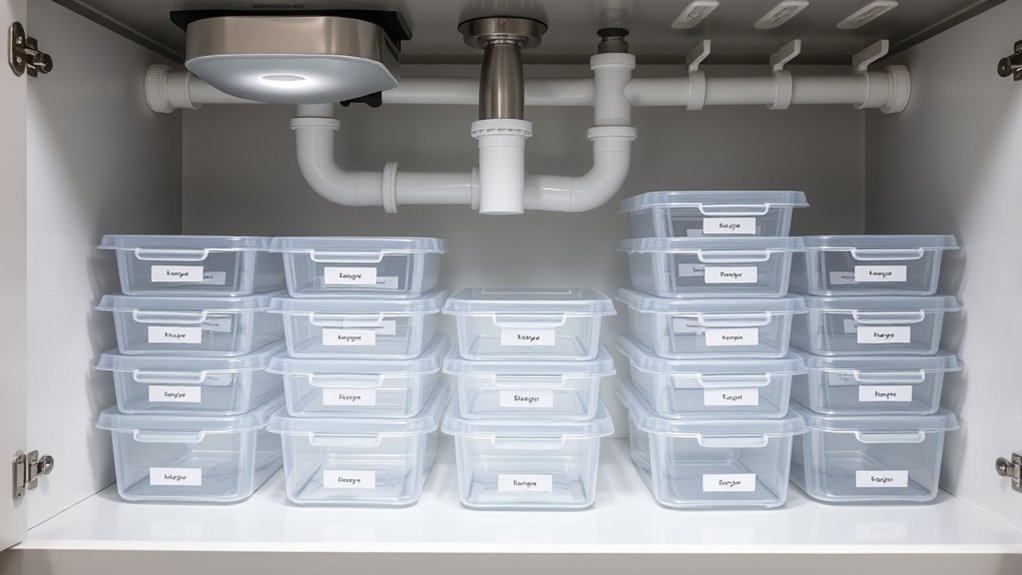
Are you selecting the right storage containers to maximize space and keep everything organized? Focus on containers made from eco-friendly materials like bamboo, recycled plastic, or biodegradable options to reduce your environmental impact.
These sustainable choices are usually durable and long-lasting, so they can handle daily use without issue. When choosing containers, look for ones with clear sides or labels so you can easily see what’s inside without rummaging.
Eco-friendly containers are durable and designed for daily use, making organization easy and sustainable.
Aesthetic designs matter too—they can help create a clean, coordinated look under your sink. Make sure the containers fit the space well without overcrowding, and consider stackable or modular options for added flexibility.
Avoid overly complex designs that are hard to clean or maintain. The goal is to find containers that are functional, eco-conscious, and visually pleasing, making it easier to keep your under-sink area tidy and accessible.
Maximize Space With Adjustable and Stackable Storage Solutions
Maximizing space under your sink gets easier with adjustable and stackable storage solutions.
Adjustable shelving lets you customize the height of each shelf, so taller bottles or cleaning tools can fit without wasting space. This flexibility means you can organize a variety of items neatly and accessibly.
Stackable bins are a smart choice because they add vertical layers, turning unused gaps into organized compartments. Use them for small items like sponges, scrub brushes, or cleaning supplies to keep everything tidy and easy to find.
By combining adjustable shelves with stackable bins, you make the most of every inch under your sink. This helps you avoid clutter and improves access to your supplies.
These solutions are cost-effective, versatile, and simple to set up. They transform your messy under-sink area into a well-organized and functional storage space.
Install Safety Measures for Hazardous Items
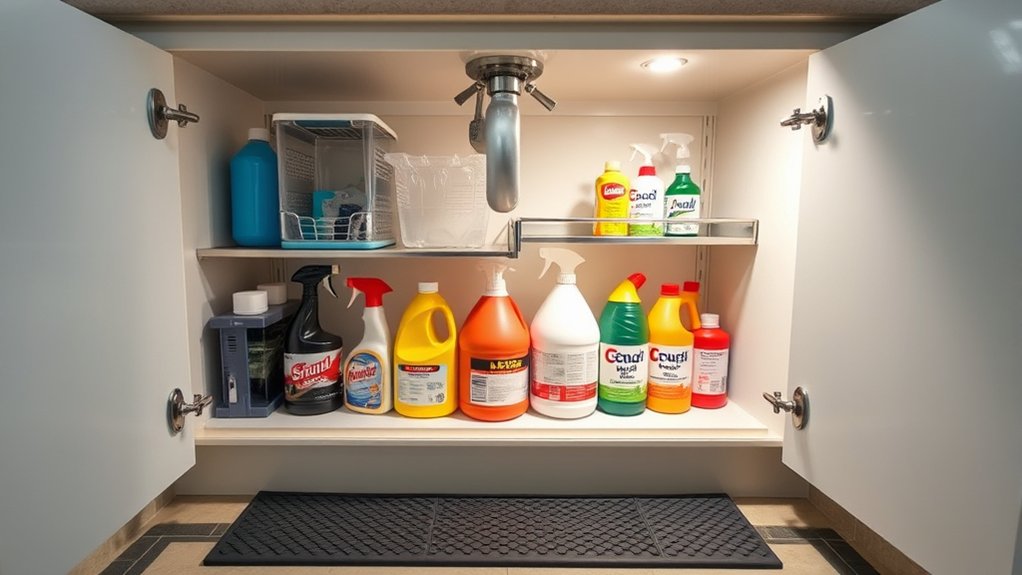
To keep your family safe, it’s important to install safety measures for hazardous items stored under your sink. Start by adding child proofing features like safety locks or latches on cabinets and drawers. These help keep curious kids from reaching dangerous substances.
Install safety locks on cabinets and drawers to keep children away from hazardous items under the sink.
When organizing hazardous materials, try to store chemicals, cleaners, and sharp objects high and out of reach. Use secure, sealed containers to prevent leaks or spills. You might also want to install a lockable cabinet or a safety box just for hazardous items.
Make sure all containers are clearly labeled with warnings and contents. Regularly check that safety locks work properly and that everything remains secure. Taking these steps helps reduce accidents and keeps your home safer for everyone.
Proper child proofing and cautious storage are key to managing the dangers hidden under your kitchen sink.
Label Containers and Shelves for Easy Access
Labeling your containers and shelves with clear, easy-to-read tags makes a big difference. It’s so much simpler to find what you need quickly when everything is clearly labeled. Plus, using a consistent labeling system helps keep everything organized and easy to access over time.
This small step can really save you from frustration, especially during busy moments in the kitchen. It’s a simple trick that makes your space more functional and stress-free!
Clear Labeling Strategies
Clear labeling makes it easy to find and access items quickly, saving you time and preventing frustration. Use clear labels and signage on containers and shelves to identify their contents at a glance.
Incorporate color coding to create visual cues—assign specific colors to categories like cleaning supplies, trash bags, or sponges. This quick visual recognition speeds up your retrieval process and keeps everything organized.
Make sure labels are legible, durable, and placed where they’re easy to see. Consider using waterproof labels for added longevity in the humid environment under your sink.
Effective labeling reduces confusion and cross-contamination, helping you maintain an organized space effortlessly. With clear, consistent signage and color coding, your under-sink area becomes a functional, clutter-free zone.
Consistent Labeling System
Establishing a consistent labeling system makes it easy to identify and access your containers and shelves. Use clear, legible fonts and durable labels to ensure they last over time.
Color coding can also help organize visually by categories like cleaning supplies, tools, or trash bags. For example:
| Category | Label Style | Color Code |
|---|---|---|
| Cleaning Supplies | Large, bold font | Blue for cleaners |
| Tools | Small, concise font | Green for hardware |
| Trash Bags | Clear labels | Red for waste |
This setup boosts efficiency, cuts down search time, and keeps your sink area tidy. Consistent labels act as visual cues that help everyone maintain organization effortlessly.
Organize Frequently Used Items for Quick Reach
To make your daily routine easier, place your most-used items within easy reach under the sink. This keeps your space functional and reduces clutter, making your kitchen look cleaner and more organized.
Keep your daily essentials within easy reach under the sink for a cleaner, more organized kitchen.
Prioritize eco-friendly solutions, like biodegradable sponges or reusable cleaning cloths, to support sustainability. Organize these essentials so they’re accessible, and you won’t have to rummage through less-used supplies.
Consider storing items like dish soap and scrub brushes, reusable cleaning cloths, spray bottles for multitasking cleaners, sponges or eco-friendly scrubbers, and quick-access trash bags.
Use small, labeled containers or baskets to keep everything tidy. This setup streamlines your cleaning routine and helps maintain an attractive, clutter-free space.
Keeping frequently used items front and center makes your kitchen more efficient without sacrificing style or eco-conscious choices.
Create a Maintenance Routine to Keep Your Under-Sink Area Tidy
Creating a regular maintenance routine guarantees your under-sink area stays organized and clutter-free over time. Set a weekly schedule to check for leaks, expired products, or spills. This helps prevent pests and water damage.
Incorporate eco-friendly cleaning methods, like vinegar and baking soda, to keep the space sanitized without harsh chemicals. Wipe down surfaces to remove dust, grime, and food residues that attract pests.
Dispose of empty or unused bottles and containers promptly to reduce clutter and avoid attracting bugs. Organize items in labeled bins or baskets so you can quickly find what you need and keep everything in its place.
Regularly inspect for signs of pests and take immediate action if you spot any. Maintaining this routine not only keeps your space tidy but also promotes a healthier kitchen environment.
Staying consistent is key. Keeping up with maintenance saves you time and effort in the long run.
Troubleshoot Common Under-Sink Clutter Problems
If your under-sink area is looking pretty cluttered, the first step is to identify those spots where mess tends to pile up. Once you’ve figured out the hotspots, it’s a good idea to tackle any spills or leaks right away so things don’t get even messier.
After that, focus on organizing the items you use most often. Keep those within easy reach so you can find and access them quickly without digging through a jumble of stuff. It’s all about making the space work better for you!
Identifying Clutter Hotspots
Clutter hotspots under your sink often pop up in places where bottles, cleaning supplies, and miscellaneous items get pushed aside or forgotten. These spots tend to gather things like decorative accents, seasonal decorations, and old cleaning bottles you no longer need.
Recognizing these areas helps you focus your organization efforts where they’re needed most. Common clutter hotspots include the back corners where items tend to get buried, the space around plumbing that’s hard to reach, and above the sink’s drain pipes.
Other tricky spots are shelves used for rarely-used items and hidden areas behind cleaning bottles and supplies. Being aware of these clutter hotspots makes it easier to keep your sink area clean and organized.
Managing Spills and Leaks
Ever wonder why spills and leaks quickly turn your under-sink area into a cluttered mess? It’s because without proper spill prevention and leak detection, small drips become big problems fast.
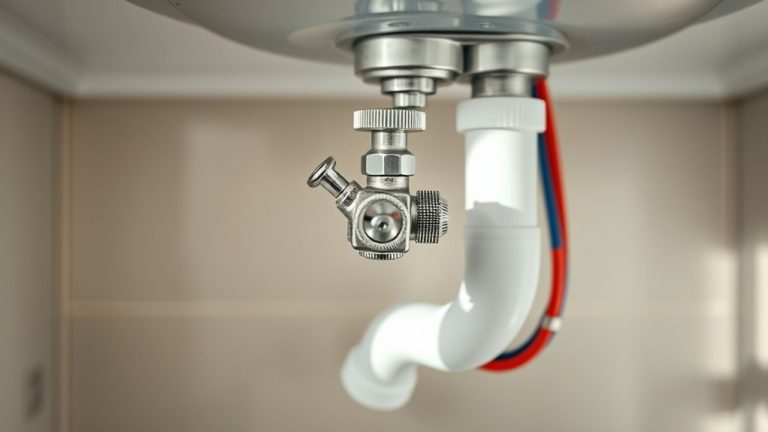
To manage this, regularly inspect pipes, hoses, and connections for signs of leaks. Use a flashlight to check for moisture or corrosion, and listen for drips.
When you detect a leak, act immediately to prevent water damage and further clutter. Keep absorbent materials like towels or rags nearby to quickly contain spills.
Installing a leak sensor or drain pan can help with early detection, saving you time and effort. By staying vigilant and addressing issues promptly, you’ll keep your under-sink space cleaner, safer, and more organized.
Organizing Frequently Used Items
To keep your under-sink area functional and accessible, focus on organizing your frequently used items so they’re easy to find and reach. Use clear containers or baskets to separate essentials like dish soap, sponges, and scrub brushes.
Incorporate decorative solutions such as stylish bins or labels to keep things tidy and visually appealing. Regular seasonal adjustments help prevent clutter buildup. Store away rarely used items and update your setup as needed.
Prioritize items you use daily to streamline your routine and reduce frustration. These include dish soap and sponges, hand soap and sanitizer, trash bags and disposal tools, cleaning spray bottles, and small brushes or scrubbers.
FAQs: Tips and Tricks for Perfect Under-Sink Organization
Organizing under your kitchen sink can seem overwhelming, but with the right tips, it becomes manageable and even enjoyable. One common question is how to keep everything accessible yet tidy.
Decorative storage options, like attractive baskets or labeled containers, add style while hiding clutter. Eco-friendly solutions, such as reusable bins and biodegradable cleaning products, help you stay green and organized.
Decorative baskets and labeled containers hide clutter while adding style; eco-friendly bins keep your space green and organized.
To maximize space, use stackable storage or wall-mounted hooks for tools and spray bottles. Regularly declutter to remove expired or unused items, and consider installing pull-out trays for easy access.
When choosing containers, opt for transparent or labeled options so you can quickly find what you need. Keep hazardous items separate and secure.
These tips guarantee your under-sink area stays functional, tidy, and visually appealing, making it easier to maintain your organization in the long run.
Frequently Asked Questions
How Often Should I Reorganize My Under-Sink Storage?
You should reorganize your under-sink storage every 3 to 6 months to keep your cleaning routines running smoothly and make sure your space is used efficiently.
Regularly reassessing your storage helps you declutter, get rid of expired products, and adjust for any changing needs. Staying on top of it prevents clutter from piling up and makes it easier to find what you need quickly.
Consistent reorganization keeps your kitchen tidy and functional, so your cleaning routines stay effective and stress-free.
What Are Eco-Friendly Options for Under-Sink Containers?
Did you know that using eco-friendly containers can cut plastic waste by up to 50%? For sustainable storage under your sink, choose options like glass jars, bamboo bins, or stainless steel containers.
These eco-friendly containers not only help the environment but also keep your space organized and stylish. Switching to sustainable storage solutions is a simple step toward a greener, cleaner home.
How Can I Prevent Pests From Accessing Under-Sink Areas?
To prevent pests from accessing your under-sink area, start with pest-proofing strategies like sealing all gaps and cracks with a high-quality sealant.
Make sure to check for any leaks or moisture since pests are attracted to water sources. Regularly clean the area and store items in airtight containers.
Sealing around pipes and cabinets creates a barrier that keeps pests out and helps maintain a clean, pest-free space.
Are There Child-Proof Storage Solutions for Hazardous Items?
Did you know nearly 50% of childhood poisonings happen at home? Child-proof storage solutions are really important for keeping kids safe.
You can choose lockable cabinets or containers that are made specifically for hazardous items. These help keep dangerous products out of kids’ reach and give you peace of mind.
Always make sure lids are secure and store chemicals in high, locked cabinets. Proper storage is your best defense against accidental poisoning.
How Do I Handle Leaks or Water Damage Under the Sink?
If you notice leaks or water damage under your sink, act fast to avoid bigger problems.
First, turn off the water supply to stop any leaks from getting worse.
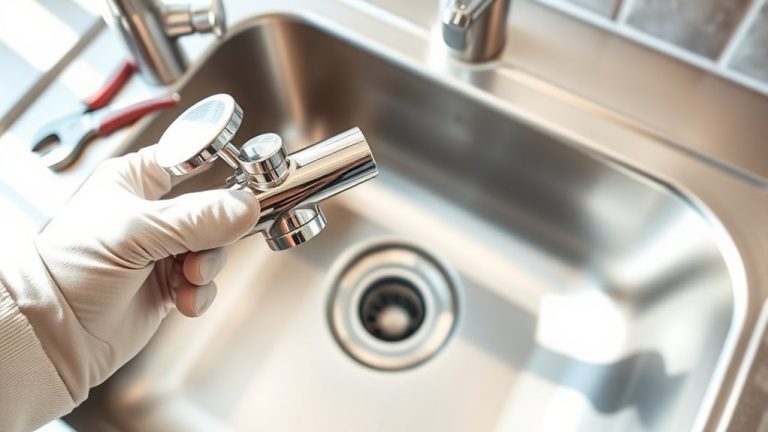
Next, check the pipes for cracks or loose fittings that could be causing the issue.
Use towels or a mop to soak up the water and dry the area as much as possible.
Doing regular leak checks can help catch problems early and save you from costly repairs later.
Conclusion
Now that you’ve tidied up your under-sink space like a seasoned steward, maintaining order will become second nature. No more chaos like in a Victorian cluttered study. Regularly declutter, use smart storage solutions, and keep hazardous items safely tucked away.
With these steps, your kitchen will be as organized as a well-ordered apothecary, making your cooking and cleaning routines smoother and more enjoyable. Cheers to a tidy, efficient under-sink area and a kitchen that’s always ready for action!