Step-by-Step Guide to Clean Kitchen Cabinet Hardware
Many homeowners find themselves frustrated with dirty, grimy kitchen cabinet hardware that just won’t look fresh again. You’re not alone—keeping knobs and pulls spotless can be a challenge, especially with everyday grease and grime building up.
To clean your kitchen cabinet hardware, start by gathering mild soap, warm water, a soft cloth, and a small soaking container. Remove knobs, pulls, or handles with a screwdriver and soak them if needed.
Use gentle cleaners like a vinegar solution or baking soda paste to tackle dirt and grease, then dry thoroughly. Carefully reattach hardware, ensuring it’s straight and secure.
For more detailed tips, you’ll find out how to restore shine and prevent future grime buildup.
Key Takeaways
- Carefully remove hardware using the right screwdriver to avoid any damage. Keep small parts organized so reassembly is easier.
- Use gentle cleaning agents like soap, water, or vinegar. Steer clear of harsh chemicals to protect your finishes.
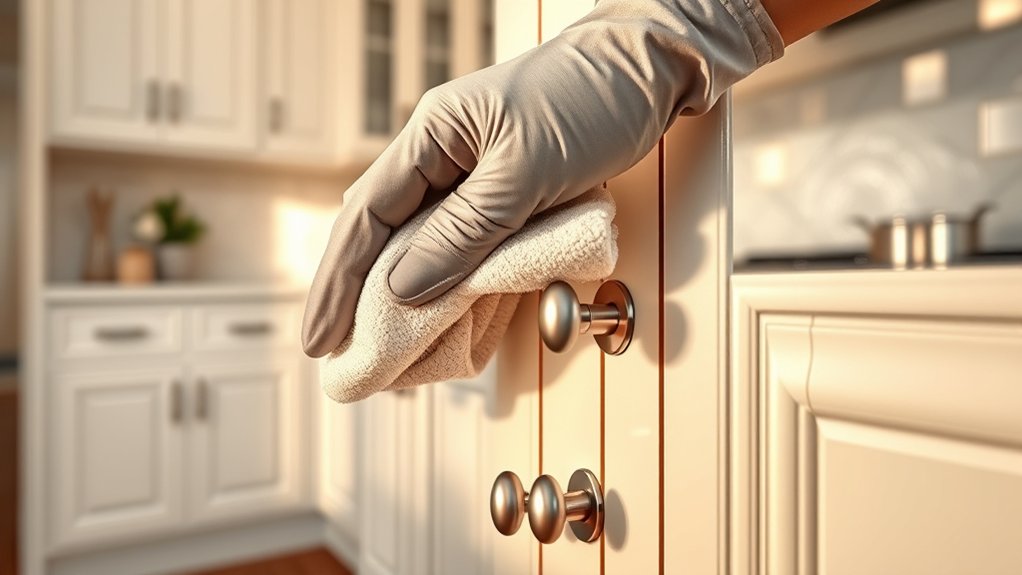
- Clean knobs, pulls, and handles with soft cloths or microfiber. Pay attention to crevices and hinges for a thorough dirt removal.
- Make sure to dry the hardware completely after cleaning. This helps prevent rust, and you can add polish or restorative products for a nice shine.
- When reattaching, ensure everything is dry, aligned properly, and securely tightened. This gives your cabinets a polished, functional look.
Gather Supplies and Prepare for Kitchen Hardware Cleaning
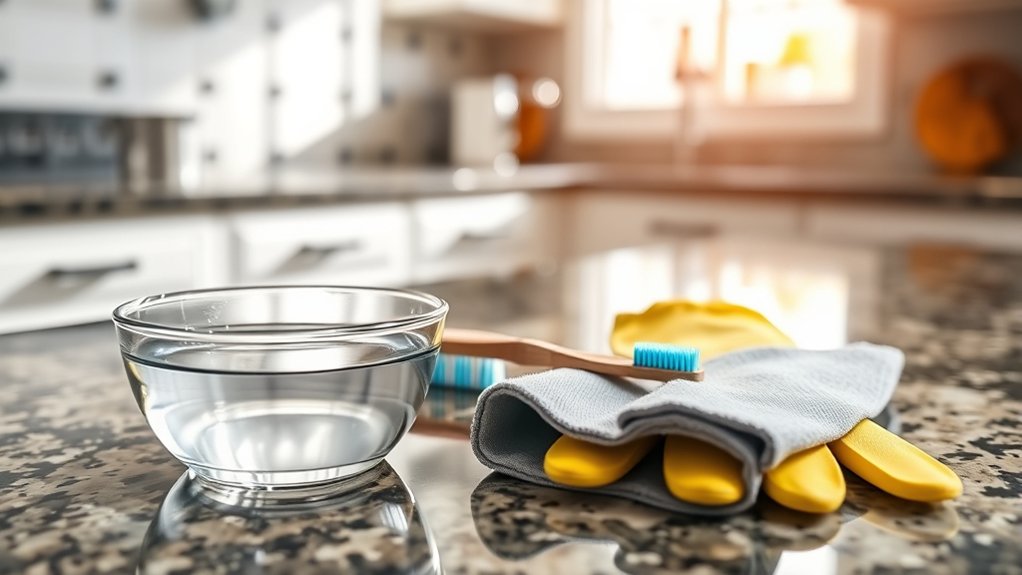
Have you gathered everything you need before starting to clean your kitchen hardware? Before you begin, collect your supplies—mild soap, warm water, soft cloths, and a toothbrush for crevices.
Consider any decorative finishes on your hardware; some may require gentle cleaning to avoid damage. Identify your hardware styles, as different designs might need specific care.
For example, vintage or antique pieces often need gentler treatment, while modern hardware can handle a bit more scrubbing. Gather a small container for soaking hardware if needed, and have a dry towel ready for drying.
Checking the type of finish helps prevent harsh cleaners from damaging the surface. Having all supplies on hand guarantees a smooth cleaning process, saving you time and effort.
Preparing carefully also helps you avoid mistakes that could harm your decorative finishes or hardware styles, keeping your kitchen looking its best.
Remove Kitchen Cabinet Hardware for Easier Cleaning
Removing your kitchen cabinet hardware before cleaning makes the process much easier and more thorough. With the hardware off, you can clean every surface without obstruction, ensuring a more effective job.
Removing hardware first makes cleaning easier and more thorough, ensuring every surface is spotless without obstruction.
Whether your cabinets feature decorative finishes or sleek, modern hardware styles, removing them helps you reach all the nooks and crannies. Different hardware styles may vary in how easily they come off; use a screwdriver suited to your screws to prevent damage.
If your hardware has decorative finishes, handling them separately avoids accidental scratches or tarnishing during cleaning. Taking the hardware off also allows you to inspect for damage or corrosion, making maintenance easier.
Keep screws and small parts organized so you can reattach everything securely later. Removing hardware is a simple step that considerably improves the quality of your cleaning while protecting the aesthetic appeal of your cabinetry.
Choose the Best Cleaning Products for Your Hardware
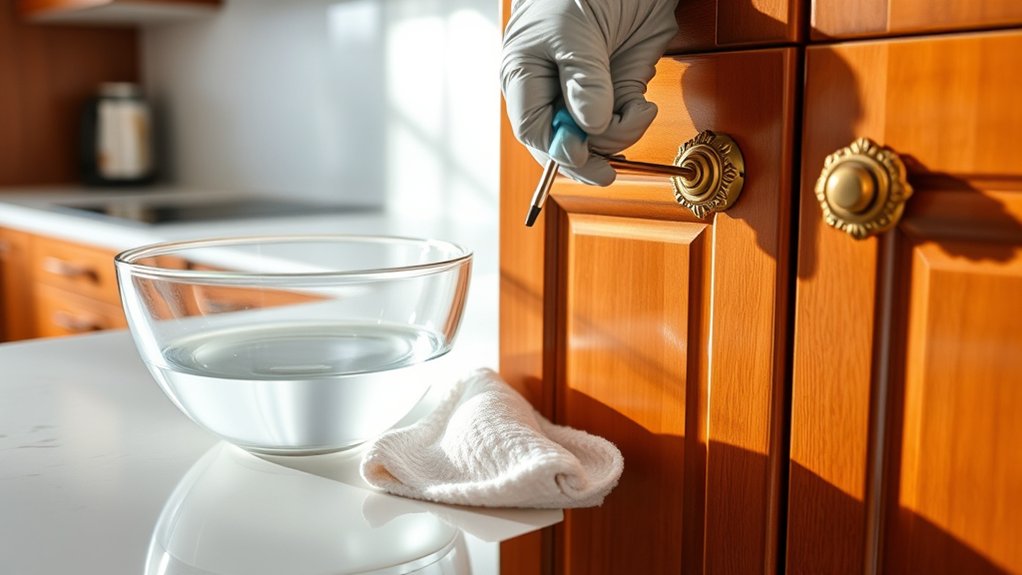
When you’re choosing cleaning products for your hardware, it’s best to go for gentle options like soap and water or a vinegar solution. These are safe and effective ways to keep your devices clean without risking any damage.
On the other hand, you want to avoid harsh chemicals like bleach or abrasive cleaners. They can really harm your hardware’s finish and cause more harm than good.
Using the right products not only helps your hardware stay shiny and looking good, but it also helps it last longer. So, a little care with the right cleaning agents goes a long way!
Suitable Cleaning Agents
Choosing the right cleaning agents is key to keeping your kitchen cabinet hardware shining without causing damage. Make sure the products you pick are compatible with your hardware’s material and consider cleaning methods that are safe and effective.
Mild soap and warm water are safe options for most surfaces, but steer clear of harsh chemicals that could tarnish metals or strip finishes. For stubborn grime, a mixture of baking soda and water works really well.
Always prioritize chemical safety by reading labels and avoiding products with corrosive ingredients. Here’s a quick guide to help you choose the best cleaning method:
| Cleaning Method | Suitable Agents | Precautions |
|---|---|---|
| Gentle wiping | Mild soap, water | Test on small area first |
| Deep cleaning | Baking soda paste | Use gloves, avoid abrasives |
| Light polishing | Vinegar solution | Rinse thoroughly |
| Stubborn stains | Commercial metal cleaner | Follow manufacturer instructions |
Avoid Harsh Chemicals
To safeguard your kitchen cabinet hardware, it’s important to avoid harsh chemicals that can cause damage or discoloration. Instead, choose natural remedies or eco-friendly options that gently clean without harming the finish.
Harsh chemicals like bleach, ammonia, or abrasive scrubbers can wear down metal or paint. Pick milder solutions to keep your hardware shiny and durable.
Consider these eco-friendly options:
- Mild dish soap mixed with water
- White vinegar diluted with water
- Baking soda paste for stubborn grime
- Lemon juice for natural shine
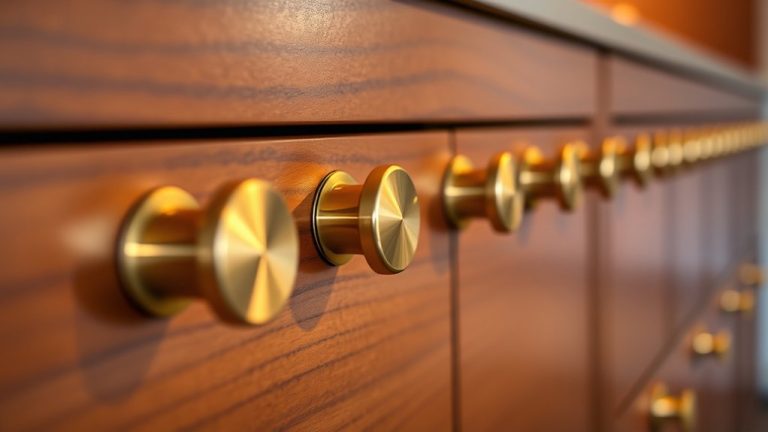
- Olive oil for polishing and protection
Using gentle, natural products helps maintain your hardware’s appearance and longevity. It also prevents unnecessary damage from aggressive cleaners.
Step-by-Step Guide to Cleaning Knobs, Pulls, and Handles
Cleaning knobs, pulls, and handles doesn’t have to be a hassle. The key is picking the right cleaners that won’t mess up the finish. A gentle touch with your scrubbing can do wonders—just enough to lift away dirt without scratching or damaging the surface. When you use these simple methods, you can keep your hardware looking great without any worries.
Choosing the Right Cleaners
Ever wonder what the best cleaner is for your kitchen cabinet hardware? Choosing the right cleaner depends on your hardware’s material and color options. You want something gentle yet effective to preserve the finish and avoid damage.
For durable materials like brass or stainless steel, mild soap or a gentle cleaner works well. If your hardware has a special finish, check manufacturer recommendations before cleaning.
Keep these tips in mind:
- Use non-abrasive cleaners to prevent scratching
- Avoid harsh chemicals like bleach or ammonia
- Test cleaner on a small area first
- Opt for soft cloths or microfiber for gentle cleaning
- Choose cleaners suited for specific material durability and color options
This approach guarantees your hardware stays shiny and intact.
Proper Scrubbing Techniques
Once you’ve chosen the right cleaner, it’s time to scrub your hardware effectively. Use gentle, circular motions to remove dirt and grime without damaging the finish.
Think about the material—brass, nickel, or painted hardware may need different approaches to avoid corrosion or scratches. Cleaning frequency depends on use; wiping weekly helps prevent buildup, while deep cleaning every few months keeps everything shining.
| Material | Scrubbing Approach | Frequency |
|---|---|---|
| Brass | Use a soft cloth and mild cleaner | Monthly |
| Nickel | Gentle, non-abrasive brush | Every 2-3 months |
| Painted/Coated | Soft cloth and avoid harsh abrasives | Every 3-4 months |
How to Tackle Tough Grease and Stubborn Dirt
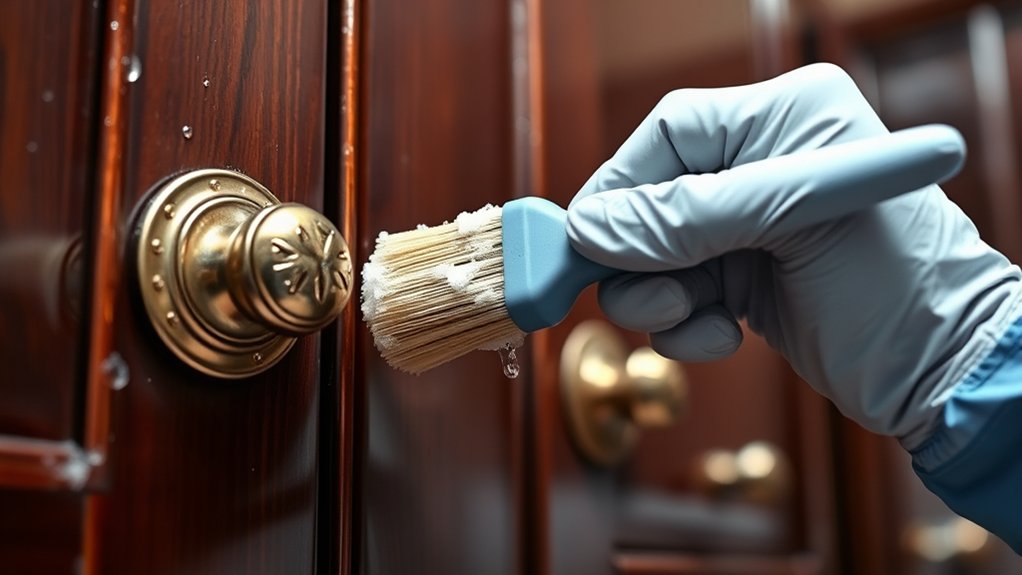
When dealing with tough grease and stubborn dirt on your kitchen cabinet hardware, start with the right approach. Use a degreasing solution like warm water mixed with mild dish soap, or a commercial degreaser for heavy buildup. Let it sit for a few minutes to loosen the grime, then scrub gently with a soft brush or cloth.
For stains, apply a paste made from baking soda and water. Let it sit for a bit, then scrub away. After cleaning, dry the hardware thoroughly to prevent rust. You can also apply a light coat of lubricant to keep everything in good shape.
Use non-abrasive tools to avoid scratching your hardware. Always test cleaning solutions on a small, hidden area first to make sure they won’t cause damage. Regular cleaning helps prevent buildup so you won’t have to work as hard later.
Avoid harsh chemicals that can cause corrosion. Keeping the hardware dry is key to preventing rust and making stain removal easier. With these simple steps, your cabinet hardware will stay clean and in great shape.
Polish and Restore the Shine to Your Hardware
Polish and restore the shine to your hardware by starting with a suitable polish or metal cleaner made for your specific fixtures. Using the right product helps avoid damage and makes sure your hardware looks its best.
Apply the cleaner with a soft cloth, using gentle circular motions. This technique helps remove tarnish and brings out your hardware’s natural luster.
Here’s a quick guide to hardware restoration:
| Step | Technique | Tip |
|---|---|---|
| Cleaning | Use a mild cleaner | Avoid abrasive products |
| Polishing | Circular motions | Use a soft, lint-free cloth |
| Buffing | Gentle buffing | Achieve a high shine |
| Protective Coating | Apply a sealant or wax | Helps prolong shine and prevent tarnish |
| Final Inspection | Check for spots or dullness | Reapply polish if needed |
Follow these simple steps to restore your hardware’s brilliance easily and beautifully.
Dry and Reattach Hardware Correctly
Before you reattach the hardware, make sure it’s completely dry. You don’t want any moisture to cause rust or damage over time. Take your time to dry it thoroughly so everything stays in good shape.
Once it’s dry, carefully align the hardware so it sits straight and looks neat. It’s worth taking a moment to get it just right. Then, tighten the screws securely to hold everything in place and make sure it doesn’t come loose later on.
Dry Hardware Thoroughly
Have you confirmed the hardware is completely dry before reattaching it? Ensuring thorough drying is essential to protect finishes and prevent rust or corrosion. Use a clean, soft cloth like a microfiber to gently dry each piece, paying attention to crevices where moisture can hide.
Make sure no moisture remains in tight spots or hinges. Use a dry, lint-free cloth for a smooth finish. Check that all hardware is free of streaks or water spots.
Allow extra drying time if needed, especially in humid environments. Avoid using abrasive tools that can scratch finishes.
Taking these steps helps keep your hardware looking great and working properly while maintaining its original finish.
Align Correctly Before Reattaching
Before reattaching the hardware, double-check that all parts are aligned correctly. Proper hardware alignment is key for smooth operation and a polished look.
Make sure the handles or knobs sit straight and are evenly positioned on the cabinet surface.
Misaligned hardware can cause uneven reattachment and affect accuracy. Take a moment to line up screw holes and confirm that the hardware sits flush against the cabinet.
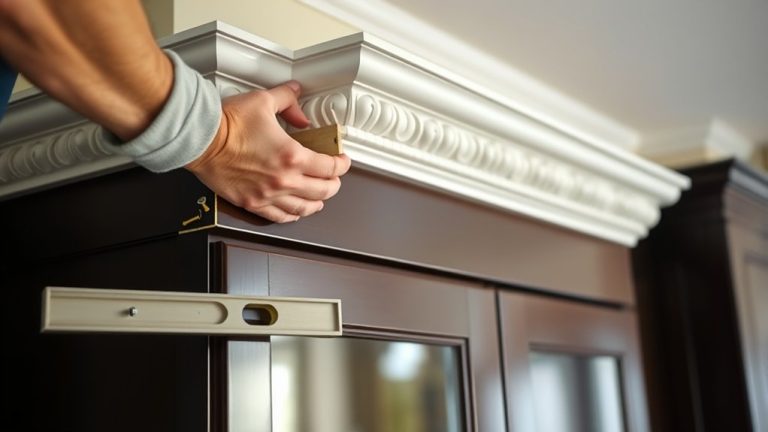
Use a level if needed to verify that everything is straight.
Accurate alignment helps prevent wobbling or crooked-looking hardware once secured. Paying attention to these details makes reattaching easier and gives a professional finish.
Correct hardware alignment also helps maintain your cabinet’s overall appearance and functionality.
Tighten Screws Securely
To guarantee your hardware stays securely in place, it’s essential to tighten the screws properly after reattaching the handles or knobs. Use the correct screw dimensions to match the existing hardware, ensuring a snug fit that improves durability.
Avoid overtightening, which can strip threads or damage the hardware. Check that the handles or knobs are aligned evenly before tightening completely. Use a screwdriver that fits the screw head perfectly to prevent slipping.
Keep the screws dry to avoid rust and corrosion that weaken the hardware over time. Confirm screw size before tightening and use the right screwdriver for a secure grip.
Tighten screws gradually in a crisscross pattern. Don’t overtighten to prevent damage. Regularly check for looseness to maintain the hardware’s durability.
Tips to Keep Your Kitchen Hardware Clean Longer
Keeping your kitchen hardware clean longer just takes a few simple habits. Regular cleaning helps keep hardware durable and stops buildup that can cause tarnishing or rust.
Try to wipe down handles and knobs at least once a week with a soft cloth and mild soap. Doing this often keeps grime away and makes surfaces look shiny.
Wipe handles and knobs weekly with a soft cloth and mild soap to keep them shiny and grime-free.
Avoid harsh chemicals because they can damage finishes and shorten the life of your hardware. When cleaning, pay special attention to crevices and edges where dirt likes to hide.
Use a gentle brush or an old toothbrush for stubborn spots. After cleaning, make sure to dry everything thoroughly to prevent moisture and rust over time.
Building these habits into your routine not only makes your hardware last longer but also cuts down on deep cleaning sessions. Staying consistent and handling your hardware carefully means it will look good and work well for years to come.
Troubleshooting Common Hardware Cleaning Problems
Even with regular cleaning, you might run into common problems like stubborn stains, tarnishing, or lingering odors. These issues can affect hardware durability and make cleaning more difficult.
To troubleshoot, think about how often you clean. Cleaning too often or not enough can impact your results. For example, infrequent cleaning allows grime to build up, while scrubbing too hard can damage the finish.
Here are some tips to help you fix these problems:
- Use gentle, non-abrasive cleaners to prevent tarnishing.
- Avoid harsh chemicals that can damage hardware finishes.
- For stubborn stains, soak the hardware in warm, soapy water before scrubbing.
- To get rid of odors, try a mixture of vinegar and water.
- Regularly check your hardware for signs of wear and clean promptly to keep it durable.
Adjust your cleaning routine based on the material and finish of your hardware. Proper cleaning frequency and gentle methods help keep it in good shape and prevent issues before they happen.
When to Replace or Upgrade Your Kitchen Hardware
Over time, even well-maintained hardware can show signs that it’s time for an upgrade. If your cabinet handles or knobs become loose, corroded, or show visible wear, it’s a clear indicator that hardware durability has diminished.
Sometimes, the finish may fade or chip, making your cabinets look outdated or neglected. An aesthetic upgrade can refresh your kitchen’s overall appearance without a complete remodel.
Consider replacing hardware if it no longer matches your style or if you want a modern, cohesive look. Upgrading also gives you the chance to choose more durable materials that can handle daily use better.
If your current hardware feels flimsy or difficult to operate, it’s a sign that replacement will improve functionality. Ultimately, when hardware no longer performs well or impacts your kitchen’s visual appeal, it’s time to replace or upgrade for both durability and style.
Frequently Asked Questions
How Often Should I Clean My Kitchen Cabinet Hardware?
You should clean your kitchen cabinet hardware at least once a month to keep it shiny and free of grime. If you notice fingerprints or grease buildup, clean it more often.
For comparison, bathroom fixtures and outdoor hardware also need regular cleaning, about monthly or as needed, to prevent tarnish and buildup. Regular cleaning helps keep your hardware looking new and working smoothly.
It also reduces the need for repairs or replacements over time.
Can I Use Natural Cleaning Solutions on All Hardware Types?
Yes, you can use natural alternatives on most hardware types, but it’s important to consider chemical compatibility.
Some materials like brass or delicate finishes may react badly to natural solutions like vinegar or lemon juice. Always test a small, hidden area first to be safe.
Generally, gentle options like a mix of mild soap and water work well across various hardware, helping you clean effectively without damaging the finish.
What Are Signs That Hardware Needs Replacing Instead of Cleaning?
You’ll notice signs that hardware needs replacing if it’s corroded, rusted, or if the finish is peeling despite regular cleaning.
Over time, hardware’s longevity wanes, and no amount of cleaning frequency can fix deep damage. If handles feel loose or look worn even after cleaning, it’s time to consider replacements.
Ignoring these signs could lead to further damage, making replacements a smarter, long-term choice.
How Can I Prevent Future Buildup of Dirt and Grime?
To prevent future dirt buildup and grime on your kitchen cabinet hardware, make it a habit to wipe down the hardware regularly with a damp cloth. Do this especially after cooking or spills to keep it clean.
If needed, use a mild soap for a deeper clean, and be sure to dry everything thoroughly afterward. This helps prevent moisture from settling and causing grime.
You might also consider applying a protective coating or polish to create a barrier against dirt. It’s a simple step that can make a big difference in keeping your hardware looking fresh.
Finally, keep your kitchen well-ventilated to reduce humidity. Lower humidity levels help prevent grime buildup and keep your hardware cleaner for longer.
Are Certain Cleaning Methods Safer for Antique or Delicate Hardware?
Coincidentally, your antique hardware deserves gentle care, making delicate cleaning methods the safest choice. You should avoid harsh chemicals or abrasive tools that could damage its finish or structure.
Instead, opt for soft cloths, mild soap, and warm water to preserve its antique charm. These gentle techniques support antique preservation and guarantee your hardware stays beautiful without risking deterioration.
Always test in a small area first to prevent accidental harm.
Conclusion
Now that you have this step-by-step guide to clean kitchen cabinet hardware, your hardware will shine brighter than a diamond in no time.
With just a little effort and the right techniques, you’ll keep your knobs, pulls, and handles looking spotless and sparkling.
Say goodbye to grime and stubborn dirt—your kitchen will become the envy of every home.
Just remember, routine cleaning with the right methods can turn your space into a culinary palace that dazzles at every glance!