5 Tips to Place Kitchen Cabinet Handles Perfectly
Many people struggle with placing kitchen cabinet handles perfectly, and it’s easy to feel frustrated when everything doesn’t line up just right. You’re not alone—getting those handles to look professional can be tricky, but with a few simple tips, you’ll be able to nail it.
To place kitchen cabinet handles perfectly, start by choosing a comfortable, ergonomic spot that matches your cabinet style. Measure carefully with tools like a tape measure and level, marking spots with a pencil. Use templates or clamps for consistency across multiple cabinets.
Double-check all measurements before drilling to guarantee alignment. Avoid rushing the process, and pay attention to handle length and placement. Keep these tips in mind, and you’ll achieve a professional finish—plus, there’s more to discover on how to get it just right.
Key Takeaways
- Measure and mark handle positions accurately with a level and measuring tape before drilling.
- Make sure handles are placed at the same height and distance from edges on all cabinets.
- Use templates or spacers to keep spacing and alignment consistent across multiple cabinets.
- Double-check your measurements and alignment before drilling to avoid uneven placement.
- Pick handle styles and placement that match your kitchen’s design for a cohesive look.
How to Determine the Best Handle Placement for Your Cabinets
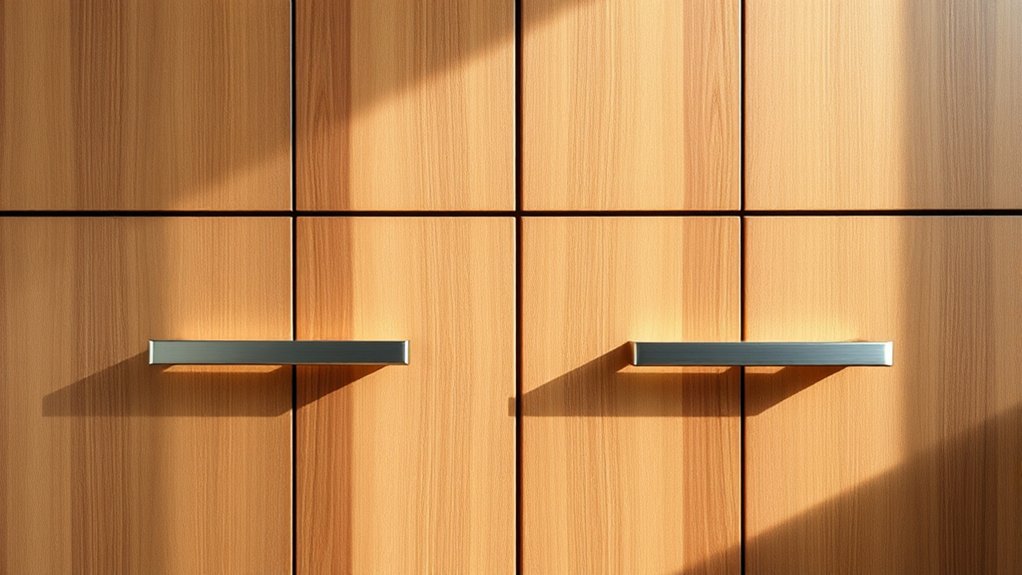
Determining the best handle placement for your cabinets can really improve both how they look and how well they work. Think about ergonomics—handles should be easy to reach and comfortable to grab.
Usually, handles go vertically on the sides of cabinet doors or horizontally along the bottom edge. The placement depends on the size and use of the cabinet.
For drawers, placing handles in the center or just above the middle makes them easier to open. To keep things looking balanced, match handle height with other kitchen elements like countertops or nearby appliances.
Consistency is important—use the same style and height throughout your cabinets for a unified look. Handles can be decorative accents or subtle details, so consider how they fit into your overall design.
Before drilling, test your handle placement with mock-ups or masking tape. This helps you see how it feels and looks in real life.
Proper handle placement boosts comfort and adds to the harmony of your kitchen’s overall style.
Essential Tools and Techniques for Precise Handle Alignment
Achieving perfectly aligned cabinet handles requires the right tools and techniques to ensure consistency and a polished look. First, use a measuring tape or a ruler to find the ideal height and spacing for comfortable handle placement, making sure it’s accessible for everyone.
A pencil or masking tape can help mark exact spots without damaging the surface. For decorative handles, pay attention to symmetry and visual balance, choosing placements that complement your cabinet design.
A level or straightedge is essential to keep handles aligned either horizontally or vertically across your cabinets. Clamps or a template can help maintain consistent distance between handles if you’re installing multiple units.
Always double-check your measurements before drilling to avoid mistakes. These tools and techniques make the process easier, giving you clean, professional results that enhance your kitchen’s look and functionality.
How to Mark and Drill Handles for a Professional Look
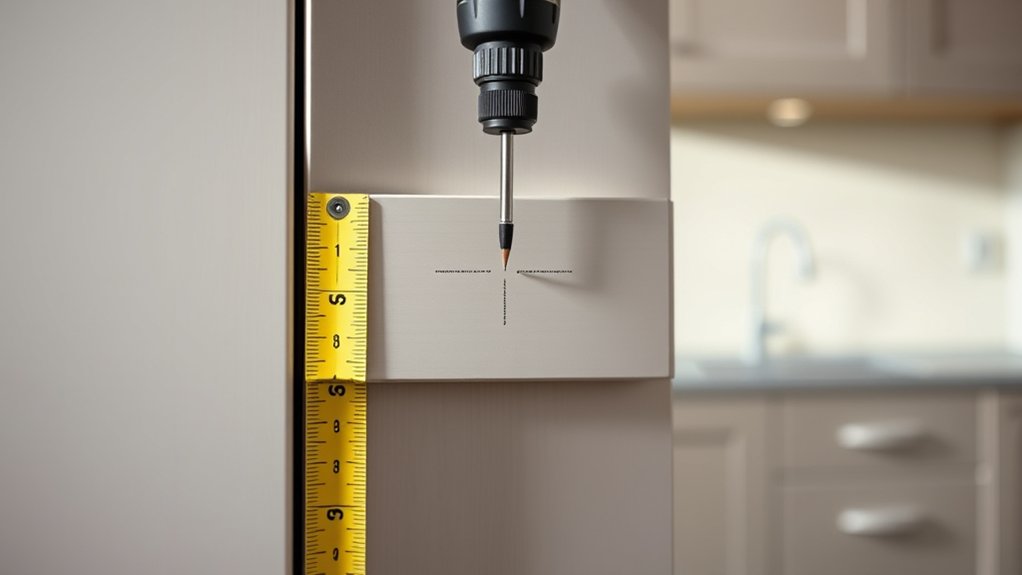
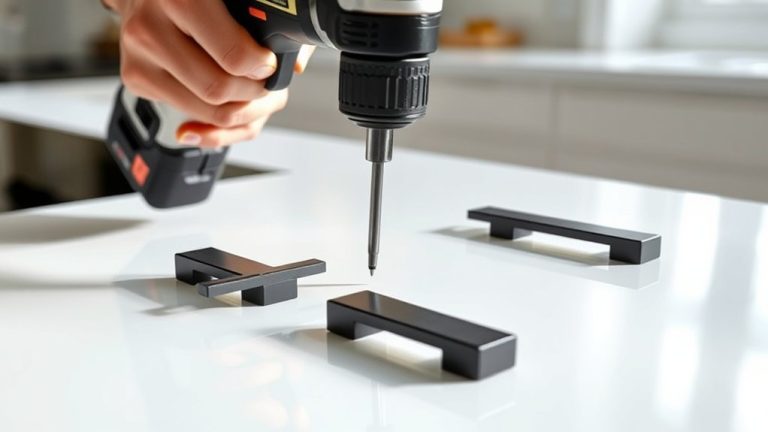
Once you’ve marked the ideal handle placement, the next step is to carefully mark the drilling spots to guarantee a professional finish. Your handle design plays a key role here, as it affects both functionality and looks.
Use a pencil and a measuring tape or ruler to ensure your marks are level and evenly spaced, matching your cabinet’s overall style. If your handles need two screws, measure the distance between the mounting holes accurately.
For single-hole handles, just mark the center point precisely. Double-check your measurements before drilling to avoid misalignment. Use a small drill bit to create pilot holes, making screw insertion easier and preventing wood from splitting.
Common Mistakes When Installing Cabinet Handles and How to Avoid Them
Installing cabinet handles might seem straightforward, but many people make common mistakes that can spoil the final look and functionality. One frequent error is choosing handle styles that don’t match your cabinet design or using incompatible mounting hardware.
For example, handles that are too long or too short can look awkward and affect how easy they are to use. Another mistake is misaligning handles, which creates an uneven appearance. Always double-check measurements before drilling to avoid crooked handles.
Failing to consider the right mounting hardware can also cause problems. Using the wrong screws or anchors might leave handles loose or damage the cabinet surface. Make sure to select hardware suited for your handle style and cabinet material.
Finally, rushing the process without properly marking the placement can lead to inconsistent spacing. Taking your time to plan handle positions carefully and verifying hardware compatibility will give you a professional, polished look and help avoid common pitfalls.
Ensuring Consistent Handle Placement Across Multiple Cabinets
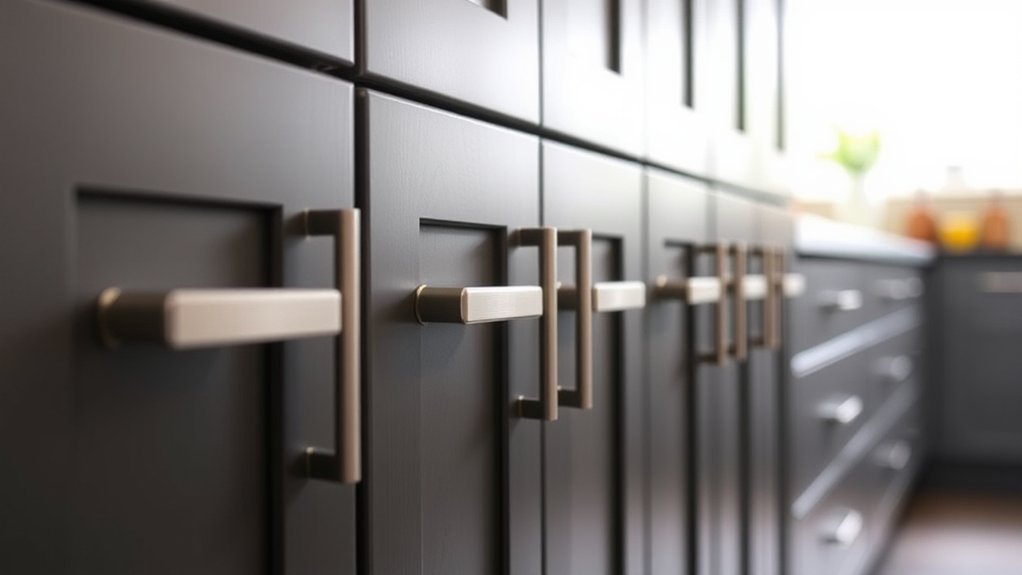
To guarantee a uniform look across multiple cabinets, you need to carefully plan and measure the placement of each handle. Start by choosing a handle style that matches your overall kitchen design, whether modern, traditional, or rustic.
Consistency is key, so decide on a standard placement height and distance from the edges for all cabinets. Use a measuring tape and a level to mark precise spots, ensuring handles line up perfectly across doors and drawers.
Keep in mind that handle material can influence your choice; for example, metal handles might require different spacing than wooden or ceramic ones due to their shape and weight. When measuring, double-check your marks before drilling to avoid misalignment.
Frequently Asked Questions
What Are the Different Handle Styles Suitable for Various Kitchen Designs?
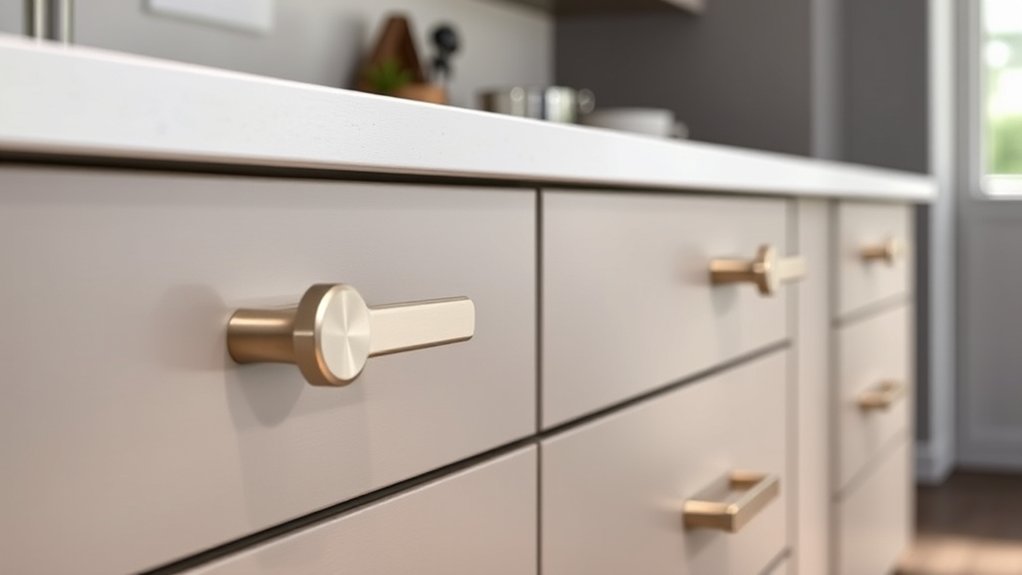
You can choose handle styles based on your kitchen design, like sleek bar handles for a modern look or ornate pulls for a traditional feel.
Think about handle materials too. Stainless steel is durable, while brass adds warmth. Handle placement is important—try to keep handles consistent, either centered or at the edge, for both function and style.
Matching your handle style and placement to your kitchen’s theme helps create a cohesive, polished look.
How Do I Choose the Right Handle Size for My Cabinets?
You should choose a handle size that balances function and aesthetics. Investigate handle material options like metal, wood, or plastic, and match handle color choices to your cabinets for a cohesive look.
Generally, opt for handles that are one-third the width of your cabinet door or drawer for comfort and proportion. Smaller handles suit delicate designs, while larger ones work well with bold, modern styles, ensuring your cabinets look both practical and stylish.
Can I Install Handles Without Removing the Cabinet Doors?
Yes, you can install handles without taking off the cabinet doors. First, figure out the handle height by measuring from the top or bottom of the door, making sure to be consistent.
Mark where you want to drill the holes, using a measuring tape or a template to get it just right. Then, drill small pilot holes carefully.
Next, insert the screws from inside the cabinet or through the front of the door. Tighten the handles securely without needing to remove the doors.
What Maintenance Tips Keep Handles Looking New?
A stitch in time saves nine, so regular maintenance keeps your handles looking new. Just follow simple cleaning tips like wiping handles with a damp cloth and mild soap, and avoid harsh chemicals.
Pick material options that resist corrosion, like stainless steel or brass. These materials help keep your handles looking fresh longer.
Make sure to check for loose screws regularly and tighten them. This little step prevents tarnishing and keeps your handles shining.
With a bit of upkeep, your handles will stay stylish and functional in your kitchen for years to come.
How Do I Handle Uneven Cabinet Surfaces During Installation?
When dealing with uneven cabinet surfaces, start by checking for any irregularities or alignment issues. Use a level or straightedge to mark where the handles should go, making small adjustments for surface unevenness.
If needed, you can install small wooden shims behind the handles or drill slightly larger holes to allow for adjustments. This way, your handles will stay aligned and secure, even on imperfect surfaces.
Conclusion
Now that you’ve mastered the art of handle placement, it’s almost too easy—almost. Just remember, even the most precise installer can slip up, turning a sleek cabinet into a quirky art piece.
So, accept the imperfections, laugh at your mistakes, and enjoy your perfectly personalized kitchen. After all, installing handles can teach you patience and the charm of imperfection.
Happy drilling!