9 Simple Steps to Install Your Kitchen Sink
Many homeowners find installing a kitchen sink to be a daunting task, especially if you’re new to DIY projects. You’re not alone—this process can seem overwhelming at first, but with a little guidance, you can do it yourself.
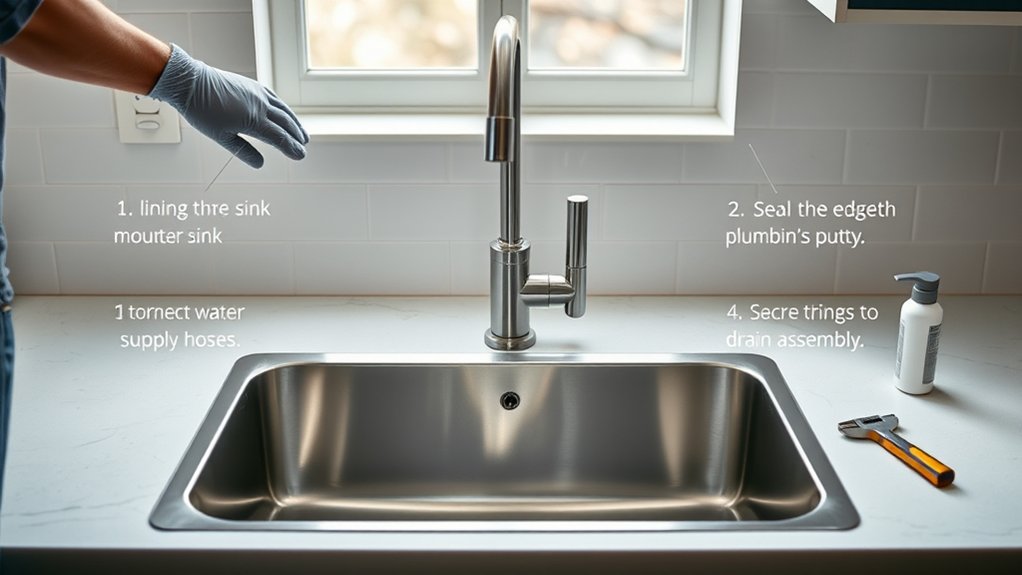
To install your kitchen sink, start by gathering tools and matching parts. Then turn off the water and remove the old sink carefully.
Measure for fit, pre-assemble the faucet and drain components, and position the sink in place to check fit.
Seal the edges with caulk, connect the water lines and drain, then turn the water back on to check for leaks.
Finish by cleaning your workspace and inspecting everything thoroughly to guarantee a leak-free, professional result.
If you want to master each step, keep going for detailed guidance.
Key Takeaways
- Turn off the water supply, disconnect the old sink, and prepare your workspace with the necessary tools and materials.
- Measure and double-check that the new sink will fit the countertop opening before you start installing.
- Connect the faucet and drain assembly, then carefully position and level the sink in place.
- Attach the water supply lines and drain fittings securely, making sure everything is aligned properly and tight.
- Turn the water back on, check for leaks, and clean up the area for a neat, functional installation.
Gather Your Tools and Materials for Kitchen Sink Installation
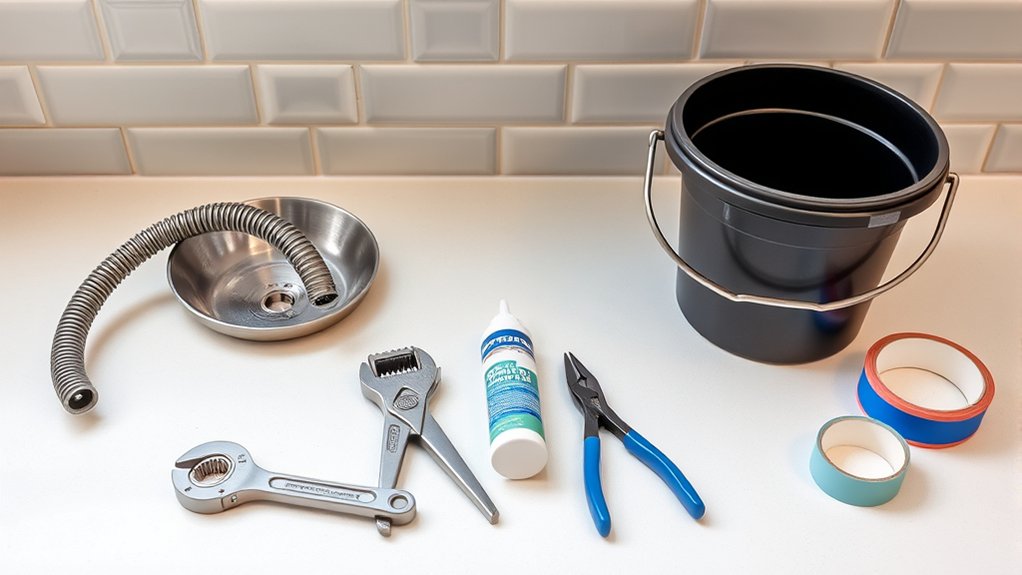
Before you start installing your kitchen sink, make sure you’ve got all the tools and materials you need. Organize your tools so everything’s easy to find and you don’t waste time looking for something mid-project.
Keep essentials like a wrench, screwdriver, pliers, and a level within arm’s reach. Then, choose the right sink, faucet, plumbing parts, and sealant that fit your setup. Double-check that your sink fits your countertop and matches your plumbing connections.
Having your tools organized helps make the process smoother and faster, reducing frustration. Also, gather replacement parts like gaskets and washers to prevent leaks. Labeling your tools and materials can help keep everything on track.
Being prepared with the right tools and materials sets a solid foundation for a smooth installation. This way, you’ll be ready to move confidently into the next steps.
Turn Off Water and Prepare Your Workspace
To avoid water damage and make your installation safer, you need to turn off the water supply to your sink. Locate the shutoff valves under the sink or nearby, and turn them clockwise to stop the water flow. This will reduce water pressure and prevent leaks during installation.
Once the water is off, open the faucet to drain any remaining water in the lines. Before working further, inspect the pipes for any signs of damage or corrosion. Consider adding pipe insulation if needed to prevent freezing or condensation issues later.
Clearing your workspace is essential, so move any clutter away from the sink area. Cover nearby surfaces with a cloth or plastic sheet to protect them from debris. Having a clean, organized space will make the installation smoother and safer, reducing the risk of accidents or damage.
Remove the Old Sink and Measure for Your New One
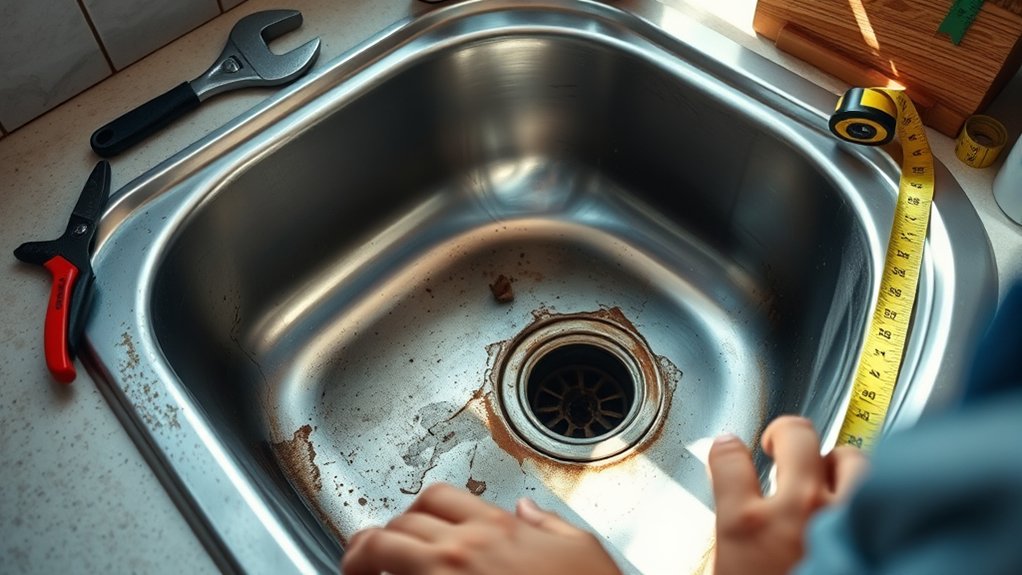
Start by disconnecting any plumbing connections attached to the old sink to free it up. Once you’ve done that, carefully remove the sink. Then, take your measurements of the opening. It’s a good idea to double-check so you’re sure your new sink will fit just right. Getting these measurements right now will save you from any surprises when it’s time to install the new one.
Disconnect Plumbing Connections
When removing the old sink, it’s important to disconnect the plumbing connections first. Start by turning off the water supply at the emergency shutoff valve to stay safe.
Next, place a bucket underneath to catch any leftover water in the pipes. Use a wrench to loosen and disconnect the supply lines and drain pipes.
Be careful—some connections might be tight or corroded, so take your time. Always prioritize plumbing safety to prevent leaks and water damage.
Once everything is disconnected, you’re ready to remove the old sink and measure for your new one.
Measure for Fit
Before installing your new sink, you need to remove the old one and measure the space to verify a proper fit. Carefully take out the existing sink, noting the dimensions and any needed cabinetry adjustments.
Pay attention to the width, depth, and height to make sure your new sink will fit comfortably, especially if you plan to add a decorative backsplash later.
Measure the opening carefully and check for any cabinet modifications needed to fit the new unit. Keep in mind that some sinks might need extra space for plumbing or fixtures.
Accurate measurements prevent surprises during installation, save time, and ensure a seamless fit.
Taking these steps now helps you avoid costly adjustments later and makes sure your new sink looks great and works perfectly.
Pre-Assemble Faucet and Drain Components
First, gather all the faucet and drain parts you’ll need. It’s a good idea to lay everything out so you can see that nothing’s missing. Before you get started with the installation, take a moment to test each component. Make sure they fit together properly and work as they should. Doing this upfront can save you a lot of hassle later on and help the actual installation go smoothly.
Gather Necessary Parts
Gather all the necessary parts for your sink installation, including the faucet, drain assembly, and any mounting hardware. Pre-assembling these components saves time and helps prevent mistakes later.
You’ll also want to have decorative accessories ready for finishing touches and cleaning supplies for quick cleanup. Use this table to verify your parts:
| Part | Description |
|---|---|
| Faucet | The spout and handles |
| Drain assembly | P-trap and tailpiece |
| Mounting hardware | Clips, nuts, and washers |
| Decorative accessories | Finishing touches, spray nozzles |
| Cleaning supplies | Rags, disinfectant, brushes |
Double-check everything before starting to make sure you have what you need. This prep helps streamline the process and keeps your workspace tidy, especially when handling small parts.
Test Components Before Installation
Once you’ve assembled the necessary parts, it’s a good idea to test the faucet and drain components to make sure everything fits and works properly. Testing before installation helps catch any issues early, saving you time and preventing leaks later.
Connect the faucet to the water supply and turn it on to check for proper flow and leaks. For the drain, pour water into the assembly to see if it drains smoothly without any leaks.
This step is important for quality assurance, making sure all parts are compatible and functioning as they should. Testing beforehand helps you avoid surprises during installation and ensures your sink works perfectly once it’s installed.
Taking these steps makes the whole process smoother and hassle-free.
Position Your New Kitchen Sink and Check Fit
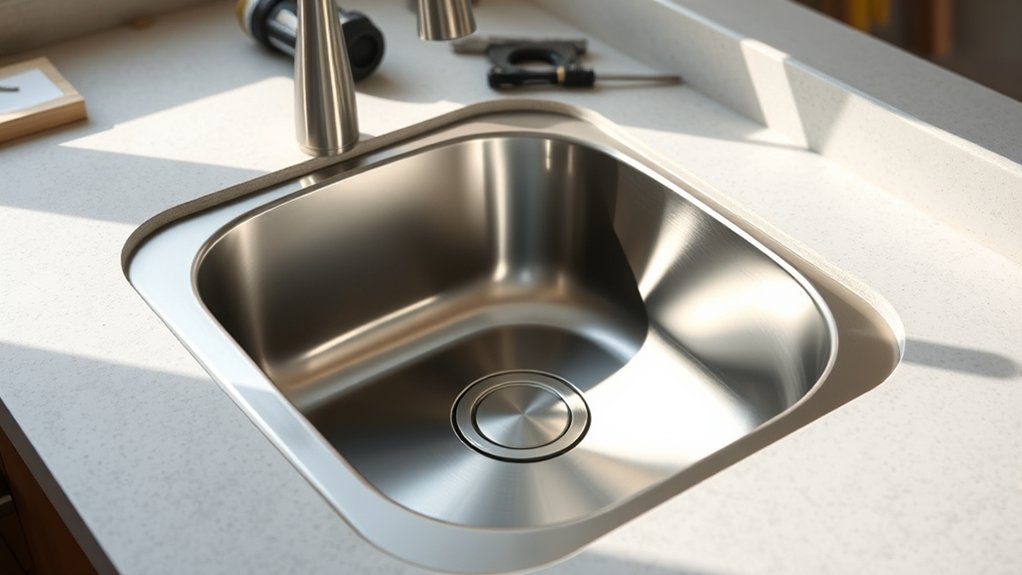
Before you permanently secure your sink, make sure it’s positioned correctly and fits well. Start by placing the sink in the designated spot, paying attention to how it sits.
Check that it lines up with your countertop cutout and sits evenly. Look at the space around the sink to ensure there’s enough room for faucets and cleaning tools without blocking anything.
Ensure the sink aligns with the cutout and has enough space for faucets and tools.
Gently press the sink into place to see how it fits. Notice any overhang or gaps that might be present. If needed, reposition the sink until it sits flush and level.
Make sure the edges don’t stick out beyond the countertop’s edges, as that can affect both the look and the function. Taking these steps now helps prevent issues later and gives your installation a professional appearance.
Once you’re happy with the fit and placement, you’re ready to secure the sink permanently.
Seal the Edges for a Leak-Free Finish
After confirming your sink is properly positioned and fits well, it’s time to seal the edges to prevent leaks. Use caulking techniques that guarantee a smooth, even bead of sealant around the perimeter of the sink.
Choose the right sealant type. Silicone caulk is popular for its durability and water resistance, but acrylic latex can also work if you plan to paint over it later. Before applying, clean the area thoroughly to remove any debris, grease, or old sealant.
Cut the tip of the caulk tube at a 45-degree angle for better control. Apply steady pressure as you run a continuous bead around the edge of the sink. Smooth the bead with a caulking tool or your finger dipped in water.
Make sure to wipe away excess caulk immediately before it cures. Proper sealing with correct caulking techniques guarantees a leak-free, professional-looking finish.
Connect Water Lines and Drainage System
Have you gathered all the necessary fittings and tools? Now, it’s time to connect the water lines and drainage system. First, attach the supply lines to the shut-off valves, making sure they fit snugly to prevent leaks.
Check the water pressure setting; if it’s too high, it can cause leaks or damage. If it’s too low, it may affect how well everything works. Next, connect the hot and cold water lines to their respective faucets, tightening the fittings securely.
When working on the drainage, verify that the drainpipe has the proper slope—about a quarter inch per foot—to promote smooth water flow. Attach the drain trap securely, lining up the slip nuts properly to avoid leaks.
Make sure all connections are tight but avoid overtightening, which can crack fittings. Once everything is connected, double-check that the water pressure feels right and all fittings are secure.
This way, you can be confident your water supply and drainage system will work efficiently without leaks or drainage problems.
Turn On Water and Check for Leaks
Once you’ve securely connected the water supply lines and drainage system, it’s time to turn on the water to check for leaks. Slowly open the shutoff valves and let the water flow into the sink.
Observe the connections carefully for any signs of leakage. Pay attention to the water pressure; it should be steady and strong without sudden drops.
If you notice dripping or water seeping from joints or fittings, turn off the water immediately. Leak detection is essential to avoid water damage and costly repairs later.
Tighten any loose fittings gently, but don’t overtighten, as this could cause damage. Once you’ve confirmed there are no leaks and the water pressure is ideal, run the faucet for a minute or two to ensure everything functions smoothly.
This step helps verify that your installation is secure and ready for everyday use.
Finish Up and Clean Your Workspace
As you finish up your installation, take a few moments to tidy your workspace and make sure everything is in order. Proper organization helps prevent accidents and makes future repairs easier.
Start by removing any leftover tools, packaging, and debris. Wipe down surfaces to remove dust, dirt, and water spots, so your area looks neat and professional.
Next, check underneath the sink for any overlooked leaks or drips, and tighten fittings if needed. Dispose of packaging and waste responsibly.
Restoring your workspace not only creates a safe environment but also gives you a sense of accomplishment. Take a quick inventory of your tools, store them properly, and wipe down your work area again if necessary.
A clean, organized workspace makes your kitchen look finished and helps maintain your sink’s longevity. Now, you’re all set to enjoy your newly installed kitchen sink!
Frequently Asked Questions
What Are Common Mistakes to Avoid During Installation?
You should avoid common mistakes during installation, like neglecting to check for plumbing leaks, which can cause water damage later.
Make sure to take correct measurements because wrong measurements can lead to improper fitting or leaks.
Don’t forget to tighten connections securely, but be careful not to overtighten, as that can damage fittings.
Carefully follow the instructions, double-check your work, and use the right tools.
This will help ensure your sink is installed correctly and functions smoothly.
How Do I Choose the Right Size Sink for My Kitchen?
To choose the right size sink, measure your available countertop space carefully to make sure it fits comfortably, including faucet compatibility and clearance.
Think about your daily tasks—larger sinks are great for frequent washing or big pots.
Also, check if your faucet’s installation and height work with the new sink.
Can I Install a Kitchen Sink Myself Without Professional Help?
Absolutely, you can handle DIY plumbing for your kitchen sink if you’re comfortable with basic tools and instructions. Modern sink materials like stainless steel or composite make installation easier.
You’ll need to follow clear steps, measure correctly, and ensure proper sealing. Keep in mind, while it’s doable, don’t hesitate to call a professional if you come across complex problems.
With patience, you can successfully install your sink and save some money.
What Tools Are Essential for a Successful Sink Installation?
You’ll need essential tools like a wrench, screwdriver, plumber’s putty, and a bucket. Always prioritize tool safety by wearing gloves and eye protection.
Use a level to make sure everything lines up properly.
Follow DIY tips to avoid leaks and damage, such as tightening connections securely without over-tightening. Having the right tools and practicing safety precautions makes your sink installation smoother and more successful.
How Long Does the Entire Installation Process Typically Take?
The entire installation usually takes around 2 to 4 hours, depending on your experience and how complex the sink is.
To stay efficient, follow clear steps, organize your tools ahead of time, and double-check your measurements.
Use tips like turning off the water supply early and working methodically to save time.
Conclusion
Installing a new kitchen sink is a simple project that can save you time and money. Did you know that over 70% of homeowners try DIY plumbing repairs?
By following these nine easy steps, you’ll confidently upgrade your space and avoid costly professional fees. Just take your time, double-check connections, and enjoy the satisfaction of a leak-free, functional kitchen.
You’ve got this. Happy installing!