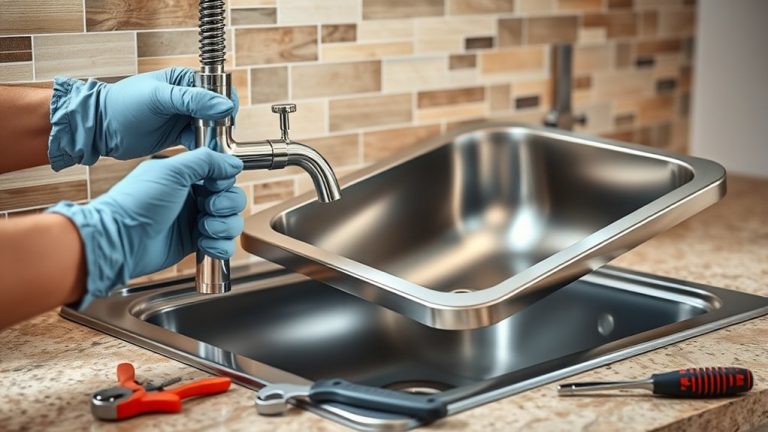
7 Simple Steps to Replace Your Kitchen Sink Drain
Many homeowners find replacing a kitchen sink drain to be a frustrating and messy task. You’re not alone—this project can seem daunting, especially if you’re unsure where to start. But with a little guidance, you can tackle it confidently and get your sink working like new.
Start by gathering your tools and materials, making sure everything’s in good condition. Turn off the water supply and clear your workspace. Remove the old drain carefully, inspecting and cleaning the area beforehand.
Install your new drain, ensuring it’s aligned and sealed properly. Test for leaks and proper drainage.
Finish by maintaining the drain regularly to prevent future issues.
If you follow these steps, you’ll get your sink drain working perfectly—plus, you’ll uncover more tips along the way.
Key Takeaways
- Turn off the main water supply and clear the area around the sink before you start.
- Carefully remove the old drain assembly, then inspect and clean the area afterward.
- Pick out your new drain and prepare it, using plumber’s putty or a gasket for a tight seal.
- Install the new drain, tightening fittings but not too much, and make sure to connect the pipes properly.
- Finally, test for leaks and good drainage, clean up the area, and do routine maintenance.
Gather Your Tools and Materials for Sink Drain Replacement
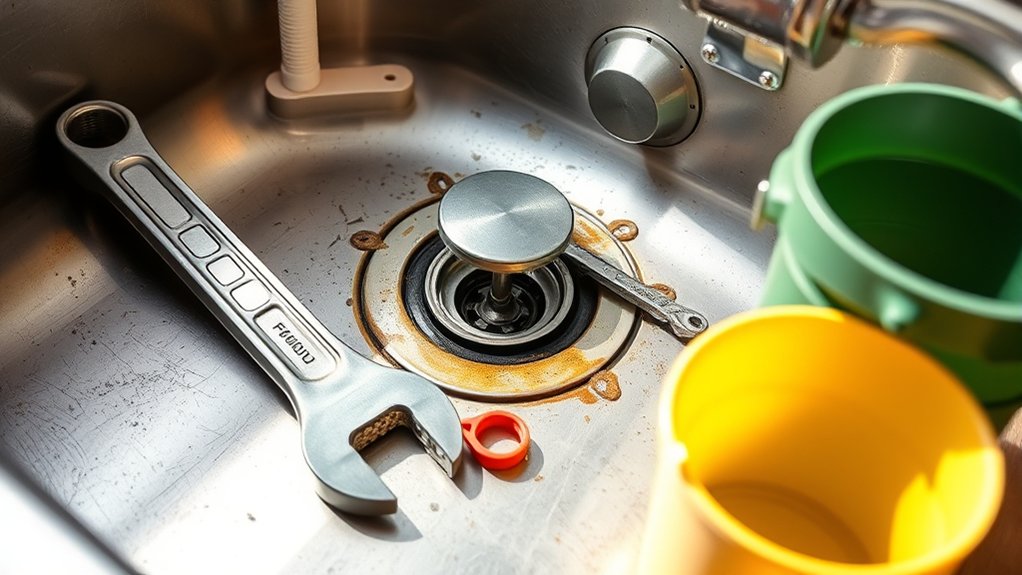
Before you start replacing your sink drain, it’s important to gather all the tools and materials you’ll need. Make sure your tools are in good condition, and don’t forget to wear protective gear like gloves and eye protection.
Choose a high-quality drain kit that fits your sink’s size and style. It should include a new gasket, locknut, and plumber’s putty. You’ll also need a wrench, pliers, a screwdriver, and a bucket to catch any leftover water.
Double-check you have everything before you begin to avoid interruptions. Using the right tools safely helps prevent accidents, and choosing quality materials ensures a leak-proof, secure fit.
Having everything on hand makes the job smoother and more efficient. It saves you time and frustration, helping you complete the project safely and correctly.
Turn Off Water and Prepare Your Workspace
First things first, turn off the main water supply so you don’t have to worry about any leaks while you’re working. Once that’s done, clear out the area around your sink—making space makes everything much easier and safer.
Next, gather all the tools and supplies you’ll need. Having everything within reach means you won’t have to scramble around mid-project, and it helps keep things organized. Taking these quick steps upfront will make the whole process smoother and less stressful.
Shut Off Main Water
Turning off the main water supply is your first essential step to prevent leaks and water damage. This guarantees no water flows while you work on the sink drain.
Before shutting off the valve, consider water conservation by avoiding unnecessary water use elsewhere in your home. When you turn off the water, pay attention to the pipe materials—metal or PVC—that make up your plumbing system.
Different materials may require specific tools or precautions during disassembly. Once the main valve is closed, open a faucet at the sink to release any remaining water pressure.
This step minimizes messes and protects your workspace. Confirm the water is off by checking for drips.
Now, you’re ready to proceed with replacing your kitchen sink drain safely.
Clear Workspace Area
Once you’ve turned off the main water supply, it’s important to clear your workspace to guarantee a safe and efficient repair process. Remove any decorative fixtures around the sink area to prevent damage and create enough room to work comfortably.
Clear away dishes, cleaning supplies, and anything that might obstruct access to the drain assembly. Confirm your workspace complies with plumbing codes by organizing tools and materials nearby.
Protect your countertop by laying down a towel or cloth to catch any spills. Turning off the water first minimizes mess and prevents accidental leaks.
A tidy, well-prepared area reduces the risk of injury and helps you focus on replacing the drain efficiently. Once your workspace is ready, you’re set to proceed with the next steps confidently.
Gather Necessary Tools
Before gathering your tools, make sure the water supply is completely turned off to prevent leaks. This step is crucial for safety and to avoid water damage.
Once the water is off, collect the necessary tools, such as a wrench, pliers, plumber’s putty, and a bucket. Check that your tools are compatible with your sink’s materials to prevent damage or corrosion.
Ensure your wrench fits the nuts securely and that your pliers won’t scratch surfaces. Organize everything within reach to make the process smoother.
Proper preparation minimizes risks and guarantees you have the right tools for the job. Confirm that your tools are clean and in good condition to avoid accidents or mishaps during the replacement.
Gathering and inspecting your tools properly sets a safe, efficient foundation for the project.
Remove the Old Sink Drain Step-by-Step
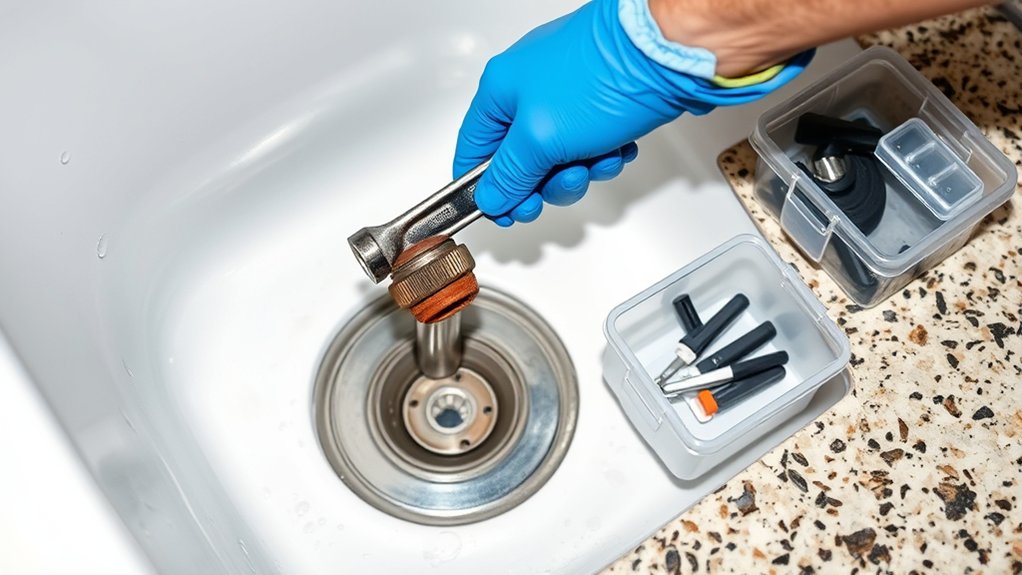
Removing the old sink drain is the first essential step in replacing your kitchen sink drain. To start, turn off the water supply and place a bucket underneath the drain to catch any water or debris.
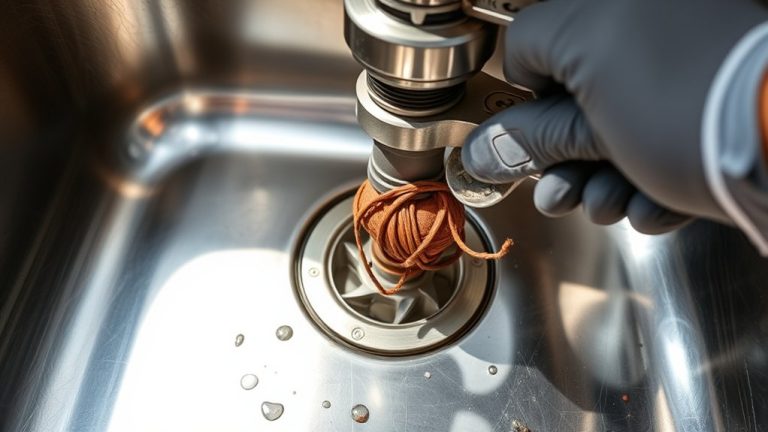
Use a wrench to loosen and disconnect the drain pipes and the trap. Be careful during this process to avoid damaging the pipes or creating leaks.
If the drain is stuck, apply penetrating oil and wait a few minutes before trying again. Remove any clips or fittings holding the drain in place.
Once disconnected, carefully lift out the old drain assembly. Always prioritize plumbing safety—wear gloves and eye protection, and clear the area of hazards.
Inspect and Clean the Drain Area Before Installing a New Drain
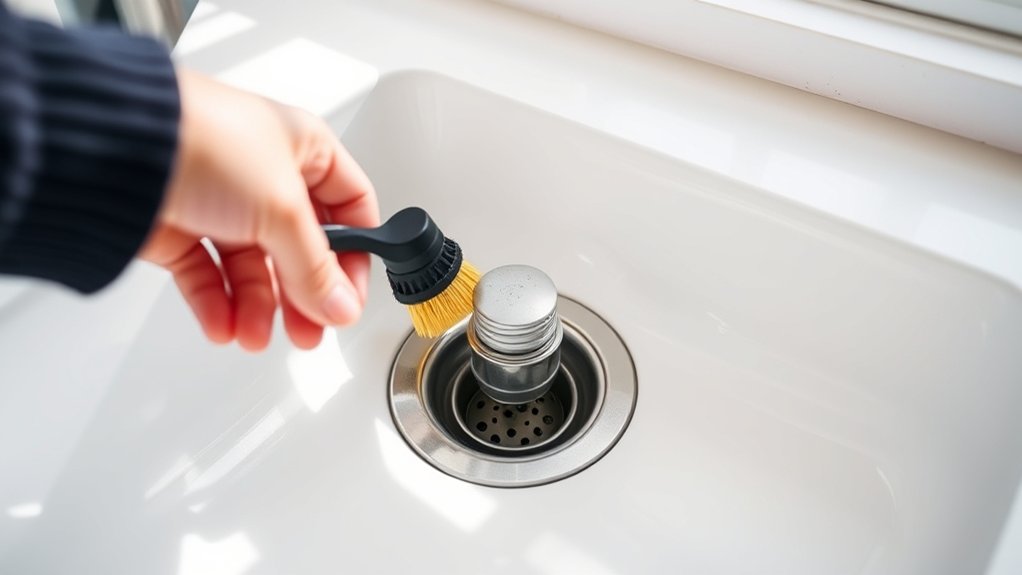
Before you go ahead and install the new drain, it’s a good idea to take a quick look at the drain area. Check for any blockages or debris that might be hanging around. If you see any residue or buildup, go ahead and remove it.
Cleaning the surface beforehand helps ensure a smooth fit and makes the whole installation process easier. Plus, it’ll help prevent leaks down the line and keep everything working properly.
Check for Blockages or Debris
Inspecting the drain area for blockages or debris is an important step to make sure your new sink drain works well. Over time, hair, soap scum, and food particles can cause clogs or slow drainage.
Before installing the new drain, look inside the drain opening and around the pipes for any obstructions that might cause problems later. Use a flashlight if needed.
Clear out hair, soap residue, or gunk that could cause a clog. Common culprits include hair tangled around the drain, soap scum coating the pipe walls, small food particles lodged in the drain, or debris blocking water flow.
Removing these will help ensure a smooth, clog-free connection for your new drain.
Clean and Remove Residue
To guarantee your new sink drain fits and functions properly, it’s essential to thoroughly clean the area and remove any residue. Grease buildup can create a slippery surface, making installation difficult, while mineral deposits from hard water can cause corrosion or leaks.
Use a scrub brush and a mixture of baking soda and vinegar to break down grease and loosen mineral deposits. Wipe the area with a damp cloth to remove loosened debris and verify the surface is dry.
Inspect the drain area carefully for any remaining residue or buildup. Removing these obstructions ensures a tight seal with your new drain and prevents future leaks.
Taking this extra step saves you time and hassle during installation. It also helps keep your sink functioning smoothly.
Install Your New Kitchen Sink Drain Correctly
Properly installing your new kitchen sink drain is key to preventing leaks and making sure water flows smoothly.
Start by selecting the right drain for your needs. Think about materials like stainless steel, brass, or plastic—each has its own look, durability, and price.
As you install, imagine yourself:
- Aligning the drain flange with the sink’s opening, making sure it fits snugly
- Using plumber’s putty or a rubber gasket to create a tight seal
- Tightening the locknut underneath to hold the drain securely in place
- Connecting the drain pipe and checking that all fittings are tight and aligned properly
Take your time hand-tightening everything, avoiding over-tightening which could crack plastic or deform metal.
Following these steps carefully will help you achieve a leak-free, efficient drain installation.
Test for Leaks and Ensure Proper Drain Functionality
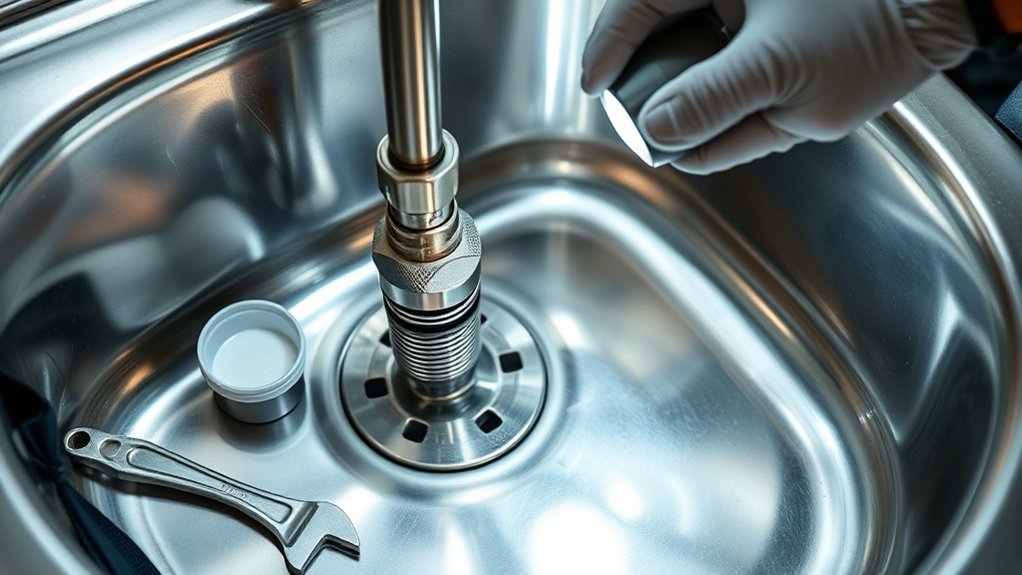
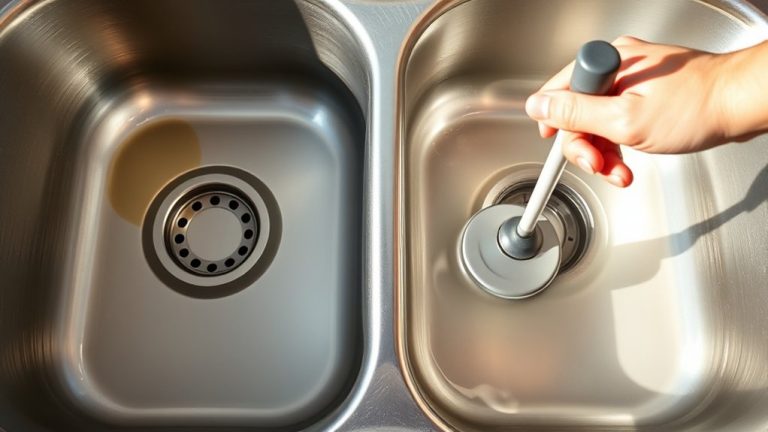
Once you’ve installed your drain, turn on the water and let it run for a few minutes to check for leaks. During this drain testing, watch carefully around the connections and fittings for any signs of water escaping.
Leak detection is vital at this stage to guarantee your installation is secure and watertight. If you notice dripping or pooling, tighten fittings or recheck seals as needed.
Use a dry cloth to wipe down the area and confirm no moisture remains. Pour additional water to simulate regular use and observe if the sink drains properly without backing up or leaking.
Proper drain testing confirms that your new sink drain functions correctly and prevents future problems. If everything looks good, you’ve successfully completed the check.
Maintain Your Sink to Prevent Future Drain Problems
Regular maintenance of your sink helps keep drains clear and prevents common problems like clogs or leaks. To avoid clogs, make sure to remove debris from the drain opening regularly and wipe down the sink basin to remove soap scum.
You can also run hot water after each use to flush away grease and soap residues. Consider using a natural drain cleaner once a month to break down buildup before it causes issues.
Visualize these simple actions:
- Clearing out hair and food scraps from the drain stopper
- Wiping down the sink surface to remove soap scum
- Running hot water to wash away small particles
- Using a natural enzyme cleaner to maintain the pipes
Frequently Asked Questions
How Long Does a Typical Sink Drain Replacement Take?
A typical sink drain replacement usually takes about 1 to 2 hours. During this time, you’ll be cleaning the drain and maintaining the pipes, making sure everything fits and works properly.
If you have some experience, it might go faster. But if you’re new to this, expect it to take a little longer. Rushing can cause leaks or clogs later on, so it’s best to take your time and do it right.
Proper installation is key to ensuring your pipes stay in good shape and last a long time.
Can I Replace My Sink Drain Without Professional Help?
Yes, you can replace your sink drain without professional help if you’re comfortable with DIY plumbing.
Gather your tools like a wrench, pliers, and plumber’s tape before you start. It’s good to have everything ready so the process goes smoothly.
Start by turning off the water supply to avoid any mess or leaks. Then, follow a step-by-step process to remove the old drain and install the new one.
Take your time and be patient. With attention to detail, you’ll be able to do it successfully, saving money and feeling accomplished.
Just make sure you understand what you’re doing and follow safety precautions all along.
What Are Common Mistakes to Avoid During Installation?
During installation, avoid common mistakes like not using the right tools, which can lead to improper fitting.
Make sure all connections are tight to prevent leaks, and double-check the position of the drain assembly before sealing everything up.
Don’t forget to apply plumber’s tape on threads to help prevent leaks.
Rushing through the process or skipping steps can cause problems later on.
Take your time, follow the instructions carefully, and you’ll avoid leaks while ensuring a successful installation.
Which Types of Drain Materials Are Most Durable?
Did you know stainless steel drains last up to 25 years? That makes them one of the most durable options out there. When picking a drain, it’s smart to think about material durability and resistance to corrosion.
Stainless steel and cast iron are great choices because they resist rust and corrosion. These materials can handle daily wear and tear, helping your drain stay functional for a long time.
Investing in high-quality, corrosion-resistant materials can save you money and hassle down the road.
How Often Should I Replace My Kitchen Sink Drain?
You should replace your kitchen sink drain when it shows signs of frequent clogging, leaks, or persistent drain cleaning issues, which can increase repair costs.
Typically, consider replacing it every 5-10 years to prevent costly repairs and keep your drainage working properly.
Regular maintenance helps spot problems early, saving you money in the long run.
If you notice bad odors or slow draining, replacing the drain can improve function and prevent more extensive plumbing repairs later.
Conclusion
Replacing your kitchen sink drain might seem intimidating, but with these simple steps, you’ll have it done quickly. Just like Sarah, who followed this guide and fixed her clogged drain herself, saving money and avoiding a plumber.
Remember to double-check for leaks and keep your drain clean to prevent future issues. With patience and the right approach, you’ll enjoy a smoothly functioning sink that’s ready for everyday use.