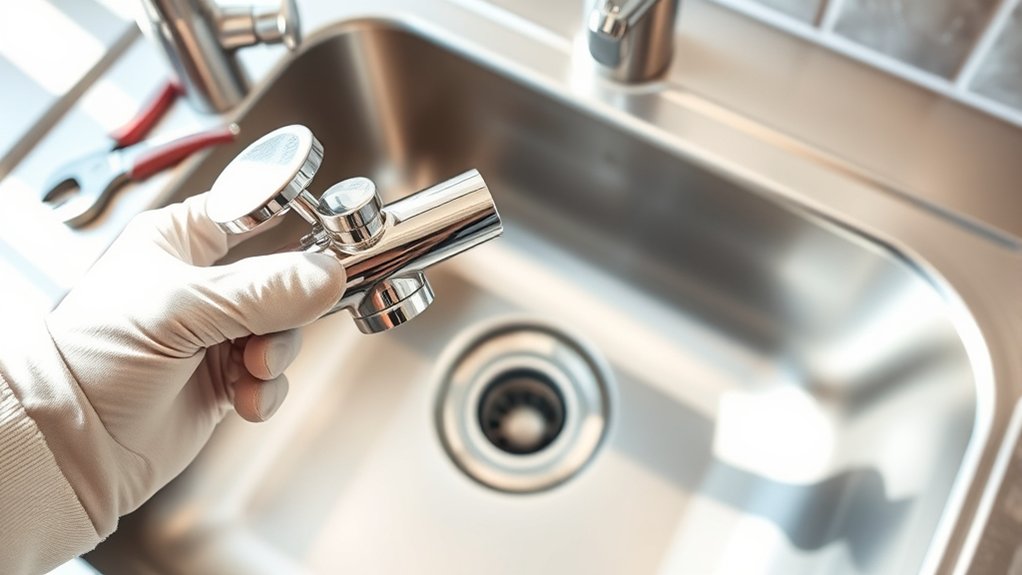
7 Easy Steps to Replace Your Kitchen Sink Faucet
Are you tired of dealing with a leaky, outdated kitchen sink faucet? You’re not alone—many people struggle with making a simple faucet replacement feel overwhelming. But good news: updating your faucet doesn’t have to be complicated or expensive.
To replace your kitchen sink faucet in seven simple steps, start by gathering your tools, including wrenches and replacement parts. Turn off the water supply and make sure the water has stopped.
Carefully remove the old faucet, then clean and prep the sink.
Install the new faucet securely and connect the supply lines. Turn the water back on, check for leaks, and test the faucet’s functionality.
Follow these detailed instructions to guarantee a smooth, leak-free upgrade.
Key Takeaways
- Turn off the main water supply and disconnect the supply lines from the old faucet.
- Carefully remove the old faucet, inspecting for any damage or corrosion as you go.
- Prepare the sink and make sure the new faucet lines up with the mounting holes.
- Secure the new faucet in place and connect the supply lines using plumber’s tape.
- Turn the water back on, check for leaks, and test the faucet to ensure it works properly.
Gather Your Tools and Materials
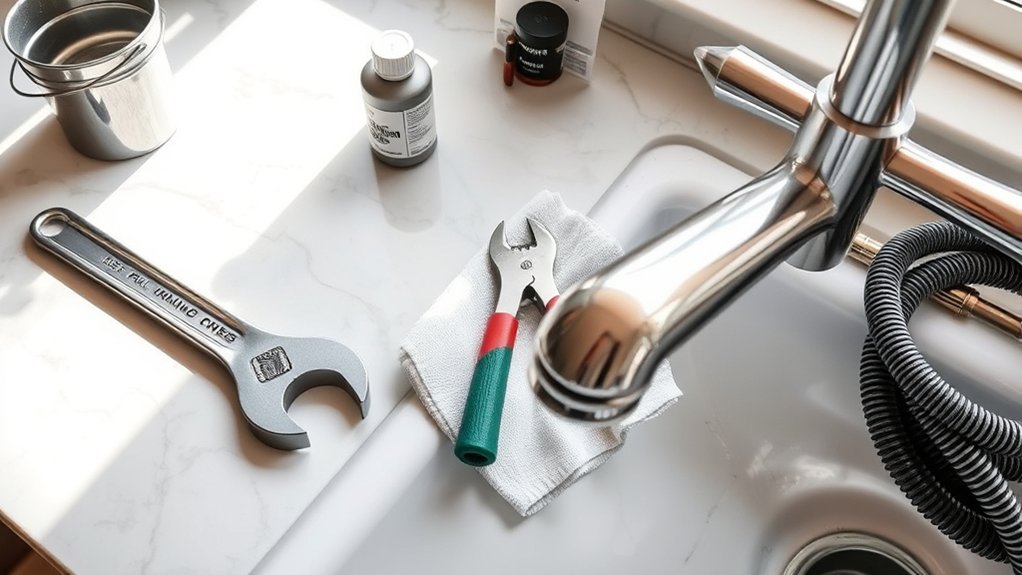
Before you start, gather all the tools and materials you’ll need. This step helps ensure a smooth replacement process and prevents interruptions.
Begin by collecting essential tools like an adjustable wrench, basin wrench, and screwdriver. Think about your faucet type, as it might require specific fittings or tools.
Gather your adjustable wrench, basin wrench, and screwdriver based on your faucet type.
It’s a good idea to have a bucket and towels nearby to catch water spills and keep your workspace clean. If you don’t have a basin wrench, slip-joint pliers can sometimes work as a substitute.
Make sure to have replacement parts such as washers, nuts, and the new faucet itself. Having everything ready ahead of time minimizes delays and frustration.
Double-check that your new faucet matches your sink’s specifications. Being prepared with the right tools and materials sets a solid foundation for a quick, efficient faucet replacement.
Turn Off the Water Supply to Your Sink
First, you’ll want to locate the main shutoff valve—usually under your sink or somewhere nearby. Once you’ve found it, turn the valve clockwise to cut off the water supply. After that, go ahead and open up the faucet to make sure the water has stopped flowing. This will also help prevent any drips while you’re working on the replacement.
Locate Main Shutoff Valve
Have you located the main shutoff valve for your sink yet? This is a crucial step before starting your faucet replacement.
Check your plumbing diagram or follow the pipes beneath your sink to find the valve. It’s usually a lever or knob. Turning it clockwise will shut off the water supply, preventing leaks or water damage.
Finding the main shutoff valve gives you control over the water flow and helps maintain proper water pressure during the process. Sometimes, the valve is connected to your home’s main water line.
Take a moment to identify it before proceeding. Confirming its location now can save you time and hassle later, especially if you need to quickly stop the water during your faucet replacement.
Confirm Water Is Off
Wondering how to prevent water from spilling everywhere? First, make sure the water supply is fully off. Turn the shutoff valves beneath the sink clockwise until tight to stop the water flow.
When water pressure is released, you won’t have to worry about spills or spray. Double-check that the faucet matches your new fixture to avoid surprises.
To confirm the water is off, open the faucet slightly. If no water comes out, you’re good to go. If it still drips, tighten the shutoff valves a bit more.
This step is crucial because it keeps you from dealing with a mess and potential water damage during the replacement. Once confirmed, you’re ready to proceed confidently with your faucet swap.
Remove Your Old Kitchen Faucet Safely
Before removing your old kitchen faucet, it’s essential to turn off the water supply to prevent leaks or flooding. Knowing the faucet’s history helps you understand how it was installed and what tools you might need. Be aware of plumbing regulations in your area to ensure safe and compliant removal.
Turning off the water supply and understanding your faucet’s history ensures safe, effective removal.
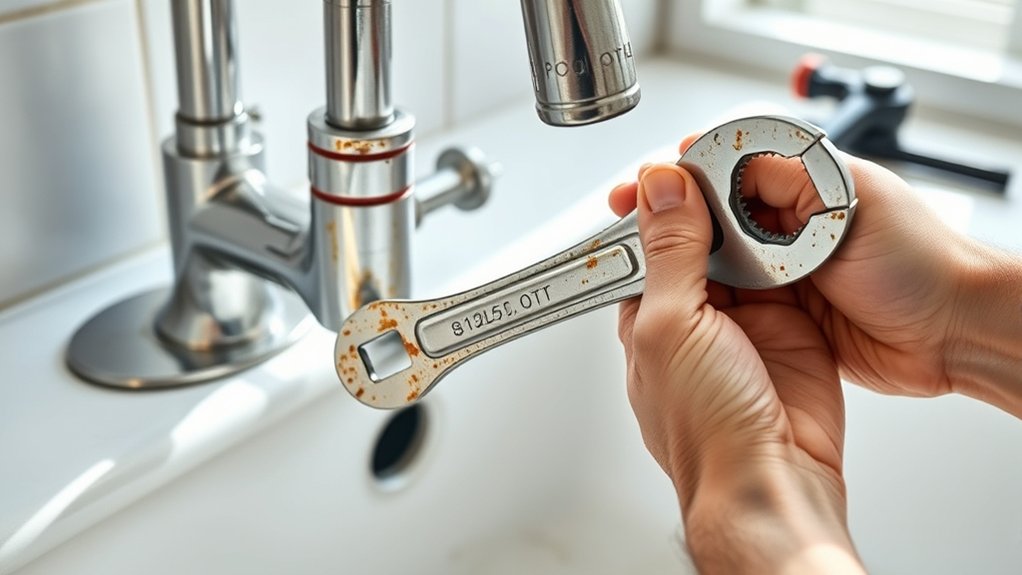
Start by gathering your tools and preparing a bucket for any residual water. Carefully disconnect the supply lines, then loosen the mounting nuts with a wrench. Check for any caulking or sealant around the faucet.
Next, remove the faucet body from the sink. Inspect for corrosion or damage, especially if the faucet was installed long ago. Mineral buildup or corrosion can make it stuck, so gentle force is key.
Take your time during the process to avoid damaging the sink or surrounding fixtures. Following these steps helps ensure safety and prevents costly repairs. Always respect plumbing regulations when working on your kitchen faucet.
Prepare Your Sink for the New Faucet
Before you start installing your new faucet, make sure to clear off the countertop so you have plenty of space to work. It’s also a good idea to turn off the water supply first—this way, you won’t have any surprises or leaks while you’re at it. Once the water is shut off, go ahead and remove the old faucet completely.
After you’ve cleared everything out and taken out the old faucet, your sink will be all set and ready for the new faucet installation. Just take your time, and you’ll be all set to enjoy your updated sink!
Clear the Countertop
To guarantee a smooth faucet replacement, you need to clear your countertop first. Proper organization and removing clutter create a clear workspace, making everything easier.
Start by removing anything that might get in your way—dishes, soap bottles, or small appliances. Clearing the surface prevents accidental damage and helps you access the sink area more easily.
Keep your tools handy and nearby for quick access. A tidy workspace also prevents losing small parts or dropping tools.
Remember, a clutter-free countertop speeds up the job and reduces frustration. Take a few minutes to organize everything before you begin.
This simple step sets the stage for a successful faucet replacement.
Turn Off Water Supply
Turning off the water supply is an important first step to avoid leaks and water damage when replacing your faucet. Find the shut-off valves under your sink and turn them clockwise to stop the water.
This helps keep the water pressure in check and prevents any accidental sprays. If your pipes are old or corroded, turning off the water might be a bit more challenging because the valves can become stiff or stuck.
Sometimes, you might need to shut off the main water supply to your home. After turning off the water, open the faucet to drain any remaining water and make sure no water is flowing before you start working.
This makes for a safer, cleaner workspace when installing your new faucet.
Remove Old Faucet
With the water supply shut off and the faucet no longer in use, it’s time to remove the old faucet. Start by disconnecting the supply lines.
Then focus on removing the handle—this can be tricky if corrosion has set in. Use a wrench to loosen any nuts holding the faucet in place.
If the faucet is stuck because of corrosion, spray some penetrating oil and let it sit for a few minutes. Once the handle is free, carefully lift the entire faucet assembly from the sink.
Keep track of all nuts and washers for installing the new faucet. Be gentle to avoid damaging the sink or causing leaks later.
Removing the old faucet makes it easier to install your new fixture smoothly.
Install Your New Kitchen Faucet Step-by-Step
Before you start installing your new kitchen faucet, gather all the tools and parts you’ll need. Make sure you have an adjustable wrench, plumber’s tape, and the new faucet itself ready to go.
First, check if your faucet is compatible with your sink’s mounting holes and water supply lines. See if it fits the existing holes or if you need extra mounting hardware.
Next, position the faucet in place, making sure it lines up properly with the holes. Then, secure the mounting nuts from underneath using your wrench.
Connect the water supply lines to the faucet’s inlet ports. Tighten them snugly but avoid over-tightening to prevent damage. Use plumber’s tape on threaded connections to help prevent leaks.
Be aware of your water pressure. Confirm that your new faucet can handle your home’s flow without any issues. Once everything is connected and secure, double-check all fittings.
Your faucet is now ready for testing in the next step.
Test for Leaks and Proper Functionality
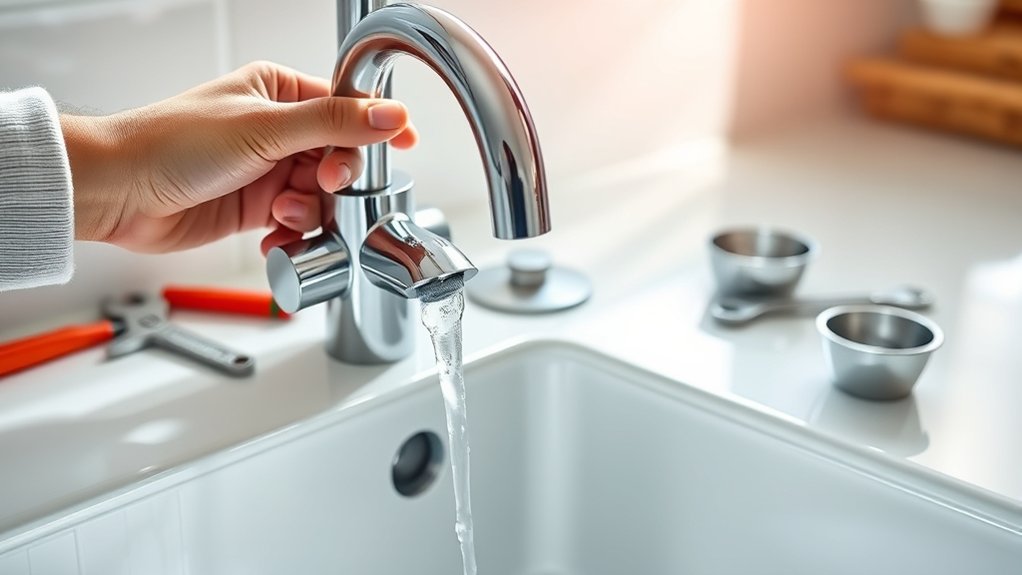
Once you’ve finished connecting all the fittings, make sure to check for leaks and see if the faucet works properly. Testing the faucet carefully helps catch any hidden problems and ensures everything runs smoothly.
Start by slowly turning on the water supply and watch for any signs of leaks around the connections. Check both hot and cold handles for drips or moisture.
Run the faucet at different flow levels to make sure the water pressure stays steady and it operates correctly. Listen for any strange noises or vibrations that might point to installation issues.
Also, look underneath the sink and around the base for water pooling or dampness. These simple steps can help confirm your new faucet is leak-free and fully functional.
Final Tips for Maintaining Your New Faucet
Regular maintenance keeps your new faucet working smoothly and helps you avoid costly repairs later on. Make it a habit to clean the faucet regularly—wipe down the surface to remove buildup and water spots.
Check for leaks from time to time because small drips can waste water and boost your utility bills. Use a soft cloth and mild cleaner to avoid damaging the finish.
Water conservation is key—turn off the faucet tightly after each use and fix leaks quickly. This saves water and cuts down on expenses.
Avoid harsh chemicals that could damage the parts or harm the finish. Also, inspect aerators and cartridges regularly for mineral buildup and clean them as needed.
Proper maintenance not only makes your faucet last longer but also keeps water use efficient. Follow these simple tips to enjoy a functional, eco-friendly, and long-lasting kitchen faucet.
Frequently Asked Questions
How Do I Identify the Correct Faucet Size for My Sink?
You determine the right faucet size by measuring your sink first. Check the distance between the centers of the existing faucet holes, usually in inches, to make sure the new faucet will fit.
Look for details on your current faucet or check your sink’s manual. This helps you find a replacement that fits perfectly and avoids installation issues.
Getting accurate measurements and understanding faucet compatibility will make the process much easier and smoother.
Can I Replace My Kitchen Faucet Without Professional Help?
Yes, you can replace your kitchen faucet without professional help by doing some DIY plumbing. First, make sure your new faucet is compatible with your sink’s setup by checking for faucet compatibility.
Next, turn off the water supply, remove the old faucet, and carefully follow the installation instructions. With patience and the right tools, replacing your faucet is manageable, and you’ll save money.
Plus, it’s a great way to feel accomplished once it’s done!
What Are Common Mistakes to Avoid During Installation?
Ever wonder what mistakes could trip you up during installation? Focus on plumbing safety by turning off water supplies and wearing gloves.
Avoid rushing, which can lead to leaks or damaging parts. Keep your tools well-maintained to guarantee smooth work.
Don’t forget to double-check connections before turning the water back on. Staying attentive helps prevent costly mistakes and keeps your project safe and efficient.
How Do I Prevent Future Leaks After Installation?
To prevent future leaks, make sure you tighten all fittings securely but avoid over-tightening, which can damage components. Use plumber’s tape on threaded connections to help prevent leaks, and check that everything is properly aligned during installation.
Regular maintenance tips include inspecting under the sink periodically for signs of leaks, cleaning the aerator to prevent buildup, and replacing worn-out washers promptly. Staying attentive to these details will keep your faucet working smoothly and leak-free.
What Should I Do if the New Faucet Doesn’T Fit Properly?
If your new faucet doesn’t fit properly, think of it as a puzzle piece that’s just a little off. First, check the faucet material—some materials might need special adapters.
Use your installation tools carefully, making sure you’ve tightened everything just right. If it still doesn’t fit, don’t force it.
Instead, swap out parts or consider a different faucet model so it slips into place smoothly like a puzzle piece that fits perfectly.
Conclusion
Replacing your kitchen sink faucet might seem challenging, but with these simple steps, you’re well on your way. Did you know that a leaky faucet can waste up to 3,000 gallons of water a year?
By following this guide, you’ll not only save water but also enjoy a fresh, new look in your kitchen. Take your time, stay patient, and you’ll have a fully functioning faucet in no time.
This process will help you save money and water alike. Replacing your kitchen sink faucet is easier than you think with a little patience and the right steps.