
How Hard Is It to Replace Your Kitchen Sink?
Replacing your kitchen sink can seem like a daunting task, especially if you’re not a DIY expert. Many people struggle with figuring out where to start or worry about making mistakes that could cause leaks or damage. You’re not alone—this is a common challenge for homeowners wanting a quick upgrade.
Replacing a kitchen sink is doable for beginners if you have basic tools, patience, and some plumbing knowledge. The difficulty mainly depends on your kitchen’s setup and sink type.
You’ll need to disconnect plumbing, remove the old sink, and install the new one, which can take a few hours.
Mistakes can lead to leaks or damage, so proper planning helps. Keep going to uncover how to make the process smooth and successful.
Key Takeaways
Replacing a sink is doable for beginners with basic tools, but the difficulty really depends on your kitchen setup and the type of sink you’re installing.
Getting everything ready beforehand, like gathering your tools and protecting your surfaces, makes the whole process much easier.
Taking out the old sink means disconnecting the plumbing carefully and lifting it out, all while being cautious for safety.
When installing the new sink, paying attention to how it fits, securing it properly, and connecting the plumbing correctly are key.
Overall, how hard it is depends on your plumbing skills, if the sink fits well, and whether you’re comfortable following detailed tutorials or calling a pro.
How Difficult Is Replacing a Kitchen Sink for Beginners?
Replacing a kitchen sink may seem intimidating at first, but for many beginners, it’s a manageable project with some basic tools and patience. The difficulty largely depends on your kitchen design and how well your new sink fits your existing setup.
If your current plumbing and countertop cutout are standard, you’ll find the process smoother. Appliance compatibility is also key; confirm the new sink matches your existing fixtures or that you’re prepared to make adjustments.
Some sinks might require modifications to your plumbing or countertop, but these are usually straightforward with basic DIY skills. Keep in mind that understanding your kitchen’s layout will help you anticipate potential challenges.
What Tools and Materials Do You Need for the Job
Before you dive in, it’s a good idea to gather all the tools and materials you’ll need. Think about grabbing a wrench, screwdriver, and pliers — they’re pretty much your best friends for this kind of job. You’ll also want to have a new sink ready, along with some plumber’s tape and sealant to make sure everything stays watertight.
Having everything on hand before you start really helps keep things running smoothly. It saves you from those frustrating interruptions where you realize you’re missing something. Also, take a moment to understand what each tool and material is for — it’ll make the process way easier and more efficient.
Essential Tools List
To successfully replace your kitchen sink, you’ll need a specific set of tools and materials to get the job done efficiently. Essential tools include an adjustable wrench, screwdriver, pliers, plumber’s putty, and a bucket to catch water.
You might also need a utility knife and a caulk gun for sealing gaps. The sink materials you choose will depend on your kitchen decor and sink materials, so make sure you have the right size and style to match your space.
A basin wrench can be helpful for hard-to-reach nuts. Don’t forget safety gear like gloves and goggles. Having these tools and materials ready before starting makes the process smoother and helps prevent unnecessary trips to the store.
Required Materials Overview
Having the right tools and materials on hand is key to making your sink replacement go smoothly. You’ll want to gather some basic supplies along with a few specific items to ensure everything fits and matches your kitchen decor.
Here’s what you’ll need:
| Tool/Material | Purpose | Notes |
|---|---|---|
| Adjustable wrench | Loosening fittings | Make sure it fits different sizes |
| Plumber’s putty | Sealant for drainage | Helps prevent leaks |
| New sink and mounting hardware | Replacement and support | Match your kitchen style |
| PVC pipe and connectors | Drain connections | Check compatibility with existing plumbing |
Having these ready will help you avoid delays and surprises during the process.
Assessing Your Skills Before Replacing a Sink
Before you jump in, take a honest look at your skills to see if you’re up for the job. It’s a good idea to get familiar with the tools you’ll need and understand what each one is for. If anything seems too tricky or outside your comfort zone, it might be smarter to call in a professional. That way, you can avoid making costly mistakes and get the job done right.
Skill Level Needed
Evaluating your skills before replacing a sink is crucial to ensure the job is done safely and correctly. Replacing a kitchen sink needs basic plumbing knowledge and comfort with handling tools.
If your sink is porcelain, stainless steel, or composite, your skills should match the complexity of the installation. A simple drop-in sink might be straightforward, but undermount or custom-fit options require more experience.
It’s a good idea to compare brands to understand specific installation steps and potential challenges. If you’re not familiar with plumbing connections or sealing techniques, you might want to get professional help.
Be honest about your confidence and experience level. Overestimating your skills could lead to leaks, damage, or costly repairs later. When in doubt, watching tutorials or hiring a pro can help ensure a safe, successful replacement.
Necessary Tools Overview
Determining whether you have the right tools is essential before starting your sink replacement. You’ll want to gather a few basics to guarantee a smooth process, especially if you’re considering eco-friendly options or updating your kitchen design.
Essential tools include an adjustable wrench, pipe wrench, and a basin wrench. These help loosen fittings and remove the old sink efficiently. You might also need a utility knife to cut sealant or caulk.
Visualize yourself turning off the water supply, loosening fittings, and carefully removing the sink. Having the right tools on hand minimizes frustration and reduces the risk of damaging plumbing or cabinetry.
Being prepared with these essentials makes replacing your kitchen sink manageable, whether you’re prioritizing eco-friendly choices or modern kitchen design improvements.
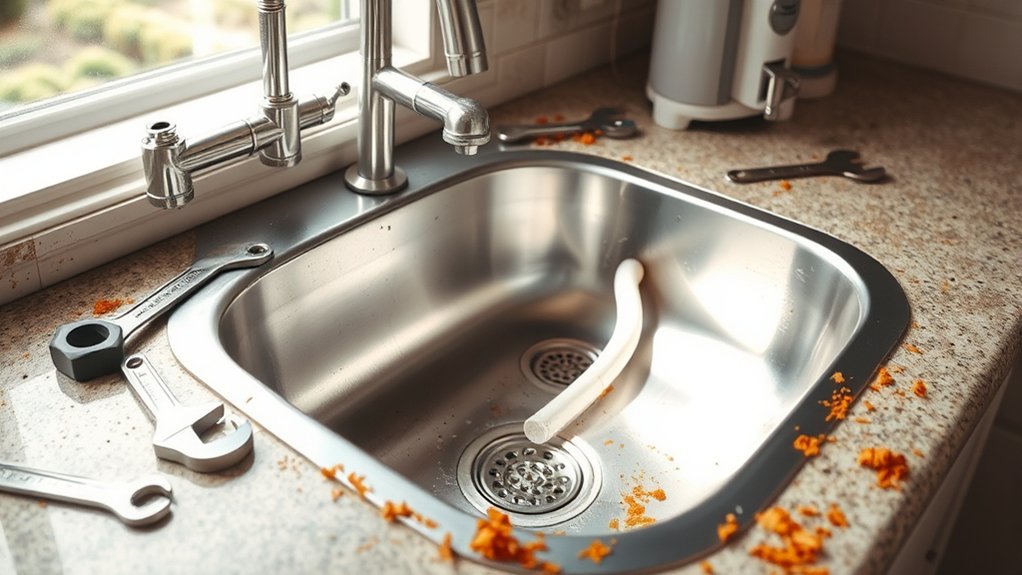
Steps to Remove Your Old Kitchen Sink
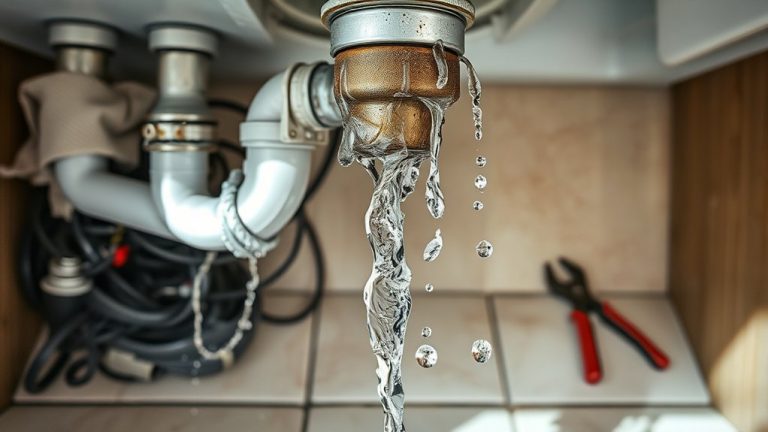
Removing your old kitchen sink involves a few straightforward steps, but it’s important to approach each carefully to avoid damage or leaks. First, turn off the water supply valves beneath the sink and open the faucet to drain any residual water.
Turn off water, open faucet, and carefully remove your old kitchen sink to prevent leaks and damage.
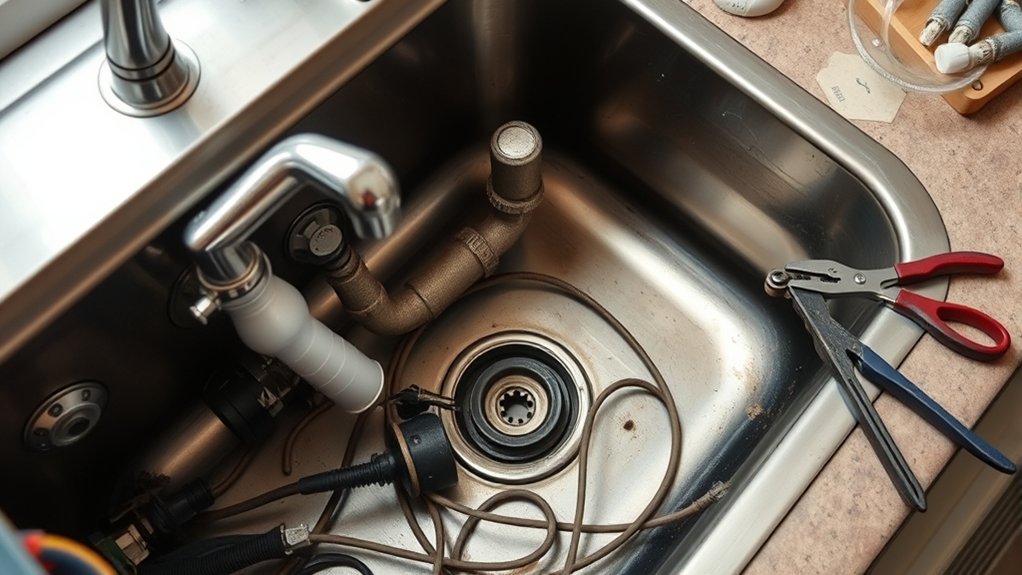
Next, disconnect the drain pipes and P-trap, using a wrench if needed. Then, loosen the clips or brackets holding the sink in place; these vary depending on your sink type.
If your sink is a drop-in, carefully lift it out once freed. For undermount sinks, you may need to cut caulking or sealant around the edges.
As you remove the sink, keep in mind the existing kitchen decor to ensure the new sink complements your space.
Furthermore, check that the current appliance compatibility aligns with your replacement sink’s specifications. With these steps, you’ll clear the way for a smooth installation of your new kitchen centerpiece.
Common Challenges During Sink Replacement and How to Fix Them
While replacing a kitchen sink might seem simple, a few common problems can pop up and make things tricky. You might find stubborn seals or rust around the drain or water lines that are tough to remove.
Incorrect measurements can lead to a sink that doesn’t fit well or clashes with your kitchen decor. Plus, if you connect water lines the wrong way, it could cause leaks, wasting water and hurting your conservation efforts.
Picture these issues: corroded fittings that won’t budge, mismatched sink sizes that spoil your look, or leaks from poorly connected water lines.
To fix these, try using penetrating oil on stuck fittings, double-check your measurements before installing, and make sure all connections are tight.
Dealing with these problems quickly will help your new sink work smoothly, save water, and look great in your kitchen.
How to Install Your New Kitchen Sink Properly
Thinking about installing your new kitchen sink? First things first, set up your workspace so it’s nice and clean, and make sure you have easy access to everything you’ll need. It’s always easier to work in a tidy area!
Next, carefully position and secure the sink in place. Take your time to make sure it fits snugly before you start connecting the plumbing. This way, you won’t run into surprises later on.
Once everything is hooked up, don’t forget to double-check all your connections. This is key to preventing leaks and making sure your sink works like a charm. With a little patience, you’ll have your new sink up and running smoothly in no time!
Preparing the Workspace
Have you gathered all the necessary tools and materials before starting your sink installation? Preparing your workspace is key to a smooth process. Clear the area around your current sink, removing any clutter, and protect your countertops with a drop cloth.
Set out your tools so everything is within reach, including wrenches, pliers, and sealant. Visualize your workspace with these elements: a clean, organized surface free of debris, protective coverings for your countertops, and an accessible, well-lit area for quick work.
This setup not only makes installation easier but also helps you focus on adding decorative finishes that match your kitchen’s design trends. Proper preparation guarantees your new sink fits perfectly and looks great, enhancing your overall kitchen look.
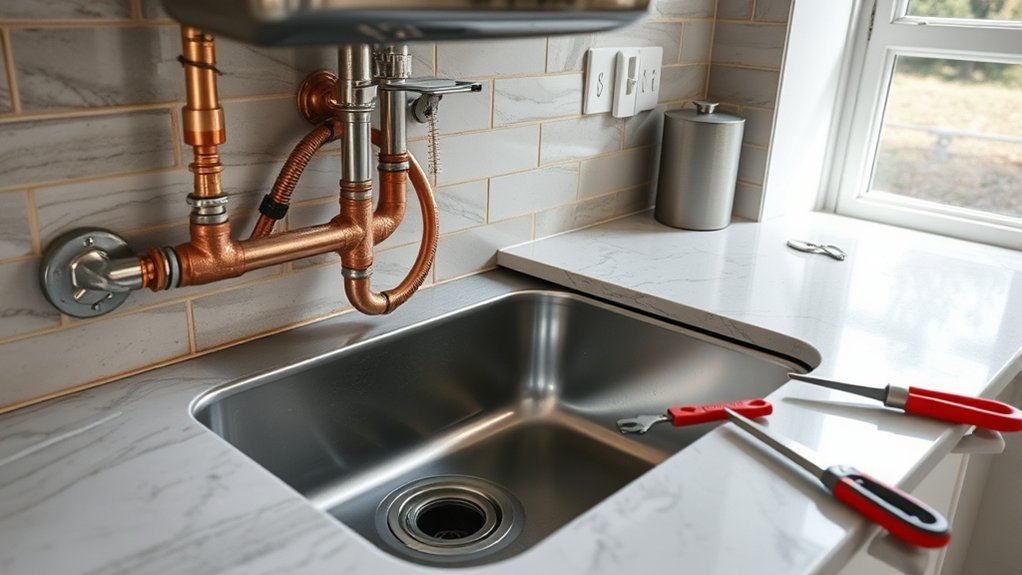
Installing the Sink Properly
Once your workspace is ready and the area around your old sink is cleared, you can start installing the new sink. First, check if the countertop fits the new sink, making sure it fits snugly in the existing cutout. If it doesn’t, you might need to carefully adjust the opening.
Place the sink into the cutout to see if it fits properly. Then, seal the edges with a waterproof gasket or silicone caulk to prevent leaks. When attaching the faucet, make sure it’s compatible with your sink’s mounting system and that the holes line up correctly.
Secure the sink from underneath using mounting clips or brackets. Tighten them evenly to avoid warping. Take your time to double-check that everything is aligned and securely fastened before moving on to plumbing connections.
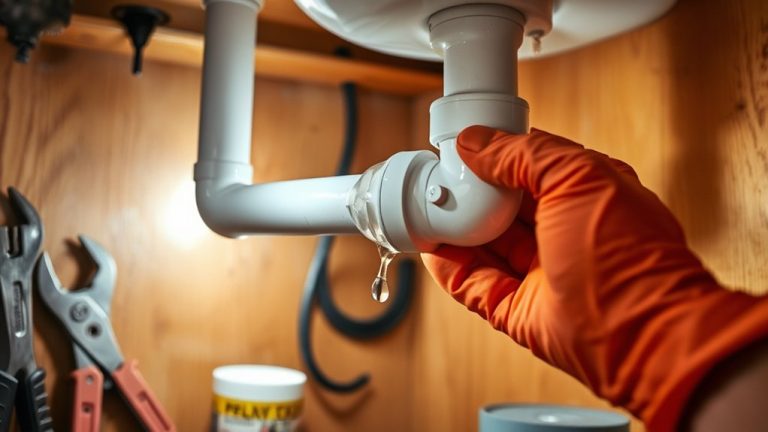
Connecting Plumbing Securely
Before you start connecting the plumbing, turn off the water supply to prevent leaks and messes. Visualize the connections: the drain pipe snugly fitting into the sink’s drain, the flexible hoses attaching to the faucet, and the P-trap sealing tight to prevent leaks.
Make sure all fittings are secure but not overtightened, which could cause cracks or leaks. Use plumber’s tape on threaded connections to prevent faucet leaks. Tighten connections enough to stop drips but avoid overtightening, which can cause damage.
Keep an eye out for potential drain clogs, as improper connections can lead to backups. Test for leaks by turning the water back on and running both the faucet and drain. Fix any drips immediately to avoid water waste or damage.
Safety Tips for DIY Kitchen Sink Installation
Installing a kitchen sink yourself can save money, but safety should always come first. Before starting, turn off the water supply and unplug any connected appliances to prevent leaks or electrical hazards.
Wear safety goggles and gloves to protect your eyes and hands from sharp edges and debris. When handling sink material options, be cautious of heavy or fragile materials like porcelain or stone—use proper lifting techniques or ask for help.
Be mindful of decorative accents that may have delicate parts; handle them gently to avoid damage. Always use the correct tools and follow manufacturer instructions to prevent accidents.
Check for proper ventilation if you’re working with adhesives or sealants, and make sure your workspace is free of clutter. If you’re unsure about any step, pause and consult a professional.
Taking these safety precautions helps protect you and ensures your DIY kitchen sink installation goes smoothly.
How Long Does a Kitchen Sink Replacement Take?
Replacing a kitchen sink usually takes a few hours to a full day, depending on your experience and how complex the job is. If you’re comfortable with basic plumbing and home improvement, you might get it done faster. Otherwise, expect it to take longer.
During the process, you’ll remove the old sink and prepare the space for the new one. This can involve disconnecting water lines and sealing edges. As you work, imagine your kitchen transforming into a more modern, sleek space that boosts your cooking tips and efficiency.
Picture yourself carefully lifting out the worn sink, then aligning and securing the new one seamlessly. Connecting water lines with precision helps prevent leaks. The time investment is worth it, as a fresh sink can really uplift your kitchen’s look and functionality.
DIY Cost vs. Hiring a Professional Plumber
Deciding whether to replace your kitchen sink yourself or hire a professional plumber depends mostly on your budget and skill level. Doing it yourself can save you money upfront, usually just the cost of the new sink, plumbing supplies, and tools—around $100 to $300.
But if you’re new to plumbing or kitchen design, mistakes can be expensive, leading to leaks or damage. A professional plumber might charge $200 to $600 but will ensure everything is installed correctly, compatible, and up to code.
They also consider your kitchen’s design, making sure the new sink fits smoothly with your cabinets and countertop. While DIY projects can be tempting for small jobs, complex replacements or custom fixtures are better left to the pros.
In the end, hiring a professional might cost more at first but helps avoid issues that could cost more to fix later.
Tips to Ensure Your New Sink Lasts and Performs Well
To guarantee your new sink stays durable and functions properly over time, it’s crucial to follow some key maintenance tips. First, regularly clean the sink with gentle, non-abrasive cleaners to prevent buildup and stains.
Second, check for leaks around the faucet and drain, and address any issues immediately to avoid water damage. Third, make sure your sink complements your kitchen design and appliance compatibility—avoid installing a size or style that disrupts your workflow or clashes with existing fixtures.
Properly sealing the edges prevents water from seeping underneath, which can cause damage over time. Furthermore, avoid placing overly heavy items in the sink, which could damage the material.
Frequently Asked Questions
Can I Replace My Kitchen Sink Without Professional Plumbing Experience?
You can replace your kitchen sink without professional plumbing experience, but be prepared for some DIY challenges.
You’ll need to understand plumbing safety, carefully disconnect the old sink, and ensure proper sealing to prevent leaks.
If you’re comfortable with basic tools and follow instructions closely, it’s definitely doable.
However, if you run into complex piping or safety issues, it’s a good idea to call in a professional to avoid costly mistakes.
What Are the Signs My Current Sink Needs Replacing?
You’ll know your sink needs replacing if you notice persistent leaks, cracks, or stains that won’t come out.
If it’s outdated with vintage styles that no longer match your kitchen, or if you want an eco-friendly material for sustainability, it’s probably time for a new one.
A worn-out sink can cause water damage and mold growth, so replacing it helps keep your kitchen functional, stylish, and environmentally friendly.
How Do I Choose the Right Type of Kitchen Sink?
You can choose the right kitchen sink by considering material options like stainless steel, granite, or porcelain, which match your style and durability needs.
Think about your space and plumbing setup, then follow installation tips to ensure a perfect fit.
Prioritize functionality with features like deep bowls or built-in accessories.
Ultimately, picking a sink that fits your lifestyle and kitchen design makes the replacement process easier and more satisfying.
Is It Possible to Upgrade to a Different Sink Size or Style?
Yes, you can upgrade to a different sink size or style, but you need to consider countertop and faucet compatibility first.
Measure your countertop space carefully to make sure the new sink will fit.
Check if your existing faucet can be reused or if you’ll need a new one.
You might also have to modify the countertop or plumbing to make everything work.
Planning ahead helps avoid surprises and makes the upgrade go smoothly.
What Maintenance Is Required After Installing a New Sink?
They say “an ounce of prevention is worth a pound of cure,” so after installing your new sink, it’s important to check the caulking to make sure you have a watertight seal and prevent leaks.
Make it a habit to clean the drain regularly and troubleshoot any drainage issues quickly. Keep an eye on the plumbing connections, and if you notice slow drainage or leaks, address them early.
Dealing with problems early can help you avoid bigger issues down the line and keep your sink functioning smoothly.
Conclusion
Replacing your kitchen sink might seem intimidating, but with patience and the right tools, it’s definitely doable. Think of it like Da Vinci’s careful brushstrokes shaping a masterpiece.
By assessing your skills, following safety tips, and understanding the steps involved, you can confidently transform your space. Remember, even the greatest artists started with small strokes.
Take your time, stay prepared, and before you know it, you’ll have a sink that’s as functional as a well-crafted symphony. Replacing your kitchen sink is easier than you might think with the right approach.