10 Steps to Fix a Leaking Kitchen Sink Faucet
Dealing with a leaking kitchen sink faucet can be really frustrating. You’re not alone—many people struggle with drips and leaks that waste water and increase your utility bills. Luckily, fixing it is often simpler than you might think.
To fix a leaking kitchen sink faucet, start by identifying the leak—look for dripping, water spots, or spray from the spout. Turn off the water supply and remove the handle to access internal parts.
Inspect and replace worn washers, O-rings, or the cartridge, ensuring they fit snugly. Reassemble everything carefully, then turn the water back on to check for leaks.
If leaks persist, there are more tips to help you successfully stop them—keep going for detailed guidance.
Key Takeaways
- Turn off the water supply and drain the faucet to prevent water damage during repair.
- Remove the handle and check inside for damage to washers, O-rings, and the cartridge.
- Replace any worn or damaged parts with the correct size, and lubricate O-rings with plumber’s grease.
- Reassemble the faucet, making sure all parts are securely in place and aligned properly.
- Turn the water back on and test for leaks, tightening fittings or making adjustments as needed.
How to Tell If Your Kitchen Faucet Is Leaking
If you notice water dripping or pooling around your sink, it’s a clear sign your faucet might be leaking. Leaks waste water and can damage your cabinets and countertops, affecting your kitchen’s look.
Leaks may cause constant drips when the faucet is off or a persistent hissing sound. Check for water spots or mineral buildup around the base or handle, which can also signal a leak.
Sometimes, a leaking faucet will spray or leak from the spout even when it’s shut off. Regularly inspecting your faucet helps you catch problems early, saving you money and preventing more damage.
What Tools Do You Need to Fix a Leaky Kitchen Faucet?
Before you start fixing a leaky kitchen faucet, gathering the right tools is essential to make sure everything goes smoothly. You’ll need an adjustable wrench to loosen fittings and a Phillips or flat-head screwdriver for removing screws.
A towel or rag helps protect your kitchen decor from scratches and catches small parts. Keep a bucket nearby to catch any water drips, which helps keep things clean and safe.
You might need a replacement O-ring, cartridge, or washers, so have those ready if you know what’s causing the leak. A flashlight can help you see into tight spaces more easily.
If you plan to disassemble the faucet further, a pair of slip-joint pliers can come in handy. Having these tools on hand prevents unnecessary trips to the store and keeps the repair efficient.
Turn Off the Water Before You Start
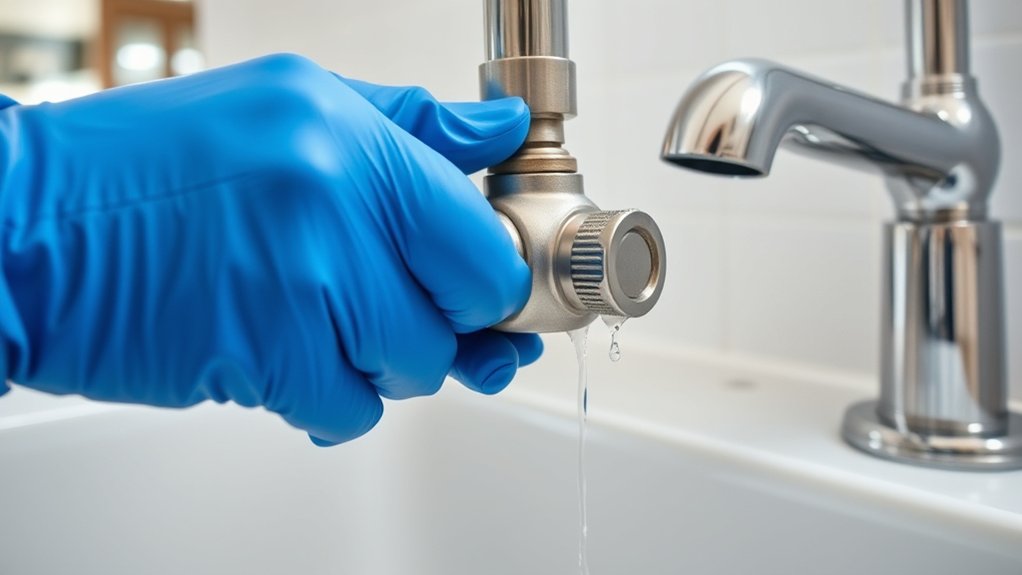
Start by turning off the water supply to prevent any unexpected leaks or water damage while working on the faucet. Shutting off the water guarantees you don’t waste water or cause flooding during repairs, supporting water conservation efforts.
Locate the shut-off valves under the sink, usually marked as hot and cold, and turn them clockwise until fully closed. If your home doesn’t have individual valves, turn off the main water supply. Double-check that water is off by turning on the faucet; no water should flow.
Turning off the water not only safeguards your workspace but also helps you focus on fixing the leak efficiently. Remember, a well-maintained faucet looks better and preserves your sink’s aesthetics.
Taking this step before starting your repair guarantees a cleaner, safer process. It prevents unnecessary messes or damage that could compromise your kitchen’s appearance.
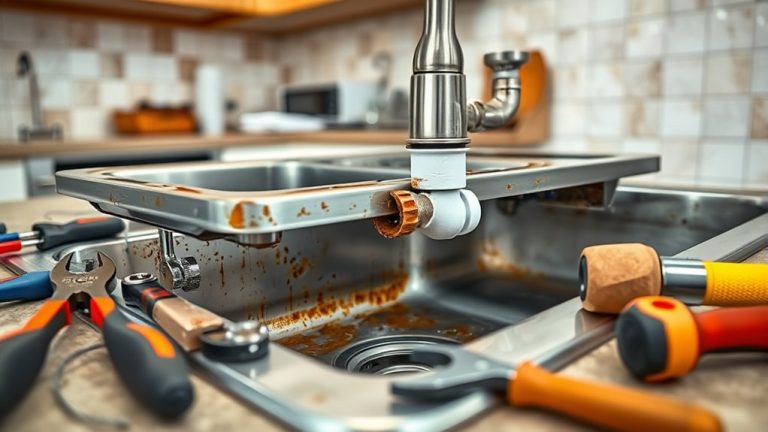
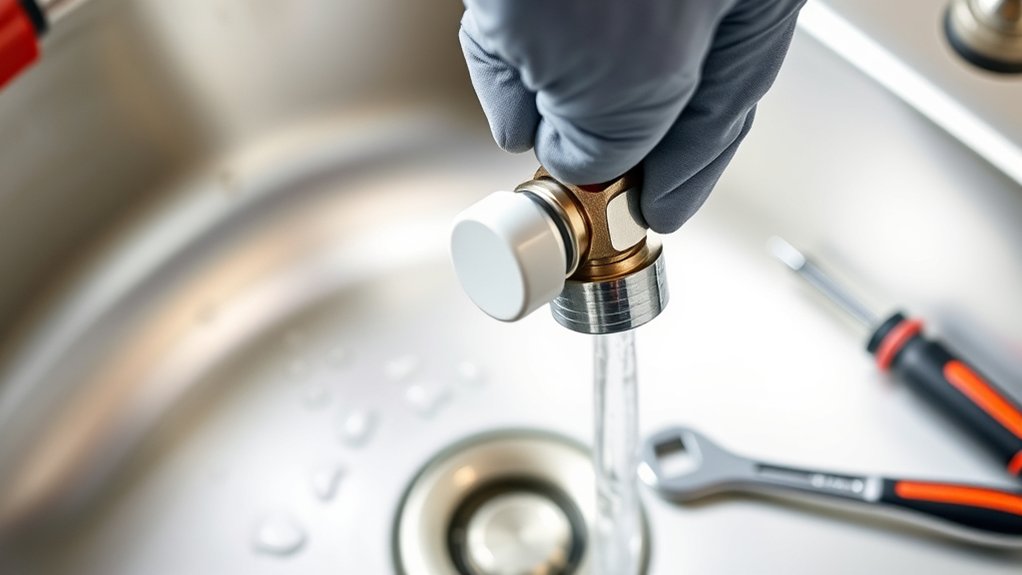
How to Remove the Faucet Handle and Access Components
First things first, make sure the water supply is turned off before you start messing with the handle. You don’t want any surprises when you try to remove it! Once that’s taken care of, grab a screwdriver or an Allen wrench—whatever fasteners your faucet uses—and loosen them up. After that, you can carefully pull off the handle and get a good look at the internal parts.
With the handle out of the way, you can inspect everything inside—the cartridges, O-rings, or any other components that might be causing the leak. Now you’re all set to fix or replace whatever’s needed!
Turn Off Water Supply
To begin turning off the water supply, locate the shut-off valves under your sink. These valves control water flow to your faucet and are essential for water conservation during repairs. Turn them clockwise to shut off the water completely.
If your sink has separate hot and cold valves, turn both off. If you don’t see valves beneath the sink, shut off the main water supply to your home. It’s important to verify faucet compatibility before starting repairs, as some older models may have different shut-off procedures.
Always double-check that the water has stopped flowing by turning on the faucet slightly. This step prevents water damage and makes it easier to access internal components without water interference.
Remove Handle Fasteners
Once the water supply is shut off, you can access the faucet handle by removing its fasteners. Handle removal is straightforward if you have the right fastener tools. Here’s what you need to do:
- Use a screwdriver or Allen wrench to loosen and remove the handle fasteners.
- Keep track of the fasteners so you don’t lose them.
- Gently lift the handle away from the faucet body, exposing internal components.
Make sure you’re firm but careful to avoid damaging the handle or surrounding parts. Proper handle removal allows you to access internal components for further repair. Using the correct fastener tools is essential for a smooth, damage-free handle removal process.
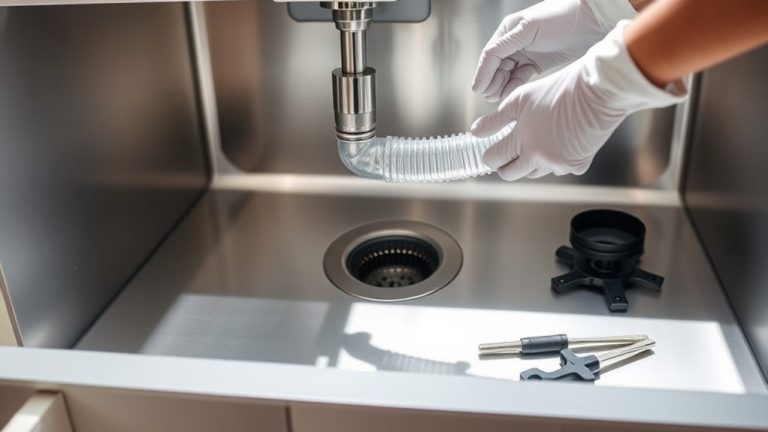
Access Internal Components
With the handle removed, you can now access the internal components of the faucet. This step is crucial for plumbing maintenance and fixing leaks.
Carefully inspect the valve stem, cartridge, or washers behind the handle. These parts often cause leaks. To help visualize, here’s a quick guide:
| Part | Purpose |
|---|---|
| Cartridge | Controls water flow |
| Washers | Seal connections, prevent leaks |
| O-rings | Prevent water from leaking |
| Valve stem | Opens and closes water flow |
| Connectors | Link internal parts |
Removing these parts gives you a clear view of possible damage or buildup. Proper access helps you replace faulty components and restore your sink’s functionality while keeping your home’s interior design intact.
How to Inspect and Replace Worn Washers and O-Rings
First, take a close look at your washers and O-rings to see if there are any signs of wear, cracks, or damage. It’s always good to give them a thorough inspection so you know exactly what needs replacing.
Once you’ve identified the worn or damaged parts, grab the right tools and carefully remove the old washers and O-rings. Be gentle so you don’t damage any surrounding components in the process.
After that, it’s time to install the new O-rings and washers. Make sure they fit snugly in place — a good fit is key to preventing leaks and ensuring everything works smoothly.
Identifying Worn Components
Worn washers and O-rings are common causes of leaks, so checking these small parts is an important first step. To find problems, turn off the water supply and remove the handle to get to the internal components.
Here’s what to look for:
Check for cracks, tears, or deformation on the washers and O-rings. Feel for any hardness or brittleness, which indicates wear. Make sure the parts fit snugly without wobbling or gaps.
If you see any damage, those worn parts are probably causing the leak. Replacing them stops drips and keeps your kitchen looking neat. Always turn off the water before inspecting and handle parts carefully to avoid damage.
Removing Old Washers
To begin removing old washers, turn off the water supply beneath your sink to prevent leaks. Then, open the faucet to drain any remaining water and relieve pressure.
Use a wrench to loosen the nut securing the faucet handle, and carefully remove the handle to access the washer. Worn washers can cause leaks and reduce water efficiency, so inspecting them is important for conserving water.
If the washer looks cracked, brittle, or misshapen, replace it with a new one of the same size. While doing this, pay attention to the faucet’s appearance—replacing stained washers can improve its look.
Removing and replacing worn washers restores proper sealing, reduces leaks, and helps keep your kitchen sink looking clean and working well.
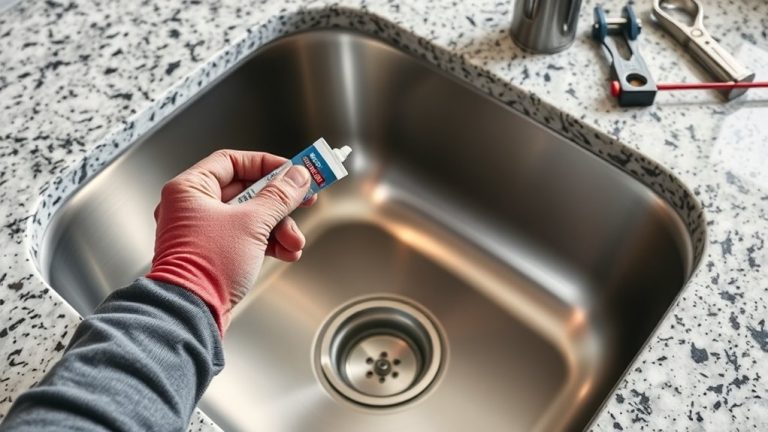
Installing New O-Rings
After removing the old washer, it’s time to check the condition of the O-rings. These help create a tight seal and prevent leaks. To make sure you get a proper fit, consider the materials suited for your faucet design—rubber, silicone, or Viton. Each has different durability and flexibility.
Here’s what you should do:
- Inspect for wear or cracks. Worn or damaged O-rings won’t seal properly.
- Match the size and material. Use the same size and compatible material for your faucet.
- Install the new O-rings carefully. Lubricate with plumber’s grease to make installation easier and improve sealing.
Choosing and installing the right O-rings properly will seal leaks and help your faucet last longer.
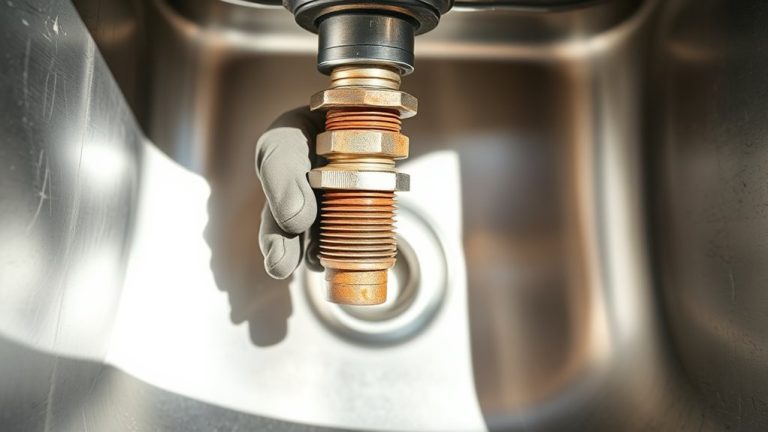
How to Check and Replace the Cartridge or Valve Seat
Wondering how to tell if the cartridge or valve seat is causing your faucet leak? First, shut off the water supply and open the faucet to drain any remaining water.
Next, remove the handle and cartridge to check the internal parts. If you see cracks, corrosion, or mineral buildup, it’s probably time to replace the cartridge.
For a loose or damaged valve seat, look for water seeping around where the spout meets the sink. To replace it, loosen the retaining nut and gently lift out the valve seat.
If the seat is corroded or damaged, replace it with a new one that fits your faucet model. Replacing these parts usually stops leaks caused by worn-out components.
Be sure to clean the area thoroughly before installing new parts. Once everything is in place, reassemble the faucet, making sure all parts are secure to prevent future leaks.
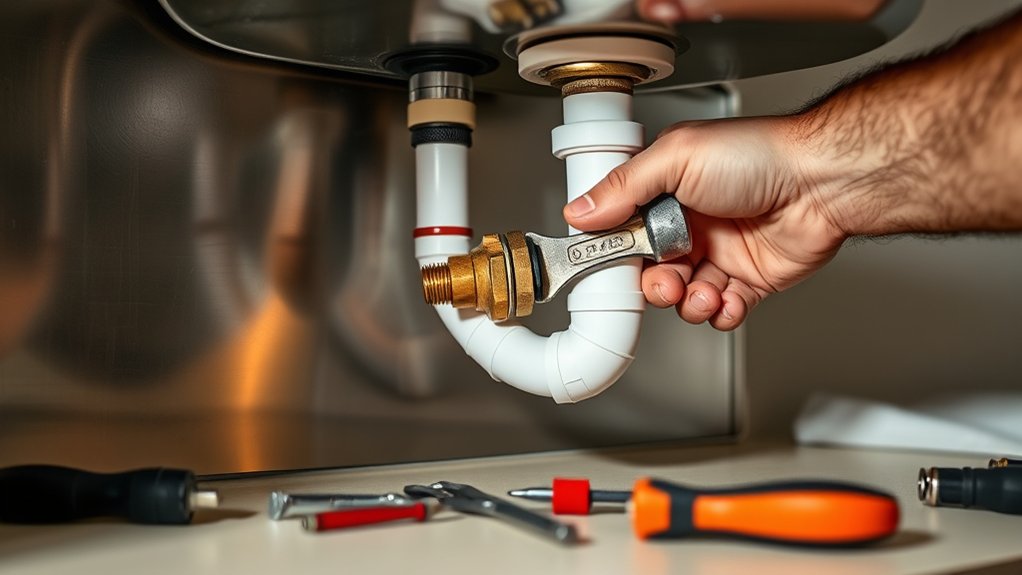
How to Reassemble Your Faucet Properly
Are you ready to put your faucet back together? Reassembling it the right way helps keep leaks at bay and water flowing smoothly.
Start by placing the faucet aerator back onto the spout, making sure it’s secure. This helps prevent leaks and keeps the water pressure just right.
Next, reassemble the valve stem and handle. Tighten all nuts and screws, but don’t overtighten—this could damage the parts.
Finally, check that all washers and O-rings are properly seated. This step is key to preventing future leaks and making sure your faucet works properly.
Here are the key steps:
- Attach the faucet aerator tightly to maintain water pressure.
- Reassemble the handle and tighten nuts without overtightening.
- Confirm all washers and O-rings are properly positioned for a leak-proof seal.
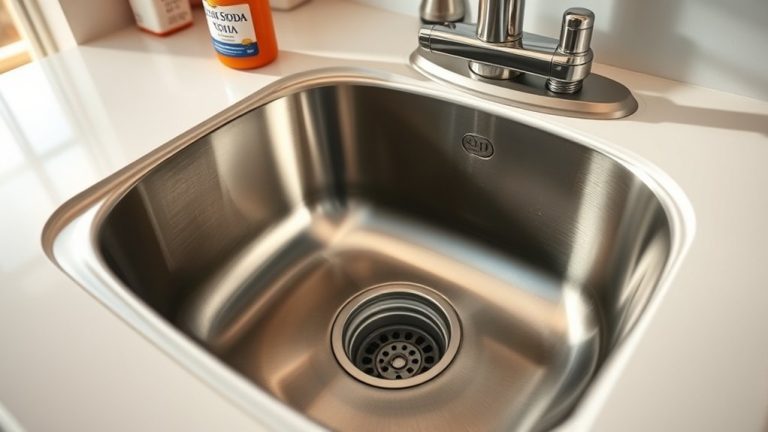
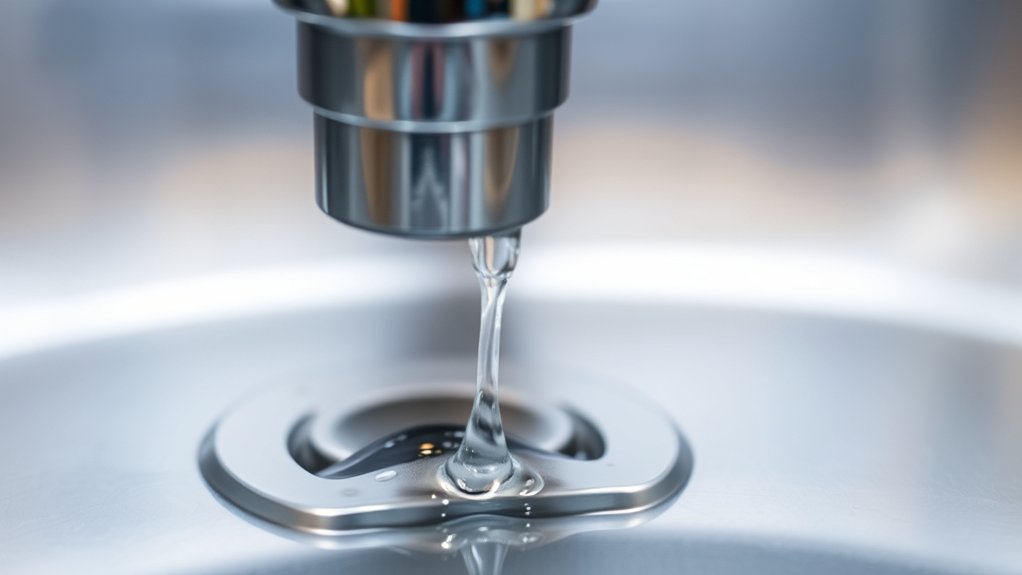
Test Your Faucet to Ensure the Leak Is Fixed
Once you’ve reassembled your faucet, it’s important to test it thoroughly to make sure the leak is gone. Turn on the water supply slowly and check around the handle and spout for drips.
Observe the water flow to ensure there’s no leaking or irregularities. This is also a good time to assess how your faucet looks—if it looks clean and works well, your repair was successful.
Remember, fixing leaks helps save water. So, a leak-free faucet is good for conservation efforts.
Here’s a quick reference:
| Action | Result |
|---|---|
| Turn on faucet slowly | Check for leaks at handle and spout |
| Inspect for drips | Confirm leak is fixed |
| Observe water flow | Ensure proper function and looks |
If no leaks appear and the flow is steady, your repair worked!
What to Do If the Leak Persists or Returns?
If your leak continues or comes back after fixing it initially, it’s important to take a step-by-step look to find out what’s really going on.
Start by carefully inspecting the faucet parts. Look for worn-out seals or loose components that might be causing the problem.
Then, try these steps:
- Reassemble and tighten all fittings securely, making sure nothing is cross-threaded or overtightened, as this can cause new leaks.
- Replace any damaged or worn parts like washers, O-rings, or cartridges.
- Before attempting any advanced repairs or using DIY tools, review plumbing safety guidelines to avoid injury or damage.
Simple Tips to Prevent Future Faucet Leaks
Taking proactive steps can help prevent future faucet leaks and save you time and money on repairs. Regularly inspecting your faucet for signs of wear or corrosion allows you to catch issues early.
Using eco-friendly options, like low-flow aerators, reduces water pressure and minimizes stress on internal parts. This can help extend the faucet’s lifespan.
Implement water-saving tips, such as turning off the tap when not in use and fixing leaks promptly, to prevent small problems from escalating.
Avoid using harsh chemical cleaners that can damage seals and rubber components. Instead, clean your faucet gently with vinegar or mild soap.
Scheduling routine maintenance, like replacing worn-out washers or O-rings, keeps your faucet in top shape.
These simple habits not only prevent leaks but also promote environmentally conscious living by conserving water and reducing utility bills.
Staying vigilant and maintaining your faucet ensures it remains leak-free and efficient over time.
Frequently Asked Questions
How Long Does It Typically Take to Fix a Leaking Kitchen Faucet?
Fixing a leaking kitchen faucet usually takes about 30 minutes to an hour, depending on your experience and faucet type. You’ll want to check the water pressure and figure out where the leak is coming from.
If you have a cartridge, ball, or compression faucet, each one might need different steps. Simple repairs like replacing washers or O-rings are quicker, but more complex issues can take longer.
Be patient, and you’ll have your faucet fixed in no time.
Can I Fix a Leak Without Professional Plumbing Skills?
Like a gentle gardener tending delicate plants, you can handle DIY plumbing with patience. You don’t need professional skills to fix a leak; basic faucet maintenance is within your reach.
With simple tools, careful inspection, and a little research, you can stop the drip and restore harmony to your kitchen. Trust your instincts, follow clear instructions, and remember—every small repair is a step toward mastery.
What Are Common Signs That Indicate a Faucet Needs Replacement Instead of Repair?
If your faucet keeps leaking, like constant dripping or trouble controlling the water flow, it might be time to replace it. This is especially true if the leak is caused by worn-out internal parts or corrosion.
Think about the material of your faucet—metal ones usually last longer than plastic. If the leak keeps coming back and repairs don’t fix it, replacing the whole faucet is often more affordable than fixing it again and again.
Are There Any Safety Precautions to Consider During Faucet Repair?
You step into the repair like a cautious explorer, so gear up with safety gear—gloves, goggles, and maybe a mask—to shield yourself from splashes or debris.
Remember, if your faucet involves electrical components, turn off the power first to avoid electrical safety hazards.
Always double-check water and power shut-offs before starting, ensuring your repair journey is safe and smooth, keeping accidents at bay like a seasoned captain steering clear of storms.
How Often Should I Inspect My Kitchen Faucet for Leaks?
You should inspect your kitchen faucet for leaks at least once every few months. Regular leak detection helps catch drips early, which can prevent water waste and costly repairs.
During your inspections, look out for dripping sounds, water spots, or if your water bills seem higher than usual. Keeping a consistent schedule means you’re more likely to find small issues before they turn into big problems.
This way, your faucet stays in good shape, works smoothly, and you save water at the same time.
Conclusion
Now that you’ve navigated the repair maze, your faucet should sing a sweet, leak-free tune again. Think of it as giving your kitchen a fresh coat of confidence—no drips, no worries.
With the right tools and a steady hand, you’ve turned a pesky leak into a distant memory. Keep your sink happy and your day flowing smoothly because a well-fixed faucet is the unsung hero of a happy home.