Step-by-Step Guide to Install Kitchen Cabinet Handles
Many homeowners find installing kitchen cabinet handles to be trickier than it looks. It’s a small detail that can really make or break the look of your kitchen, and getting it just right can feel frustrating. But don’t worry—you’re not alone in this.
With a little guidance, you’ll be able to achieve a professional finish in no time.
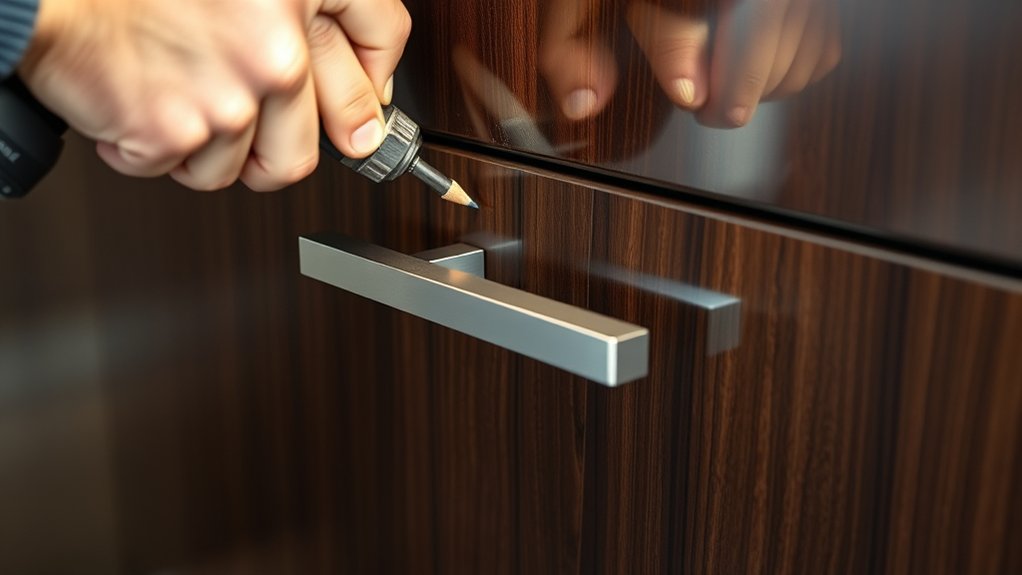
To install kitchen cabinet handles, start by safely removing old handles with the appropriate screwdriver. Measure carefully for consistent placement, marking drill points with a pencil or template.
Drill slowly to avoid damage, then align handles with the holes and tighten screws securely but gently. Make certain everything looks straight and balanced, adjusting as needed.
Regularly check for loose screws or misalignments. If you keep working through these steps, you’ll master a professional finish.
Key Takeaways
- Carefully remove old handles using the right tools, making sure you don’t damage your cabinets or surfaces.
- Measure and mark where you want the new handles to go, using templates or a level for consistent placement.
- Pick handles that match your kitchen style and double-check that they’re compatible with your hardware before you start.
- Drill holes slowly and precisely, then attach the handles securely without overtightening the screws.
- After installing, check that everything lines up properly, tighten the screws evenly, and clean the handles regularly to keep them looking good.
How to Remove Old Handles Safely
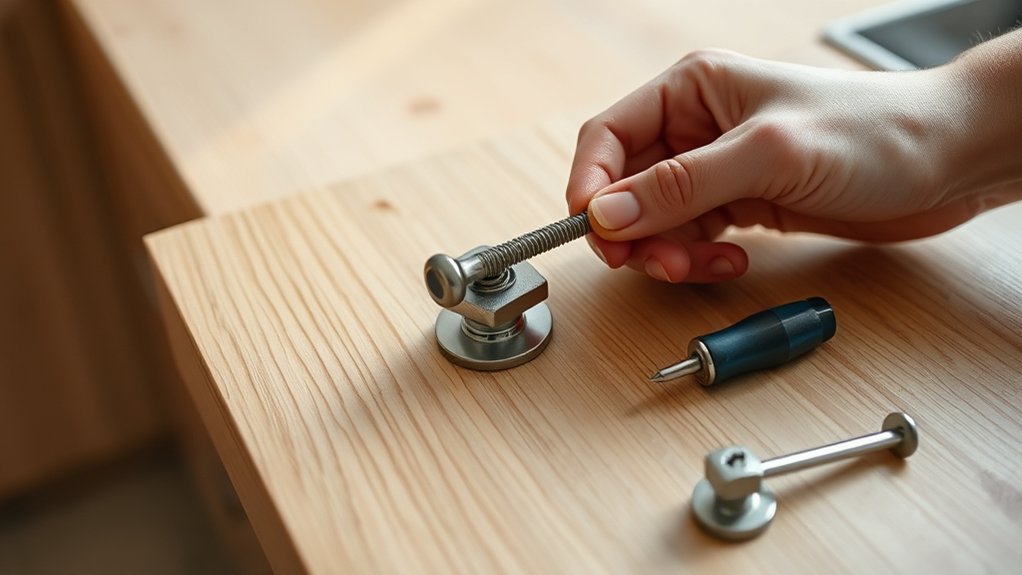
When removing old handles, it’s important to do so carefully to avoid damaging your cabinets. Start by examining the decorative hardware to identify the type of handle material—whether it’s metal, plastic, or wood.
Use an appropriate screwdriver, usually a Phillips or flathead, to unscrew the handles gently. Apply steady pressure to prevent stripping the screws or scratching the surface.
Use the correct screwdriver and apply gentle, steady pressure to avoid damage when removing handles.
If the handles are stuck, gently wiggle them back and forth. Avoid forcing them, which could chip the finish or damage the cabinet door. For handles that are glued or stubborn, consider applying a bit of heat using a hairdryer to loosen the adhesive.
Keep the removed handles and screws in a safe place for future use or recycling. Taking your time during this process helps protect the cabinet finish and makes the switch to new hardware smoother.
Measuring for Handle Placement
Measuring for handle placement can seem tricky, but it’s pretty straightforward once you get the hang of it. First off, figure out the perfect height for your handles—that might depend on your cabinet size or personal preference. Once you’ve got that sorted, mark the spots where you’ll drill. Just be sure to double-check your measurements so everything lines up perfectly. Taking these little steps makes a big difference, and you’ll end up with handles that look straight and professional, giving your furniture a polished, balanced look.
Determine Handle Height
Before you start measuring, think about the type of handles you’ve chosen and the look you’re going for. Handle material and design influence where you should place them for the best effect. Typically, for pulls, position them about 2.5 to 3 inches from the top or bottom edge of the cabinet door or drawer.
For knobs, aim for the center to be about 2.5 to 3 inches from the edge. Keep in mind that the style of the handle affects placement; sleek, modern designs might need different positioning than ornate or vintage styles.
Evaluate the handle length in relation to your cabinet size to ensure proportionality. Also, consider ergonomic comfort, especially if you’ll be opening these cabinets often. Match handle height with existing hardware or decor for a cohesive look.
Make sure to keep the placement consistent across all cabinets for symmetry. Lastly, think about handle orientation to make sure they are accessible and easy to use.
Mark Drill Points
Once you’ve figured out the best handle height, it’s time to mark the drill points accurately. Use a measuring tape to find the center of each handle location, keeping in mind the decorative finishes you’ve chosen for your cabinets.
Think about handle ergonomics too; placement should be comfortable and easy to reach. Mark the spots with a pencil, making sure everything lines up symmetrically across all the doors and drawers.
Double-check your measurements before you start drilling for a polished look. Properly aligned handles not only look good but also make your cabinets more functional.
If your cabinets have intricate decorative finishes, be extra careful when marking to avoid damaging the surface. Clear, precise marks will help you install your handles evenly and securely.
This way, you’ll give your kitchen a professional, finished look with handles that are both attractive and well-placed.
Choosing Handles That Match Your Kitchen Style
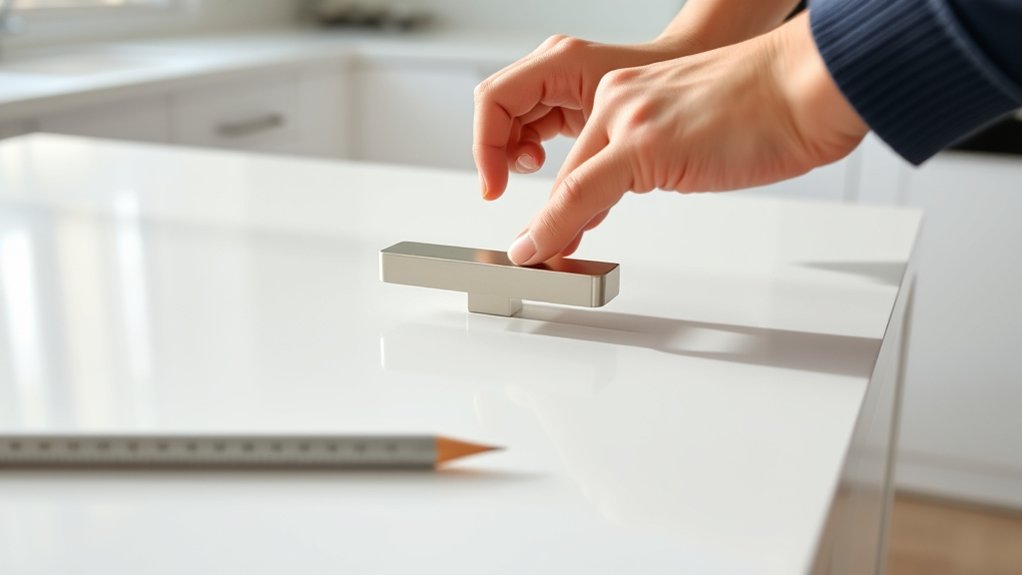
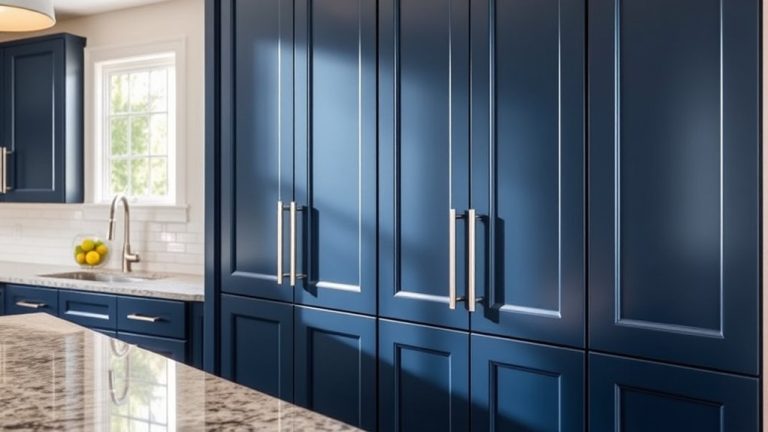
Have you ever noticed how the right handles can instantly raise your kitchen’s style? Choosing handles that complement your kitchen’s overall look is key. Start by considering your kitchen color schemes; handles in matching or contrasting colors can create a cohesive or striking effect.
Think about cabinet material choices like wood, metal, or glass. Handles should enhance these textures. For a modern vibe, go for sleek, minimalist handles. Traditional kitchens benefit from ornate or vintage-style pulls.
Rustic spaces look great with distressed finishes, while contemporary designs shine with matte or polished metals. Match handle finishes with your kitchen hardware accents to create a unified look.
Select handle styles that reflect your cabinet material. Also, consider handle size relative to your cabinets for a balanced appearance. Prioritize ergonomic comfort without sacrificing style.
Using contrasting or matching tones adds visual depth. Choosing handles thoughtfully can uplift your kitchen style, making a subtle yet impactful difference.
Tools and Materials Needed for Handle Installation
To install kitchen cabinet handles smoothly, gather the right tools and materials beforehand. You’ll need a drill, a screwdriver (usually Phillips or flathead), a measuring tape or ruler, and a pencil for marking.
Choose handle material that matches your kitchen’s style, whether metal, wood, or plastic. Confirm the handle design complements your cabinets—sleek for modern, ornate for traditional.
Select handle materials that match your kitchen’s style, from sleek metals to ornate wood designs.
You might also need a level to keep handles aligned and a stud finder if mounting into studs. Have a set of screws that fit your handle’s holes and cabinet thickness.
Double-check the handle material for durability and aesthetics. If handles come with mounting hardware, verify compatibility. Preparing these tools and materials beforehand guarantees a smooth installation process, saving you time and frustration.
Properly selected handle design and material will elevate your kitchen’s look while ensuring ease of use.
Marking and Drilling Holes for Handles
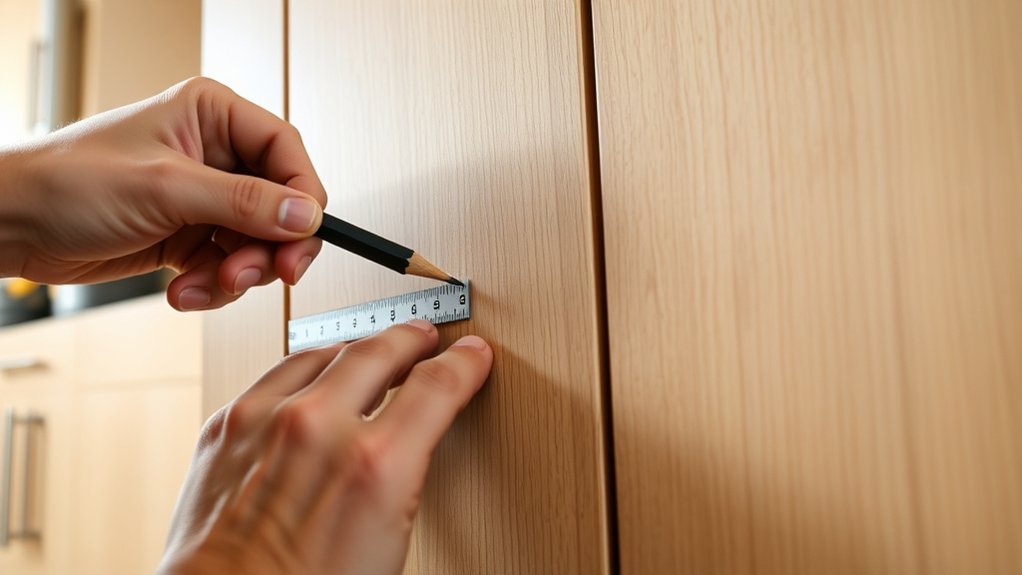
Before drilling, you need to accurately mark where the handles will go on your cabinet doors or drawers. Proper positioning guarantees a balanced look, especially if your cabinet paint has a specific style. Use a measuring tape to determine the handle height, typically about 2.5 to 3 inches from the bottom or top edge.
Consider the handle material; some materials may require different drilling techniques to prevent splitting. When marking, use a pencil or painter’s tape to avoid damaging your cabinet paint. Double-check measurements for symmetry and consistency across all drawers or doors.
Measure handle placement carefully, accounting for handle material and cabinet paint finish. Use a template or jig for uniform positioning across all cabinets. Mark the drill points precisely with a pencil or fine-tip marker.
Drill slowly to prevent cracking, especially on delicate or painted surfaces. Keep the drill bit sharp and appropriate for the handle material to ensure clean holes.
Installing Handles Step by Step
Once you’ve marked and drilled the holes, attaching the handles is straightforward. Start by aligning each handle with the drilled holes, making sure the decorative handle designs face the right direction. Handle material options include metal, wood, or plastic, so pick one that matches your cabinetry style.
Align handles with drilled holes, ensuring decorative designs face correctly for a polished look.
Use screws that fit snugly through the handle and into the drilled holes. Hand-tighten each screw first, then switch to a screwdriver for a secure fit. Be careful not to overtighten, as it could damage the handle or the cabinet door.
If you’re installing bar pulls or knobs, double-check they’re centered for a balanced look. For decorative handle designs, take a moment to verify the placement, making sure handles are straight and even.
With these steps, your handles will be securely attached, ready to boost your kitchen’s style and functionality.
Aligning and Tightening Handles for a Perfect Fit
Ensuring your handles are properly aligned and tightened is key to a polished, professional look. The handle material and design influence how you align and tighten them, so consider these factors carefully.
Use a level or straightedge to verify that handles are perfectly horizontal or aligned with adjacent hardware. When tightening, avoid overtightening, which can damage delicate handle material or warp the handle design.
Tighten screws gradually, alternating sides to maintain even pressure. Double-check alignment after each adjustment to ensure consistency across all handles. Keep tools like a screwdriver or Allen wrench handy for precise control.
For handles with intricate designs, take extra care to align the decorative elements symmetrically. Remember, a clean, well-aligned handle improves your cabinet’s overall appearance and functionality.
- Use a level or straightedge for accuracy
- Tighten screws incrementally
- Adjust handle position before fully tightening
- Check handle design symmetry
- Avoid over-tightening to prevent damage
Troubleshooting Common Installation Issues
Even with careful alignment and tightening, installation issues can still happen. Common problems include handles feeling loose, misaligned, or not matching your cabinet style. To troubleshoot, start by checking the handle material—some materials may not grip well or could cause fitting issues. Make sure your handle color matches your cabinet decor for a cohesive look.
Here’s a quick guide:
| Problem | Solution | Prevention |
|---|---|---|
| Handle feels loose | Tighten screws or replace worn hardware | Use quality handles and proper screws |
| Misaligned handles | Re-measure and reposition before tightening | Double-check measurements before installing |
| Color mismatch | Choose handles with complementary finishes | Plan handle material and color early |
Tackling these issues quickly helps keep your cabinets looking professional and ensures handles stay secure and attractive.
Cleaning and Maintaining Your New Handles
Regular cleaning and maintenance are key to keeping your new handles looking their best and working smoothly. Different materials and finishes need specific care to avoid damage and keep their appearance.
Regular cleaning and proper care keep your handles looking great and functioning smoothly for years.
To keep them looking elegant, wipe handles regularly with a soft, damp cloth. Avoid abrasive cleaners that can scratch surfaces or dull finishes. For stubborn stains, use a mild soap solution—never harsh chemicals.
Be mindful of the handle material. Metal handles might need polishing, while wood or plastic handles should be cleaned gently to prevent warping.
Here are some tips for maintenance:
- Use a microfiber cloth for gentle cleaning
- Avoid abrasive or acidic cleaners on decorative finishes
- Apply a protective wax or polish when suitable
- Check periodically for looseness or damage
- Dry handles thoroughly to prevent corrosion or water spots
Proper care helps your handles stay stylish and functional for years to come.
Final Checks and Tips for a Professional Finish
Before you finish up, take a moment to check that your handles are lined up evenly and sitting straight. It’s a small detail, but it really makes a difference in how polished everything looks.
Next, tighten all the screws securely, but be careful not to overtighten—you don’t want to risk damaging anything. Once you’re done, step back and give the whole piece a good look. If you notice any tiny adjustments needed, just make them so everything ends up looking neat and professional.
Check Handle Alignment
Once you’ve installed the handles, it’s important to check their alignment for a professional look. Proper alignment keeps the handle material and design consistent, giving a polished appearance.
Take a step back and visually inspect each handle. Make sure they are straight and evenly spaced. Use a ruler or level for accurate measurement, especially on larger cabinets.
Check that handles on adjacent doors or drawers align horizontally or vertically, as intended. Also, confirm that the handle height is uniform across all units.
Small misalignments can disrupt the overall look, so make adjustments before tightening the screws fully. Verify handles are level and straight, ensure consistent spacing, and confirm alignment with neighboring handles.
Tighten Screws Properly
After making sure your handles are aligned properly, it’s important to tighten the screws securely to keep everything in place. The material of the handle can influence how tight you should go. Metal handles usually need a firm grip, while plastic ones should be tightened gently to avoid cracking.
Pay attention to the screw types. Phillips screws are common, but some handles use hex or flat-head screws, which might need different tools. Use a screwdriver that fits snugly into the screw head to prevent stripping.
Tighten each screw gradually, switching between them to distribute pressure evenly. Be careful not to overtighten, as this can damage the handle materials or strip the threads.
When done correctly, tightened screws will keep your handles secure and help your kitchen look professional.
Inspect Overall Appearance
Have you checked the overall appearance of your handles to guarantee a polished, professional look? Inspecting your cabinet hardware ensures consistent alignment, proper spacing, and a cohesive style. Take a step back and evaluate the handle styles in relation to your cabinets, confirming they complement the overall design.
Look for any loose screws or handles that seem misaligned and may need adjustment. Also, check for scratches or fingerprints that could diminish the finished look. Ensuring symmetry and uniformity across all handles creates a refined appearance.
Consider the following for a professional finish: confirm all handles are securely fastened, verify consistent handle spacing and alignment, and match handle styles to your cabinet design.
Don’t forget to clear any smudges or fingerprints and make final adjustments for symmetry and balance.
Frequently Asked Questions
Can I Install Handles on Curved or Irregular Cabinet Surfaces?
Yes, you can install handles on curved or irregular cabinet surfaces. Use tools like flexible mounting templates or adjustable jigs to help you place them precisely.
For irregular cabinet surfaces, consider using longer screws or custom mounts to keep the handles secure. Take your time measuring and adjusting your tools to match the surface contours.
This way, you’ll get a secure and attractive fit even on uneven or curved surfaces.
What Is the Best Handle Material for a Modern Kitchen Look?
For a modern kitchen look, stainless steel handles are your best choice. They offer sleek handle styles and excellent durability, making them resistant to corrosion and wear. Plus, their minimalist design easily fits into contemporary aesthetics.
If you prefer a warmer tone, matte black or brushed nickel handles also work well. They provide durability and add a stylish touch to your space.
Choose handles that match your overall design and will stand the test of time.
How Do I Prevent Damage to Cabinet Surfaces During Installation?
You need to play it safe to prevent damage during installation. Start by applying surface protection like painter’s tape around the area to shield your cabinets.
Use proper installation tools, such as a drill with a depth stop, to avoid overdrilling. Handle your tools carefully and work slowly. Think of it as tiptoeing through a minefield.
This way, you keep your cabinet surfaces pristine while installing handles smoothly.
Are There Handle Installation Techniques for Lightweight or Delicate Cabinets?
Yes, for lightweight or delicate cabinets, focus on handle alignment and choosing the right screwdriver. Use a smaller, precision screwdriver to avoid applying too much pressure, which can cause damage.
Carefully mark where you want to place the handles to ensure perfect alignment before drilling. This way, you can prevent cracks or scratches.
Following these steps helps you install handles securely and neatly without harming your delicate cabinets.
How Often Should I Replace or Update Cabinet Handles?
Like seasons change, your cabinet handles might need updating every few years to keep their charm. Regular handle maintenance can help extend the life of your cabinets and keep your space looking fresh.
You should think about replacing or updating handles when they show signs of wear, tarnish, or if you’re redoing your decor. This way, your kitchen stays both functional and stylish.
Updating handles also reflects your evolving taste and keeps your cabinets a timeless feature in your home.
Conclusion
Now that you understand each step, installing your kitchen cabinet handles becomes an easy project. Think of it like how Sarah replaced her outdated handles and instantly gave her kitchen a fresh look.
With the right tools and careful measurement, you can achieve a professional finish. Take your time to ensure everything lines up perfectly.
Don’t rush through it. Once done, you’ll enjoy the sleek, functional look of your newly updated cabinets. It’s a simple way to make your kitchen more inviting and stylish.