7 Simple Steps to Remove Kitchen Cabinet Drawers
Removing kitchen cabinet drawers can be tricky, especially if you’re new to DIY projects. Many people struggle with figuring out the best way to do it without damaging their cabinets or getting frustrated. You’re not alone—this is a common challenge, but with a little guidance, you’ll be able to tackle it with confidence.
To remove kitchen cabinet drawers, start by gathering your tools and wearing safety glasses. Then, remove stops and supports, detaching the slides carefully.
Next, gently lift out the drawer front and body, inspecting for any damage.
Clean and check the components before reinstallation.
When you’re ready, slide the drawer back in smoothly and make final adjustments.
Follow these steps precisely, and you’ll uncover more tips for a flawless removal and reinstallation process.
Key Takeaways
- Gather your tools and put on safety gear before you start removing the drawers. It’s always best to stay safe first.
- Carefully remove any drawer stops or supports, then detach the front of the drawer. Take your time so nothing gets damaged.
- Next, disengage the drawer slides or glides from the cabinet frame. This step can vary depending on your cabinet style.
- Support the drawer body with your hand and lift it out smoothly. Make sure to do this gently to avoid any damage.
- Finally, inspect, clean, and prepare the components. This way, they’re ready for reinstallation or repair when needed.
Tools and Safety Tips Before Removing Your Kitchen Drawers
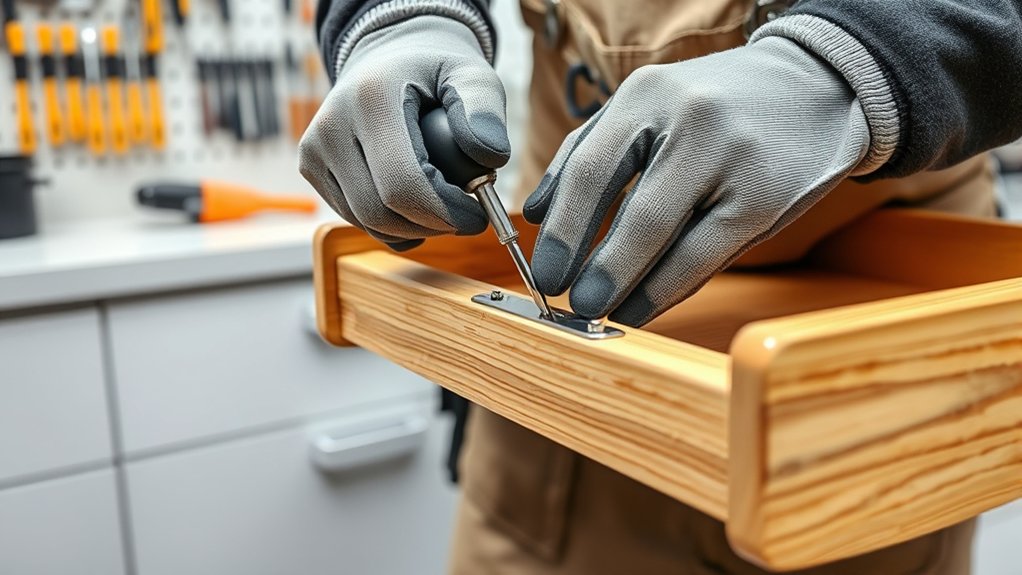
Before removing your kitchen drawers, it’s essential to gather the right tools and follow safety precautions. Start by collecting a screwdriver, a putty knife, and a soft cloth. If your drawers have decorative handles, carefully unscrew them to avoid damaging the finish. Keep a small container nearby for screws and hardware.
Wearing safety glasses is a good idea to protect your eyes from potential debris. Be gentle when working around cabinet finishes, since excessive force can cause scratches or chipping. If your cabinets have delicate finishes, consider applying painter’s tape around the edges to prevent damage.
Make sure your workspace is well-lit and clear of obstacles. Handling hardware carefully preserves the aesthetic appeal and prevents damage to decorative handles. Proper tools and safety precautions make the removal process smoother, protecting both your cabinets and yourself.
Taking these steps helps you avoid unnecessary repairs and keeps your kitchen looking its best.
How to Identify and Remove Drawer Stops and Supports
First, you want to find the drawer stops. These are usually small hardware pieces or built-in bumps that stop the drawer from sliding out too far. They might be on the inside of the drawer or the cabinet frame. Once you spot them, carefully remove any screws or clips holding these stops in place.
Next, look for support mechanisms like side brackets or tracks. Gently detach these as well to free the drawer entirely. Just take your time, and you’ll have it out in no time!
Spotting Drawer Stops
To effectively remove drawer stops, start by locating where they are. Usually, these stops are hidden inside the cabinet frame or attached to the drawer itself.
They’re there to prevent the drawer from pulling out all the way, which can affect how your cabinet looks and works. Look for small clips, nails, or screws along the sides or back of the drawer opening.
Use a flashlight if needed to see better. Here’s a quick guide:
| Location | Appearance | Removal Tip |
|---|---|---|
| Inside frame | Small clips or pins | Use pliers to loosen |
| Drawer sides | Screws or nails | Remove with a screwdriver |
| Bottom edge | Plastic or metal stops | Gently pry off |
Knowing where these stops are helps you remove drawers smoothly and avoid damaging your cabinet.
Removing Support Mechanisms
Identifying and removing support mechanisms, like drawer stops and supports, is key for a smooth drawer removal. Start by inspecting the sides of the drawer and the cabinet.
You might notice small nails, screws, or clips that act as stops. Check around the hinges and drawer handles, as some supports are attached there.
If your drawers have removable supports or clips, gently pry them out with a flat-head screwdriver. Be careful not to damage the cabinet finish.
If the support mechanisms are glued or embedded, you may need to unscrew or carefully cut them away. Removing these stops helps you slide the drawer out easily without resistance.
This makes the removal process safer and more efficient.
How to Detach Drawer Slides and Glides
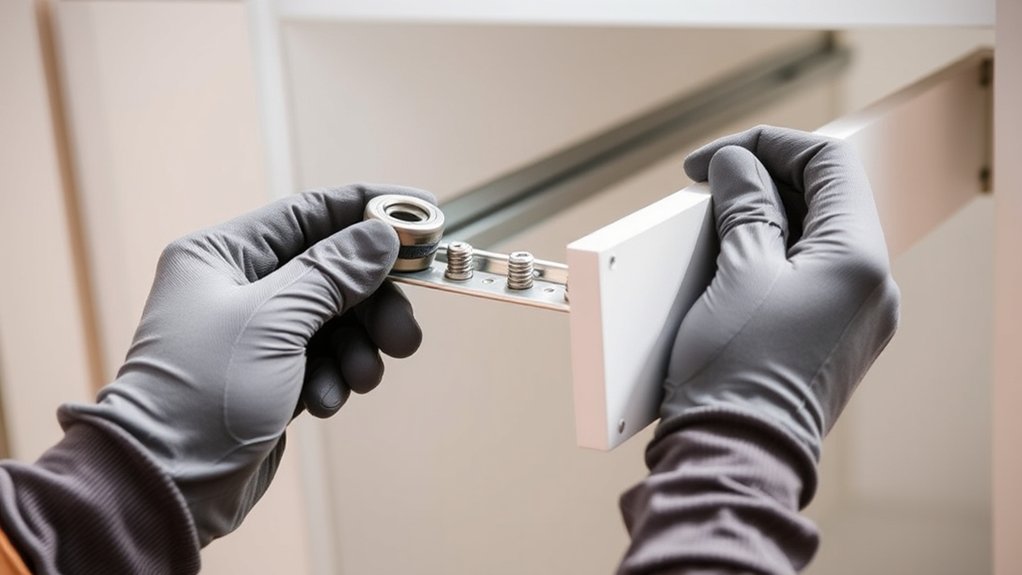
Detaching drawer slides and glides is pretty simple and lets you remove the drawers completely for easier access or replacement. To do this right, focus on proper slide maintenance and think about how your cabinet hardware choice affects durability.
Removing drawer slides is easy and helps with maintenance and hardware upgrades.
Here are the steps to detach your slides:
- Find the release levers or screws on the sides of the drawer or the cabinet frame. These are often quick-release clips or small screws.
- Carefully disengage the slides by pressing or unscrewing, making sure not to force or damage anything.
- Lift the drawer out smoothly, keeping an eye on the glides to avoid any damage.
Taking your time with these steps keeps your slides in good shape and makes future maintenance easier. Properly detaching the slides also helps you check for wear and plan for better hardware choices.
How to Safely Remove the Drawer Front and Body
To safely remove the drawer front, start by loosening any screws or clips that are holding it in place. Just be careful not to damage the finish while you’re doing this. Once that’s done, support the drawer body with your hand or a tool, and gently slide it out. Take your time with the process—rushing can lead to breaking parts or causing damage. Using the right tools and moving slowly helps keep everything in good shape and makes the whole job much easier.
Detach Drawer Front Carefully
Before removing the drawer front, make sure to carefully support the entire drawer body to prevent damage. Handling the drawer with care during this step is key for a smooth cabinet face removal.
Follow these simple steps to stay safe and avoid breakage:
- Gently loosen the screws or clips holding the drawer front in place, applying steady pressure to prevent cracking the face.
- Carefully lift the drawer front away from the cabinet, keeping your movements controlled.
- Make sure all fasteners are fully detached before moving on to remove the drawer body.
Taking your time during this process helps preserve your cabinet’s integrity and makes everything easier. Patience is the key to a safe, damage-free removal of the cabinet face.
Remove Drawer Body Safely
Once the drawer front is removed, focus on taking out the drawer body itself. Start by checking the material—wood, metal, or composite—as different types may need specific tools.
Look at the cabinet dimensions to make sure you have enough space to maneuver the drawer out. Find the screws or clips holding the drawer to the slides, which are often hidden inside or underneath.
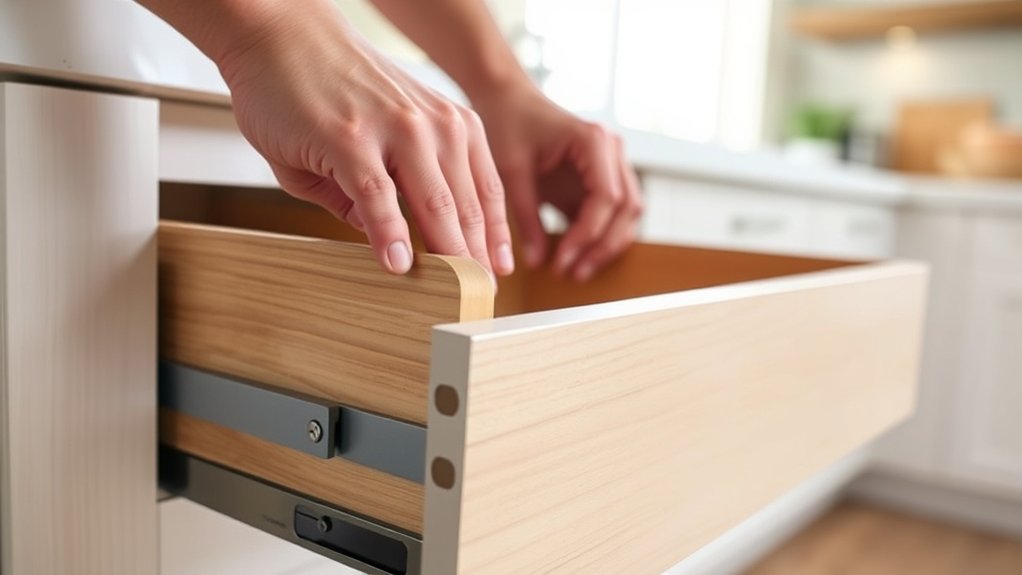
Use a screwdriver to remove any screws, then gently lift or slide the drawer out. Be careful not to force it, to avoid damage to the drawer or cabinet.
If your cabinet has side-mounted slides, you might need to press release tabs or levers. Take your time and avoid applying excessive force during the process.
What Are Common Problems When Removing Drawers and How to Fix Them
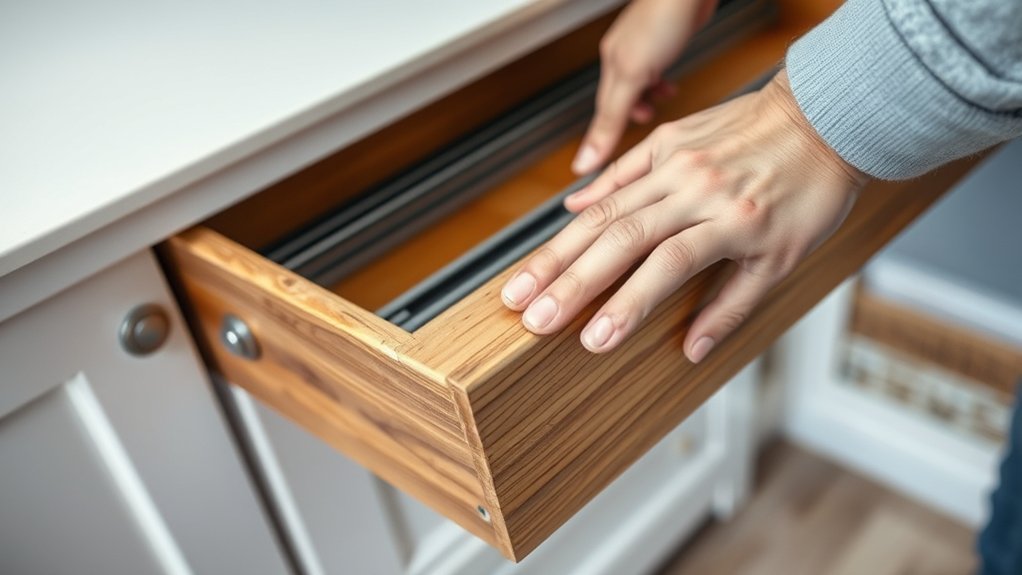
Removing kitchen cabinet drawers can sometimes be tricky, especially if they’ve been in place for a while or weren’t installed properly. Common mistakes include pulling too hard, which can damage the drawer or cabinet, and forcing the drawer out without releasing all the fasteners. You might also come across stuck or jammed drawers, which can be frustrating and cause damage.
Here are some common problems and how to fix them:
- Stuck or hidden fasteners: Use a flathead screwdriver or putty knife to gently loosen or release any hidden clips.
- Broken or damaged parts: Check for broken slides or rollers. If needed, replace worn-out components or lubricate the slides to make removal easier.
- Forcing the drawer out: Instead of yanking, carefully remove all screws and release any clips to avoid damage.
Patience and caution are key to avoiding costly repairs and ensuring a smooth removal process.
Cleaning, Inspecting, and Repairing Your Drawers Before Reinstallation
After you’ve taken out the drawers, it’s important to give them a thorough cleaning, inspection, and repair before reinstalling. Start by wiping down all surfaces with a damp cloth to remove dust, dirt, and debris that can hinder drawer operation and affect cabinet aesthetics.
Check the drawer slides and tracks for wear, rust, or damage. Clean them with a brush or cloth and lubricate if needed to guarantee smooth movement. Inspect the drawer boxes for cracks or warping, and repair or replace damaged parts to improve organization and functionality.
Tighten loose screws and replace missing hardware to keep everything secure. Taking these steps helps maintain the overall look and performance of your cabinets. It also makes drawers easier to open and close.
Proper cleaning and repair prevent future issues, helping your cabinets stay looking fresh and organized for years to come.
How to Reinstall Kitchen Cabinet Drawers With Confidence
Reinstalling kitchen cabinet drawers with confidence starts with careful preparation and attention to detail. First, make sure your drawers and slides are clean, undamaged, and properly aligned to keep your kitchen looking great and your cabinet organized.
Next, gather all the tools and parts you’ll need so you won’t be interrupted during the installation process. This helps keep things smooth and stress-free.
Here are three essential steps:
- Double-check that the tracks are securely attached and aligned for smooth operation.
- Carefully slide each drawer into its corresponding tracks, listening for a firm click that shows it’s properly engaged.
- Test each drawer’s movement and make any necessary adjustments to ensure they open and close effortlessly, boosting your confidence and keeping your kitchen pristine.
Frequently Asked Questions
Can I Remove Drawers Without Removing the Entire Cabinet?
Yes, you can remove drawers without taking out the entire cabinet. Just focus on drawer safety by carefully pulling the drawer out and checking for any obvious fasteners or clips.
To keep the cabinet stable, support the drawer as you remove it. If it doesn’t budge easily, avoid forcing it to prevent damage.
This way, you can safely take out the drawer for repairs or cleaning without needing to remove the whole cabinet.
What Are the Signs My Drawers Need Replacement Instead of Removal?
Think of your drawers as a well-worn book; if pages are torn or the binding is loose, it’s time to replace them.
Signs include sticking, wobbling, or missing hardware, which mean repair probably won’t fix the problem.
If repair costs are high or the damage is extensive, replacing the drawer makes more sense than fixing the cabinet.
Trust your instincts—when repairs no longer keep the drawers sliding smoothly, it’s time to get new ones.
How Do I Prevent Damage to Cabinet Surfaces During Removal?
To prevent damage to cabinet surfaces during removal, start by applying surface protection like painter’s tape or soft cloths around the edges to shield the finish.
Make sure to support the drawer sides for stability when you pull, so you don’t put unnecessary stress on the cabinet.
Gently wiggle and lift the drawer straight out, controlling the movement to avoid scratches or dents.
Taking these simple steps helps keep your cabinet looking great.
Are Special Tools Required for Stubborn or Stuck Drawers?
Did you know that about 25% of homeowners struggle with stuck drawers?
For stubborn or stuck drawers, you’ll want to have some special tools like a flathead screwdriver, putty knife, or a crowbar. These help you gently loosen the drawer without causing damage.
Using the right tools makes all the difference. Work slowly and steadily to prevent breaking any components.
With a bit of patience and the right approach, removing stubborn drawers becomes a lot safer and easier.
How Long Does the Removal Process Typically Take?
Removing kitchen cabinet drawers usually takes about 10 to 20 minutes, depending on your experience. You’ll start by detaching the cabinet hinge or unscrewing drawer slides.
If the slides are stuck, a bit of force or gentle prying might be needed. Have the right tools ready, like screwdrivers, to make the process smoother.
Be patient, and you’ll have your drawers out in no time.
Conclusion
Removing kitchen cabinet drawers might seem intimidating at first, but with the right tools and steps, you can do it safely and efficiently. Imagine a homeowner needing to access and repair a broken slide—following these steps ensures quick, damage-free removal.
Be sure to inspect and clean your drawers thoroughly before reinstallation. Taking your time and handling everything carefully will help you restore your cabinets’ functionality.
With patience and care, you’ll make your kitchen more organized and enjoyable to use. Mastering how to remove kitchen cabinet drawers is a handy skill that saves time and money.