A Step-by-Step Guide to Kitchen Cabinet Refacing
Many homeowners dream of a beautiful, updated kitchen but feel overwhelmed by the idea of a full renovation. You’re not alone—lots of people struggle with figuring out how to refresh their space without breaking the bank. Kitchen cabinet refacing is a great way to transform your look with a budget-friendly approach and professional results.
To reface your kitchen cabinets, start by evaluating if your cabinets are in good condition and match your style goals. Then, choose quality materials like veneer or laminate and pick hardware that complements your look.
Remove old doors and hardware carefully, then apply the new surface smoothly with adhesive. Reattach doors and hardware, making sure everything aligns perfectly. Finish with decorative details for a polished appearance.
If you follow these steps, you’ll achieve professional results, and there’s more to investigate for a perfect finish.
Key Takeaways
- Assess your cabinets’ condition and style to see if refacing is a good and affordable option.
- Pick high-quality materials and hardware that match your look and will last over time.
- Carefully remove old doors, hardware, and prep surfaces for a smooth veneer or laminate application.
- Reattach doors, drawers, and hardware, making sure everything lines up perfectly for a professional look.
- Keep up with regular maintenance and avoid common mistakes to keep your cabinets looking great and working well long-term.
Decide If Refacing Is Right for Your Cabinets
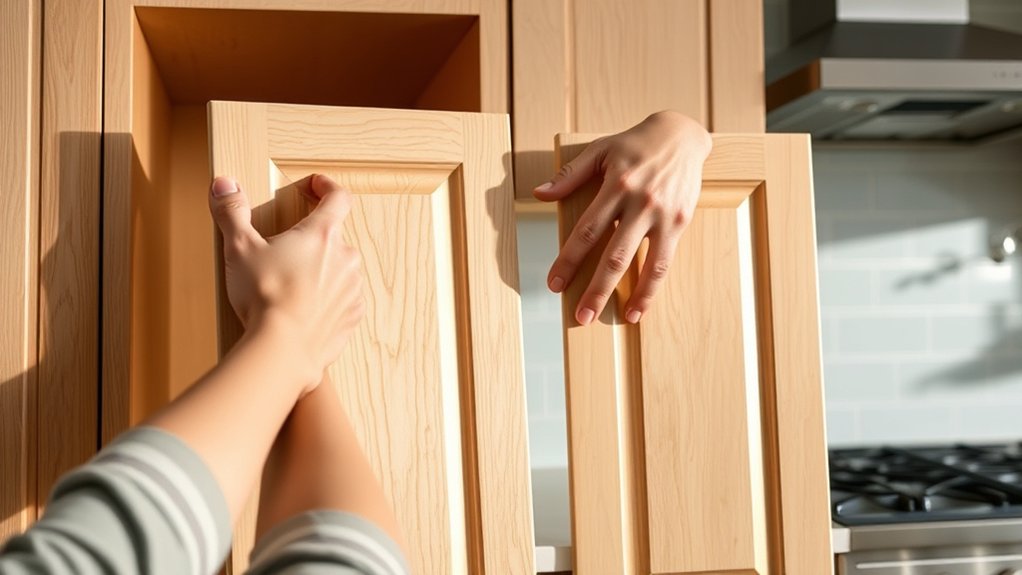
Before deciding to reface your cabinets, you need to assess whether this option makes sense for your situation. Start by considering your cabinet aesthetics—do they still match your style and the overall look of your kitchen?
Evaluate your cabinets’ style and condition to determine if refacing enhances your kitchen’s look effectively.
If your cabinets look outdated or don’t fit your current design trends, refacing can give them a fresh appearance without the cost of replacement. However, if your cabinets are structurally damaged or have worn-out hardware, refacing might not be enough.
Think about whether you want to update the style or color to align with current design trends or just improve their appearance. Refacing can modernize your kitchen easily if your cabinets are still sturdy.
But if your cabinets are severely compromised, replacing them might be a better long-term solution. Ultimately, your choice depends on the condition of your cabinets and whether refacing matches your aesthetic goals and the look you want to achieve.
Assess Your Cabinets’ Suitability for Refacing
To see if your cabinets are good candidates for refacing, start by inspecting their overall condition. Look for signs of damage like deep cracks, warped wood, or water stains, which could weaken the cabinet’s durability.
If the structure is still solid, refacing can really boost their look and keep them functional. But if the framework is falling apart, it might be better to replace them altogether.
Use the table below to help you decide:
| Aspect | What to Look For |
|---|---|
| Cabinet durability | Check for warping, rot, or loose frames |
| Aesthetic appeal | See if the finish or style feels outdated or damaged |
| Hardware condition | Make sure hinges and handles work well and aren’t corroded |
| Structural integrity | Open and close doors smoothly without sticking or sagging |
If your cabinets score well on durability and the style is still salvageable, refacing is a smart way to refresh your kitchen’s look while keeping a sturdy, attractive cabinet system.
Choose the Best Materials for Kitchen Cabinet Refacing
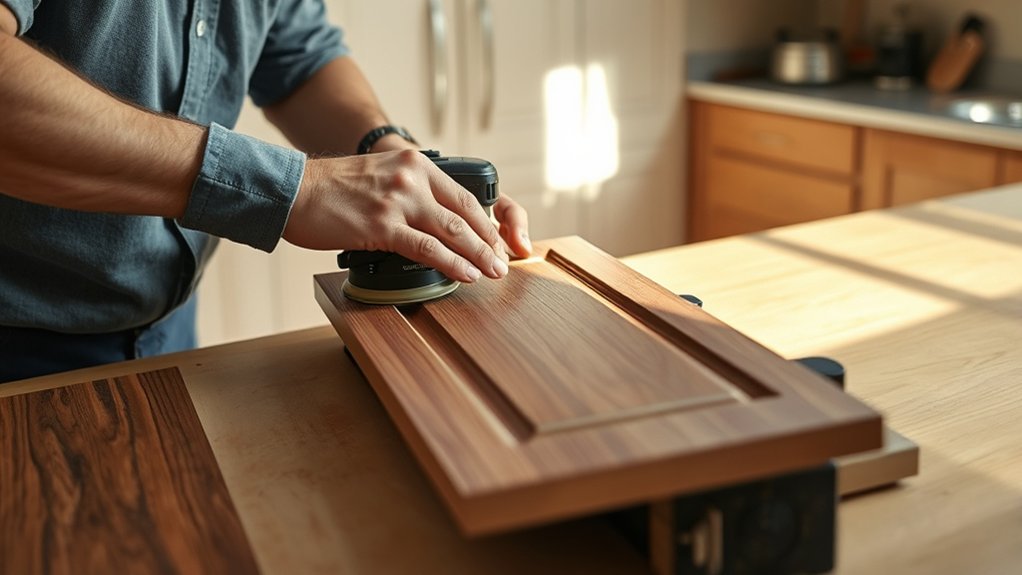
Choosing the right materials for your kitchen cabinet refacing is essential to achieving a durable, attractive finish that lasts. Start by selecting high-quality veneer or laminate for the cabinet doors and frames, making sure they match your desired style and budget.
When it comes to hardware options, consider sleek, modern handles or classic knobs that complement your overall look. Hardware can instantly update your kitchen and add functionality.
Pay close attention to color schemes; light hues can make your space feel larger and brighter, while darker shades add sophistication. Remember, the materials you choose should match your lifestyle—resistant to moisture and easy to clean.
Combining the right finishes with hardware options and color schemes creates a cohesive, stylish look. By carefully choosing your materials, you’ll set the foundation for a successful refacing project that enhances both the appearance and longevity of your cabinets.
Prepare Your Kitchen for the Refacing Project
Preparing your kitchen for a cabinet refacing project ensures everything goes smoothly and efficiently. Before you start, clear off your countertops and organize your tools to avoid clutter.
Take a good look at your kitchen’s overall design, paying special attention to your color scheme and cabinet style. This will help you pick finishes that complement your existing decor.
Make sure to remove or cover appliances and furniture to protect them from dust and debris. Measure your cabinets carefully and note down their dimensions to make sure your new faces will fit perfectly.
Decide on a consistent kitchen color theme so your new cabinets create a cohesive look after the refacing. These steps will help you set up a clean, organized workspace and make smarter choices about your kitchen’s style.
In the end, proper preparation makes your refacing project easier, faster, and ensures your space looks beautiful once it’s done.
Remove Old Doors and Hardware Safely and Efficiently
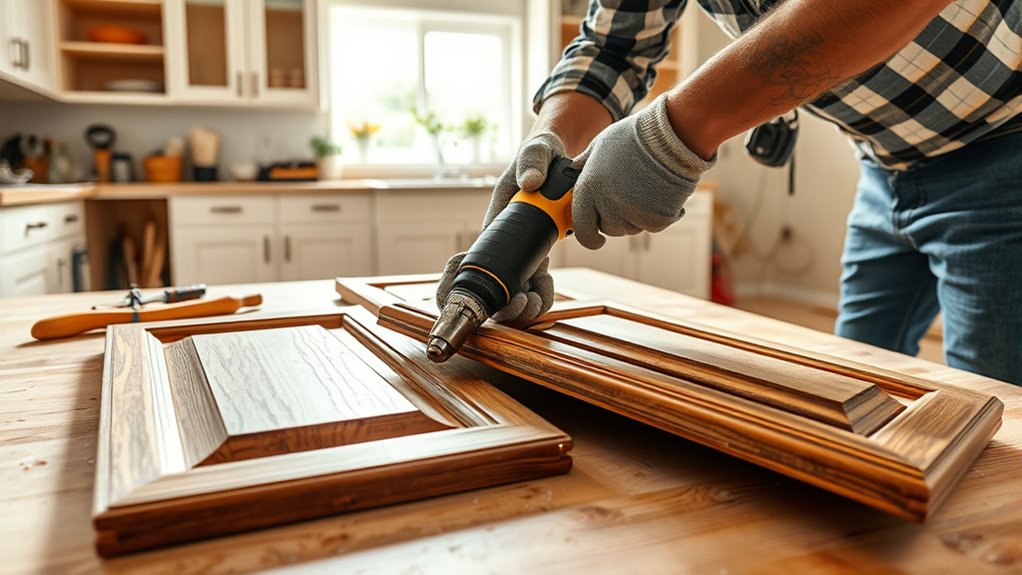
First things first, gather all the tools you’ll need, like a screwdriver and pliers. Having everything ready makes the whole process much smoother and less frustrating.
Next, carefully take off the cabinet doors. Be gentle so you don’t accidentally damage them or the surrounding area. When removing the hardware, do it safely—this way, you won’t risk injuring yourself or breaking anything.
Staying organized and cautious throughout the process helps ensure everything comes off quickly and without any problems.
Gather Necessary Tools
Before you start removing the old doors and hardware, gather all the necessary tools to make sure everything goes smoothly and safely.
Having the right tools on hand makes it easier to handle different hardware styles and prevents damage to your cabinets or accidental color changes. Essential tools include a screwdriver, a pry bar, and a cleaning cloth.
You might also need a drill or a utility knife for stubborn hardware or to prepare the surface for refacing. Keep these tools organized so you can access them quickly.
Remember to wear safety goggles and gloves to protect yourself. Gathering everything beforehand helps minimize interruptions, keeps you working efficiently, and ensures your project stays on schedule.
Remove Doors Carefully
How can you remove your cabinet doors without causing damage? Start by supporting the door with one hand as you loosen the hinges with a screwdriver. Focus on taking off hardware first—like hinges, handles, or knobs. Keep everything organized so you know where it goes later.
Be gentle to avoid chipping or cracking the wood. If the hinges are stubborn, try tapping around them gently with the handle of the screwdriver to loosen them up. Take your time and make sure to support the door throughout the whole process.
Once all the hardware is removed, lift the door away smoothly. Proper removal helps prevent damage to the cabinet frame and makes refacing easier. Always handle the doors with care to keep them in good shape.
Detach Hardware Safely
Have you ever wondered how to remove old hardware without damaging your cabinets? Proper hardware removal is key to a smooth refacing process.
First, make sure to follow safety precautions by wearing gloves and eye protection. This helps you avoid injuries from sharp edges or falling parts.
To detach hardware safely, use the right tools like a screwdriver or drill. Be gentle to prevent damaging the cabinet surface.
Here are some tips: Loosen screws slowly to avoid stripping, keep removed hardware in a labeled container, and inspect the area for any hidden nails or fasteners.
Measure and Cut Veneers or Panels Precisely
Accurate measurement and cutting are crucial for a seamless veneer or panel installation. Start by carefully measuring each cabinet surface, paying attention to any curves or angles.
Use a ruler or tape measure for precision, and double-check your measurements before marking. When cutting veneers or panels, use proper techniques like scoring and snapping for thin sheets or a sharp utility knife for clean edges.
Use a ruler or tape measure, double-check measurements, and use sharp tools for clean, precise cuts.
Always measure twice to avoid mistakes. For panel installation, make sure your cuts are straight and fit snugly against adjacent surfaces. Use a straightedge or guide for straight cuts, and a jigsaw or circular saw for curves or irregular shapes.
Precise measurements and clean cuts help minimize gaps and misalignments, giving you a professional finish. Remember, taking your time during this step makes the installation smoother and results in a polished look.
Apply Veneer or Laminate Smoothly for a Flawless Finish
To achieve a smooth, professional-looking veneer or laminate application, attention to detail and a systematic approach are key. Proper application ensures a flawless surface free of bubbles, wrinkles, or gaps.
Start by applying an even layer of adhesive, working from the center outward. This helps prevent air pockets from forming under the material. Use a roller or squeegee to press the veneer or laminate firmly in place.
Smooth out any wrinkles or bubbles as you go, taking your time to get it just right. Carefully align the edges and trim any excess material with a sharp utility knife for a clean, seamless finish.
Using a roller or squeegee helps eliminate air bubbles during veneer application. Work gradually, smoothing from the center to the edges for an even, professional look.
Finally, trim any excess laminate carefully to ensure a sleek, seamless appearance. Focusing on these steps will give you a sleek, durable finish that elevates your cabinet refacing project with expert-quality results.
Reattach Doors, Drawers, and Hardware Correctly
When you’re reattaching doors, drawers, and hardware, it’s important to get everything aligned just right. Taking your time with proper alignment ensures your cabinets not only look good but also work smoothly. It’s all about that attention to detail!
Using secure fastening methods is key. When you make sure everything is tightly and correctly attached, it helps prevent parts from loosening or shifting over time. This way, your cabinets stay looking great and functioning properly for years to come.
Proper Alignment Techniques
Ensuring proper alignment when reattaching doors, drawers, and hardware is key to a professional-looking cabinet refacing job. Focus on getting the hinges and hardware just right so doors and drawers sit flush and work smoothly.
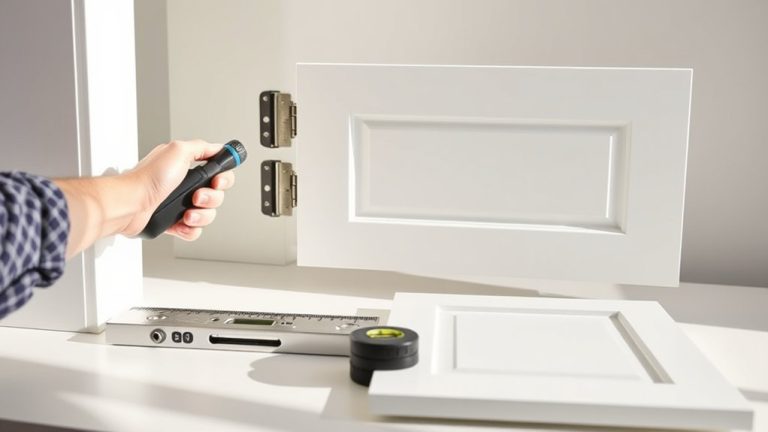
Use a level or straightedge to check the alignment across multiple doors and drawers. Make small hinge adjustments as needed to get everything perfectly aligned. Proper hinge adjustment helps prevent uneven gaps and misaligned panels.
Check the gaps around doors and drawers to make sure they are uniform. Adjust hinges little by little until everything looks even. Also, ensure all hardware is securely attached and flush with the surfaces for a clean finish.
Secure Fastening Methods
Proper fastening methods are crucial to guarantee your reattached doors, drawers, and hardware stay secure and function smoothly over time. Use the right fastening techniques to ensure a strong hold, like choosing the appropriate screws and anchors for each component.
Pay attention to security measures, such as tightening hardware just enough to avoid damage or loosening over time. When reattaching doors and drawers, carefully align hinges and slides before fastening to prevent misalignment.
For hardware, make sure screws are tight but not overtightened, as this can strip the wood or damage the finish. Consistent, secure fastening not only improves functionality but also helps extend the life of your refaced cabinets.
Following these steps ensures a professional, durable result that looks great and works perfectly.
Add Final Details to Enhance Your Refinished Cabinets
Adding final details to your refinished cabinets can make a big difference in getting that polished, professional look. These small touches boost the overall style and help create a cohesive kitchen design.
Start by adding decorative accents like elegant hardware, decorative moldings, or stylish glass inserts. These details add personality and a touch of sophistication.
Pay attention to color coordination by choosing knobs, pulls, and trim that match your cabinet finish and kitchen palette. This consistency ties everything together and elevates the overall aesthetic.
To refine your cabinets further, consider adding subtle details like painted edges, stencil designs, or decorative trims. These touches highlight features and add visual interest.
Avoid Common Mistakes and Maintain Your Cabinets Long-Term
To keep your cabinets looking great for years, it’s really important to start with proper surface preparation before you even think about refacing. Taking the time to prep the surface properly can make a huge difference in how well everything turns out.
When it comes to materials, always go for high-quality options. They might cost a bit more upfront, but they’ll pay off in terms of durability and long-term wear. Plus, developing a regular maintenance routine—like cleaning your cabinets regularly and inspecting for any damage—can really help keep them in top shape.
Proper Surface Preparation
Before you start refacing your cabinets, it’s essential to prepare the surface thoroughly. Skipping or rushing this step can lead to issues like peeling or uneven finishes in the long run.
Proper surface preparation involves cleaning to remove grease, dust, and grime so the paint or veneer sticks well. After cleaning, lightly sand the surface to create a smooth, even base.
Applying a quality primer is key for sealing the surface and helping the paint adhere better. To avoid mistakes, keep these points in mind:
- Use a degreaser during cleaning to make sure no residue stays
- Sand lightly to prevent creating uneven textures
- Apply primer evenly for better durability and a nice finish
Following these steps helps ensure your cabinets look professional and last a long time.
Use Quality Materials
Choosing high-quality materials is key to making your cabinet refacing look professional and last a long time. When you pick durable materials, you reduce the chances of warping, chipping, or fading.
Go for high-grade veneers, paints, and finishes that resist scratches and moisture. This not only makes your cabinets look better but also protects your investment.
Skimping on quality might save money upfront, but it could lead to costly repairs or replacements later. Focus on materials known for their strength and longevity.
Regular Maintenance Practices
Regular maintenance is key to keeping your cabinets looking great and preventing common issues from cropping up over time. Setting up a consistent cleaning routine helps remove dirt, grease, and grime that can damage surfaces.
Use gentle, non-abrasive cleaners to avoid scratching or dulling the finish. Pay attention to appliance care, making sure to wipe up spills quickly and maintain appliances to prevent leaks or damage.
Check regularly for loose hinges or hardware and tighten them as needed to avoid long-term problems. To keep your cabinets in top shape, remember to:
- Follow a regular cleaning schedule with the right products
- Clean appliances and wipe down surfaces often
- Address hardware issues promptly to prevent further damage
Frequently Asked Questions
How Long Does Kitchen Cabinet Refacing Typically Take?
Refacing your kitchen cabinets usually takes about 2 to 5 days, depending on the complexity and size of your project.
You’ll find that good refacing techniques improve cabinet durability, helping them last longer.
The timeline also depends on whether you’re just replacing the doors and veneers or adding new hardware.
A professional can typically complete the job efficiently, giving you beautiful, durable cabinets in just a few days.
Can I Refinish Cabinets in a Rental Property?
You can refinish cabinets in a rental property, but first, check the rental restrictions. Many landlords don’t allow permanent changes that could affect your security deposit.
If you get permission, think about temporary options like peel-and-stick veneers or removable paint. These are less likely to cause issues or damage.
Always talk to your landlord beforehand. This way, you can avoid losing your security deposit or running into problems with your lease.
What Is the Cost Difference Between Refacing and Replacing Cabinets?
If you’re trying to decide between refacing or replacing cabinets, the cost difference is a big factor. Refacing usually costs about 40-50% less than a full replacement, so it’s a smart choice if you’re on a tight budget.
Think about transforming your kitchen’s look without breaking the bank. Reface cabinets, save money, and still get a fresh, updated look. It’s a great way to stay within your budget and avoid the mess of a full replacement.
Are There Eco-Friendly Materials Available for Cabinet Refacing?
Yes, eco-friendly finishes and sustainable materials are available for cabinet refacing. You can choose finishes like low-VOC or water-based paints, which help reduce harmful emissions.
For sustainable materials, consider options like bamboo, reclaimed wood, or recycled laminates. These choices help minimize environmental impact.
Using these options allows you to create a stylish, eco-conscious kitchen while supporting sustainability. Always check with your supplier to make sure the materials meet eco-friendly standards.
How Can I Update Cabinets Without Professional Help?
You can update your cabinets without professional help by using DIY techniques like painting, replacing hardware, or applying new veneer.
Focus on material selection—choose eco-friendly paints, sustainable veneers, or repurposed hardware to make your update more environmentally conscious.
Prepare your surfaces thoroughly, follow instructions carefully, and take your time to guarantee a professional look.
With patience and attention to detail, you’ll achieve a fresh, updated kitchen without hiring a pro.
Conclusion
Refacing your cabinets transforms your kitchen without the chaos of a full remodel, giving your space a fresh look while saving time and money. Just like a well-tailored outfit, a sleek finish boosts confidence and comfort.
But beware—skipping steps or rushing the process can leave you with flaws instead of fabulous. So take your time, follow each step carefully, and enjoy the satisfaction of a beautifully renewed kitchen.
Refacing your cabinets is a smart way to update your space without the expense of new cabinetry. With patience and attention to detail, you’ll achieve a stunning result.
When done right, cabinet refacing can make your entire kitchen feel fresh, stylish, and practical. It’s a project that rewards your effort with a look you’ll love for years to come.