What Happens When You Put Air Dry Clay in the Oven?
Many crafters and DIY enthusiasts know the frustration of waiting hours for air dry clay to fully harden. You’re eager to see your project come to life, but the long drying time can be a real patience tester. If you’re wondering how to speed things up, you’re not alone.
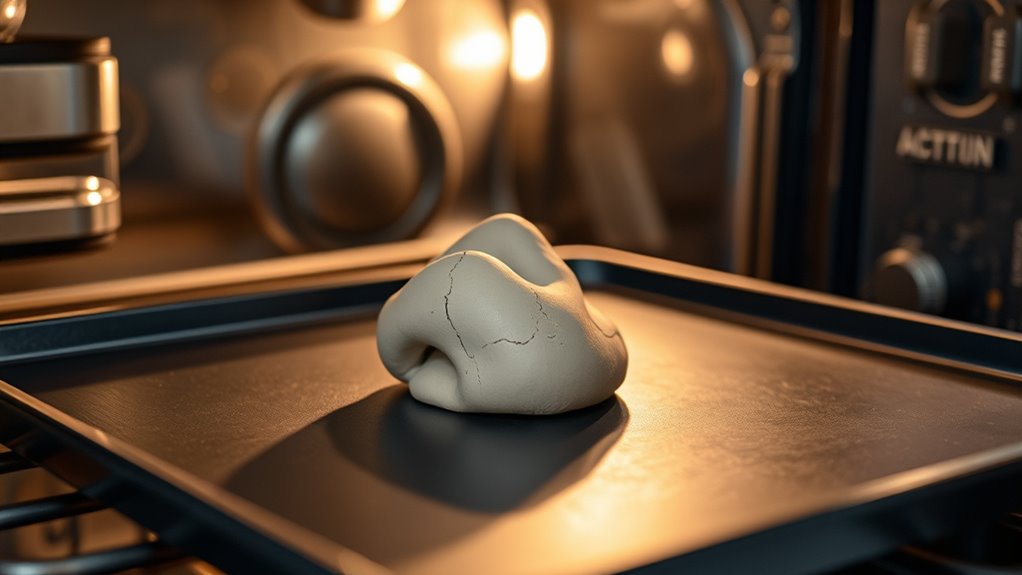
When you put air dry clay in the oven, it speeds up the hardening process, making your project more durable and giving it a smoother, polished finish. Baking boosts color retention and reduces internal cracks.
However, it can make the clay more rigid and prone to cracking if overbaked. While it improves strength, there are risks like discoloration or damage if not done properly. Continue exploring to uncover safe methods and tips for perfect finishes.
Key Takeaways
- Oven-baking speeds up the hardening process, making your air dry clay projects more durable and giving them a nicer finish.
- Proper baking helps lock in colors, reduces moisture, and lessens the chances of cracks or internal stresses forming.
- But watch out—overheating can cause discoloration, cracking, or make the clay brittle, which could damage your piece.
- Keep in mind that not all air dry clays are oven-safe. Using the wrong type might lead to fire hazards or deformation.
- Baking also makes the clay more rigid and less flexible, which can affect its long-term durability and ability to hold fine details.
What Is Air Dry Clay and How Does It Usually Dry?
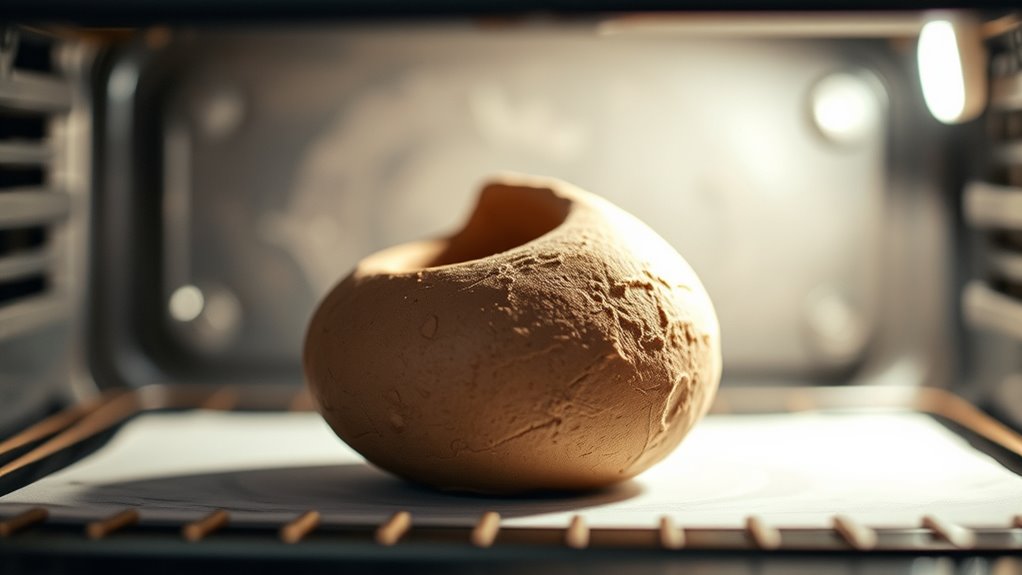
Air dry clay is a popular modeling material that hardens on its own when exposed to air, so you don’t need to fire or bake it in an oven.
When working with it, you can explore color blending by mixing different shades directly on your sculpture, creating smooth transitions and vibrant effects.
This lets you achieve a natural, layered look without needing extra tools. Texture techniques also add depth and interest to your pieces.
You can use tools or everyday objects to create patterns, imprints, or surface details. As the clay dries, it gradually hardens, usually taking 24 to 72 hours depending on thickness and humidity.
During this time, you can refine textures or blend colors further. Unlike kiln-fired clay, air dry clay makes it easy to craft and customize your projects with rich textures and blended colors.
It’s perfect for both beginners and experienced artists.
How Does Heat Change Air Dry Clay?
When you apply heat to air dry clay, it causes chemical and physical changes that can change its structure and look. Heat can make the clay harden faster, kind of like baking it to make it more durable.
This process can also improve the texture, making the surface smoother or more refined, depending on how you handle it. But be careful—high temperatures might cause colors to fade or darken, especially if the clay has organic dyes or paint.
Controlled heating can help lock in colors, but too much heat can lead to discoloration. Heating can also reduce surface porosity, giving your piece a more polished finish.
Keep in mind that not all air dry clay reacts the same way to heat, so it’s important to understand how your specific clay responds. Overall, applying heat can really influence your project’s final look and strength.
Why Do Crafters Consider Oven-Baking Dry Clay?
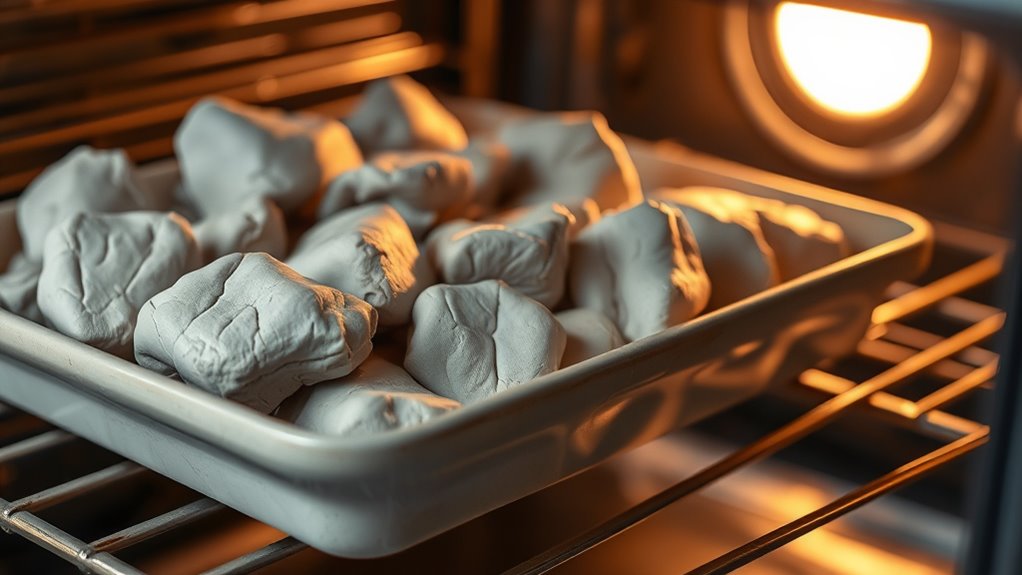
Crafters like to oven-bake dry clay because it really speeds up the hardening process. Instead of waiting days for it to dry naturally, you can have your project ready much faster. That’s a big help when you’re eager to see your finished piece!
Plus, baking the clay in the oven gives your creations a smoother surface finish. It helps avoid those tiny cracks that can sometimes appear with air-drying clay, making your work look more polished. So, if you want something more durable and professional-looking, oven-baking is definitely a good option.
Faster Hardening Process
Oven-baking dry clay speeds up the hardening process, making it popular for those eager to finish their projects quickly. Using heat cuts down drying time, so you can get your crafts done faster.
This method also helps keep colors vibrant, preventing fading or color changes. Plus, oven-baking preserves the texture, so your detailed work stays intact without warping.
The quick drying reduces the chances of cracks caused by uneven drying. It’s also convenient for making multiple pieces in a short amount of time.
Here are some reasons why crafters prefer oven-baking dry clay:
- Faster project completion
- Better control over drying conditions
- Less risk of cracking
- Consistent texture retention
- Improved color stability
Enhanced Surface Finish
Baking dry clay in the oven speeds up the drying process and also improves the surface finish of your piece. When you bake your clay, the heat can make colors look richer and more even.
It also helps create a smoother surface by reducing tiny imperfections and texture issues. This gives your work a more polished, professional look, perfect for detailed or display pieces.
The heat causes a slight melting effect on the surface, making your project look sleek and refined. Overall, oven-baking boosts color vibrancy and gives a cleaner, more consistent texture.
This technique is especially handy if you want a finished look without needing extra sanding or polishing.
Reduced Cracking Risks
Ever wonder why oven-baking dry clay can help prevent cracking? When you bake your air-dry clay, it undergoes a controlled drying process that reduces internal stresses, lowering cracking risks. This method guarantees more uniform drying, minimizing shrinkage and surface tension issues.
Plus, oven-baking can be more environmentally friendly since it often uses less material and energy compared to air drying. It also improves material compatibility, making the clay less prone to warping or breaking.
By choosing oven-baking, you’re enhancing durability and achieving a smoother finish with fewer cracks. Consider these benefits to create stable, long-lasting pieces.
- Controlled heat reduces internal stress
- Uniform drying prevents cracks
- Eco-friendly with less environmental impact
- Better material compatibility for strength
- Consistent results in your projects
What Are the Risks of Oven-Baking Air Dry Clay?
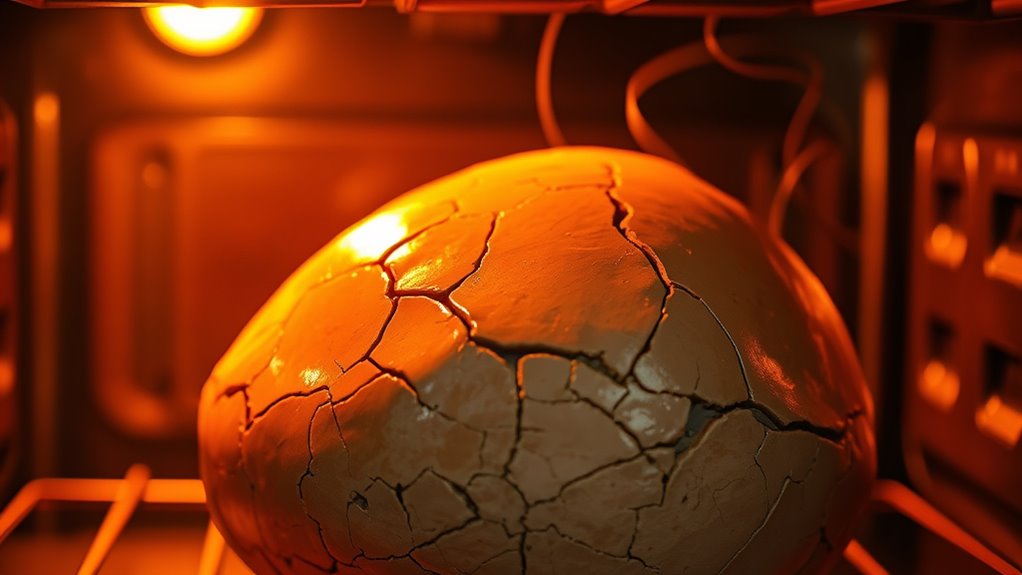
While oven-baking air dry clay might seem straightforward, it comes with several risks you should be aware of. One major concern is that high heat can cause uneven drying, leading to cracks or warping, which affects both texture and appearance.
Baking may also cause the clay’s original color to fade or discolor, especially if it contains dyes or pigments sensitive to heat. Overheating can release odors or fumes that might be harmful if inhaled, so good ventilation is really important.
There’s also the risk of the clay becoming too brittle or cracking if baked at the wrong temperatures or for too long. Plus, not all air dry clay formulas are meant for oven use, which could result in a poor finish or even fire hazards.
Being aware of these risks helps you make smarter choices to protect your project and ensure safe, successful results.
Can Baking Dry Clay Make It Stronger or More Durable?
Baking dry clay can definitely make its surface harder, so it’s less likely to chip or get damaged easily. But at the same time, it can make the clay less flexible, which means it might crack if you bend or stretch it too much.
Basically, oven-baking changes the strength of the clay in different ways. Knowing these effects can help you decide if baking it is worth the potential risks or if you should stick with it dry.
Enhances Surface Hardness
Heating dry air clay in the oven can significantly increase its surface hardness, making it more resistant to chips and scratches. Baking helps the surface set more firmly, giving your piece a tougher finish.
When you bake your clay, you strengthen the outer layer without losing its flexibility. This makes your projects more durable and less prone to damage during handling.
Baking creates a surface that’s scratch-resistant and less likely to chip, which helps your finished pieces last longer. Plus, it gives a smoother, more polished look to your work.
It also helps maintain the shape and detail of your design, ensuring your piece looks great after baking. Properly using this technique can really boost the surface hardness of your air dry clay projects.
Alters Clay Flexibility
Baking dry air clay can actually change its flexibility, making it either more rigid or slightly less movable depending on how you bake it. When you oven-bake air dry clay, the heat causes the clay’s moisture to evaporate quickly, leading to a change in flexibility.
Typically, the clay becomes less bendable, gaining stiffness and a more solid feel. If you underbake it, some flexibility might stay, but overbaking can make the clay brittle and prone to cracking.
The process basically locks the clay into its new form, reducing its original pliability. This change in flexibility is important to consider because it affects how you can manipulate or shape the clay before and after baking.
Proper baking ensures you get the right balance of firmness and flexibility, helping you achieve the desired results.
Affects Overall Strength
When you bake air dry clay, it can actually make it stronger and more durable—if you do it the right way. Proper baking results in a sturdier piece that lasts longer, especially if you pay attention to air quality and storage afterward.
Baking helps reduce moisture that can weaken the clay over time, making it less likely to crack. To get the best results, keep these tips in mind: use a consistent, low oven temperature, and avoid sudden temperature changes.
Make sure there’s good air circulation during baking, and store your finished pieces in a dry, dust-free environment. Maintaining proper air quality is also key to preventing moisture buildup.
Following these simple tips will help your baked clay stay durable and ready for display or use.
Common Mistakes When Oven-Baking Air Dry Clay
Despite its convenience, oven-baking air dry clay can lead to common mistakes that might ruin your project. One mistake is rushing the drying process, which can cause cracking or warping.
Another is neglecting proper storage techniques afterward, risking color fading and damage. Overheating the clay can burn or weaken it, compromising its durability.
Furthermore, forgetting to fine-tune oven settings may lead to uneven baking, ruining details.
Here’s a quick look at these pitfalls:
| Mistake | Consequence | Solution |
|---|---|---|
| Rushing drying | Cracks, warping | Patience, slow drying |
| Poor storage techniques | Faded colors, damage | Airtight, cool storage |
| Overheating | Weakens, burns | Use proper temperature |
| Uneven baking | Misshapen, compromised detail | Use even heat, monitor |
Avoid these mistakes to keep your project’s color and integrity intact.
Are There Safer Alternatives to Oven-Baking for Air Dry Clay?
If you’re worried about the risks of oven-baking air dry clay, there are safer options you can try. These methods help reduce health hazards, improve air quality, and lessen environmental impact. Instead of heating, you can let your creations dry naturally, which avoids releasing fumes or particles into the air.
Here are some safer choices:
- Air drying in a well-ventilated space
- Using a dehydrator designed for craft projects
- Applying a quick-drying sealant or varnish
- Using heat lamps or low-temperature drying stations
- Letting natural sunlight speed up the drying process
These options help keep the air cleaner and reduce environmental harm. While they might take a bit longer, they eliminate the dangers of oven use. This way, your crafting stays healthier and more eco-friendly.
How Can You Get a Smooth Finish Without Baking?
Achieving a smooth finish on air dry clay without baking is totally doable by focusing on good surface prep and finishing techniques. Start by smoothing the clay with your fingers or a damp sponge while it’s still soft and pliable.
Smooth air dry clay with fingers or damp sponge before it dries for a flawless finish.
Once it’s dry, use fine sanding tools like sanding sponges or ultra-fine sandpaper to gently smooth out the surface. Be careful not to over-sand, as that can create uneven spots.
For a shiny, polished look, try applying a thin layer of clear acrylic glaze or varnish. This not only makes the piece look sleek but also adds a protective coat.
Make sure the clay is completely dry before you start sanding or glazing. These simple steps help you get a professional-looking, smooth finish without baking, keeping your air dry clay piece looking refined and polished.
How to Tell if Your Oven-Baked Air Dry Clay Is Damaged?
Once you’ve baked your air dry clay, take a close look at it to see if there are any cracks or surface damage. Sometimes, tiny cracks can form during the drying process, so it’s good to check for those.
You should also look out for warping or any kind of deformation—that could mean it was overheated or didn’t dry evenly. If the shape isn’t quite right or looks bent out of shape, that’s a sign something might be off.
Finally, take a moment to observe the color and finish. If it seems dull or the color has faded, your piece might be damaged or not fully cured. Overall, a little inspection can help you figure out if your air dry clay project is still in good shape or if it needs some touch-ups.
Cracks or Surface Damage
Cracks or surface damage are clear signs that your oven-baked air dry clay may have been compromised. You’ll notice surface cracking or uneven patches that show the clay’s surface has been damaged during baking. These issues can weaken the stability and look of your project. Watch out for:
- Fine surface cracking across the piece
- Large chips or flaking areas
- Uneven or rough surface texture
- Discoloration or dark spots on the surface
- Puffiness or bubbling effects
If you see any of these signs, your clay has likely experienced surface damage or cracks. This kind of cracking shows the material was stressed during baking, which can weaken its strength and appearance. Addressing these problems early can help prevent further damage to your project.
Warping or Deformation
Warping or deformation often shows up when your oven-baked air dry clay no longer keeps its shape as intended. You might notice it looks uneven or misshapen, which is a sign of damage.
Signs include changes in texture, like the surface becoming rough or warped, and color fading, indicating the clay overheated or was exposed to uneven heat.
To visualize, here’s a table:
| Warped Shape | Texture Change | Color Effect |
|---|---|---|
| Bent or twisted form | Rough or cracked surface | Faded or dull appearance |
| Uneven edges | Soft spots or blistering | Loss of original hue |
| Misshapen base | Shrinkage or bubbling | Discoloration spots |
If you see these signs, your clay is probably deformed from oven damage.
Loss of Color or Finish
Have you noticed your once-vibrant clay piece has dulled or lost its luster? This could be a sign of damage from oven baking. Look out for signs like a noticeable color change, where bright hues fade or darken unexpectedly.
The surface gloss may diminish, making your piece look matte instead of shiny. You might also see uneven color patches or areas that appear duller than before. Cracks or surface roughness can come with these changes, indicating overheating or excessive drying.
Some colors may also become translucent or faded, especially if painted finishes were applied. These issues suggest that the heat affected the clay’s surface finish and color integrity, confirming damage. To avoid this, always monitor baking temperatures and times carefully.
Expert Tips for Finishing Air Dry Clay Projects Safely
To finish your air dry clay projects safely, it’s important to follow proper techniques that prevent damage and give you a polished look. If you plan to bake your clay, make sure to use safe cooking methods and keep the oven temperature low—around 200°F (93°C)—to avoid burning or warping.
Always use an oven thermometer to keep track of the temperature accurately. Safety is key; never leave the oven unattended and make sure your workspace has good ventilation to avoid inhaling fumes. Before baking, smooth out all surfaces and edges to prevent cracking, and consider applying a sealant afterward for extra durability.
If you decide to skip baking, just let your project air dry completely in a dust-free spot. Handle it gently during the finishing process to prevent cracks or deformation. Following these safety tips and proper techniques will help your air dry clay projects turn out flawless and safe to display or use.
Frequently Asked Questions
Can Oven-Baked Air Dry Clay Be Painted Afterward?
Yes, oven-baked air dry clay can be painted afterward. Once it cools and fully dries, you can use various painting techniques like acrylics or watercolors.
For the best results, apply a primer or sealant first with finishing tips in mind. This helps your paint stick smoothly and gives your project a more polished look.
Using a sealant also protects your artwork and makes the colors pop, giving it a professional finish.
How Long Should I Bake Air Dry Clay in the Oven?
You should bake air dry clay for about 15 to 30 minutes, depending on its thickness and texture.
To make sure it’s fully hardened, keep the oven temperature low—around 200°F (93°C)—and check if it feels firm.
Baking it too long or at a higher heat can cause cracks or warping, so watch it closely.
Once it’s done, let the piece cool before handling to avoid any damage.
Does Oven-Baking Air Dry Clay Produce Harmful Fumes?
Oven-baking air dry clay can produce some fumes, but these are usually minimal if you use non-toxic, air-dry clay.
However, there’s a risk of toxic fumes if you use clay with added paints or additives that aren’t oven-safe.
To stay safe, always work in a well-ventilated area and avoid inhaling fumes.
Using non-toxic clay and following the manufacturer’s instructions helps reduce the chances of harmful fumes.
Can I Reuse Oven-Baked Air Dry Clay Pieces?
Yes, you can reuse oven-baked air dry clay pieces, but keep in mind that their durability decreases after the first bake.
Reusable clay options are available that are designed for multiple uses, but oven-baked versions tend to become more brittle and prone to cracking over time.
If you want to reuse your clay, it’s better to keep it unbaked or opt for air dry clay instead.
Oven-baking isn’t the best choice for long-term durability, so reuse with caution.
What Temperature Is Safe for Oven-Baking Air Dry Clay?
Imagine guiding a delicate ship through treacherous waters; staying within safe bounds guarantees it doesn’t sink. For air dry clay, the safe temperature is around 200°F (93°C). This setting balances temperature safety and clay durability, preventing cracking or burning.
Always monitor closely, as exceeding this temperature risks damage, just like rough seas threatening your vessel. Keep your oven steady, and your clay masterpiece will endure beautifully.
Conclusion
So, when you toss air dry clay into the oven, you’re playing with fire—literally and figuratively. It’s like trying to tame a wild stallion with a whisper; the results can be unpredictable, risking cracks or warping.
Instead, accept the natural drying process, letting your creativity blossom like a delicate flower in spring. Patience and gentle finishes will illuminate your craft’s true beauty.
Remember, putting air dry clay in the oven can ruin your project, so it’s best to stick with air drying for the best results.