10 Steps to Paint Kitchen Cabinet Doors Perfectly
Painting kitchen cabinet doors can be a great way to refresh your space, but many people struggle with achieving a smooth, professional finish. If you’ve ever felt overwhelmed by the process or worried about uneven coats and drips, you’re not alone.
With a little careful planning, you can get stunning results that last.
Start by preparing your workspace with good lighting and ventilation. Then carefully remove and label the cabinet doors and hardware. Clean and sand the surfaces thoroughly before applying a primer suited for kitchens.
Choose durable paint in a finish that matches your style, and apply it smoothly in thin coats. Let each coat dry completely before reassembly.
For a flawless look and long-lasting results, follow these steps carefully—more tips will help you perfect your project.
Key Takeaways
- Prepare a clean, well-ventilated workspace, remove hardware, and thoroughly clean and sand cabinet surfaces.
- Apply a suitable stain-blocking primer for a smooth base and better paint adhesion.
- Use high-quality, durable paint with proper technique, applying thin, even coats with brushes or rollers.
- Allow enough drying and curing time between coats and after painting to ensure a durable finish.
- Reassemble hardware carefully, and do touch-ups or cleaning to keep everything looking professional.
Prepare Your Workspace and Gather Supplies
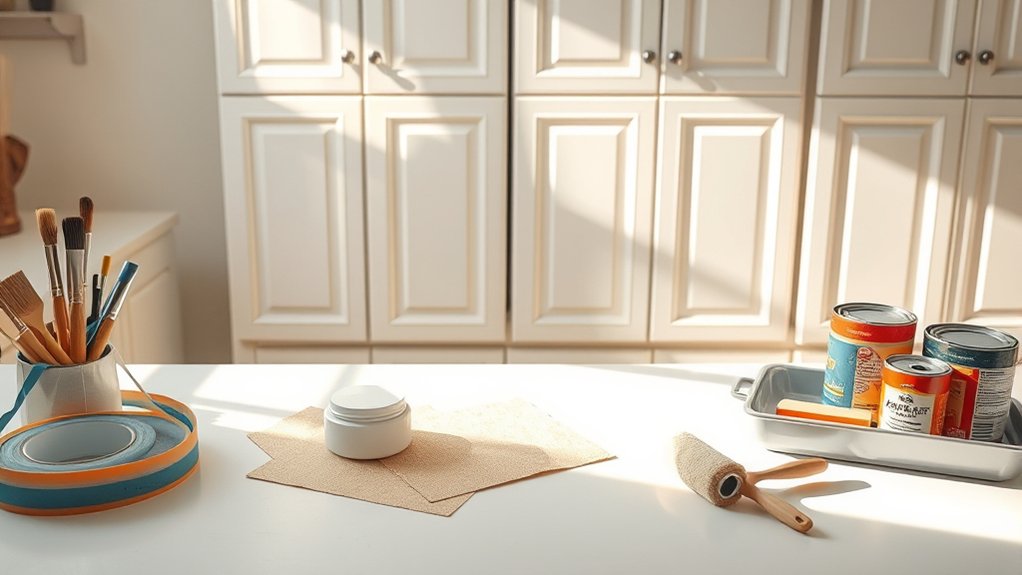
Before you start painting your kitchen cabinet doors, set up a well-organized workspace in a well-ventilated area. Gather all the supplies you’ll need, like paint, brushes, sandpaper, primer, and protective gear.
Make sure your workspace has plenty of lighting so you can see the colors clearly and avoid mistakes. Good lighting also helps you envision how the finished paint will look, especially when matching it to your kitchen’s style.
Keep your area clutter-free to make your work easier and safer. Use drop cloths or old sheets to protect surfaces from drips and spills. Having everything within reach helps you work efficiently without interruptions.
Properly preparing your workspace sets the stage for a smooth painting process. With your supplies ready and lighting just right, you’ll be confident tackling the next steps.
This way, your cabinet doors will turn out looking professional and beautiful.
Remove and Label Cabinet Doors and Hardware
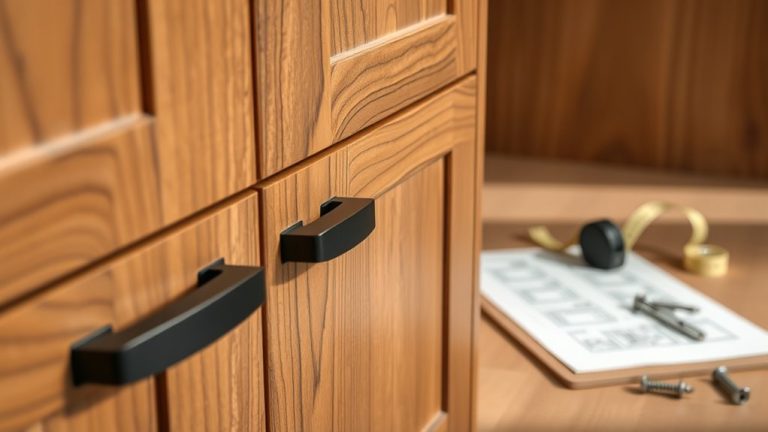
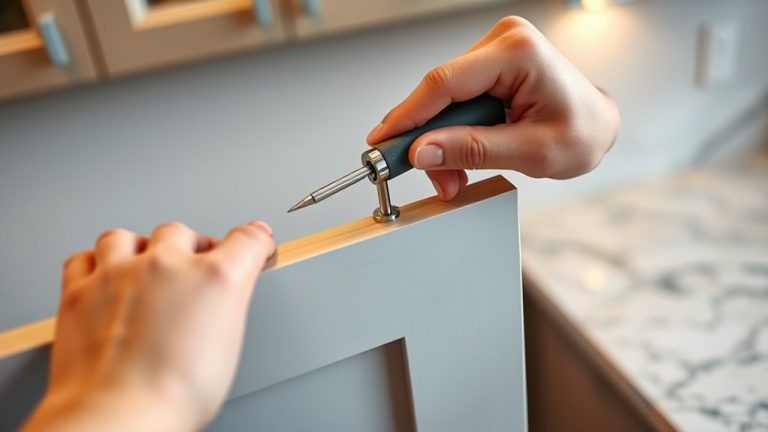
Have you ever tried to reassemble cabinet doors only to find hardware mismatched or misplaced? To avoid this frustration, start by removing and labeling each cabinet door and its hardware carefully. Use painter’s tape and a marker for clear cabinet labeling, noting where each door and piece of hardware belongs. When removing hardware, keep screws and hinges together in labeled containers or bags to prevent confusion later.
Consider these tips:
- Remove hardware gently to prevent damage.
- Label each door and hardware piece immediately.
- Keep screws and hinges organized in separate labeled containers.
- Take photos during removal to help with reassembly.
This process makes reinstallation smoother and helps you avoid mixing up cabinet doors or hardware. Proper labeling and hardware removal set a strong foundation for a flawless painting job, saving you time and hassle during reassembly. Be organized and precise to make your cabinet makeover stress-free.
Clean and Sand Cabinets for a Smooth Finish
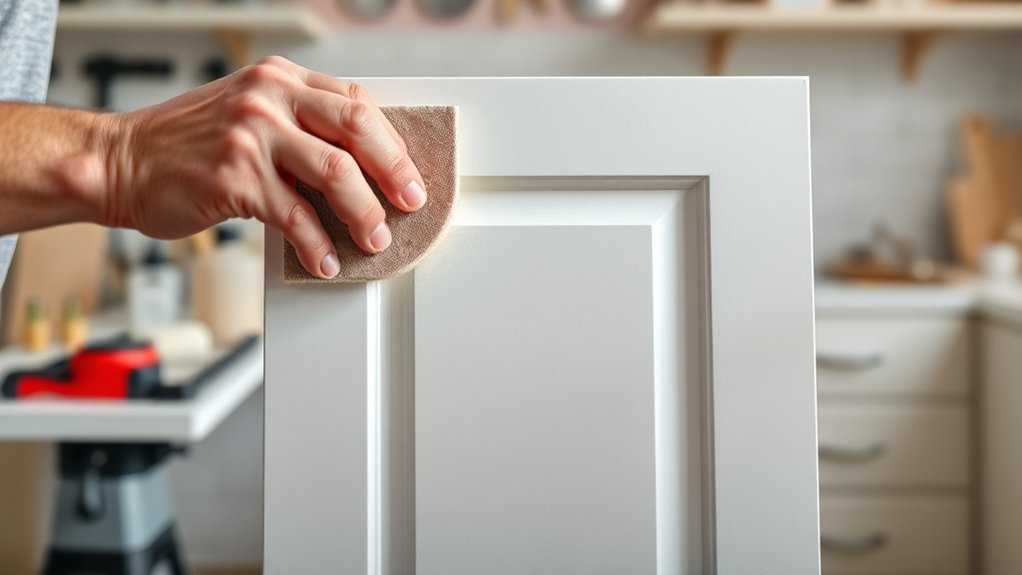
First things first, take off all your hardware from the cabinets. This way, the paint won’t get stuck on any pesky knobs or handles. Next, give the cabinets a good clean with a suitable solution to get rid of dirt and grease — you want that surface as spotless as possible.
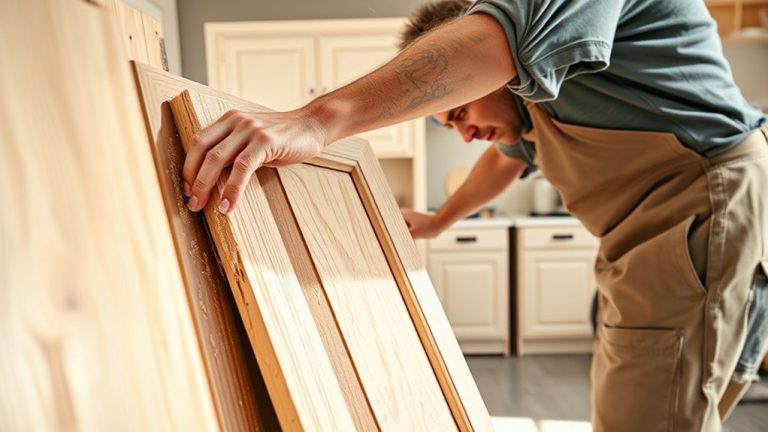
Once they’re clean, grab some fine grit sandpaper and gently sand the surfaces. This step helps create a smooth, even base, making your paint job look much nicer and last longer.
Remove Kitchen Hardware
Removing the hardware from your cabinets is an essential first step to guarantee a smooth, professional finish. Take off all kitchen cabinet hinges and drawer pulls carefully to prevent damage. This also makes it easier to clean and sand the surfaces thoroughly. Keep track of the hardware by placing it in a small container or labeled bag so you won’t lose any pieces.
Use a screwdriver to remove hinges and pulls gently. Keep screws in a labeled container for easy reassembly. Clean hardware separately to remove dirt and grease. Inspect hinges and drawer pulls for damage before reattaching.
Removing all hardware ensures you can sand and paint without obstructions, leaving your cabinets looking flawless once finished.
Use Proper Cleaning Solutions
Before you start sanding and painting, it’s really important to clean your cabinets thoroughly. This helps remove dirt, grease, and grime that can mess with the paint’s ability to stick.
Use the right cleaning products made for kitchen surfaces, like a degreaser or a mild dish soap solution. Proper cleaning makes sure the paint will stick evenly and last longer.
Avoid harsh chemicals that might damage the wood or leave residues. Make sure to clean all surfaces, including corners and edges, to get a smooth, clean base.
After cleaning, rinse everything with a damp cloth to remove any leftover soap or cleaner. Let the cabinets dry completely before you start sanding.
Good cleaning creates a solid foundation for a professional-looking finish and helps prevent peeling or chipping later on.
Sand With Fine Grit
To achieve a smooth, professional finish, you should sand your cabinets with fine-grit sandpaper after cleaning. This step helps smooth out imperfections and prepares the surface for better paint adhesion. Use gentle, even strokes to remove rough spots or old paint, making sure your paint turns out flawless.
Sanding also helps with color coordination because it creates a uniform surface that allows the new color to pop evenly. Keep these tips in mind:
- Use 220-grit sandpaper for a fine, smooth finish
- Always sand in the direction of the wood grain
- Wipe away dust with a damp cloth before painting
- Focus on edges and corners for a polished look
Proper sanding ensures your cabinets look sleek and professionally finished.
Pick the Best Primer for Kitchen Cabinets
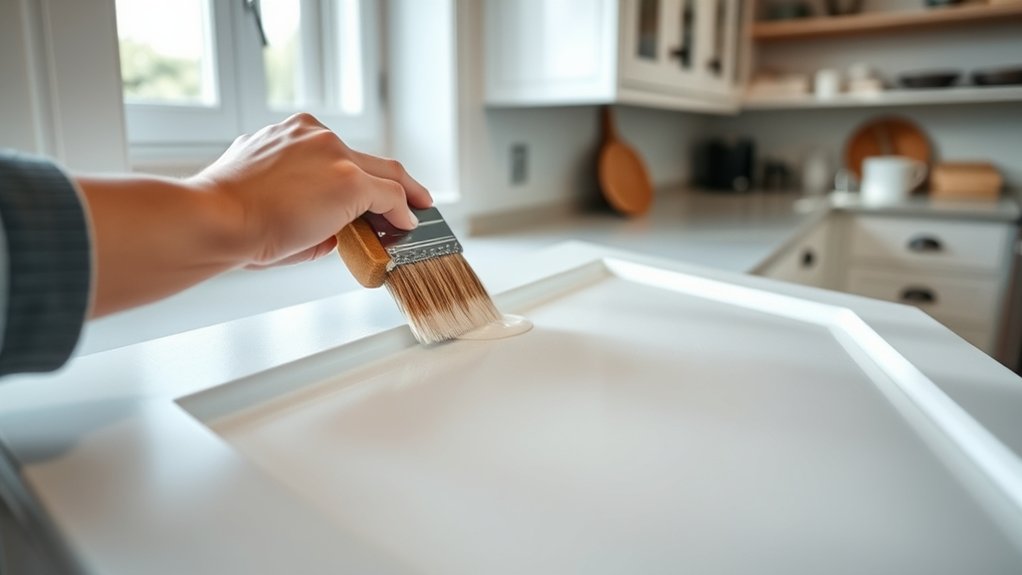
Choosing the right primer is essential for a smooth, long-lasting finish on your kitchen cabinet doors. The primer helps create a solid base, especially if you’re working with different color schemes or adding decorative accents.
For cabinets with a variety of colors, use a stain-blocking or bonding primer to prevent bleed-through and guarantee even coverage. If your cabinets have existing paint or a glossy finish, opt for a primer designed for adhesion, like a shellac or bonding primer.
Consider the type of paint you’ll be applying—oil-based or water-based—as some primers work better with specific paints. A high-quality primer also helps hide imperfections and provides a uniform surface, making your decorative accents pop.
Choose the Right Paint and Finish for Durability
To keep your cabinets looking their best for a long time, it’s really important to choose the right paint and finish that can stand up to daily wear and tear. Think about how different types of paint and finishes hold up over time, especially in a busy kitchen where spills and splashes happen often.
Picking the right combination now will save you plenty of hassle later on, because you’ll spend less time touching things up and more time enjoying your space.
Selecting Durable Paint Types
Selecting the right paint type and finish is key to making sure your kitchen cabinet doors hold up to daily use and cleaning. You want durable paint that resists chips, stains, and moisture.
Think about how paint texture affects both how it looks and how well it holds up. Smooth finishes are easier to wipe clean, while textured ones can help hide imperfections.
Color psychology also matters; lighter shades can make your space feel open and airy, while darker tones add a touch of sophistication.
Choose high-quality, oil-based or latex enamel paints for lasting results. Semi-gloss or satin finishes are great for easy cleaning and durability.
Consider the paint’s texture to match your kitchen’s style and how practical you need it to be. Lastly, think about the mood you want to create with color—it can really tie the room together.
Choosing Appropriate Finishes
Opting for the right paint and finish is key to making sure your cabinet doors can handle daily use. Finish choices affect both how your cabinets look and how durable they are.
For a sleek, modern vibe, a high-gloss finish is a great pick. It’s durable and easy to clean, making it practical as well as stylish.
If you prefer a softer, more understated look, go for a matte or eggshell finish. These provide a subtle, non-reflective surface that hides minor imperfections nicely.
Here’s a quick comparison to help you decide:
| Finish Option | Aesthetic Considerations |
|---|---|
| Glossy | Reflective, vibrant, easy to clean |
| Satin/Eggshell | Smooth, muted, hides minor imperfections |
| Matte | Non-reflective, hides surface flaws, softer look |
| Semi-gloss | Balances durability with a slight shine |
Choose based on your style preference and how much wear and tear your cabinets will face.
Considering Kitchen Environment
Have you thought about how your kitchen environment affects your cabinet paint and finish? Your layout and lighting are big factors in this.
If your kitchen gets lots of sunlight, go for UV-resistant paint to keep the color from fading. For open kitchens with high humidity, choose moisture-resistant finishes to prevent peeling or warping.
Bright lighting can show off imperfections, so pick a durable finish that hides flaws well. Also, consider traffic flow—high-traffic areas need tougher paints to stand up to daily use.
Think about spills and splashes, especially near sinks and stoves. Choosing the right finish helps your cabinets stay beautiful longer despite these challenges.
Matching your paint and finish to your kitchen’s environment ensures your cabinets stay looking fresh for years to come.
Learn How to Apply Paint Smoothly and Evenly
To achieve a smooth, even finish when applying paint to your cabinet doors, it’s essential to use the right techniques and tools. Start with good-quality brushes suited for cabinets, and avoid cheap brushes that can leave brush marks. Use long, even strokes to spread the paint consistently, maintaining a wet edge to prevent lap marks.
Pay attention to your color combinations; choose contrasting shades that help you see your brushstrokes clearly, ensuring even coverage. When switching between different areas, reload your brush with a small amount of paint to avoid drips and uneven layers.
Practice your brush techniques by feathering the edges and avoiding heavy pressure, which can cause drips or streaks. Using thin coats of paint, rather than thick layers, helps you achieve a flawless, smooth surface.
With patience and proper technique, your cabinet doors will have a professional, uniform finish that elevates your kitchen’s look.
Let Your Cabinets Dry and Cure Between Coats
After applying each coat of paint, it’s important to give your cabinets enough time to dry completely before applying the next layer. This helps ensure the paint sticks well and prevents smudges or uneven finishes.
During this drying time, your cabinets are also curing, which makes the paint more durable and long-lasting. Rushing this step can cause peeling or chipping down the line.
To make the most of the drying and curing process, keep these tips in mind:
- Allow at least 24 hours for each coat to dry, especially if the room is humid.
- Avoid touching or moving the cabinets while they’re drying to prevent smudges.
- Keep the room well-ventilated to help the paint dry faster.
- Be patient—curing takes longer than drying and is key to a lasting finish.
Reassemble, Touch Up, and Fix Common Painting Problems
Once the paint has fully dried and cured, you can start reassembling your cabinets. It’s also a great time to do touch-ups and fix common painting issues.
Carefully reattach the cabinet hardware, making sure screws are snug but not over-tightened, which could damage the paint. As you put everything back, look for spots where the paint might have chipped or coverage is uneven.
Use a small brush with matching paint to touch up these areas, blending them in smoothly for a seamless look. If you spot drips, smudges, or fingerprints, gently sand the spots with fine-grit sandpaper and reapply paint if needed.
To fix bleeding or uneven color, apply a primer or paint sealer. These steps help your cabinets look professional and ensure a smooth, flawless finish that lasts.
Maintain Your Newly Painted Kitchen Cabinets
To keep your freshly painted cabinets looking their best, it’s important to stay on top of regular cleaning. Gently wipe them down with a soft cloth and mild soap to remove any dirt or grease without damaging the paint.
Also, try to handle your cabinets carefully—avoid placing heavy or sharp objects on or near them to prevent dents or scratches. If you notice any small chips or marks, don’t worry! You can do quick touch-ups to keep everything looking smooth and flawless. Taking these simple steps will help your paint job last longer and keep your kitchen looking fresh.
Regular Cleaning Practices
Regular cleaning is essential to keep your newly painted kitchen cabinets looking their best. Establishing a consistent cleaning schedule helps prevent dirt buildup and keeps them looking fresh.
For everyday upkeep, wipe down surfaces with a soft cloth and mild soap. When stains appear, act quickly to remove them using gentle solutions to avoid damaging the paint.
Regular cleaning also helps prevent grease and grime from settling in, which can dull the finish over time. Remember, gentle cleaning methods are key to preserving your paint job.
Here are some tips to keep in mind: Use a microfiber cloth for delicate surfaces. Avoid abrasive cleaners that can scratch the paint. Tackle stains immediately to prevent them from setting. And regularly wipe handles and knobs to prevent grime buildup.
Avoiding Damage and Dents
Keeping your painted kitchen cabinets looking pristine also means taking care to avoid damage and dents. Before handling or cleaning, remove cabinet hardware to prevent accidental scratches or dents.
When working around the cabinets, use gentle, controlled movements to avoid impact. Be cautious with objects that could bump or scrape the surface, especially during daily use.
Confirm paint safety by waiting until the paint is fully cured before cleaning or placing items on the cabinets. Use soft cloths and mild cleaning solutions to prevent scratching.
Avoid hanging heavy or sharp objects directly on cabinet doors. Taking these precautions helps maintain the integrity of your paint job, preserving the smooth appearance and preventing costly repairs.
Proper care ensures your cabinets stay beautiful longer.
Touch-Up Maintenance Tips
Even with careful painting and maintenance, small chips or scratches can happen over time, but addressing them promptly keeps your cabinets looking fresh. Regular touch-ups ensure your painted surfaces stay vibrant and smooth. Keep some touch-up paint handy for quick repairs, and use a fine brush for precision around decorative hardware.
When replacing or upgrading cabinet lighting, be cautious not to damage the paint finish. Clean any scratches gently before applying touch-up paint to ensure good adhesion. For a seamless look, blend the paint with the surrounding area carefully.
Keeping your cabinets looking perfect also involves checking your decorative hardware and replacing any loose or tarnished pieces promptly. Regular maintenance preserves your investment and keeps your kitchen looking its best.
Troubleshoot Painting Issues and How to Fix Them
When you’re painting kitchen cabinet doors, issues can sometimes pop up that affect the final look. One common problem is uneven paint coverage or visible brush strokes. To fix this, check your paint blending techniques—lightly feather edges and make sure your strokes are even.
If colors don’t match or look different from what you expected, it’s usually because of improper color matching. Use a color-matching tool or compare paint swatches in natural light before you start painting.
For paint blending issues, lightly sanding the surface and reapplying a thin, even coat can help create a seamless finish. If you notice drips or runs, smooth them out with a brush or roller before the paint dries.
Frequently Asked Questions
How Long Does It Typically Take to Complete Painting Kitchen Cabinet Doors?
It usually takes around 2 to 4 days to finish painting your kitchen cabinet doors. The exact time depends on factors like drying time and how many coats you need to apply.
You’ll want to pick from different color options and paint types, like latex or oil-based paints, to get the best finish. Patience is key to making your doors look professional, so don’t rush.
Make sure to allow plenty of drying time between coats for a smooth and durable finish. Taking your time will really pay off with a beautiful result.
Can I Paint Cabinets Without Removing the Doors?
Can you paint cabinets without removing the doors? Absolutely, you can! Just start with a thorough cabinet cleaning to make sure the surface is free of grease and dust.
Next, choose a high-quality paint suited for cabinetry. Use painter’s tape to protect hinges and surrounding areas, then carefully paint with a brush or roller.
Why bother removing doors when you can achieve a smooth, professional look right in place?
What Are the Best Ventilation Practices During Cabinet Painting?
Good ventilation is essential when you’re painting cabinets to ensure proper airflow and to cut down on fumes. It really can’t be overstated how important it is for keeping the air fresh and reducing health risks.
Make sure to use exhaust fans and open windows to get the best airflow. Keeping doors and windows open helps a lot, and a box fan directed outside can push fumes out of your space.
These simple airflow tips help your paint dry evenly and keep your workspace safe throughout the project.
How Can I Prevent Paint Drips and Streaks on Cabinet Surfaces?
Imagine your cabinet surfaces as a blank canvas—smooth and flawless. To prevent paint drips and streaks, focus on good paint preparation and proper brush techniques.
Use high-quality brushes and apply paint in thin, even coats, working with the grain. Keep a steady hand and avoid overloading your brush.
These simple steps can make a big difference, turning your cabinets from uneven to sleek and polished, like a piece of art.
Is It Necessary to Sand Between Coats of Paint?
Yes, you should sand between coats of paint for the best finish. Sand lightly with fine-grit sandpaper to smooth out any brush strokes or imperfections. This helps the next coat adhere better.
Your choice of paint, like latex or oil-based, affects whether you need to sand. Some paints dry smoother and may require less prep.
Proper painting techniques, including sanding, help your cabinets look professional and last longer.
Conclusion
As you finish your painting journey, remember that patience and attention to detail turn a simple project into something truly special. Just like a well-painted cabinet transforms your kitchen, small efforts in life often lead to unexpected beauty and harmony.
Keep your workspace organized, trust the process, and enjoy the newfound confidence in your skills. Because sometimes, the most beautiful results come from the tiniest, most intentional strokes.
When it comes to painting kitchen cabinet doors perfectly, these small steps make all the difference.